


Kingtech JMB jets 3m PC-21?


 06-27-2018, 06:40 AM
#53

I discovered that the top of the fuselage section in front of the canopy was starting to crease where I was turning the model over to rest it on a stand to put the wing it on, so decided to lay carbon weave mixed with zpoxy to the inside.
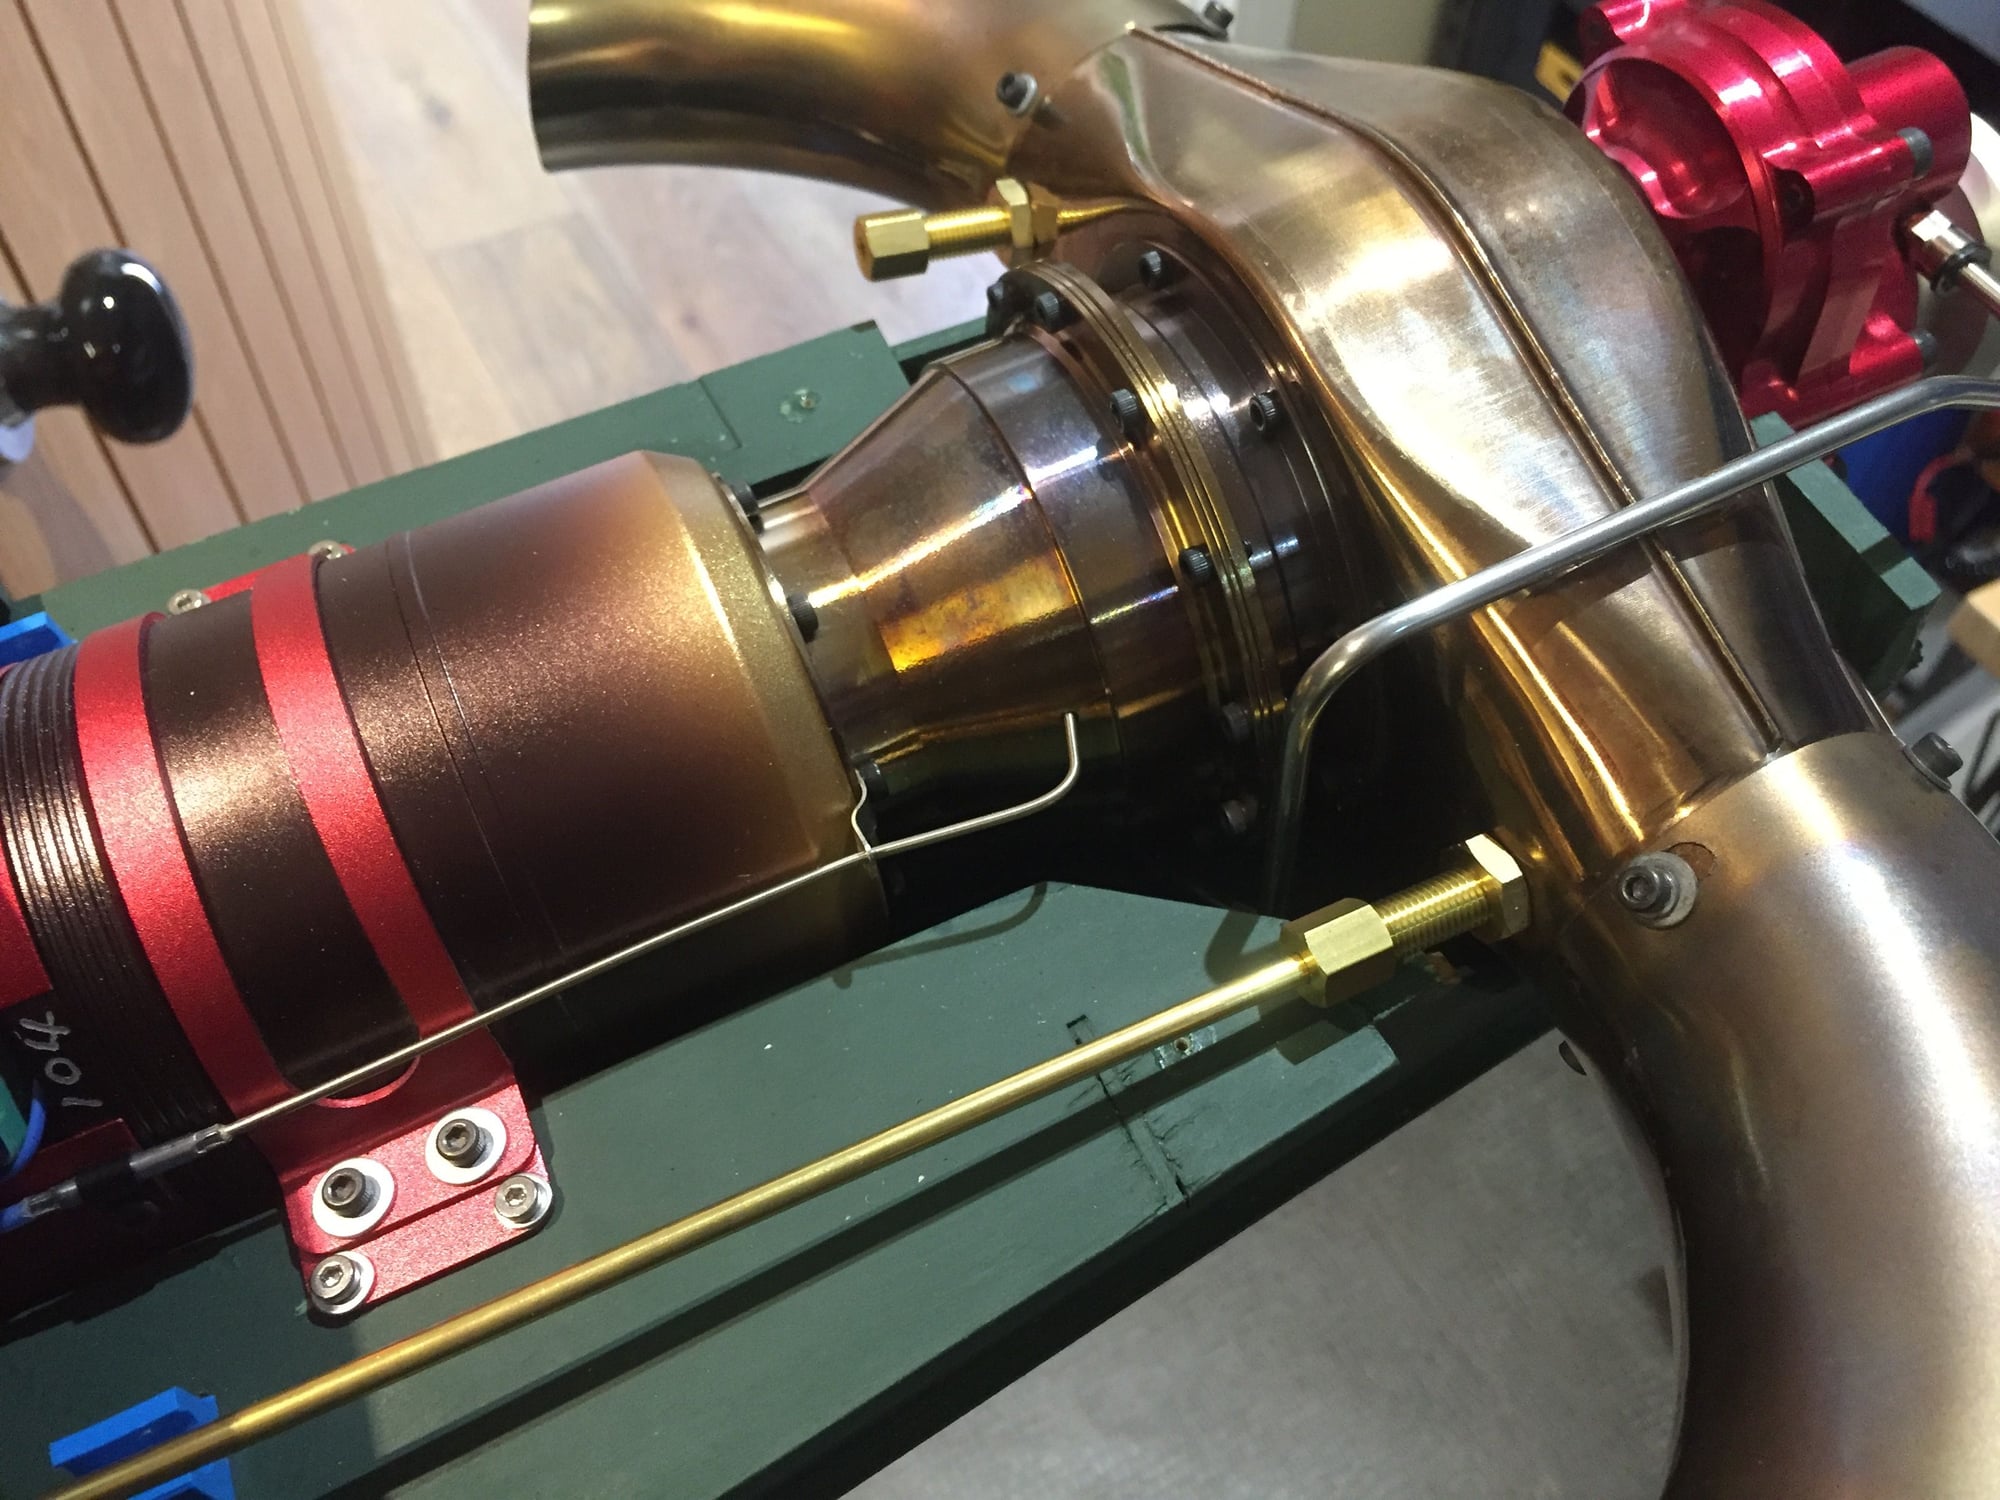
The powerbox smoke pipe melted where I connected it to a brass fitting at the manifold, so exchanged this for a gas fitting of 8mm external and 4mm compression on the other end. Connected to this is a length of 4mm brass tube which is connected together in a Y before the pump.
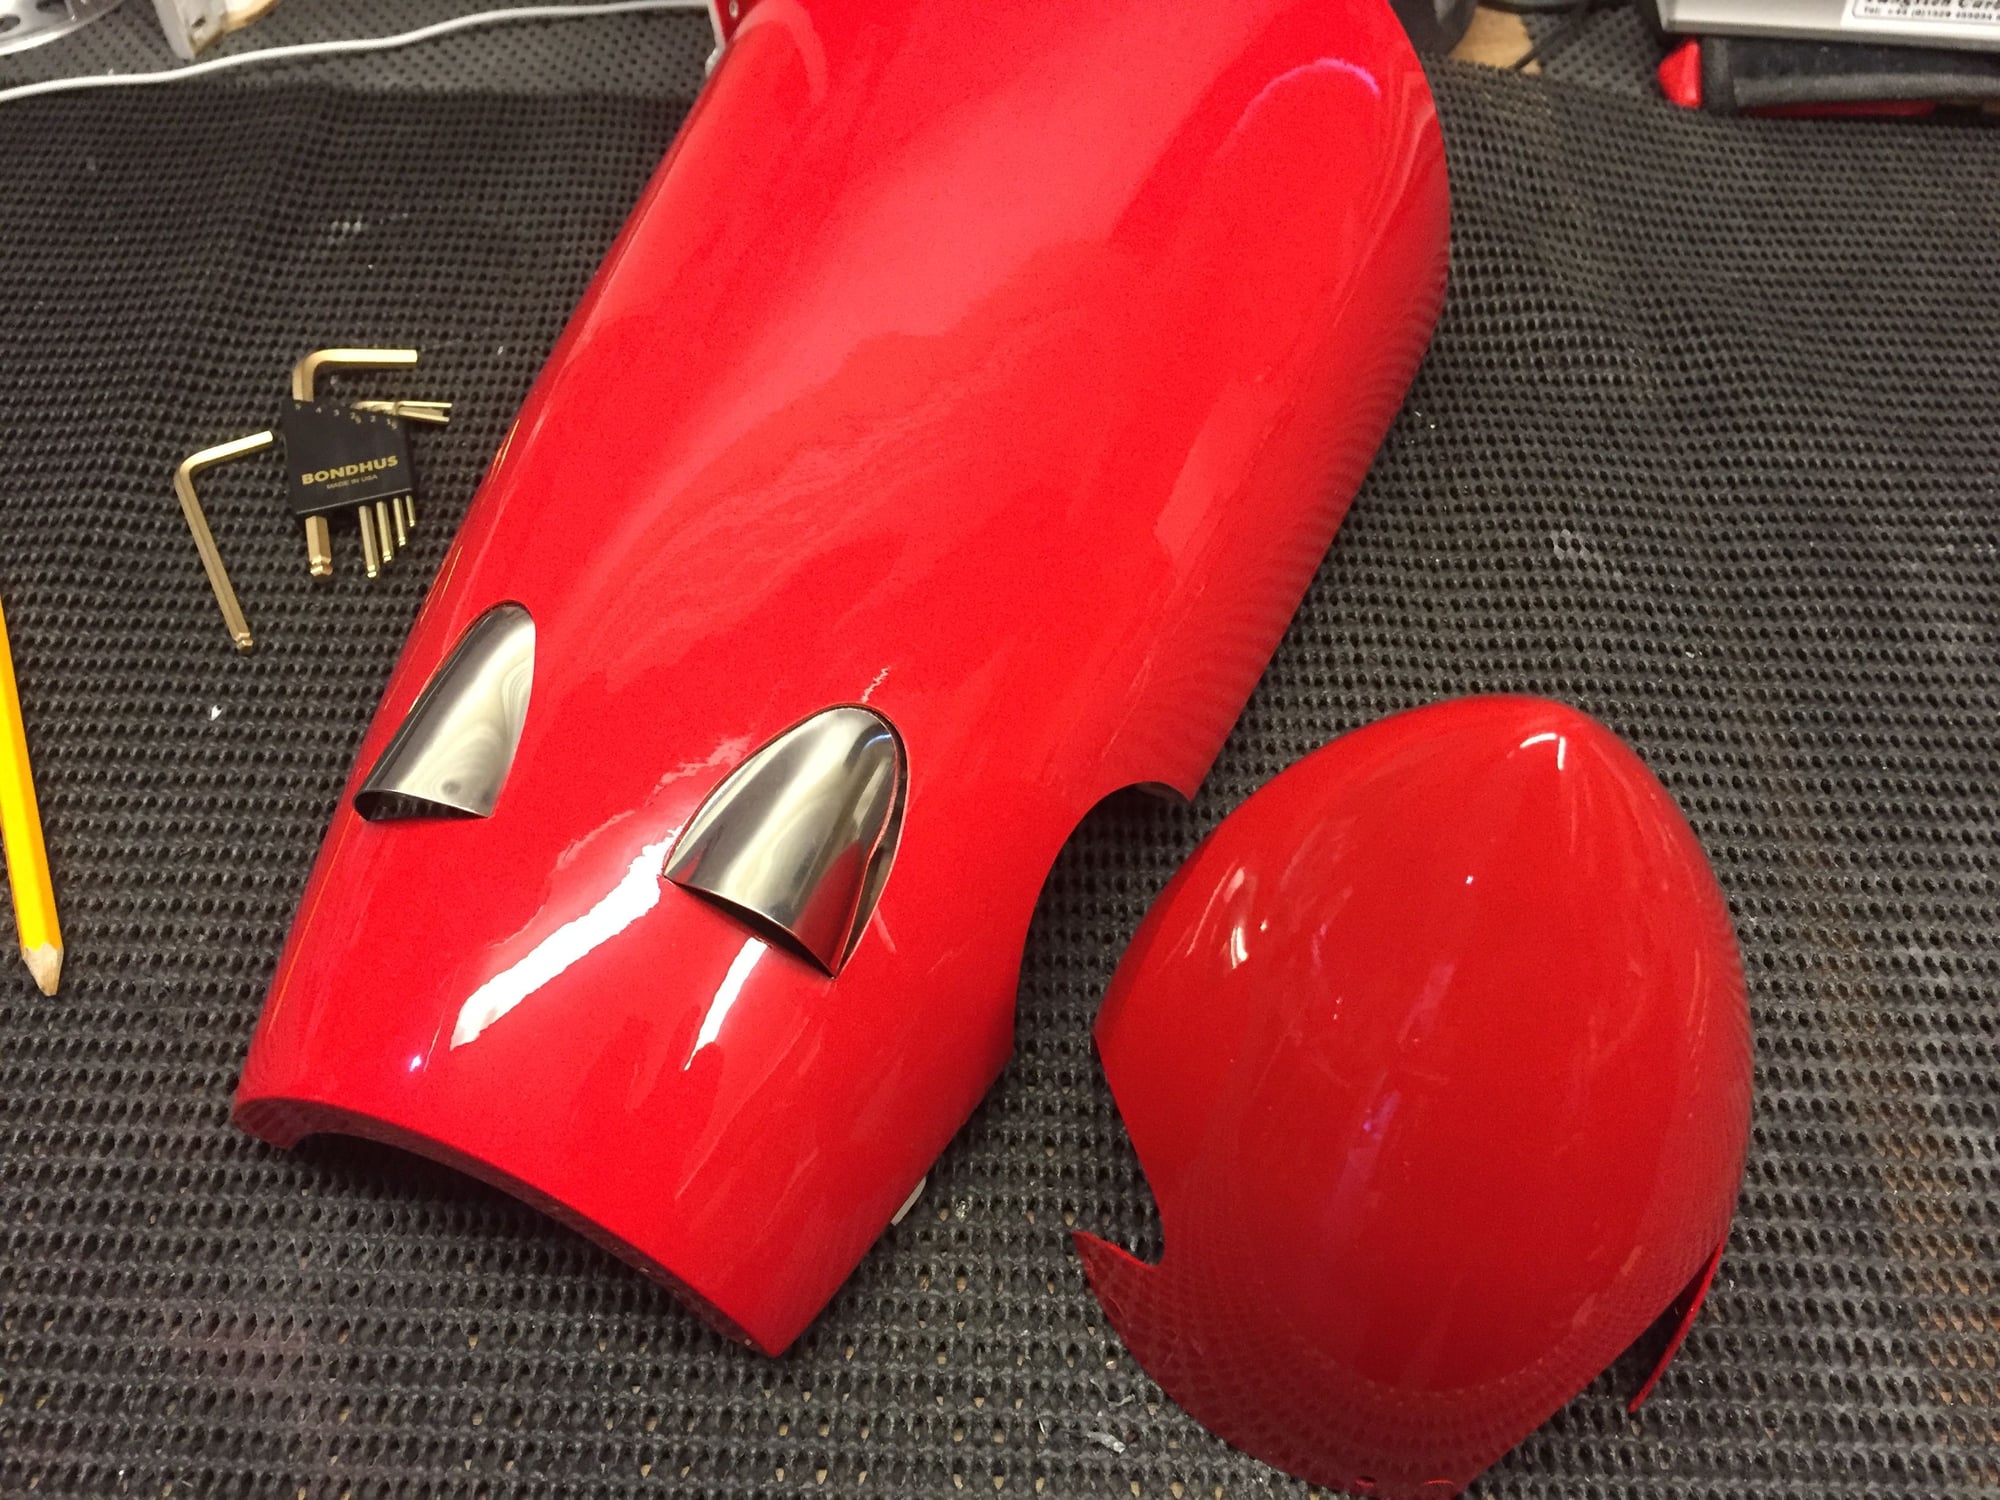
Lastly, painted the supplied spinner for a better colour match to the cowl.
Tests on the running temperature will be carried out next.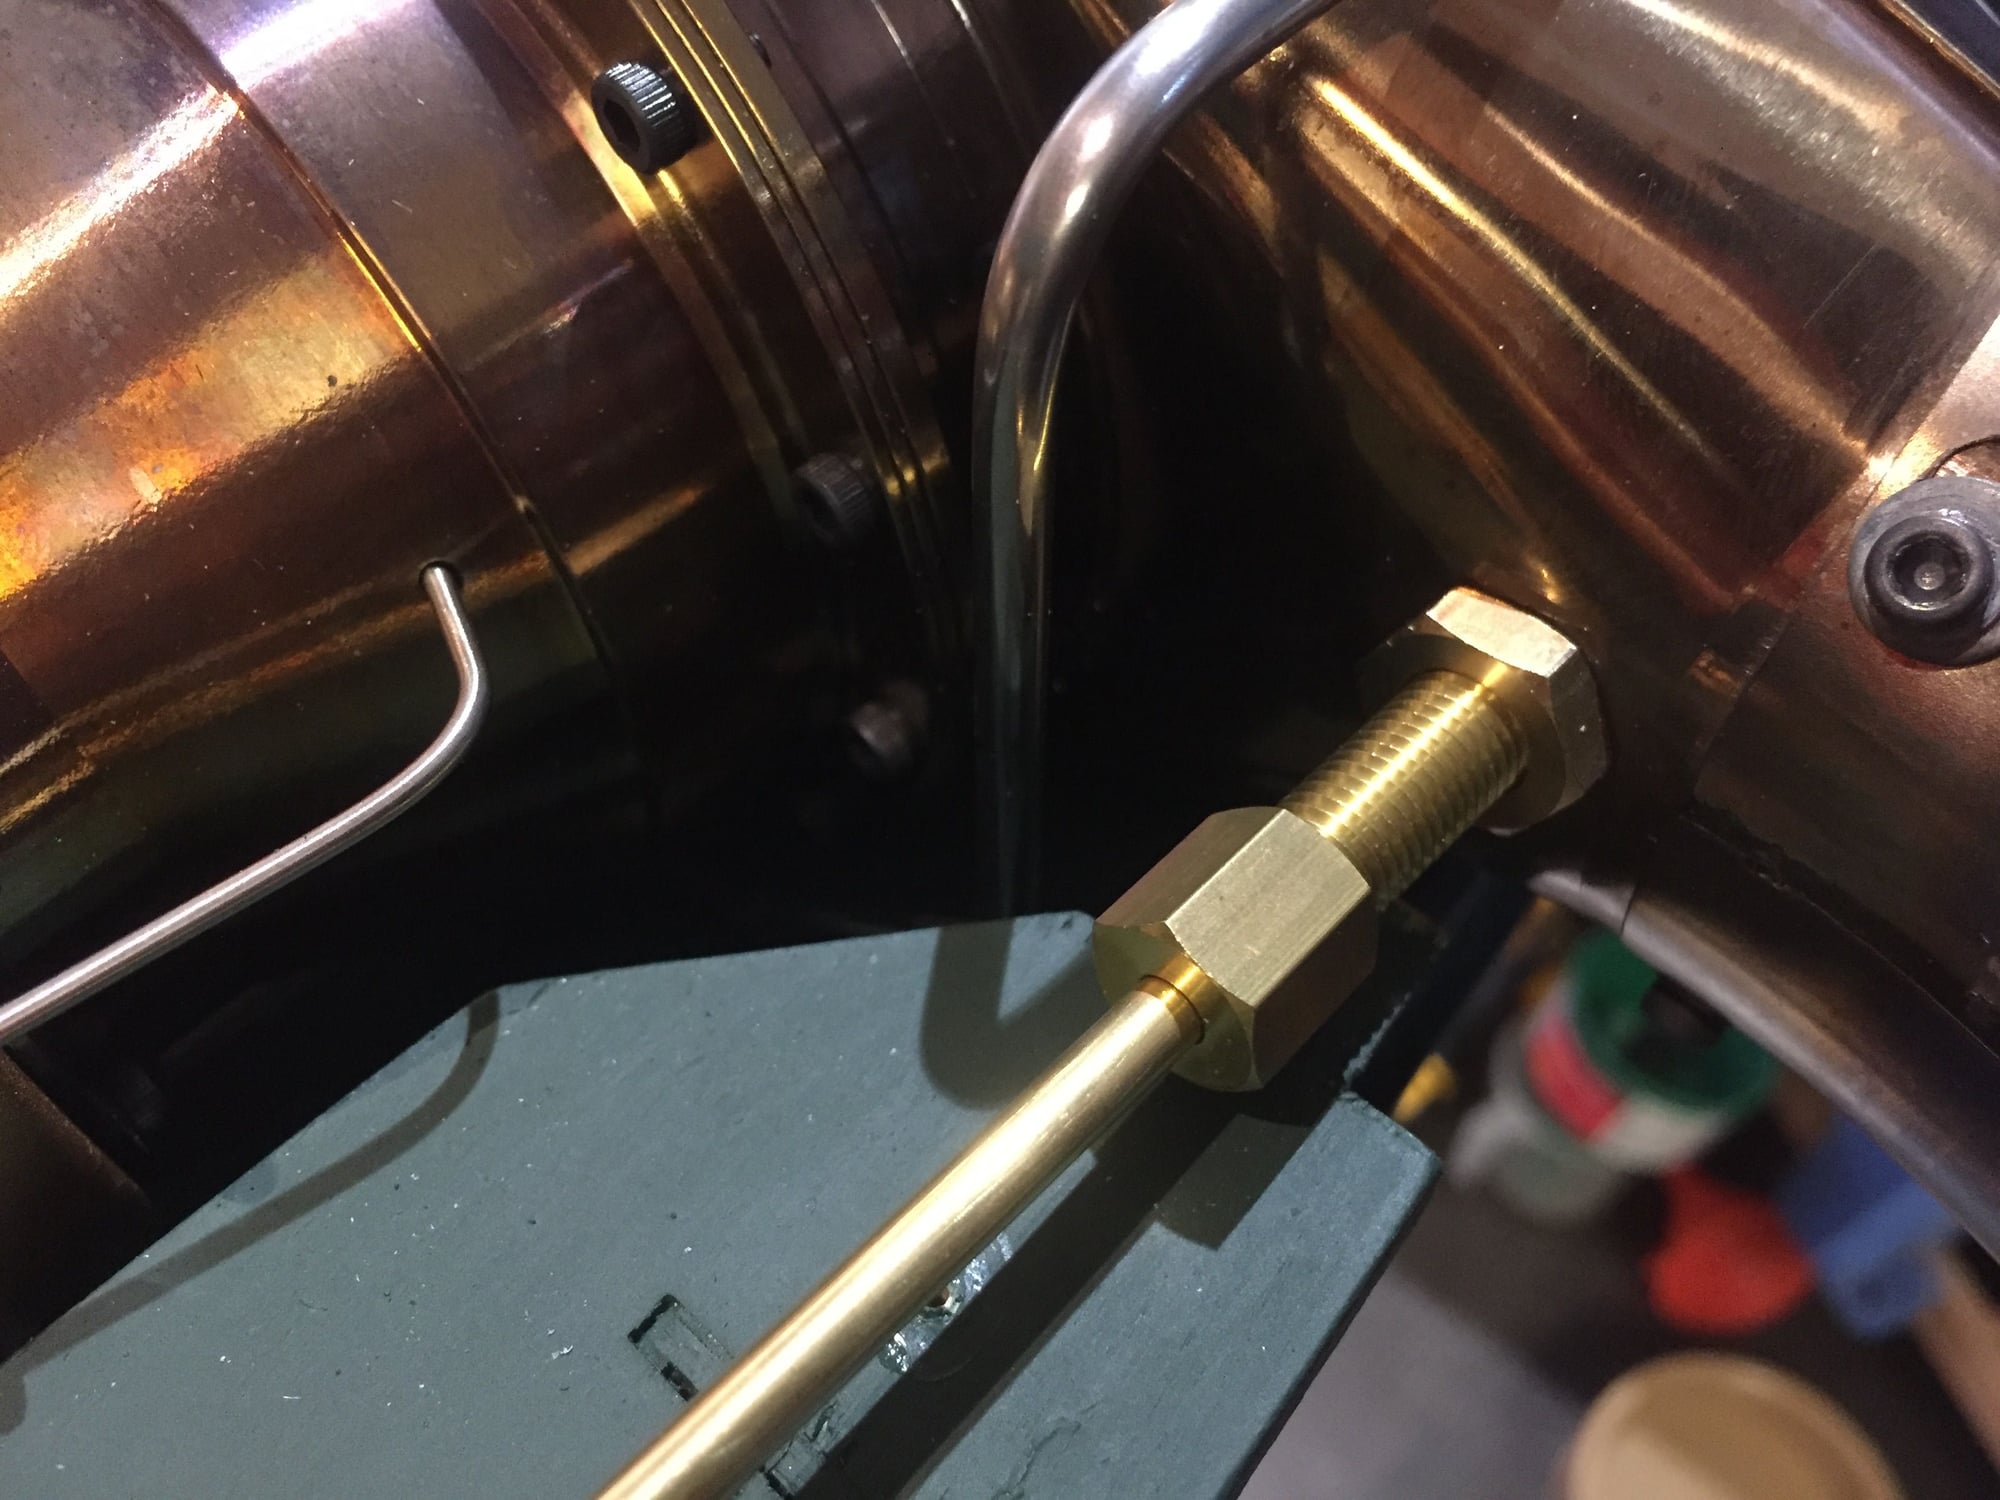
The powerbox smoke pipe melted where I connected it to a brass fitting at the manifold, so exchanged this for a gas fitting of 8mm external and 4mm compression on the other end. Connected to this is a length of 4mm brass tube which is connected together in a Y before the pump.
Lastly, painted the supplied spinner for a better colour match to the cowl.
Tests on the running temperature will be carried out next.
Last edited by Neil Guildford; 06-27-2018 at 07:08 AM.
10-06-2018, 06:25 AM
#54
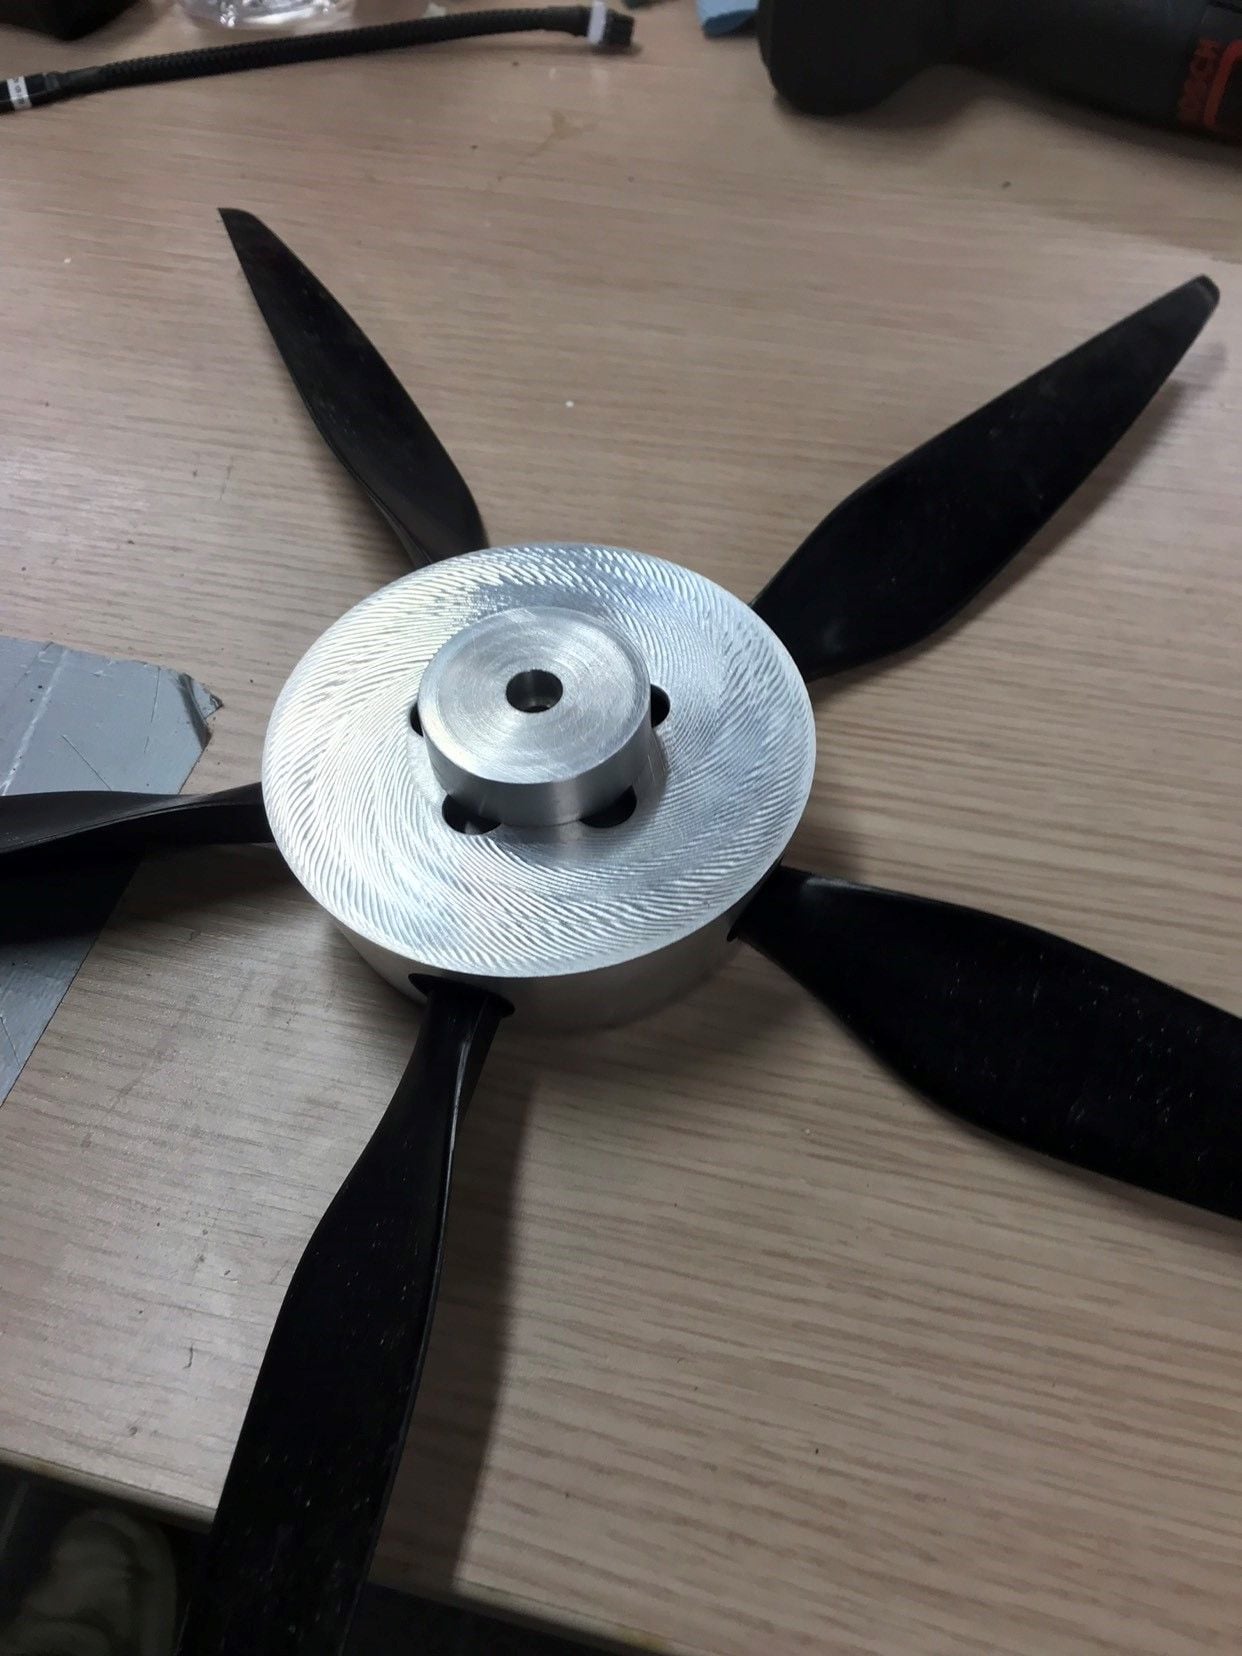
For those still interested in this plane, Jean-Marc now offers a 5 blade Fiala prop sized for the K45TP
I bought 2 since it was about the same shipping cost as one
Very nice looking prop and paint finish; I ordered the black version
https://kingtechturbine.lu/Propeller...-20x12-K45TP_1
I bought 2 since it was about the same shipping cost as one
Very nice looking prop and paint finish; I ordered the black version
https://kingtechturbine.lu/Propeller...-20x12-K45TP_1
10-06-2018, 07:29 AM
#55
I�d be interested in the K60 5 blade if it weren�t for the fact that the planes fuselage just fits in my car in one piece without splitting it and a five blade would get in the way of my steering wheel.
I�d like a more pointy spinner if there�s one out there.
I�d like a more pointy spinner if there�s one out there.
10-06-2018, 03:30 PM
#56
Jean-Marc now has a more appropriate (uncut) spinner for his PC-21.
I added one to my prop order. If you�d like pictures or measurements, let me know.
TruTurn spinners here in the USA does custom cut aluminum spinners. Here is their email
�We could offer you our 4.5� Ultimate shape spinner
Product Listing -
We would request you send your prop to us as we do not have that prop or program. We will not know if this spinner could be slotted to accommodate the prop until the prop arrives. Our spinners have to keep 50% of it�s meat and without a the prop or program there is no way to verify this. Yes we can add the light backplate in the 4.5� and we can ream it 10mm for the K45tp. Please let me know if you are interested. �
11-10-2018, 05:22 PM
#57
Hey guys, I have been reviewing this thread in prep to the build of my PC21 and was curious if you've seen any stress marks where the both fuse halves are joined?
Btw... thanks for hint on applying the high temp. paint (it's done!)
Btw... thanks for hint on applying the high temp. paint (it's done!)
11-11-2018, 04:55 AM
#58
The Phoenix Volcano is a similar size/construction plane (built up with split fuse) a club member is building one with a K45TP this winter and I dont recall any similar problems either in the RCG or RCU build threads.
11-11-2018, 11:07 AM
#60
Thanks Itc & Digitech for your quick responses. It's reassuring.
Fyi... I have the Tucano (60cc) from Phoenix, which btw flies really well, and its' 2nd have is supported by 3 tubes (at half the fuse X2, and lower part X1). The PC21 is only supported by one tube and 2 little guides just above (lower half of the fuse).
I must say the quality of wood and assembly seems great on the PC21. And although the servo mounts are of quality wood and glue, because of my Tucano, I did renforce them with fibreglass cloth and �poxy (just personal insurance... for which your buddy should consider too during his Tucano build).
11-21-2018, 05:14 PM
#61
Hi Digitech,
I read that your plane has the K45TP, so I am hoping you can assist with this issue I seem to be having.
I have started to mount my K45TP and for some reason the black plate of my prop is falling at least 5mm short of the leading edge of the colwing. If you've encounted this too, can I ask to provide your workaround please?
Fyi... my prop back plate is protruding 52mm from the plywood engine mount; the one we fix 3 engine screws too.
Thanks,
Mario
11-21-2018, 05:17 PM
#62
Deleting data characters generated by a picture being inserted.
Last edited by mstpieree93; 11-21-2018 at 05:23 PM. Reason: Remove data characters that were inserted by dragging a picture for backup.
11-21-2018, 10:54 PM
#63
Hi Digitech,
I read that your plane has the K45TP, so I am hoping you can assist with this issue I seem to be having.
I have started to mount my K45TP and for some reason the black plate of my prop is falling at least 5mm short of the leading edge of the colwing. If you've encounted this too, can I ask to provide your workaround please?
Fyi... my prop back plate is protruding 52mm from the plywood engine mount; the one we fix 3 engine screws too.
Thanks,
Mario
I read that your plane has the K45TP, so I am hoping you can assist with this issue I seem to be having.
I have started to mount my K45TP and for some reason the black plate of my prop is falling at least 5mm short of the leading edge of the colwing. If you've encounted this too, can I ask to provide your workaround please?
Fyi... my prop back plate is protruding 52mm from the plywood engine mount; the one we fix 3 engine screws too.
Thanks,
Mario
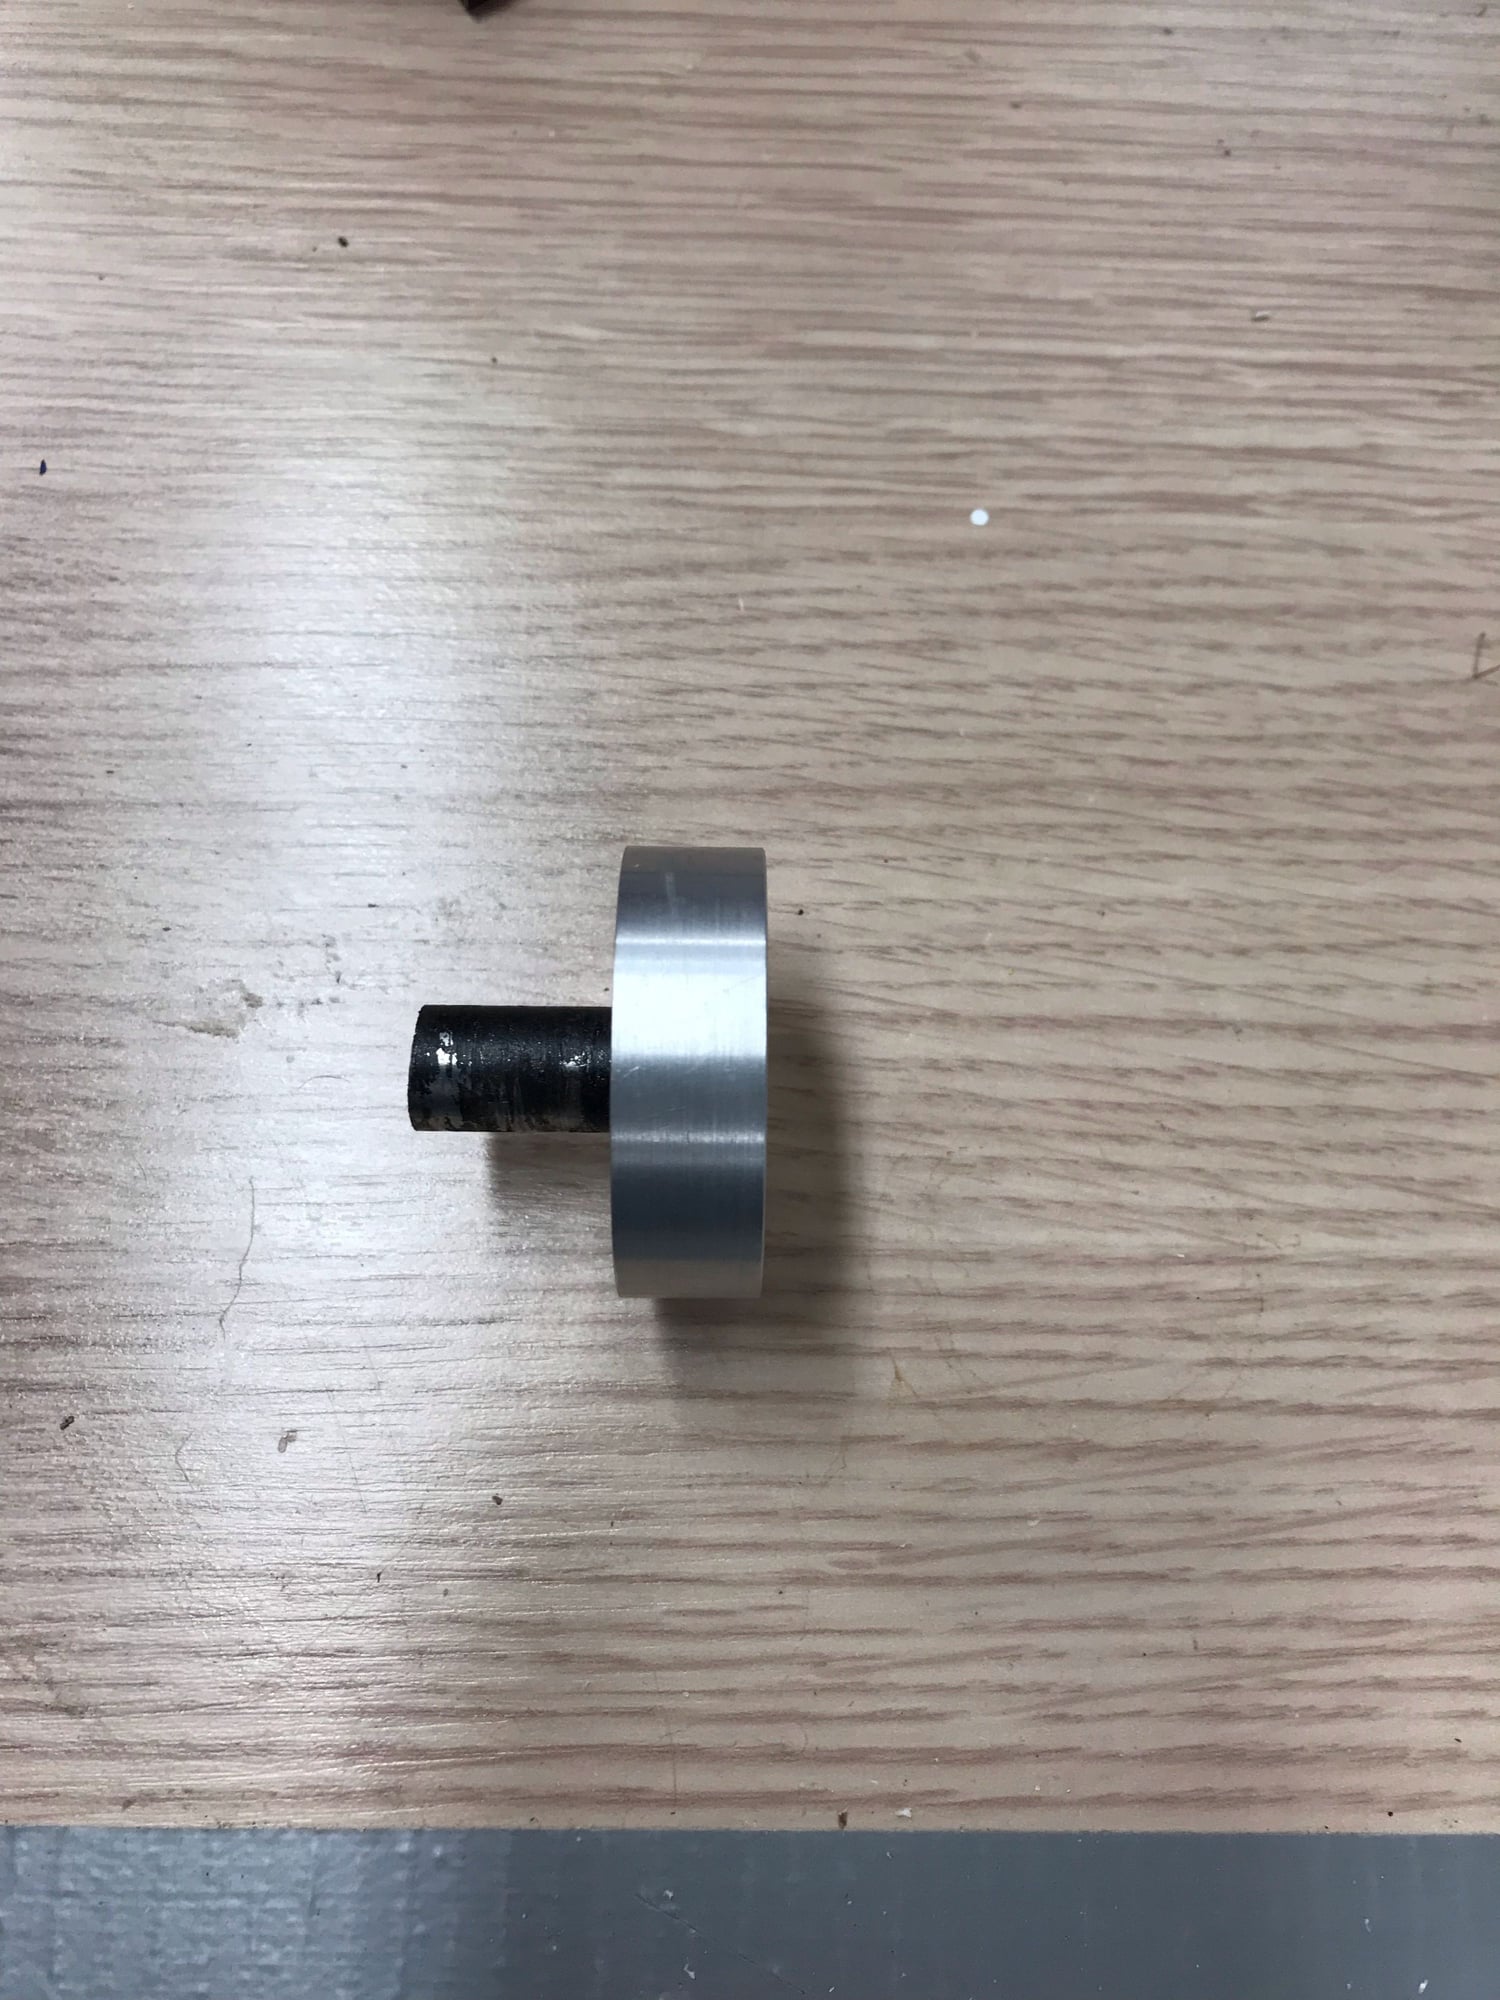
JMB jets has those here is a picture:
 12-11-2018, 10:08 AM
#67
Hi Digitech,
I am about to fix the Stab and Rudder, and was wondering how you approached this on your plane. That is, were the…
-Stabs fixed by a screw in the very small opening (rectangular opening of 0.5cm X 1.0cm on the underside of each panel) and going through the Stab Tube?
-Rudder fixed by:
I am about to fix the Stab and Rudder, and was wondering how you approached this on your plane. That is, were the…
-Stabs fixed by a screw in the very small opening (rectangular opening of 0.5cm X 1.0cm on the underside of each panel) and going through the Stab Tube?
-Rudder fixed by:
- gluing the vertical tube to the fuselage, and
- a screw at the base of the rudder and though the vertical tube (I would need to make a hole in the dorsal fin to accommodate this), and
- a screw at the base forward of the dorsal fin (where see clearly that we are to fix a screw to the protruding fiberglass mount on the fuselage)?
12-12-2018, 02:09 AM
#68
Hi Digitech,
I am about to fix the Stab and Rudder, and was wondering how you approached this on your plane. That is, were the�
-Stabs fixed by a screw in the very small opening (rectangular opening of 0.5cm X 1.0cm on the underside of each panel) and going through the Stab Tube?
-Rudder fixed by:
I am about to fix the Stab and Rudder, and was wondering how you approached this on your plane. That is, were the�
-Stabs fixed by a screw in the very small opening (rectangular opening of 0.5cm X 1.0cm on the underside of each panel) and going through the Stab Tube?
-Rudder fixed by:
- gluing the vertical tube to the fuselage, and
- a screw at the base of the rudder and though the vertical tube (I would need to make a hole in the dorsal fin to accommodate this), and
- a screw at the base forward of the dorsal fin (where see clearly that we are to fix a screw to the protruding fiberglass mount on the fuselage)?
Hi Mario
i glued the rudder onto the fuselage.
the stabs i used the small screws , to hold them on the tubes.
the front of the elevators i made a small carbon tube that goes into the fuselage.
dont worry about it , it flys extremely light , there is not much force on the rudder or elevators.
03-01-2019, 07:09 AM
#71
I am still really enjoying this plane. Today I had my first bit of maintenance to carry out after about 25 flights from grass. The ply mount that holds the steering servo in place has broken loose. An easy fix but might be worth strengthening beforehand on other people�s models.
 03-01-2019, 09:39 AM
#73
do the same for the Main neill , they will go next ;-).
put a piece of carbon on top and glue all around also in the wheel wells..
Fantastic piece of kit isnt it? you can fly anywhere on a dime.
light , responsive and ultimate wheelys! if the CG is right mine was just behind the tube ;-)
put a piece of carbon on top and glue all around also in the wheel wells..
Fantastic piece of kit isnt it? you can fly anywhere on a dime.
light , responsive and ultimate wheelys! if the CG is right mine was just behind the tube ;-)
04-22-2019, 05:45 PM
#75
Guys, May I ask where you've set the CG (ex.: on the tube spar, or on the Main Gear for wheelies)?
BTW, this is one beast of a plane. Just to assemble this plane alone is a challenge. And no, I have not even started the engine yet (spring finally arrived this weekend)
Oh, I nearly forgot. I did see your thread on the Landing Gr. I reinforced the Servo mount during the build. I will monitor the Main Gr.