


Lanier RC 84" Stinger


 03-20-2024, 10:37 PM
#103

Thread Starter
Join Date: Jun 2008
Location: Perth WA, AUSTRALIA
Posts: 1,208
Likes: 0
Received 11 Likes
on
11 Posts
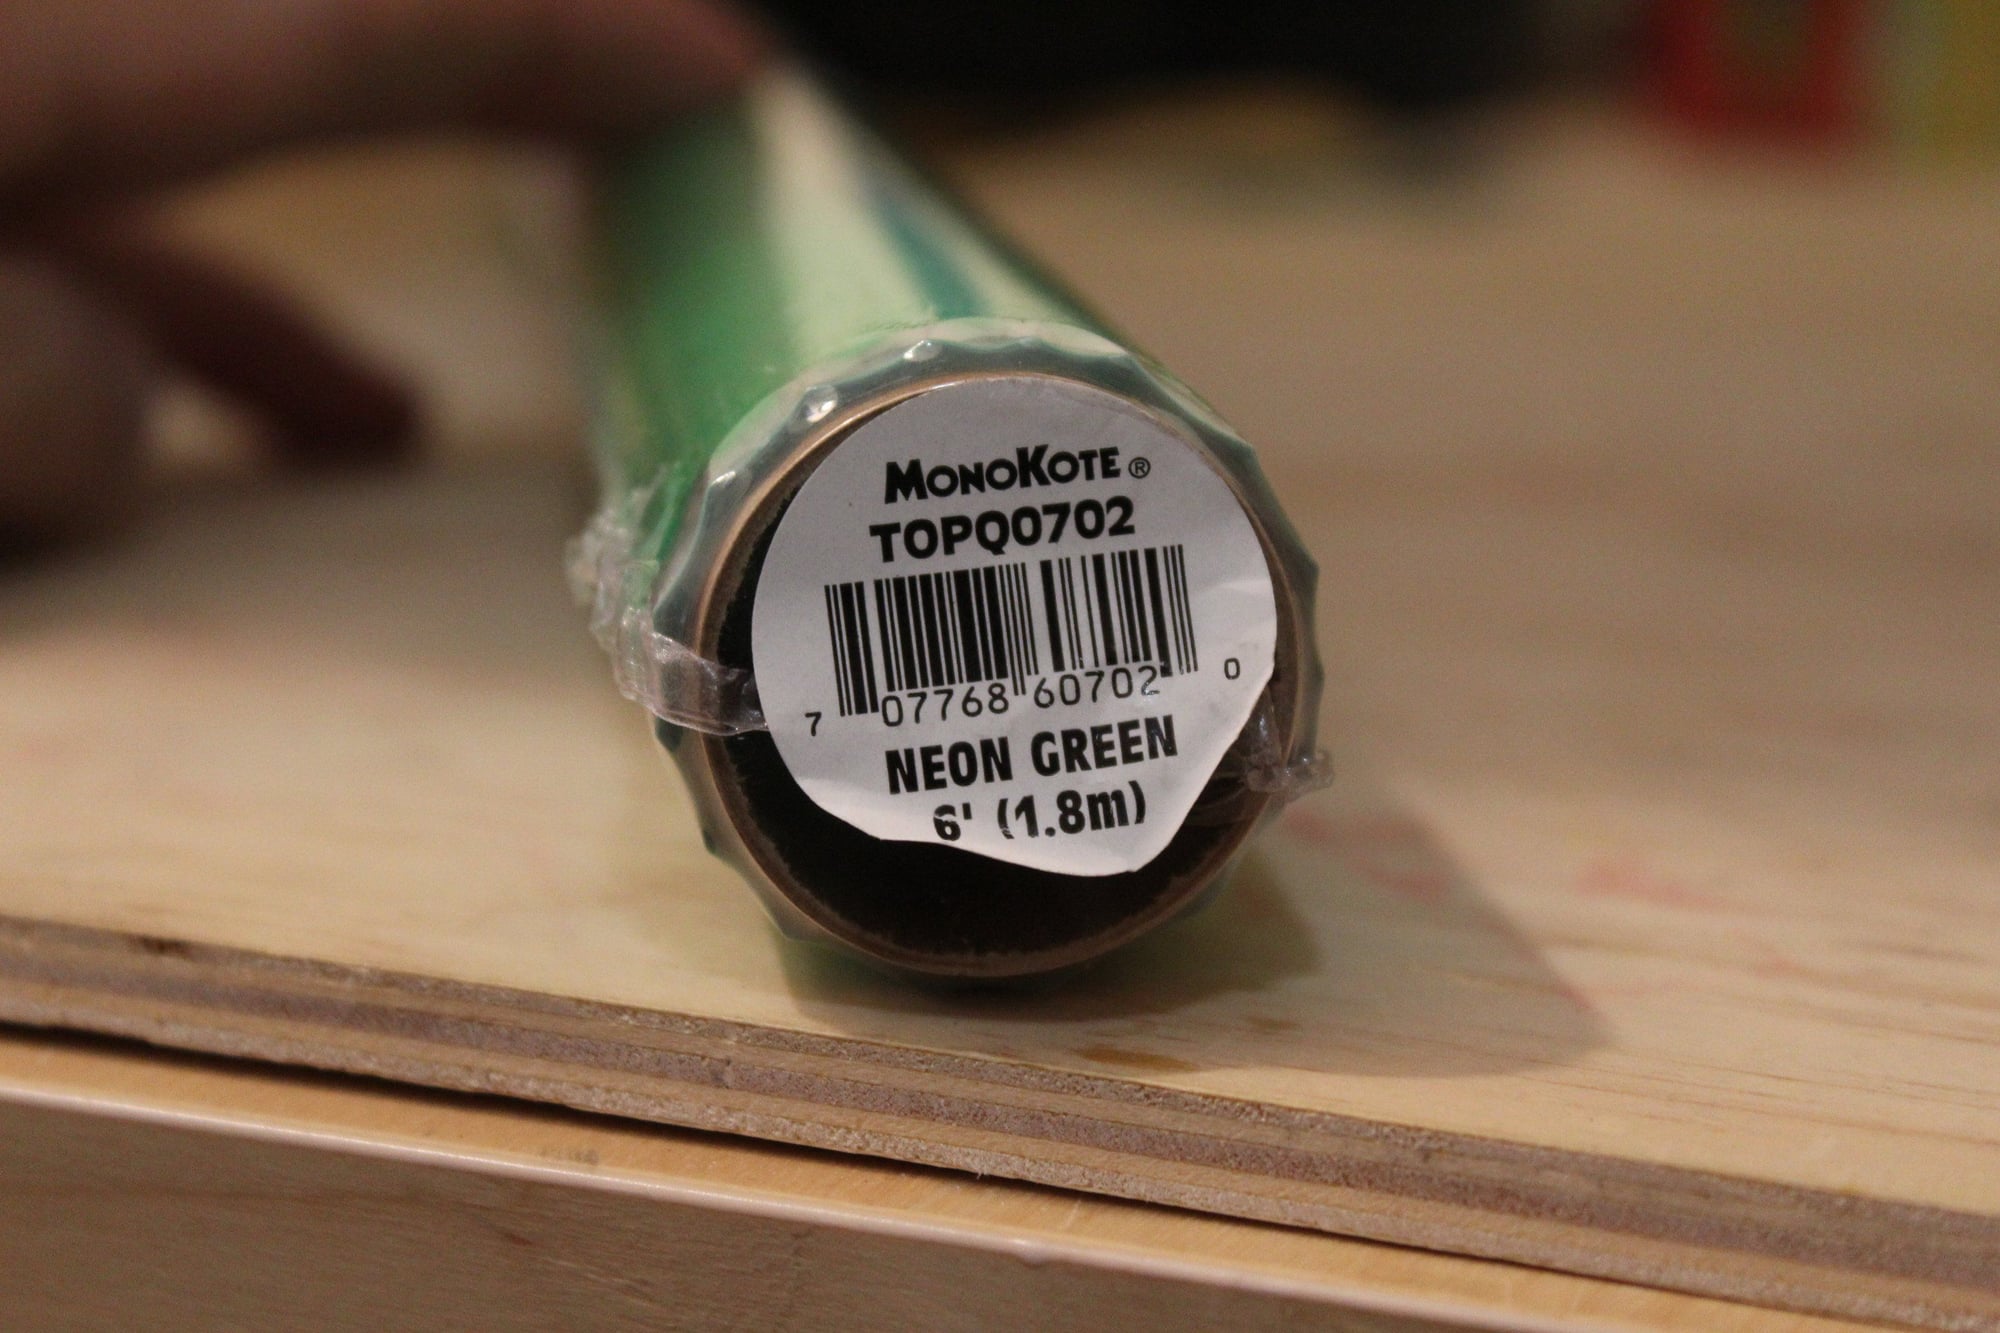
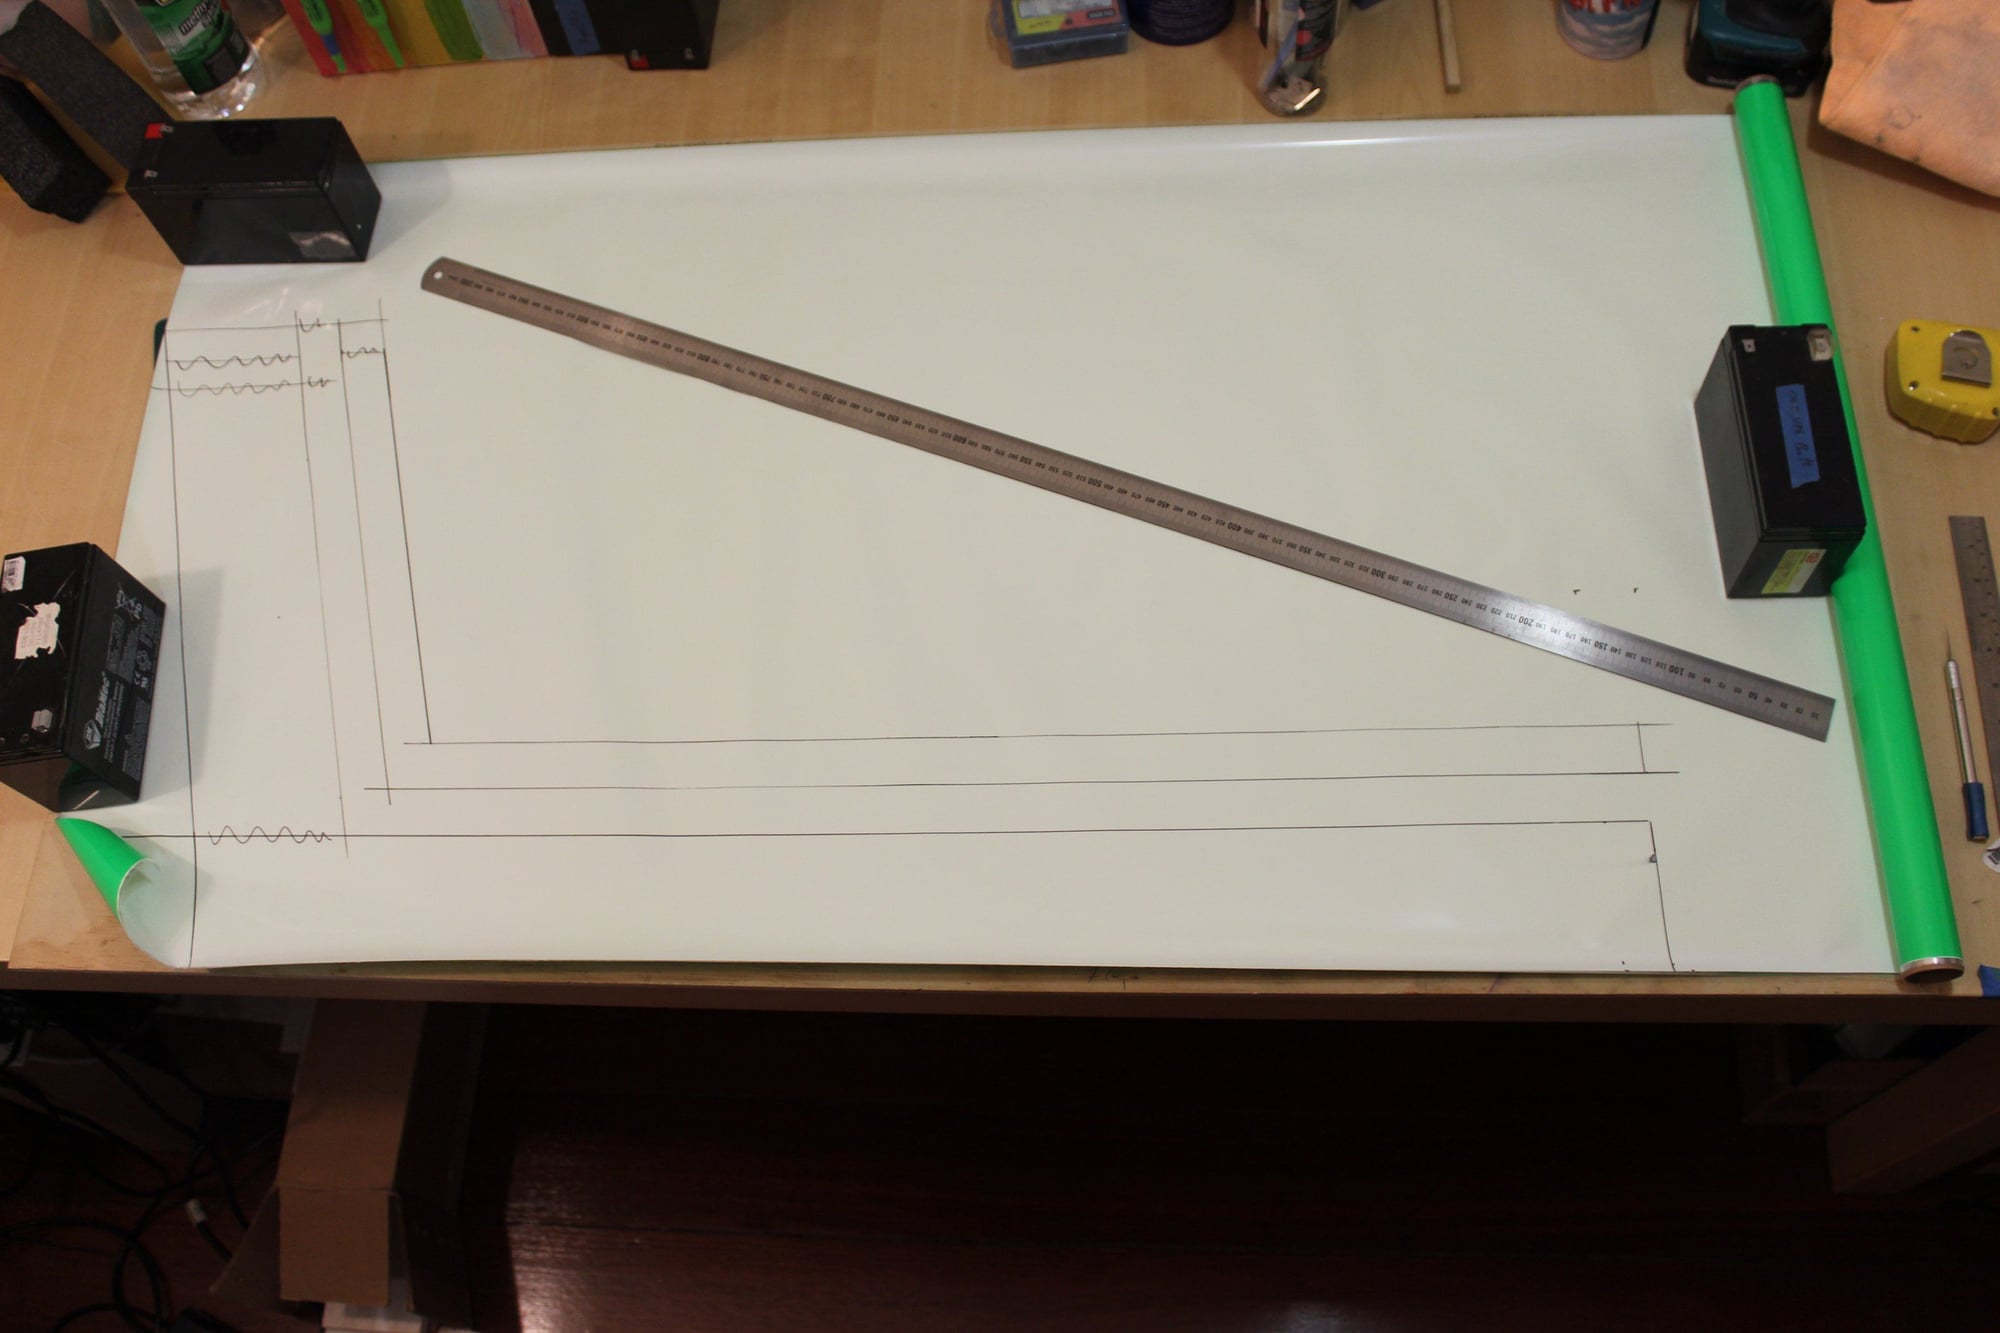
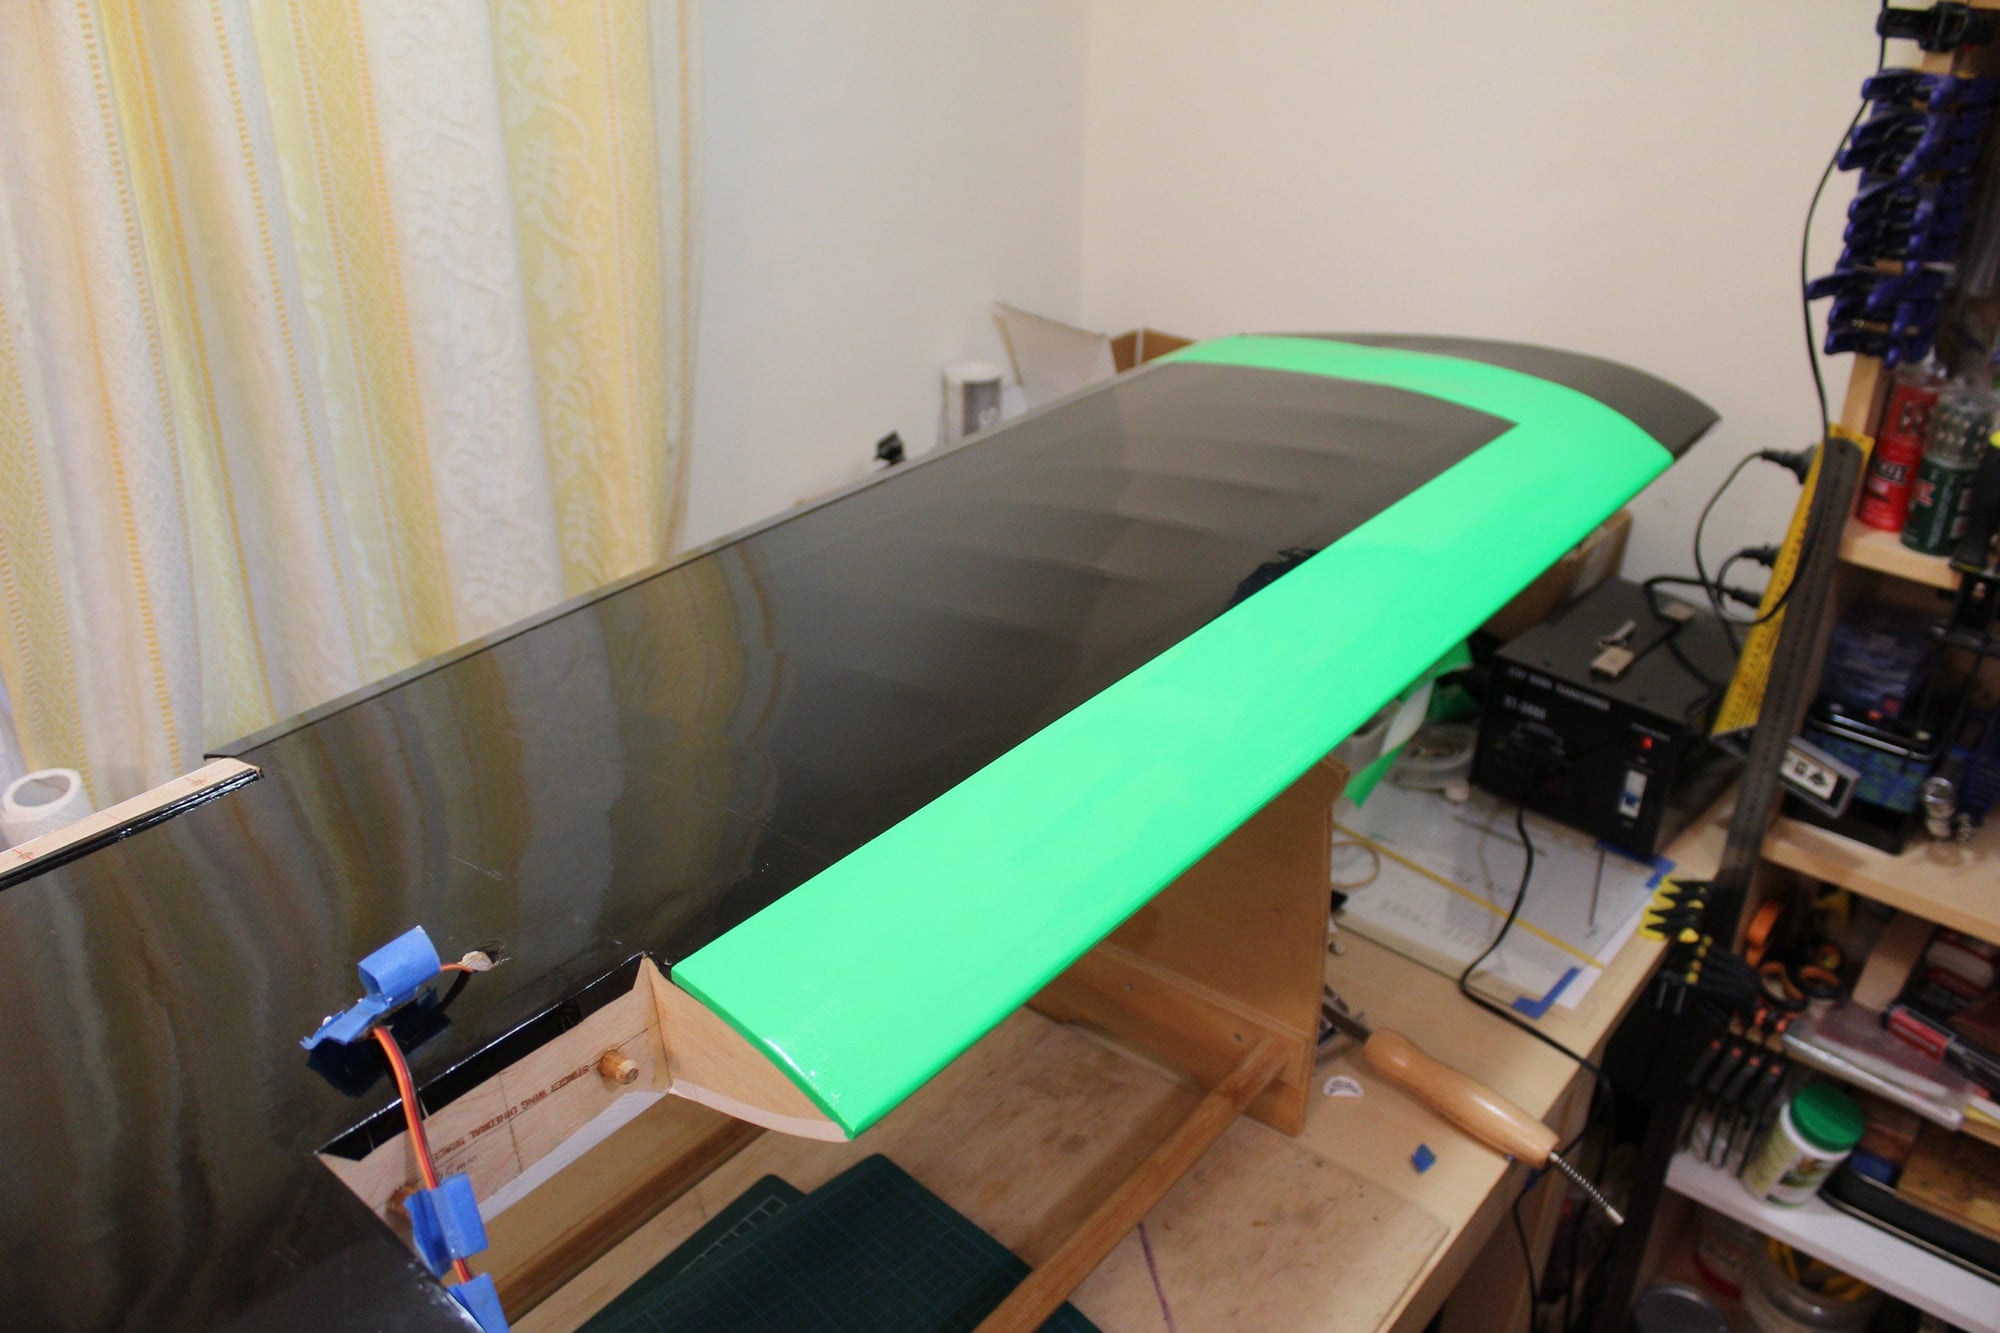
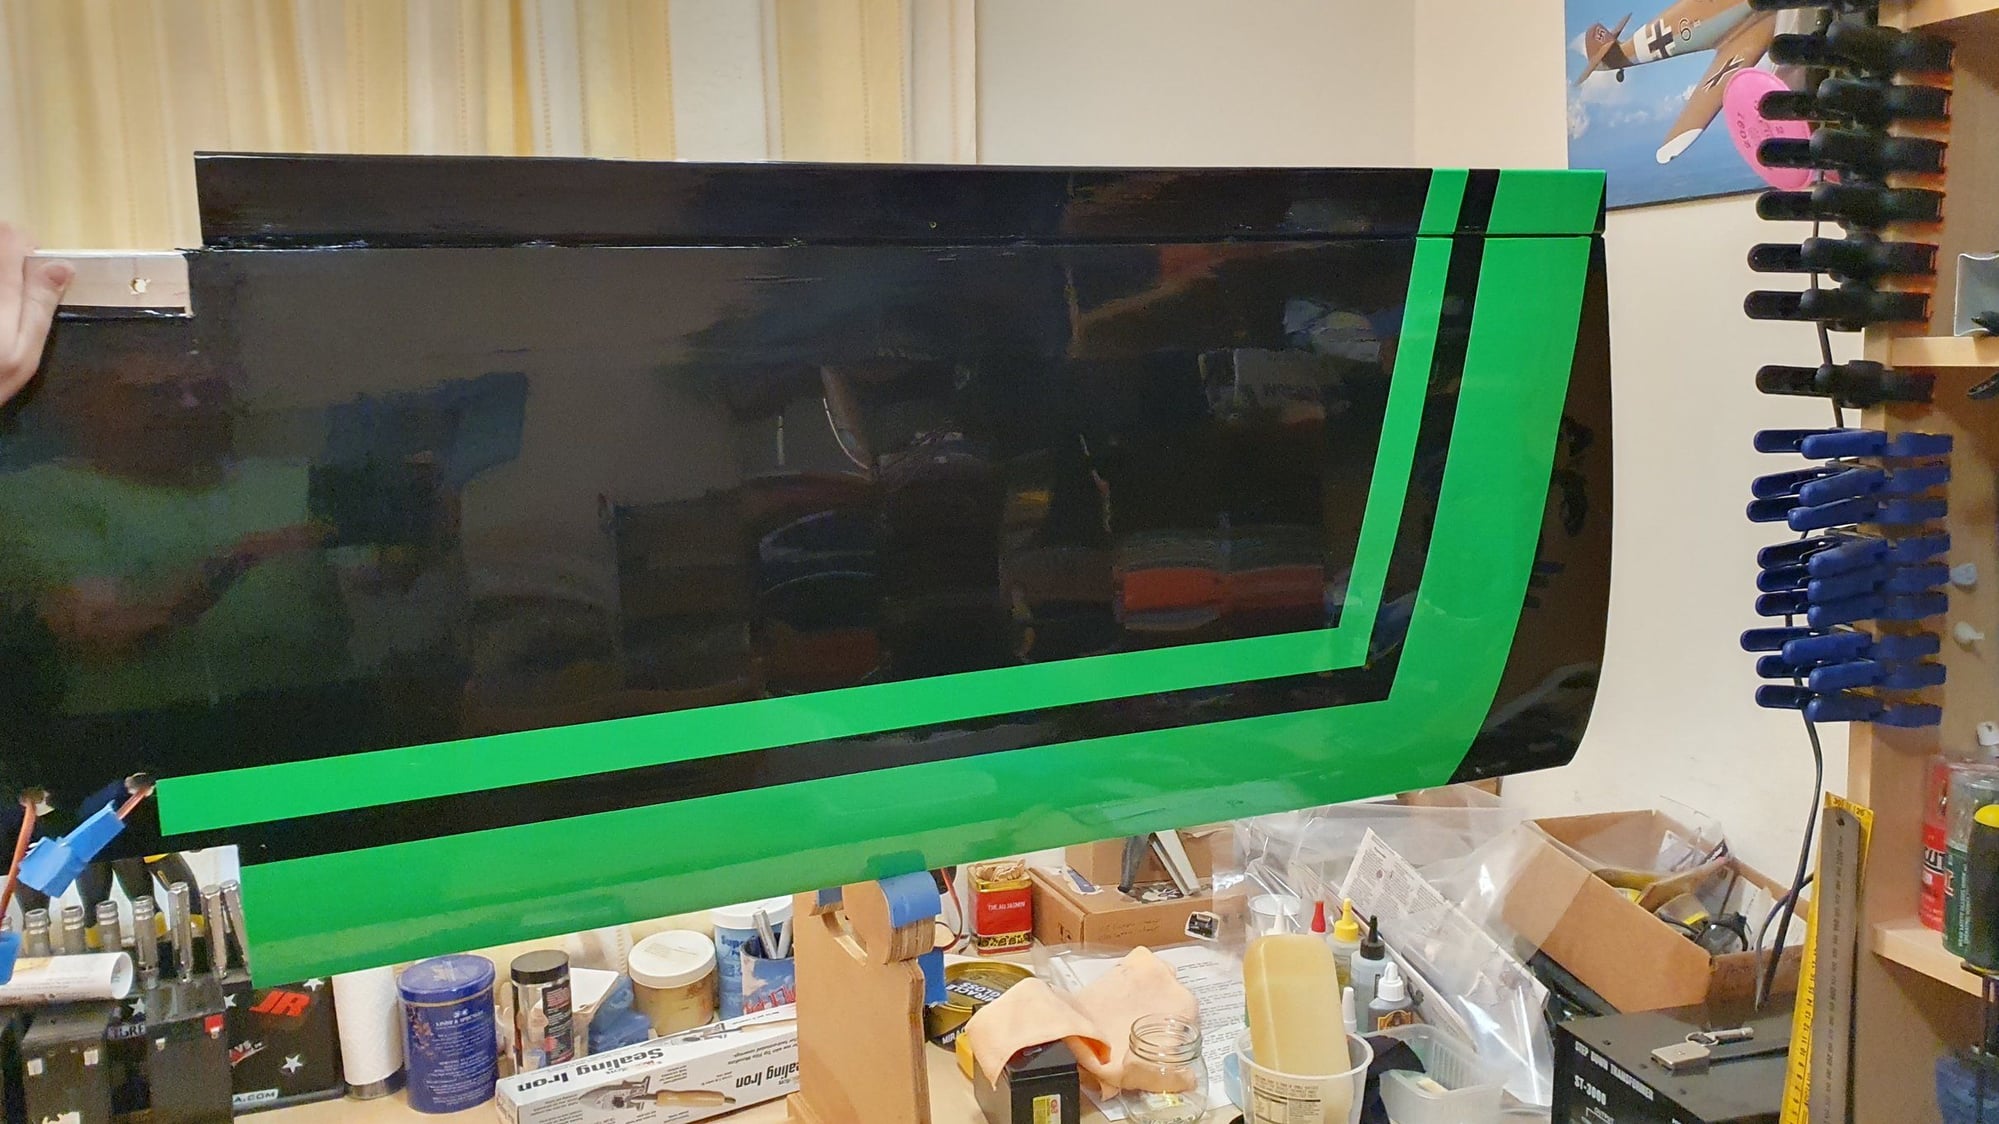
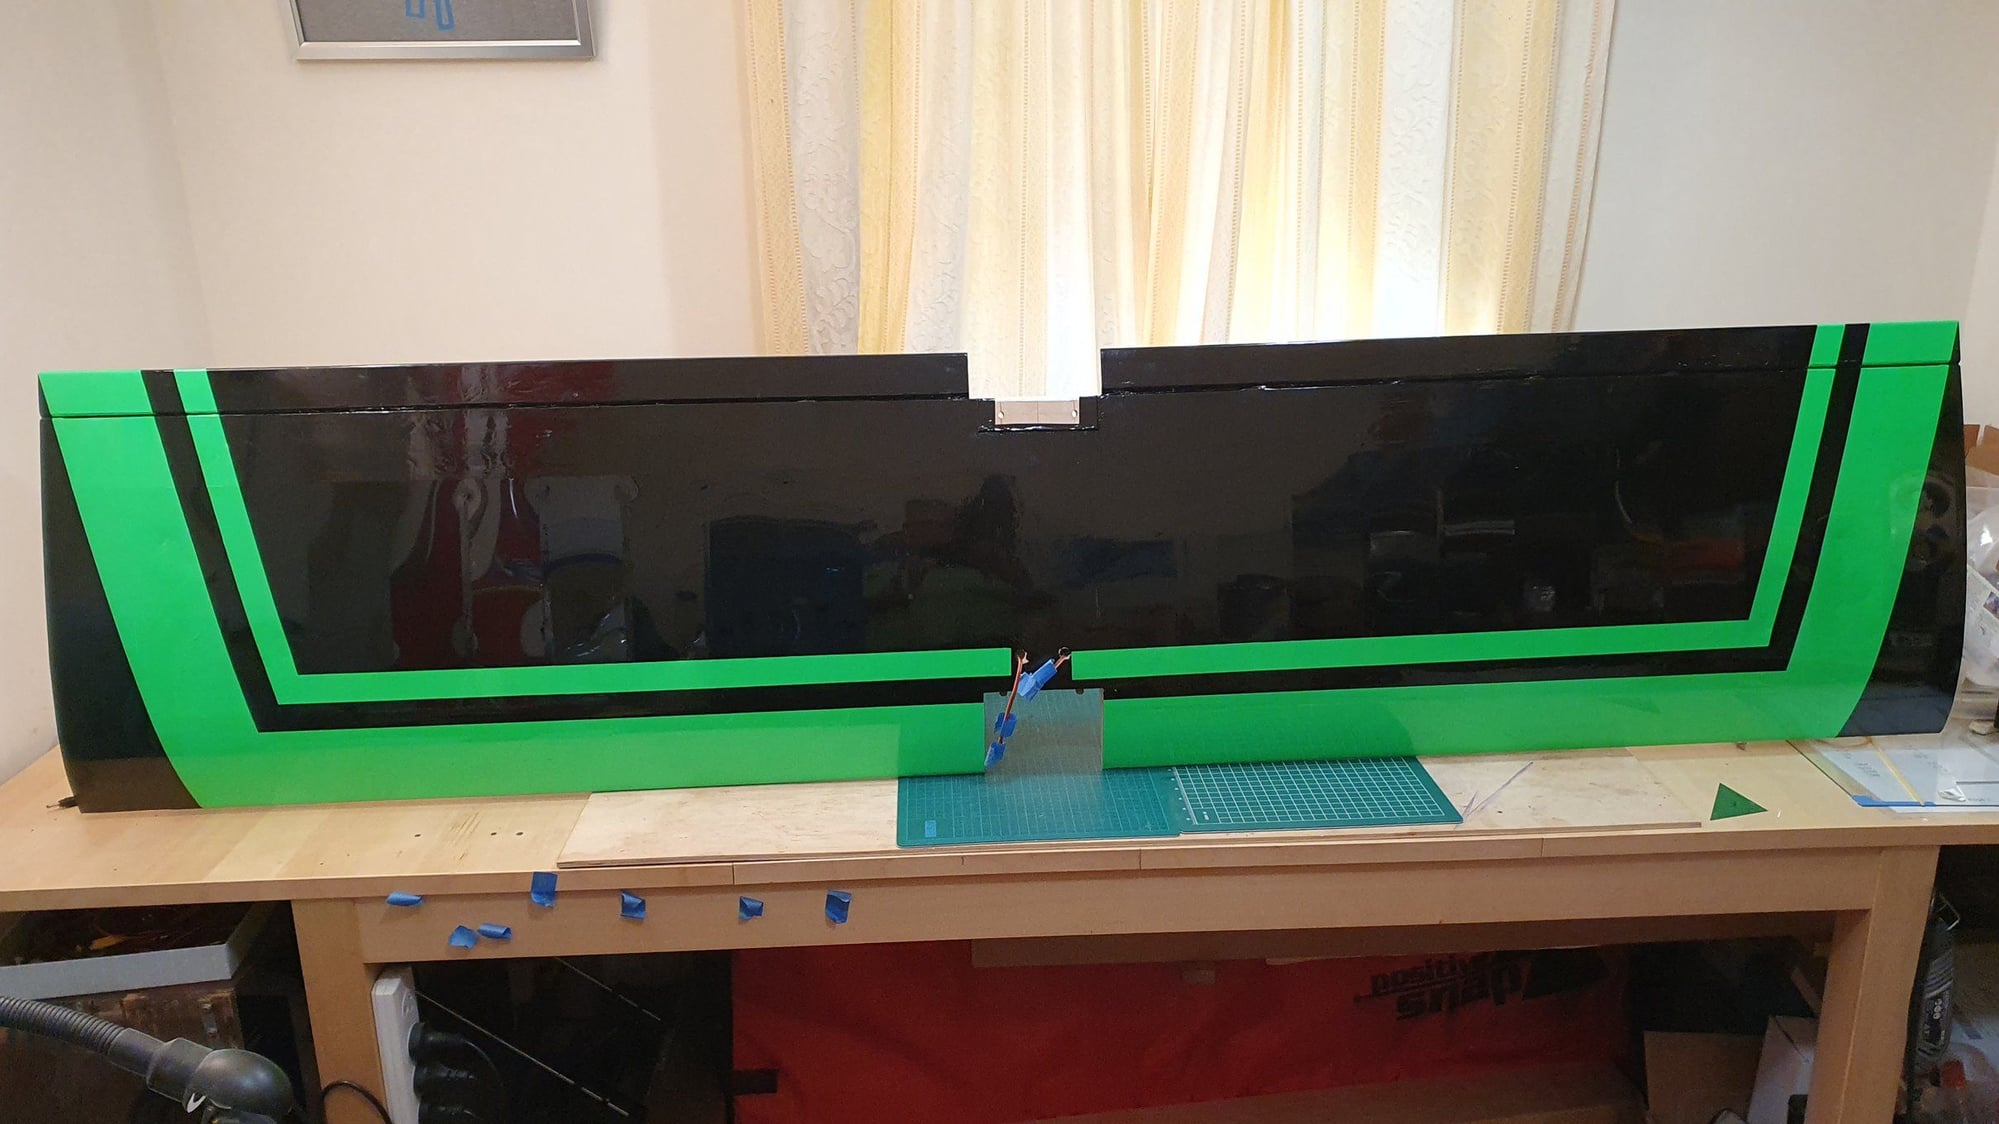
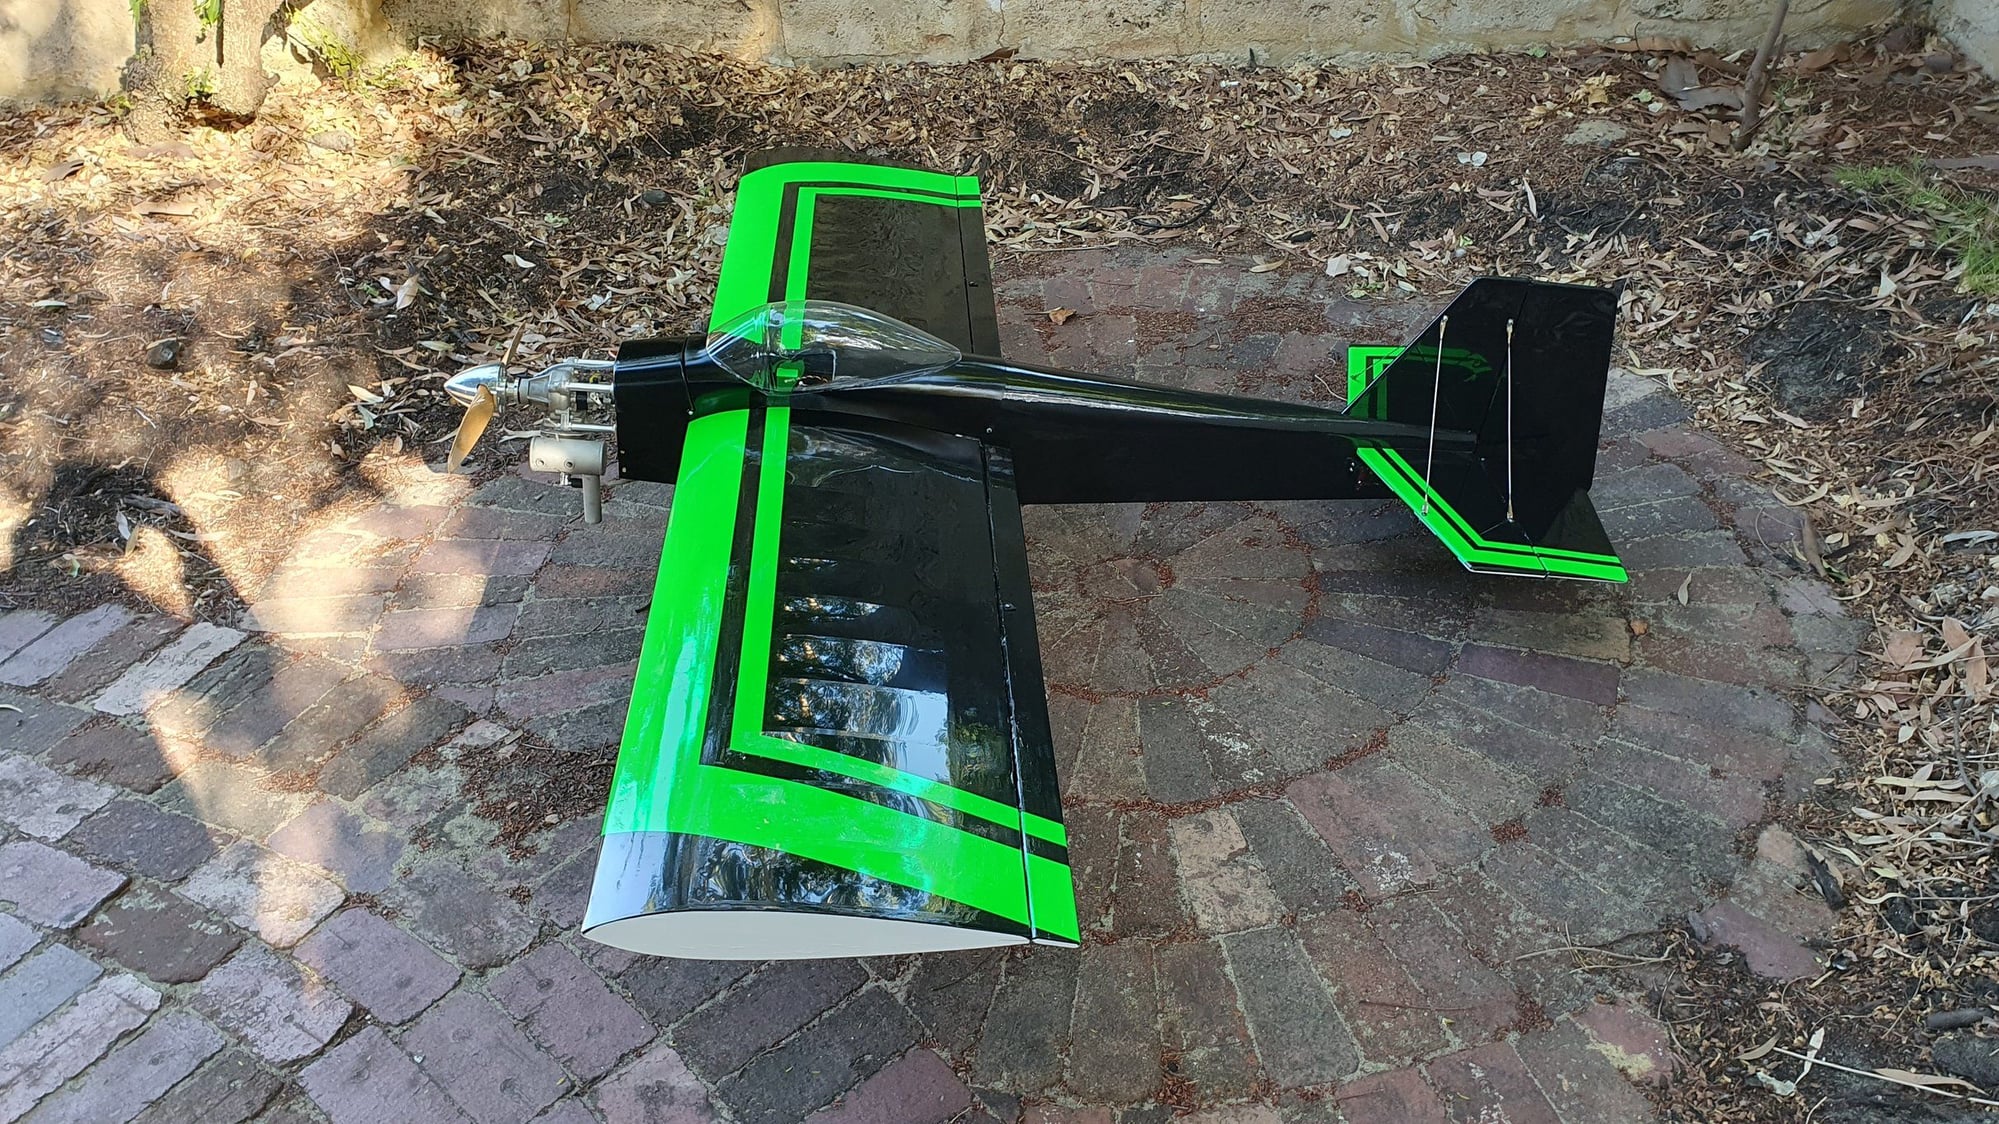
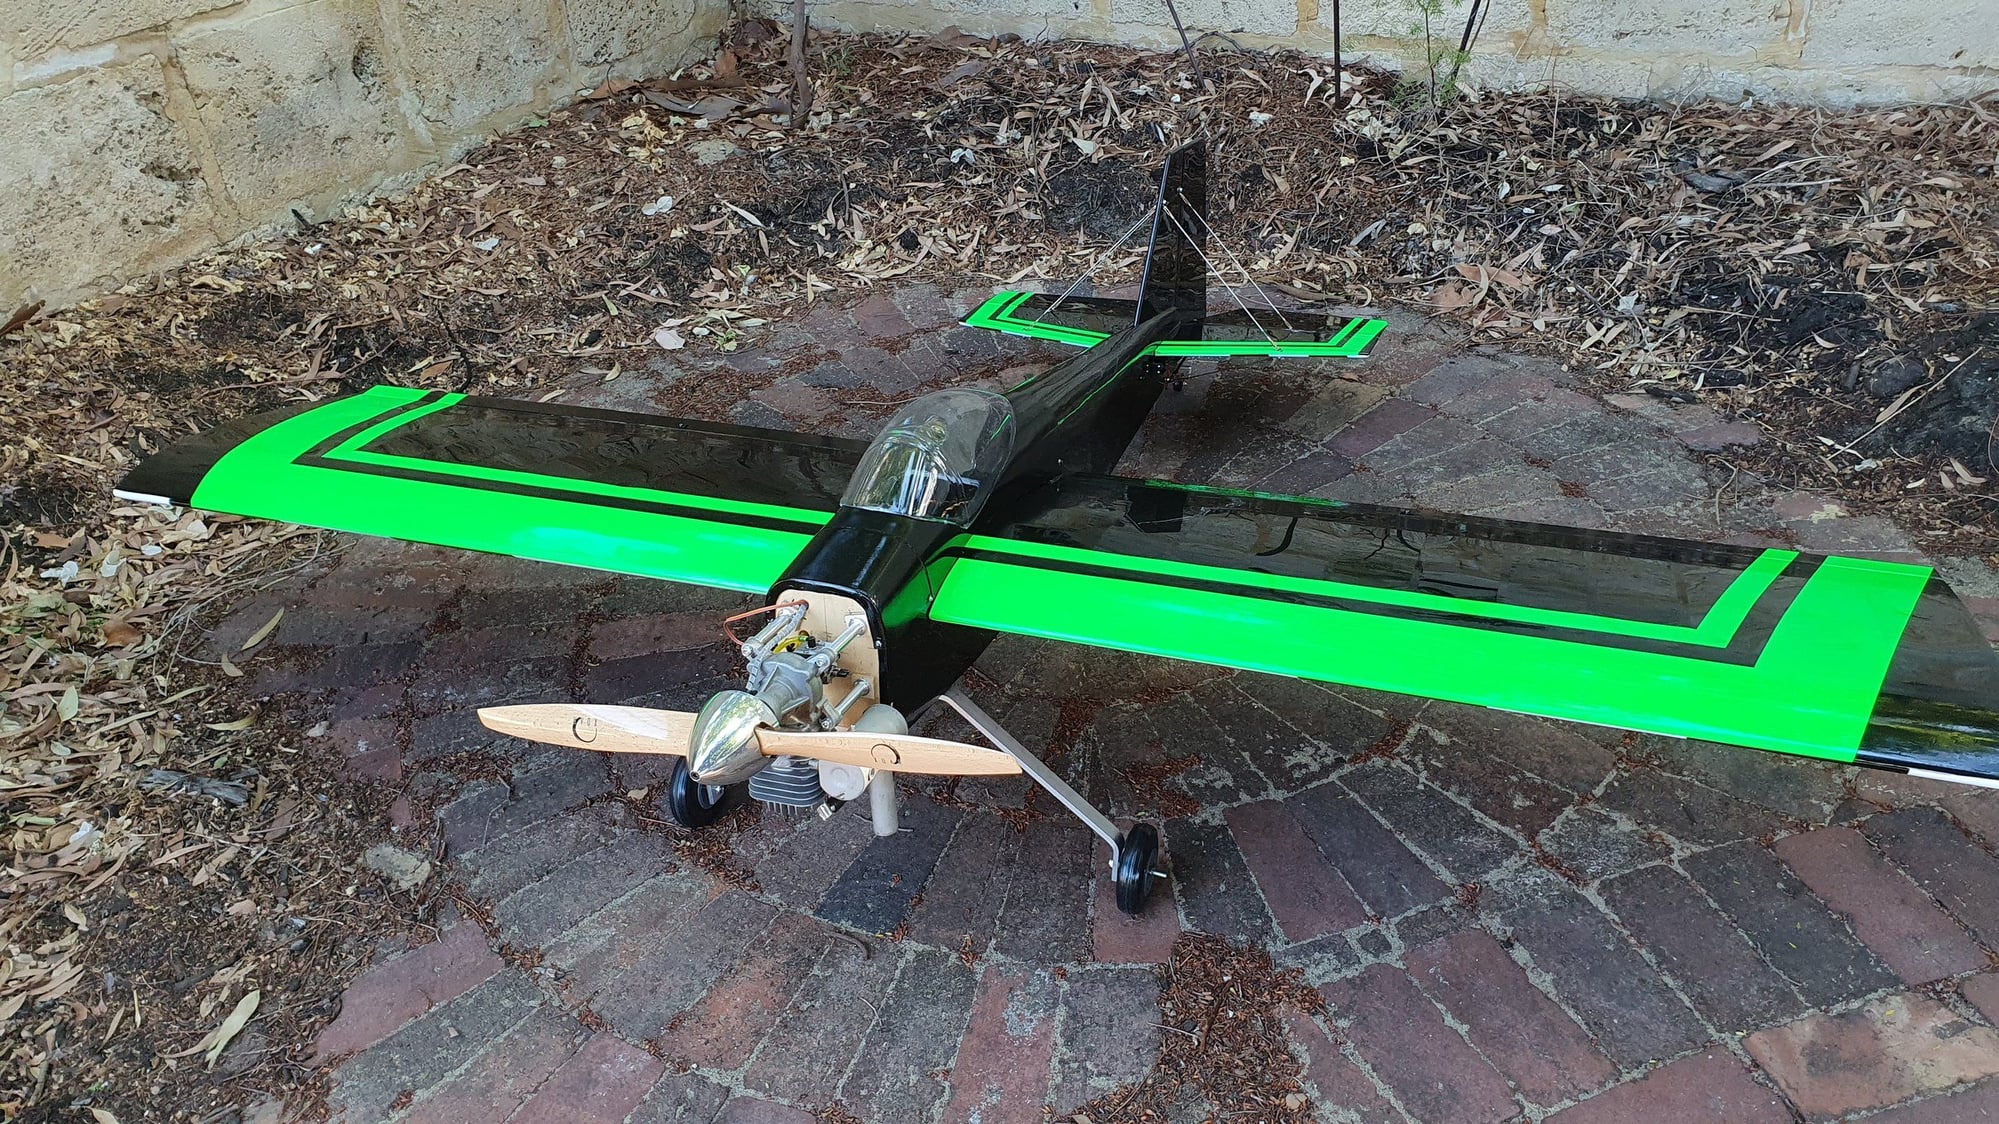
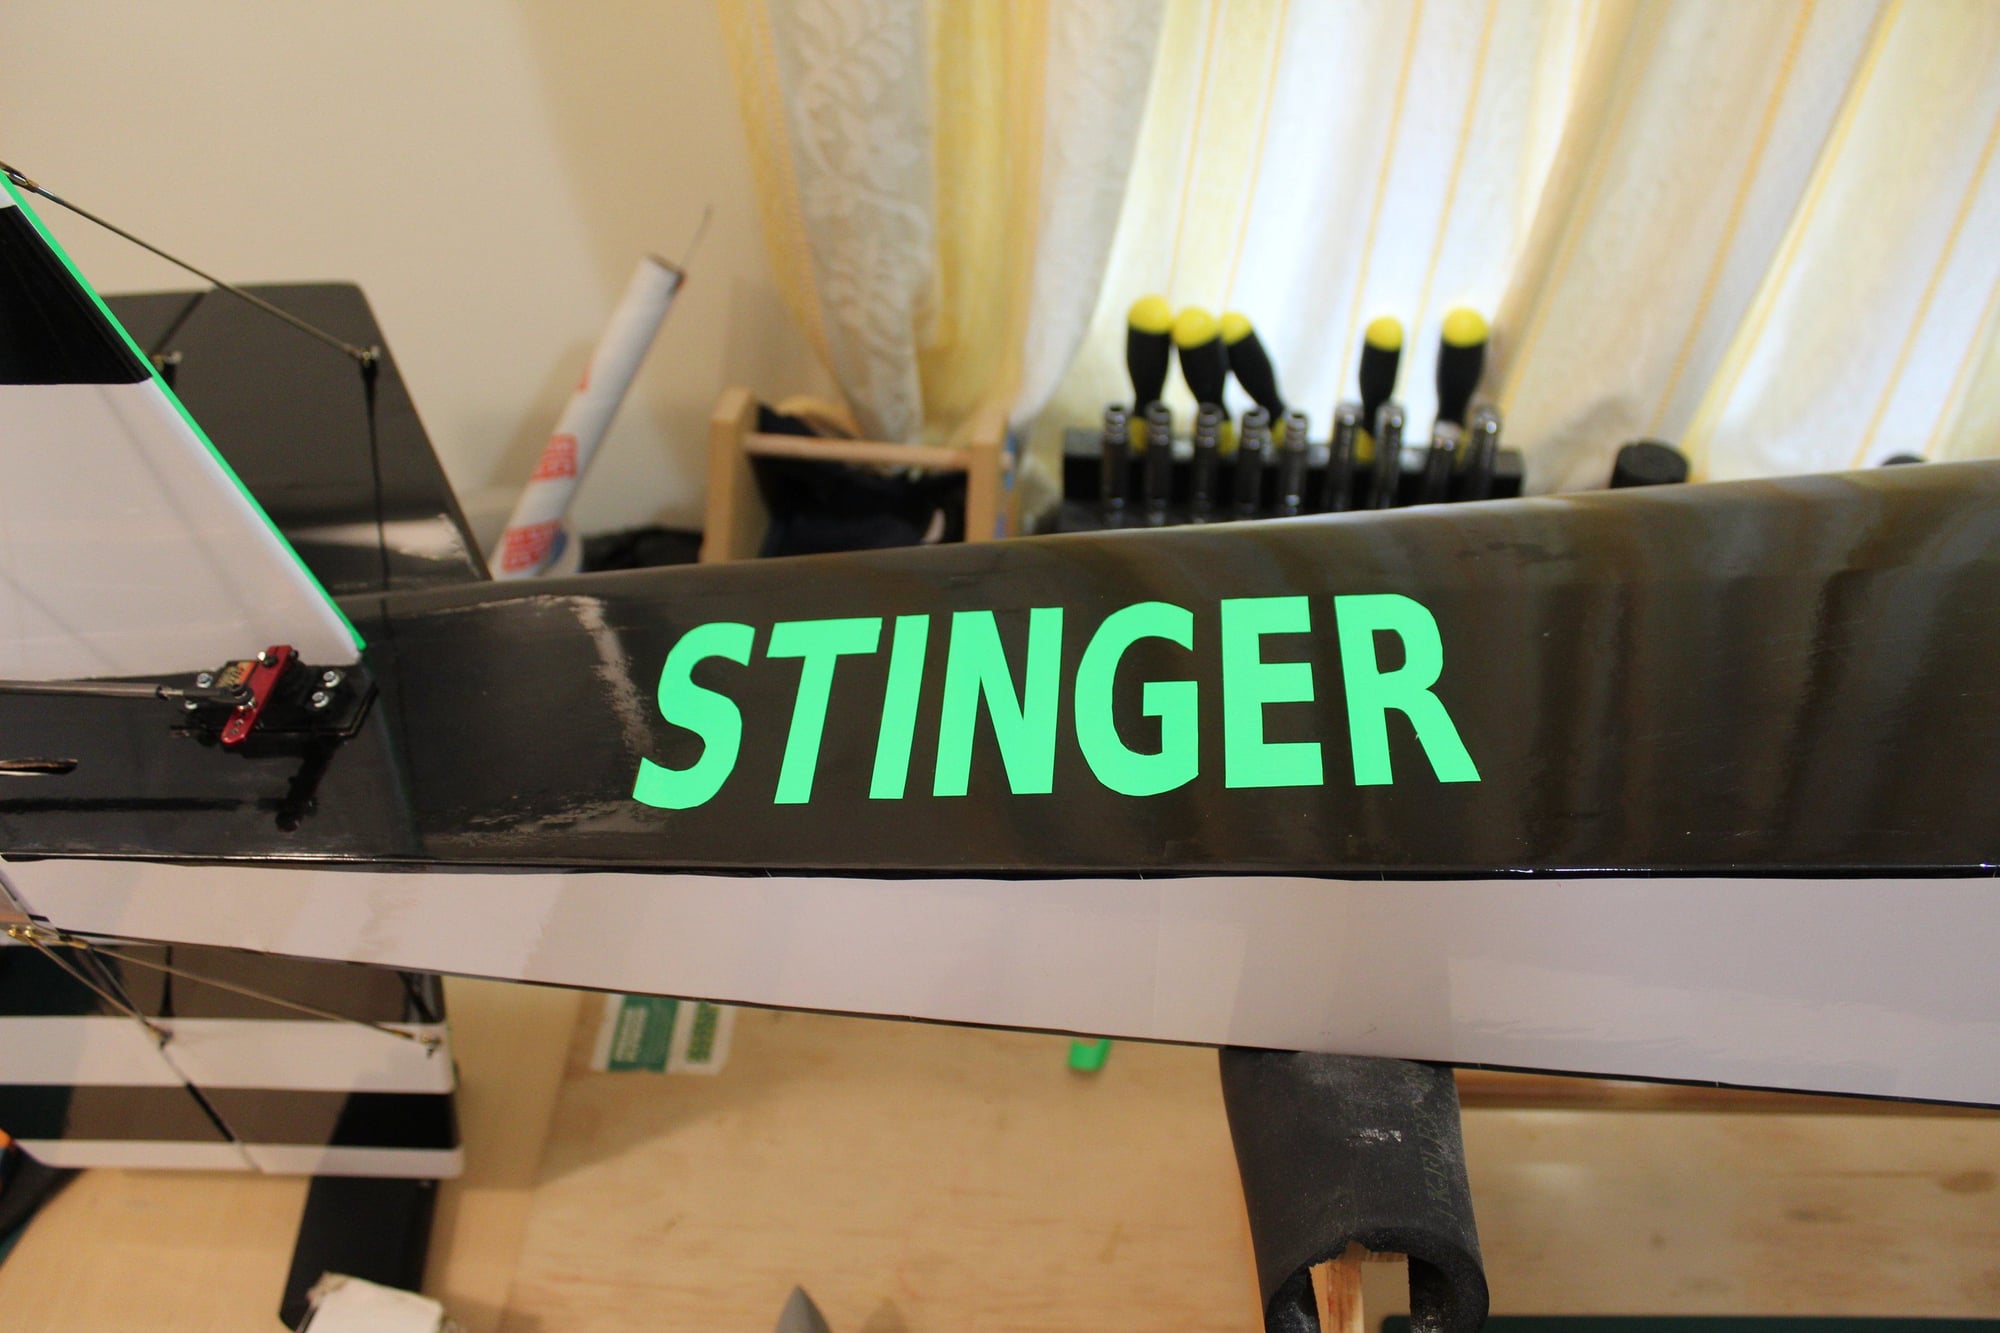
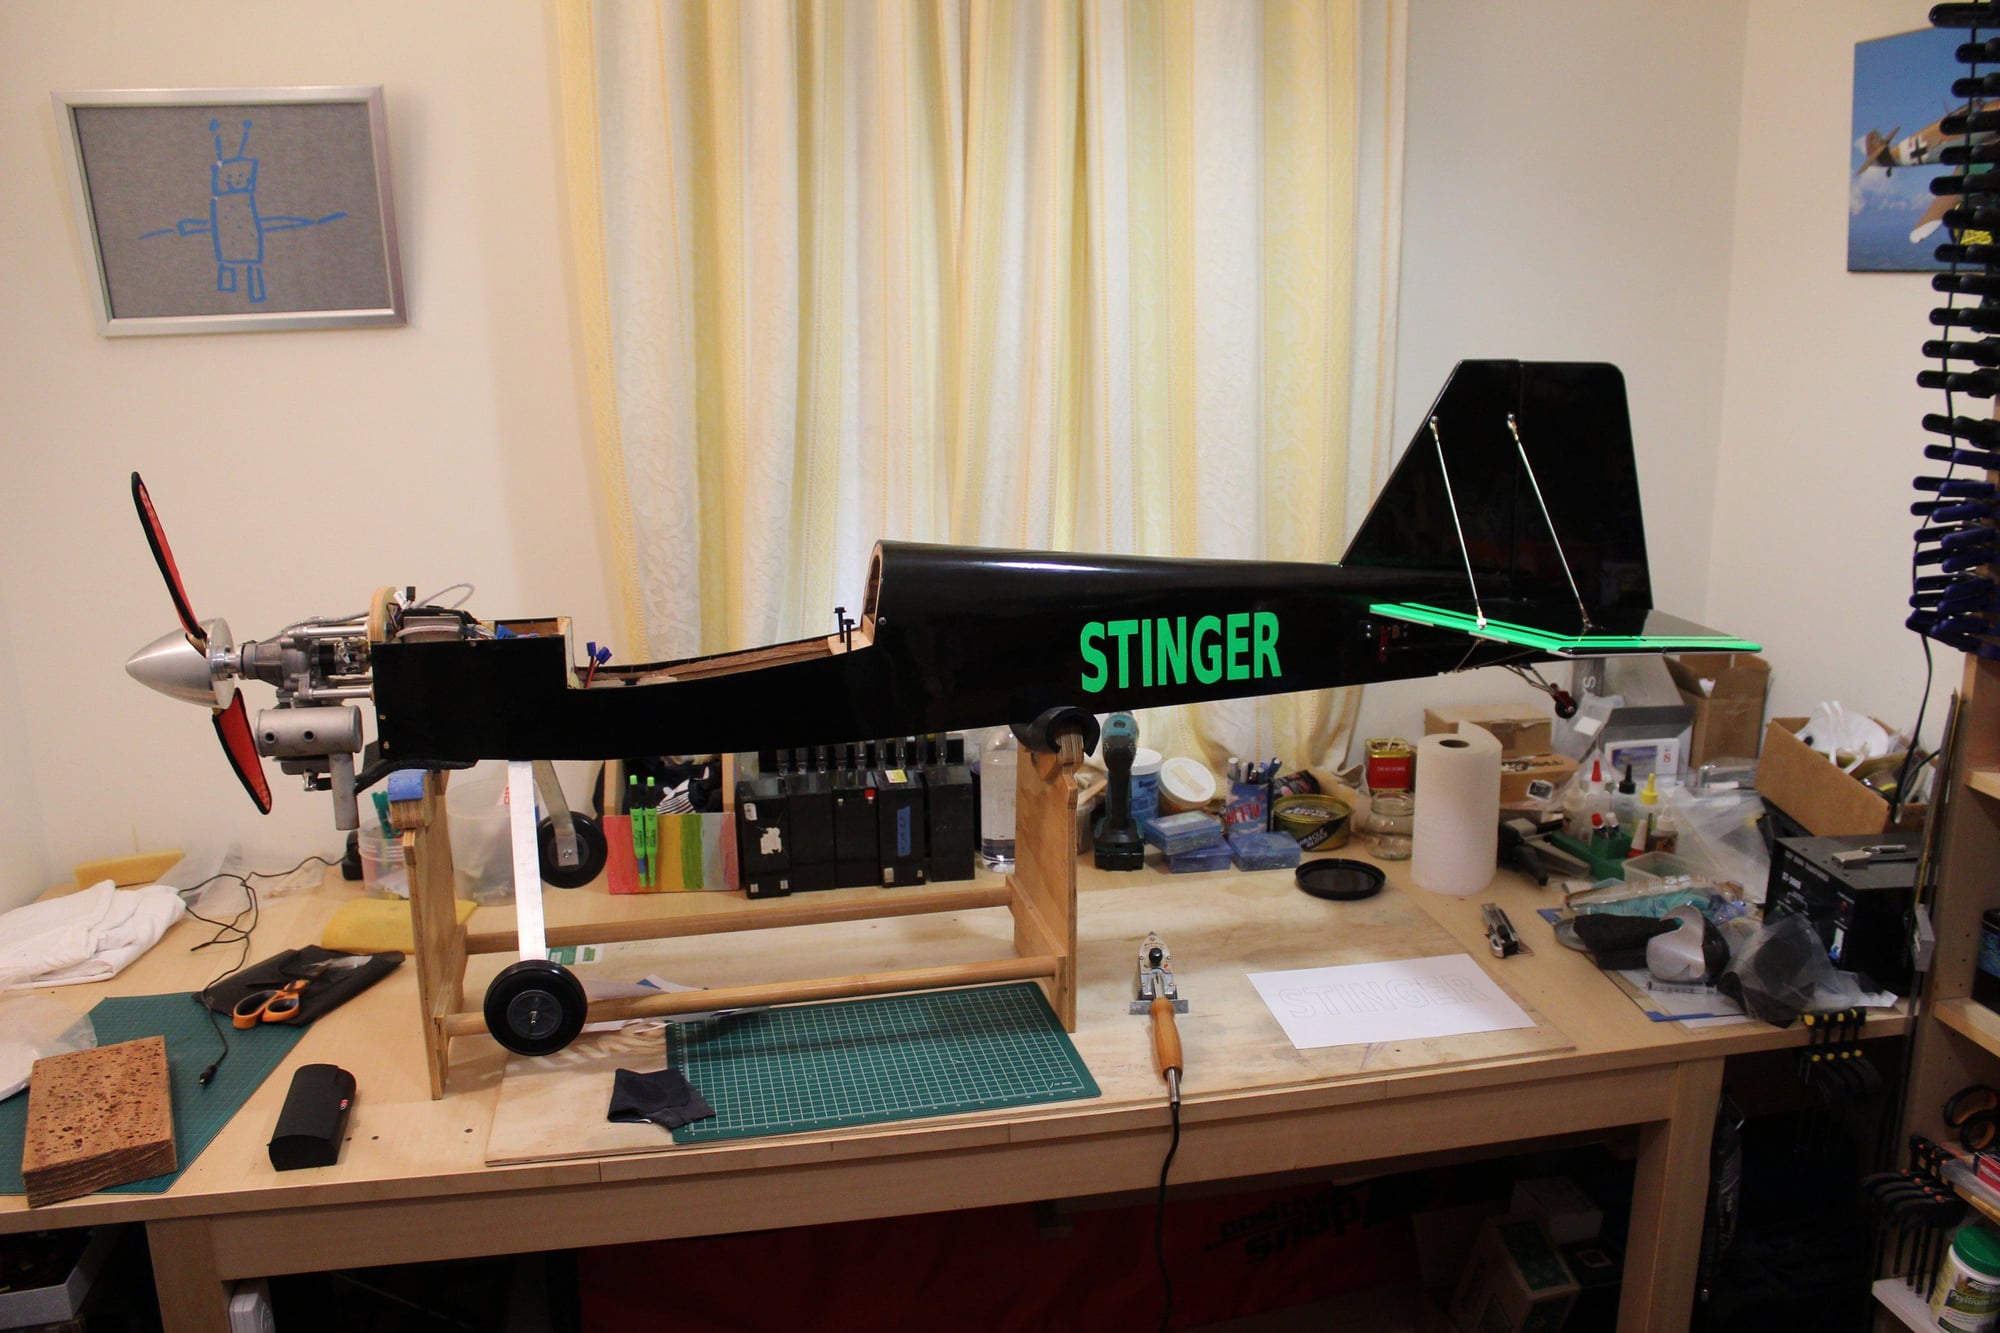
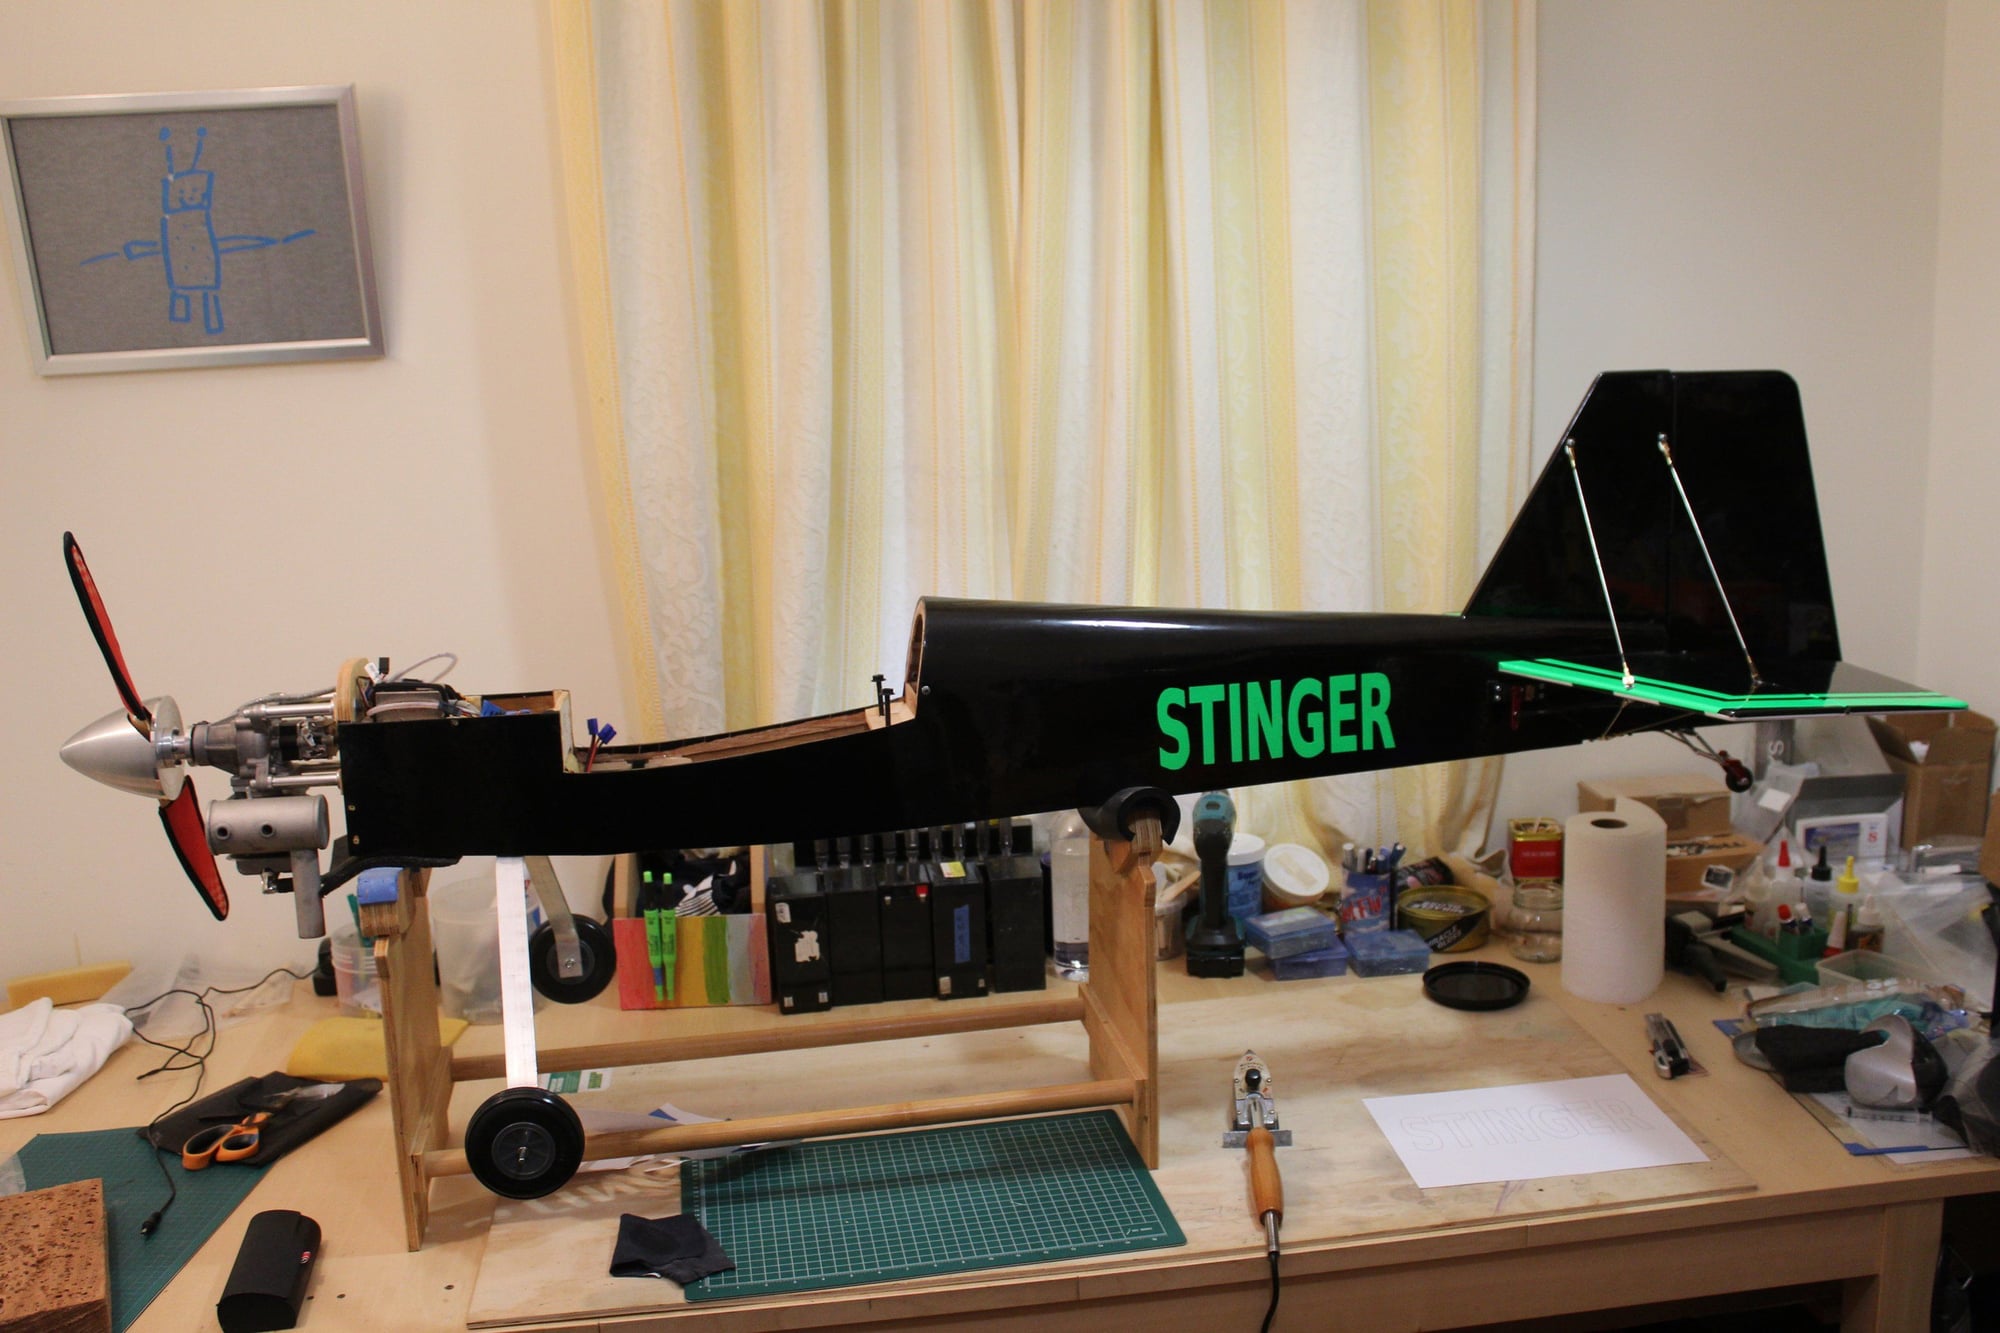
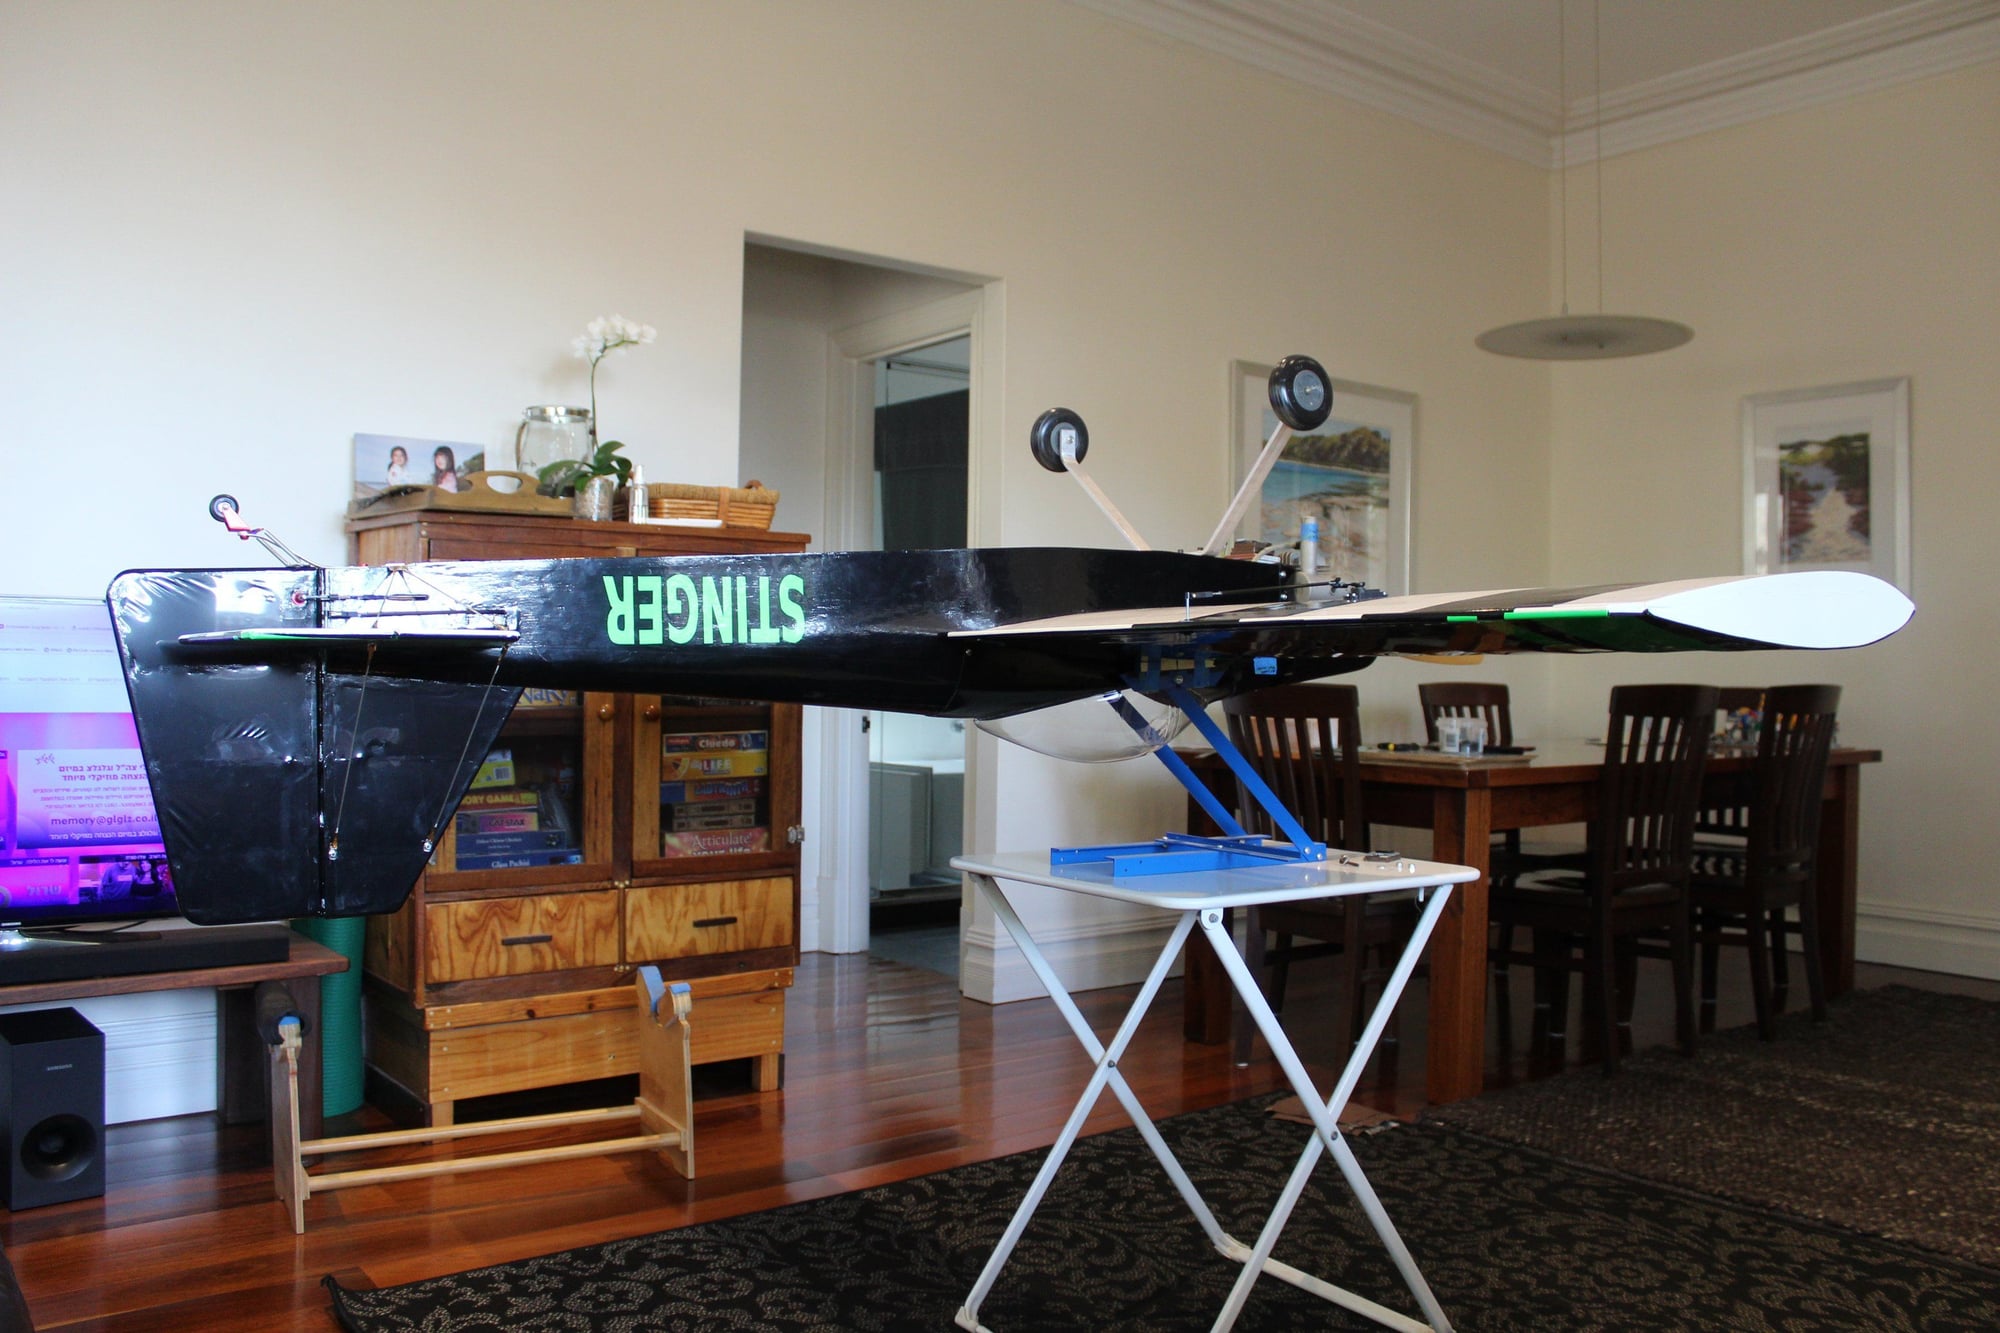
I managed to get hold on some neon green Monokote (I have never used the "neon" monokote before) and thought it will look good on the black. The camera is struggling to produce the correct colour, it is looking better in reality.
Cheers,
Eran
Cheers,
Eran
03-21-2024, 09:50 PM
#104
Thread Starter
Join Date: Jun 2008
Location: Perth WA, AUSTRALIA
Posts: 1,208
Likes: 0
Received 11 Likes
on
11 Posts
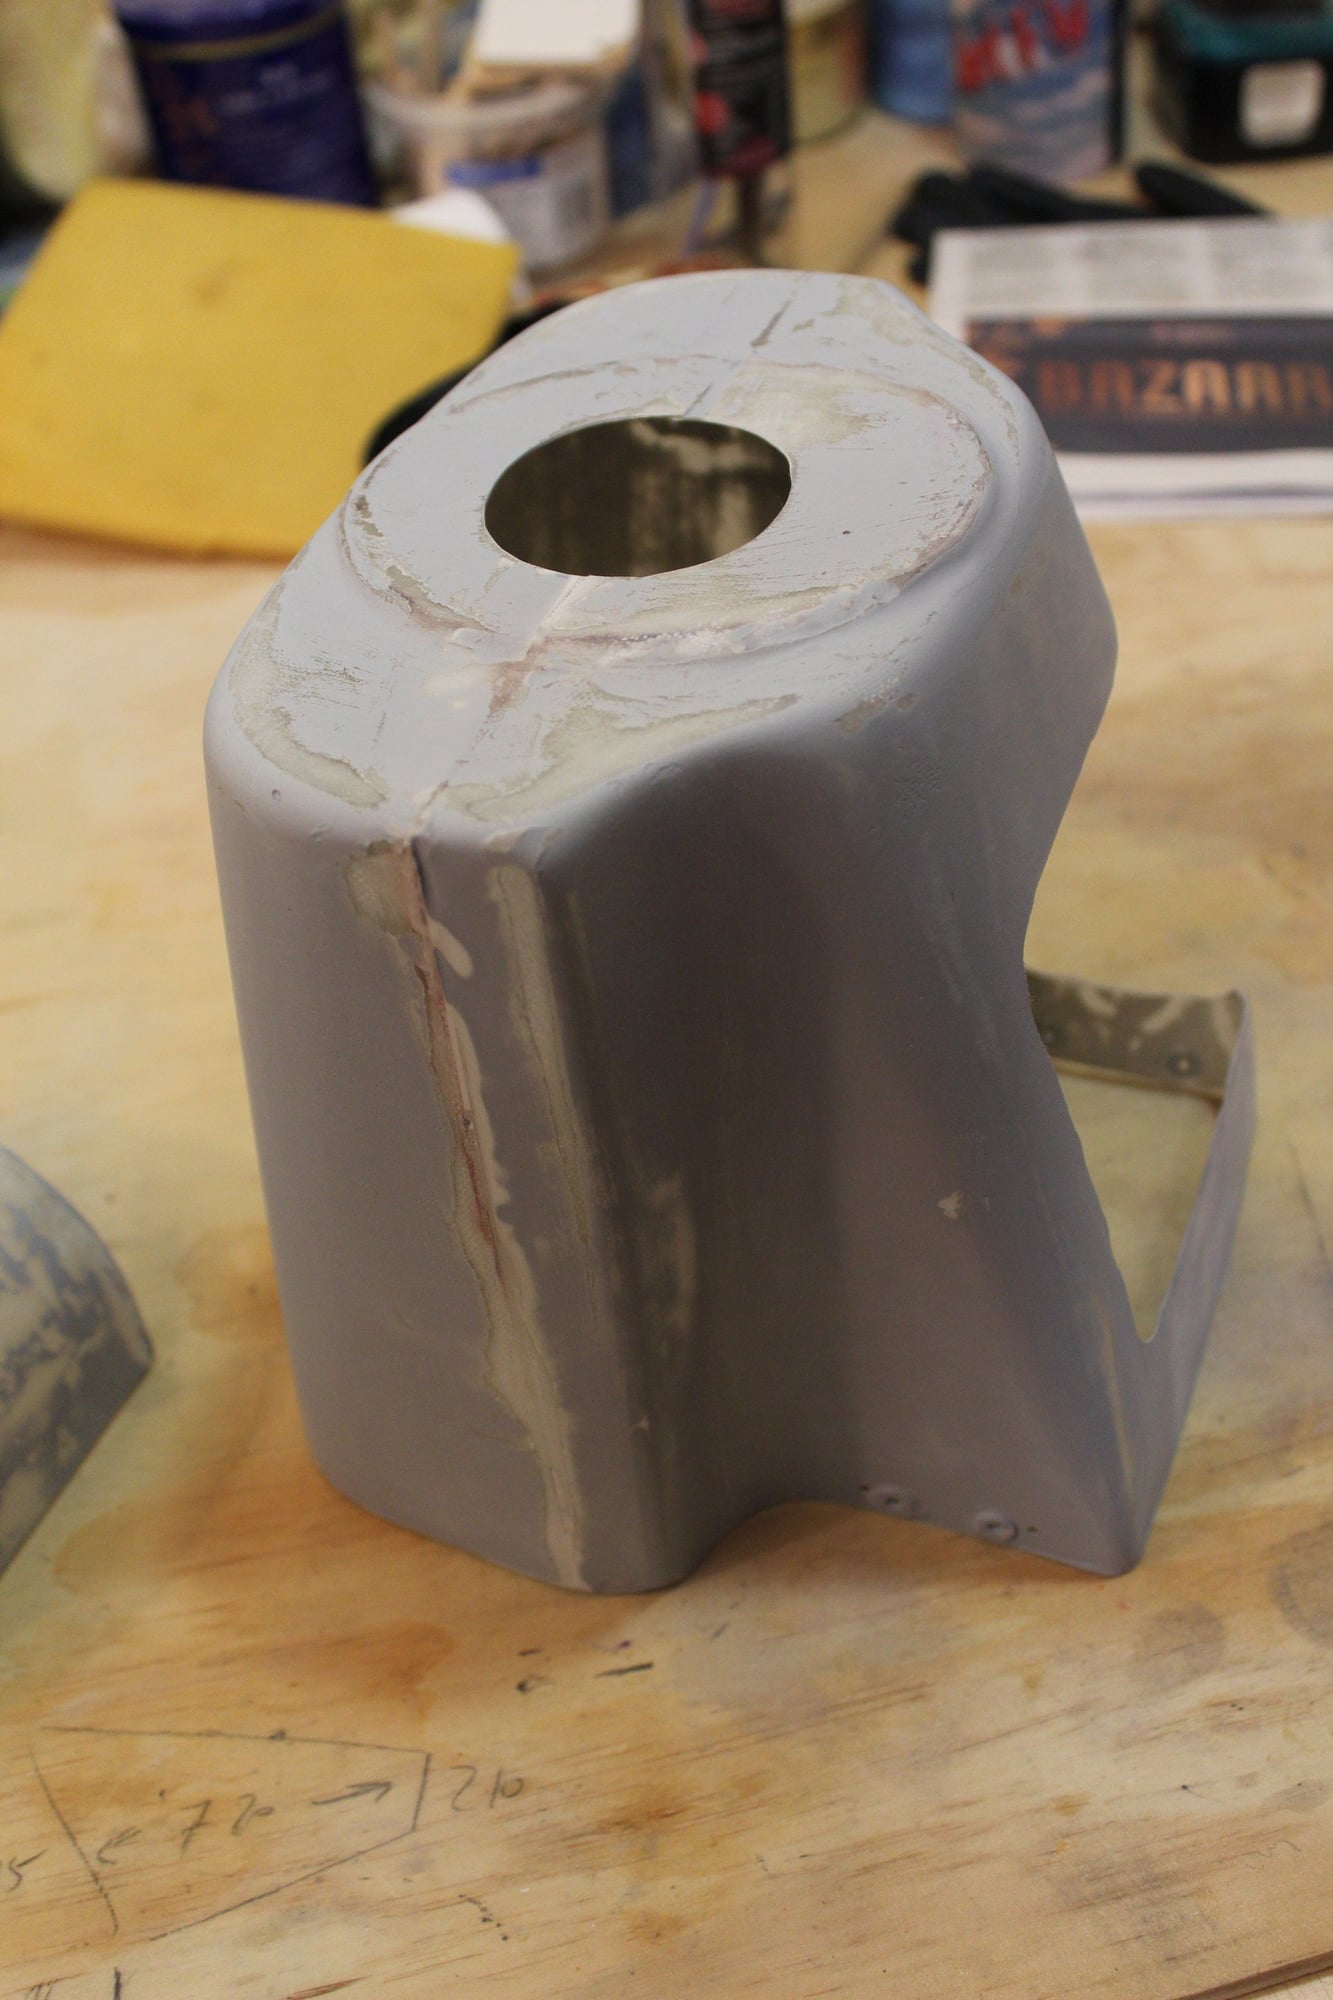
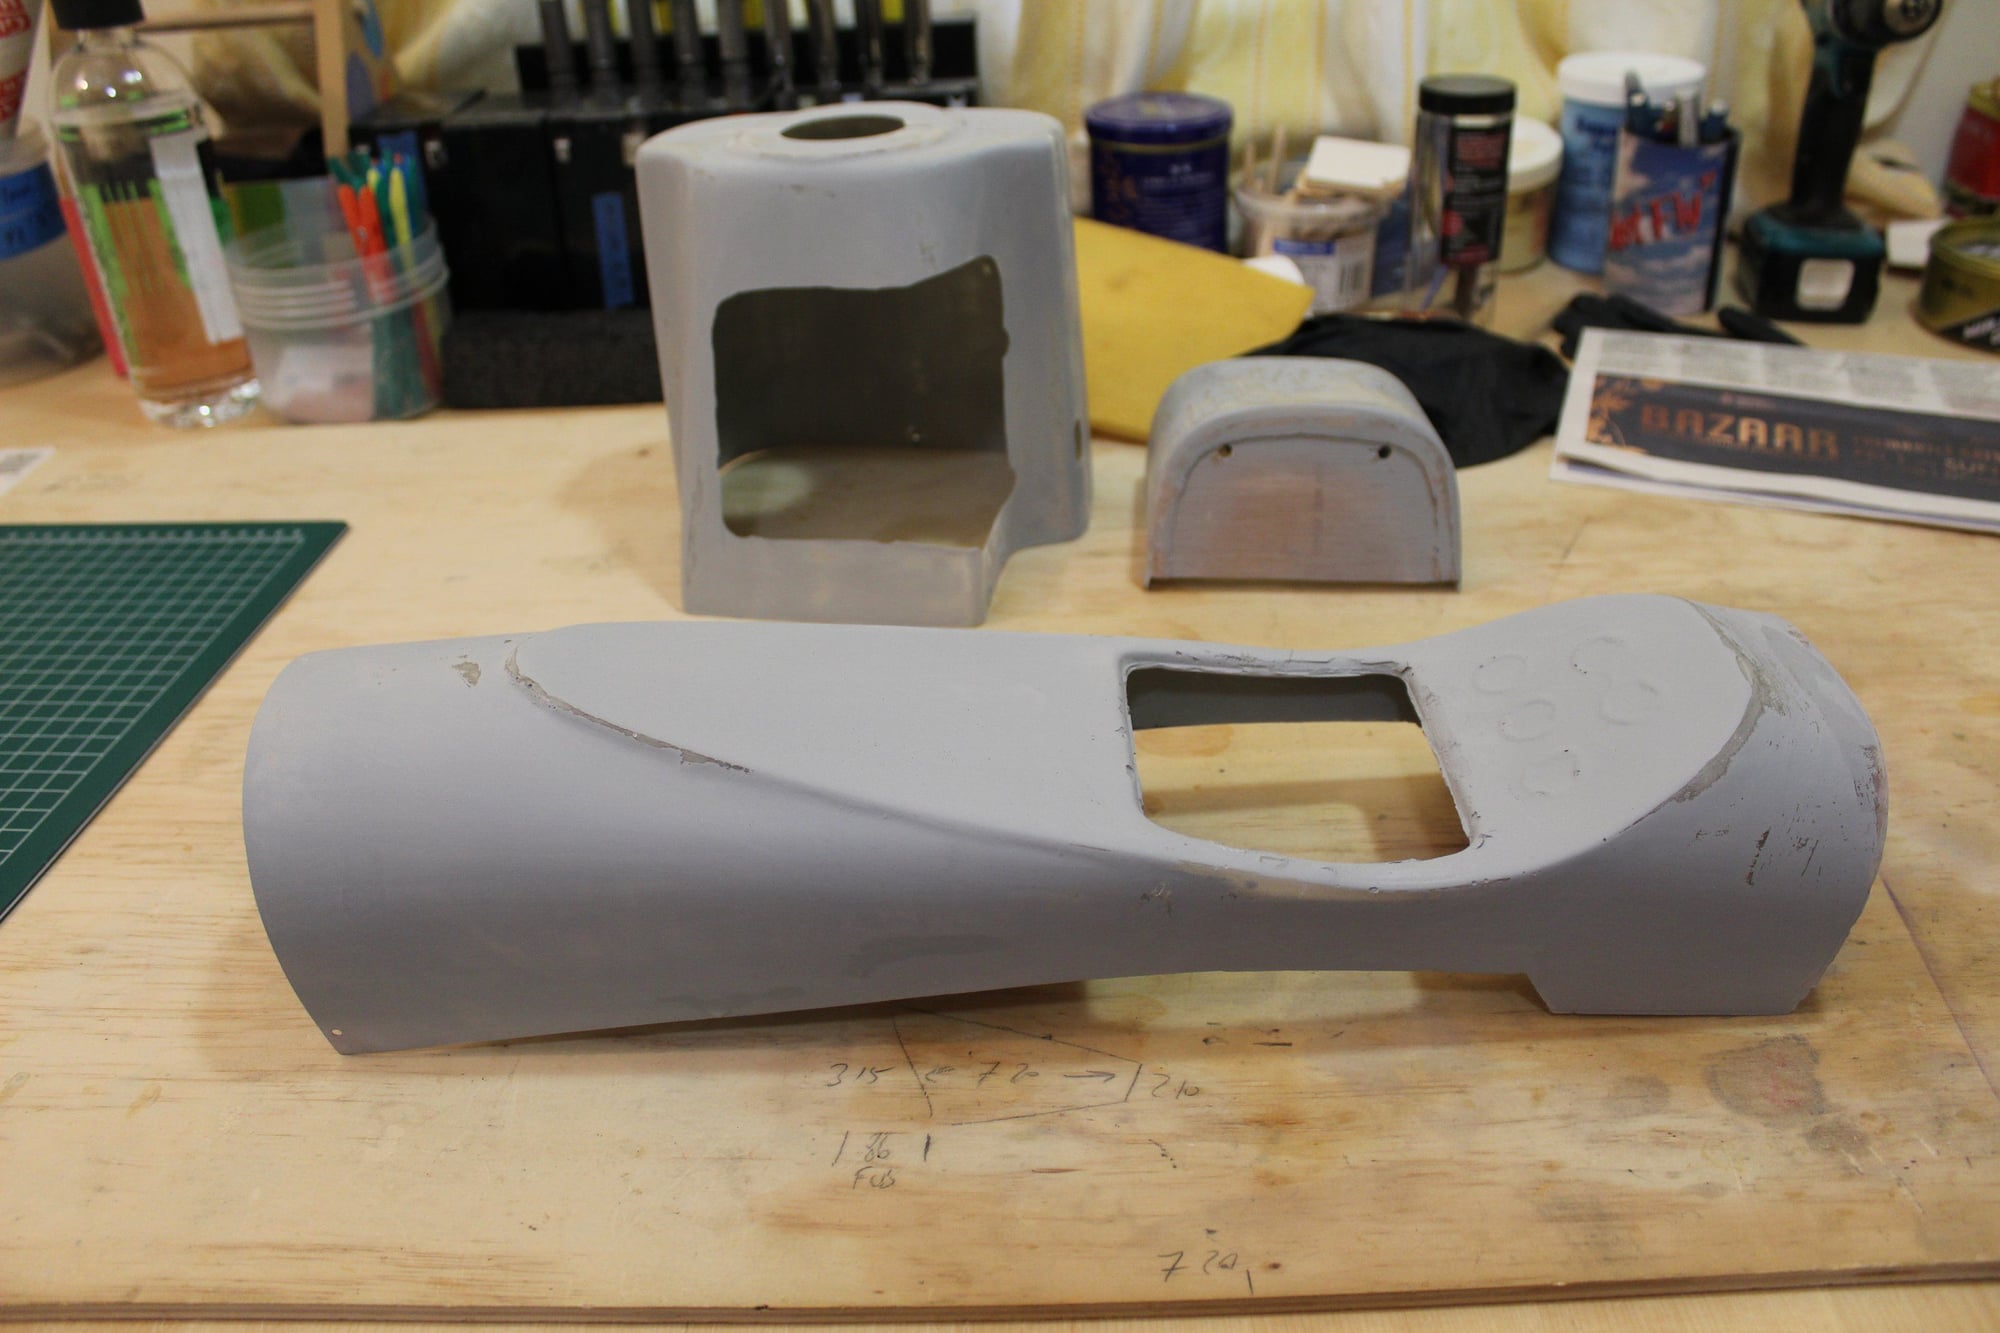
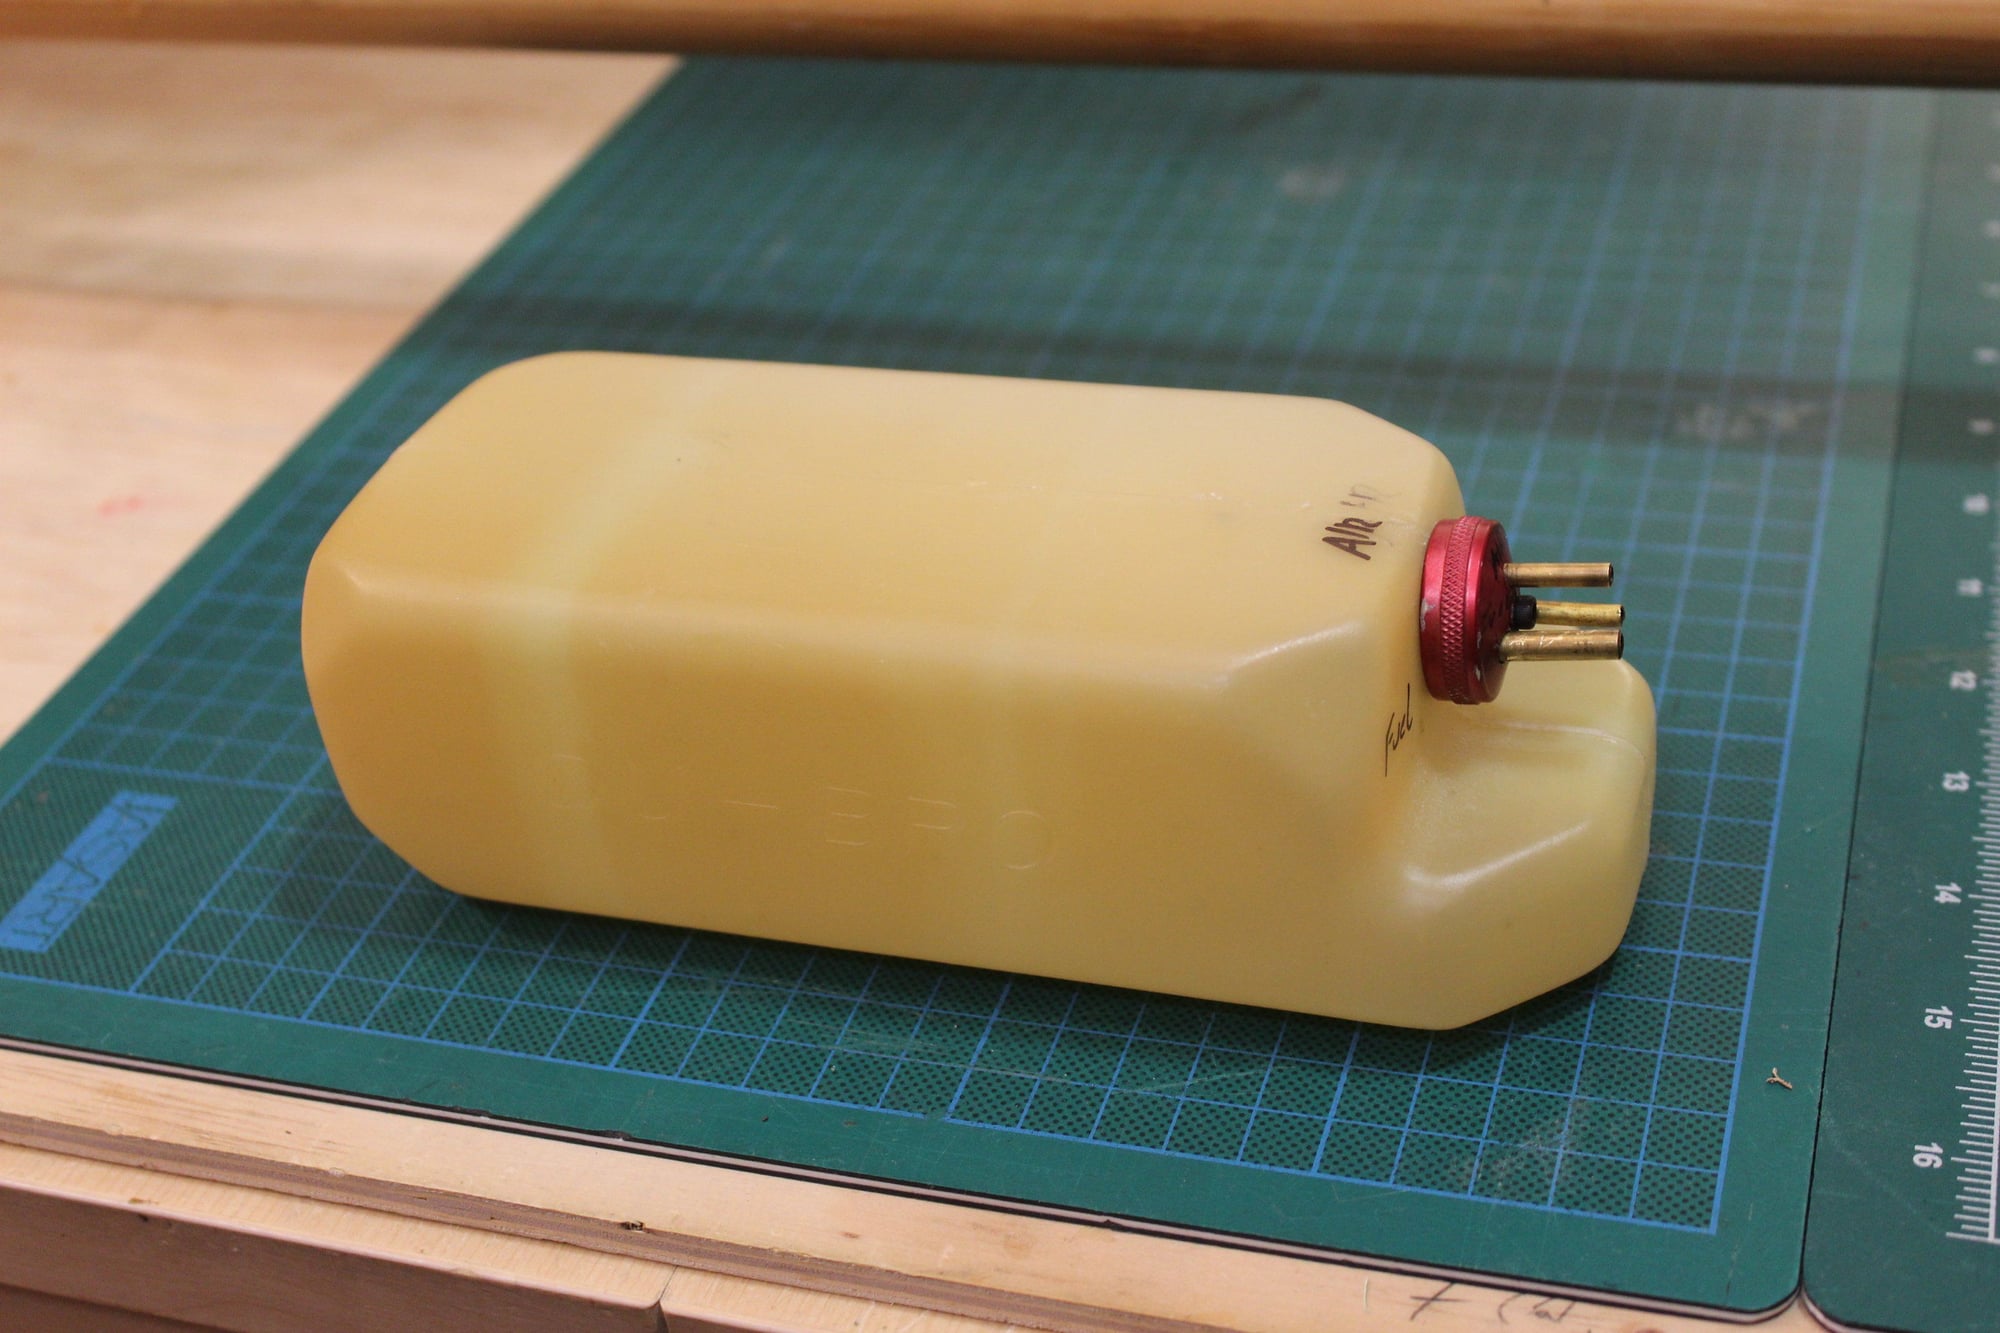
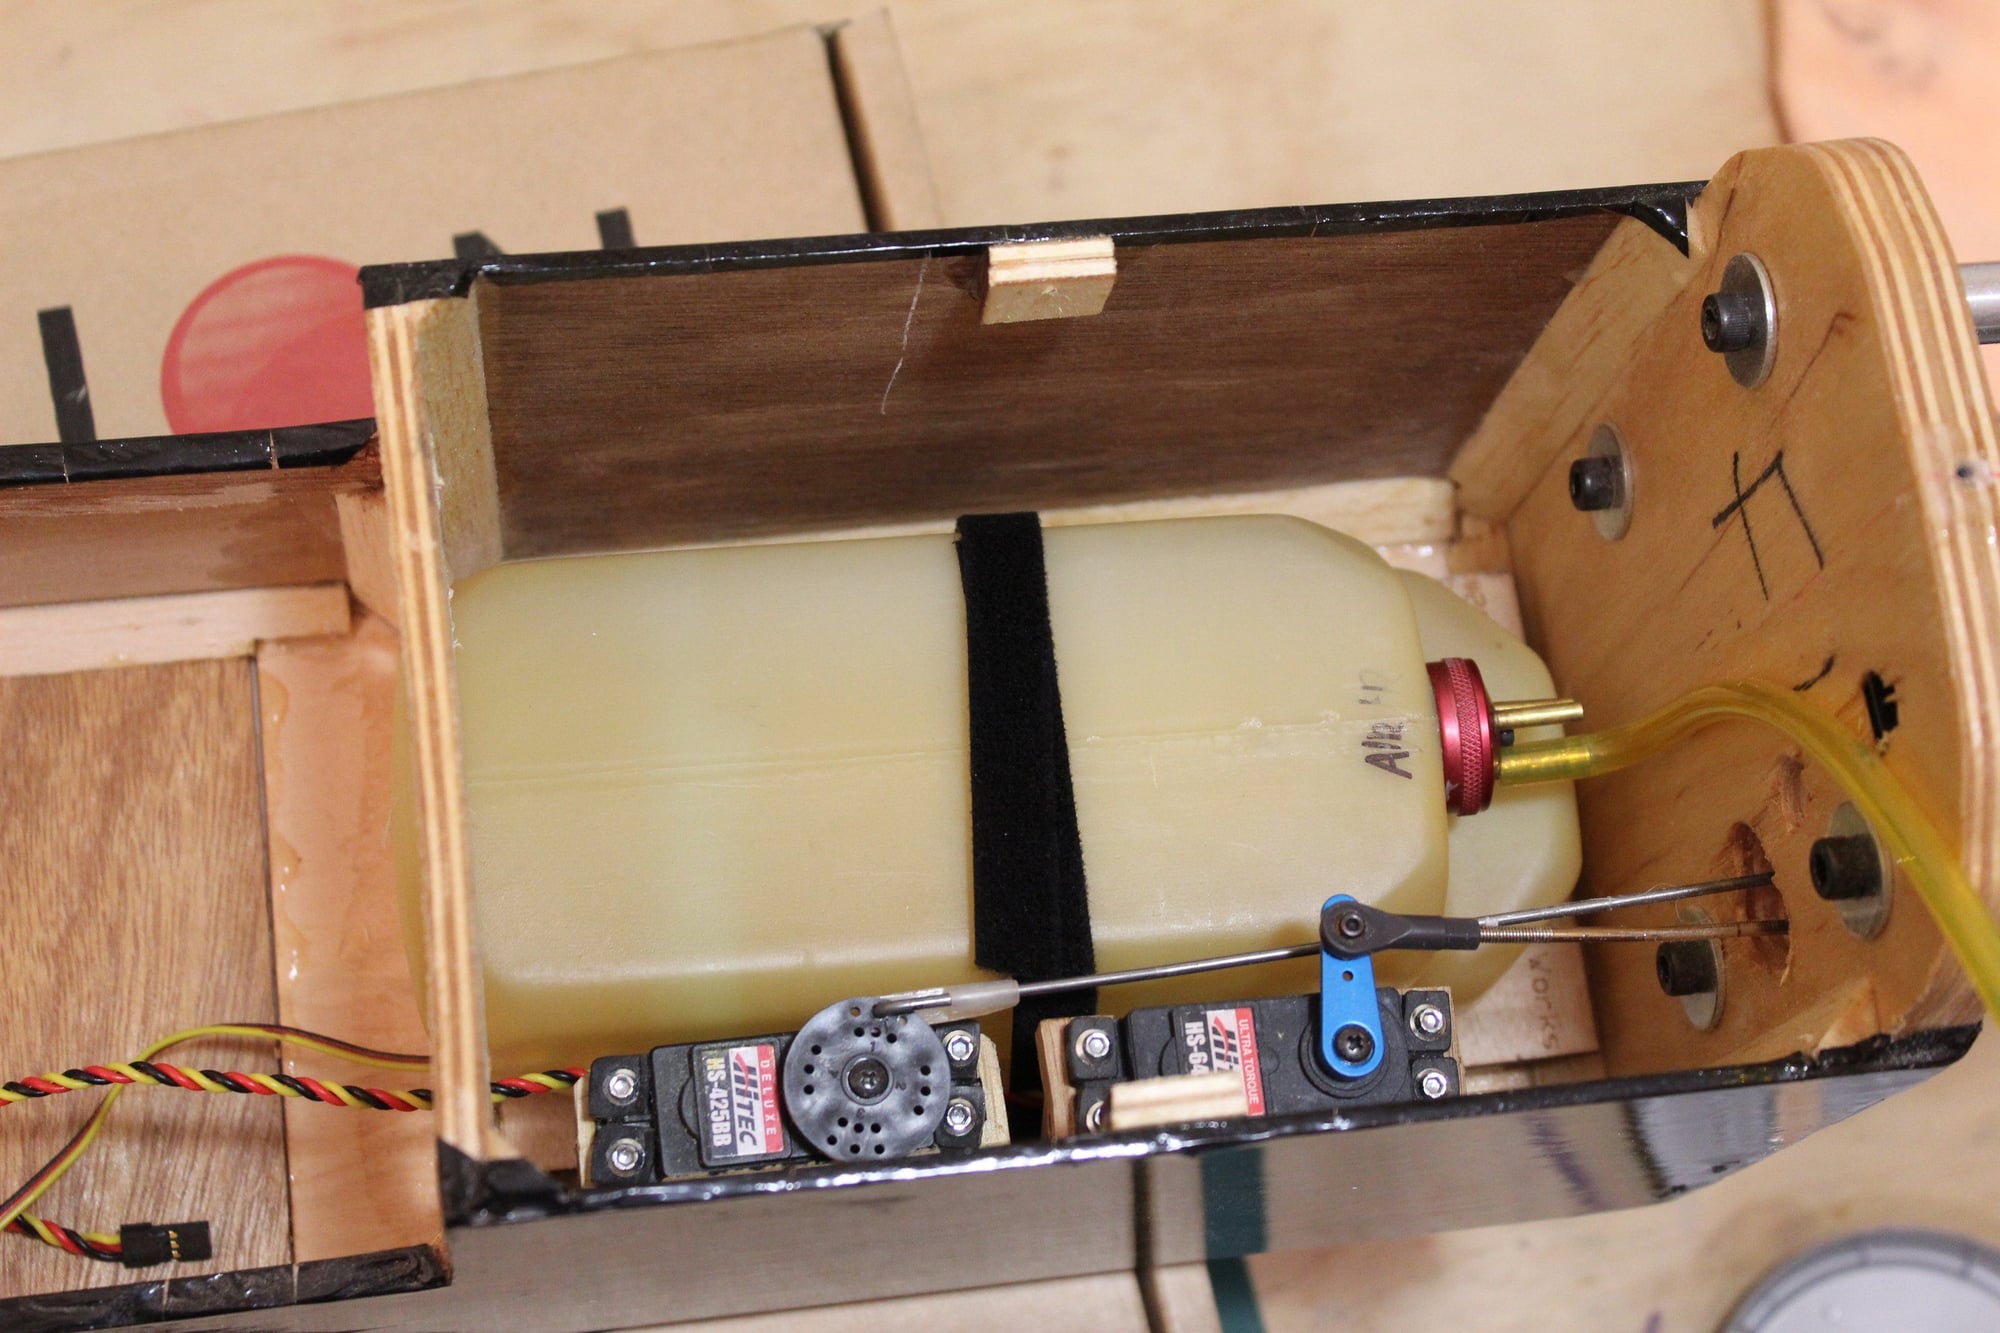
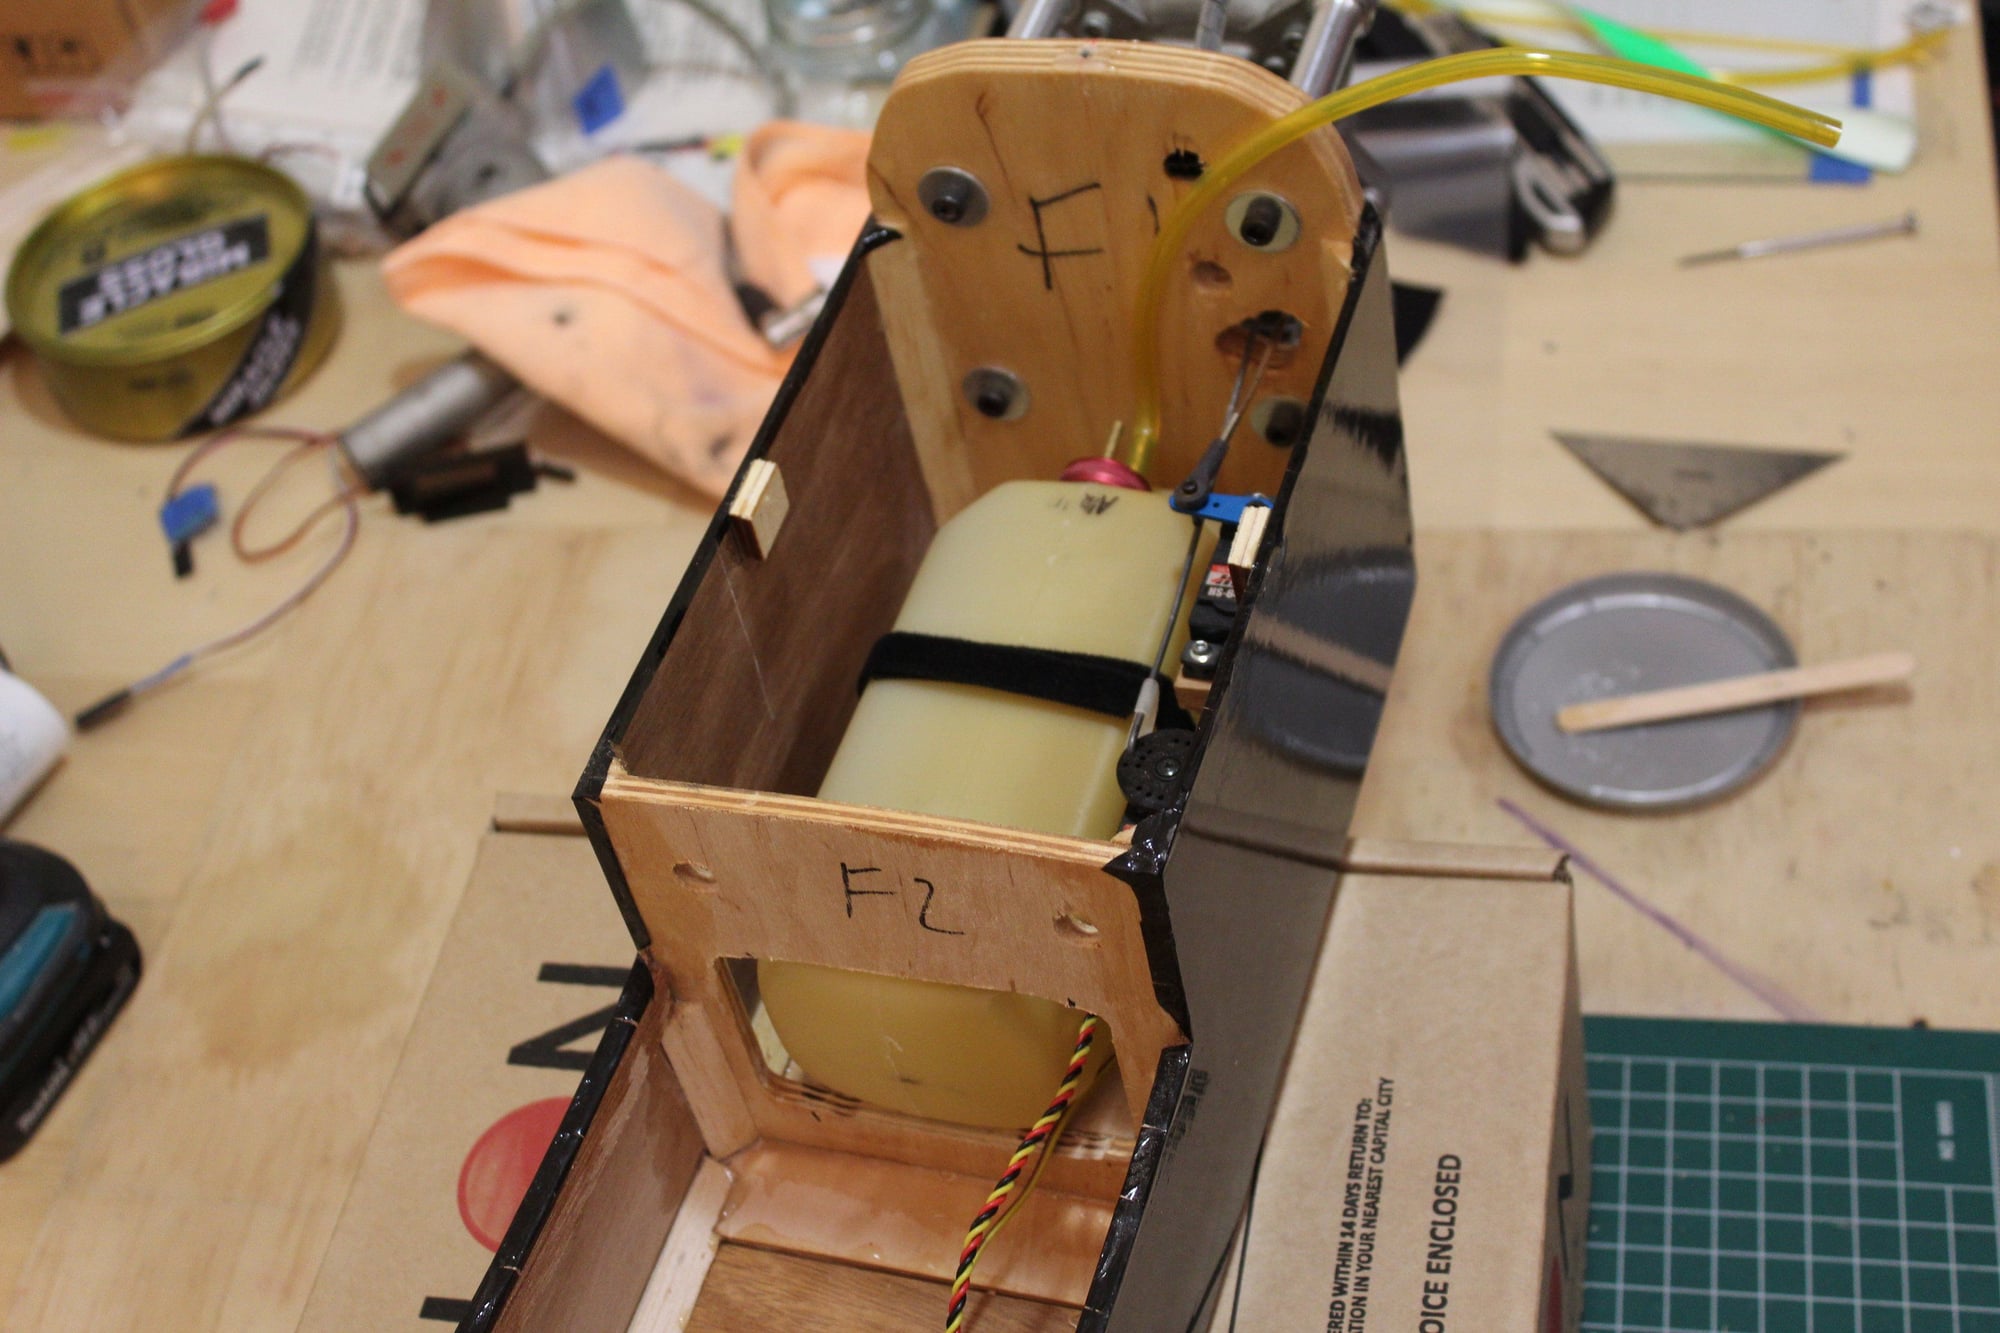
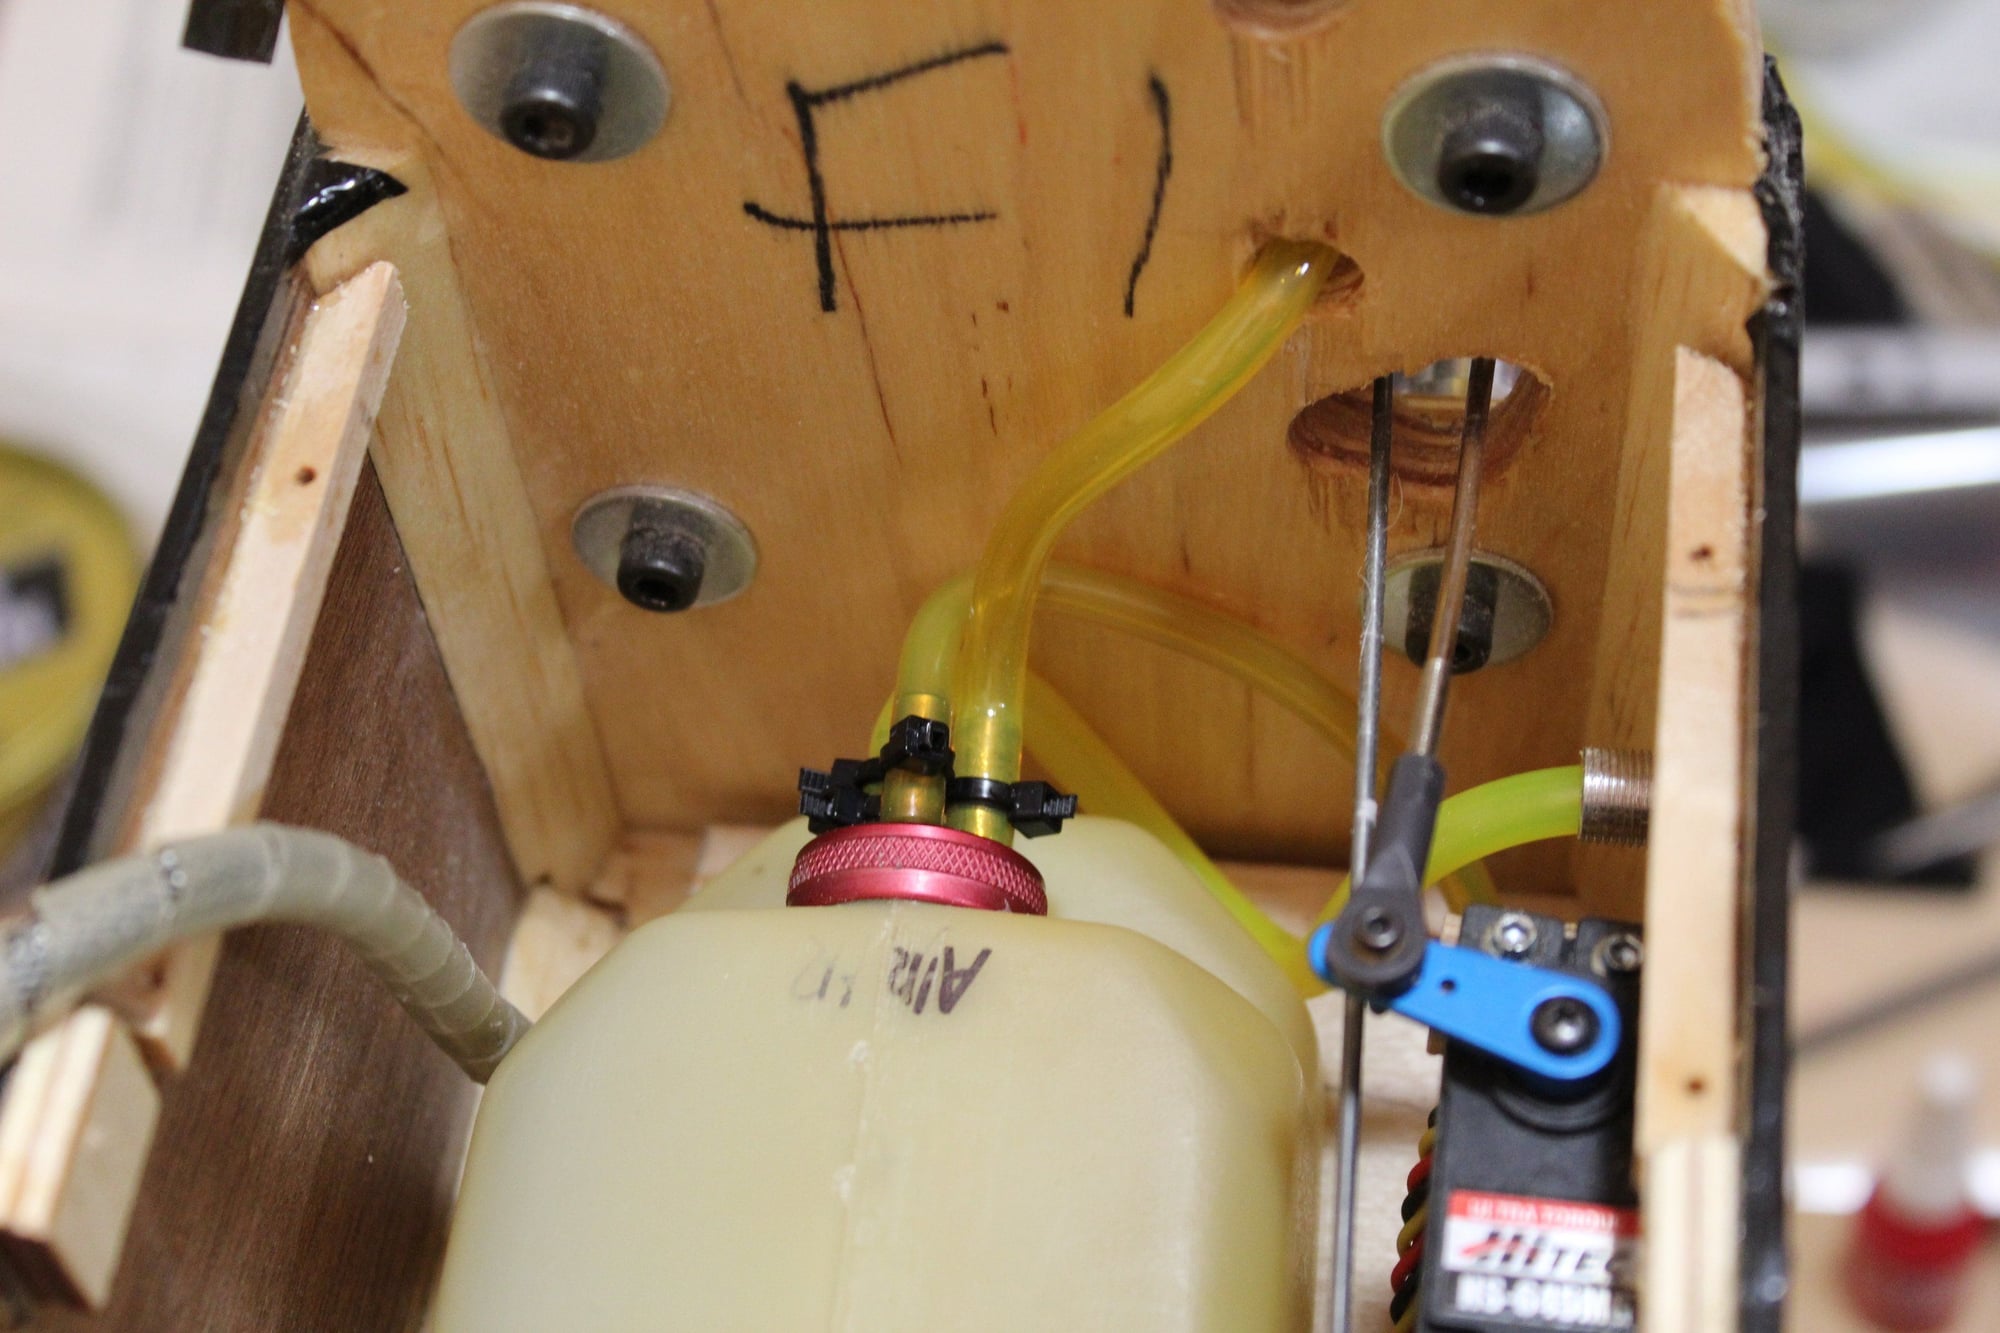
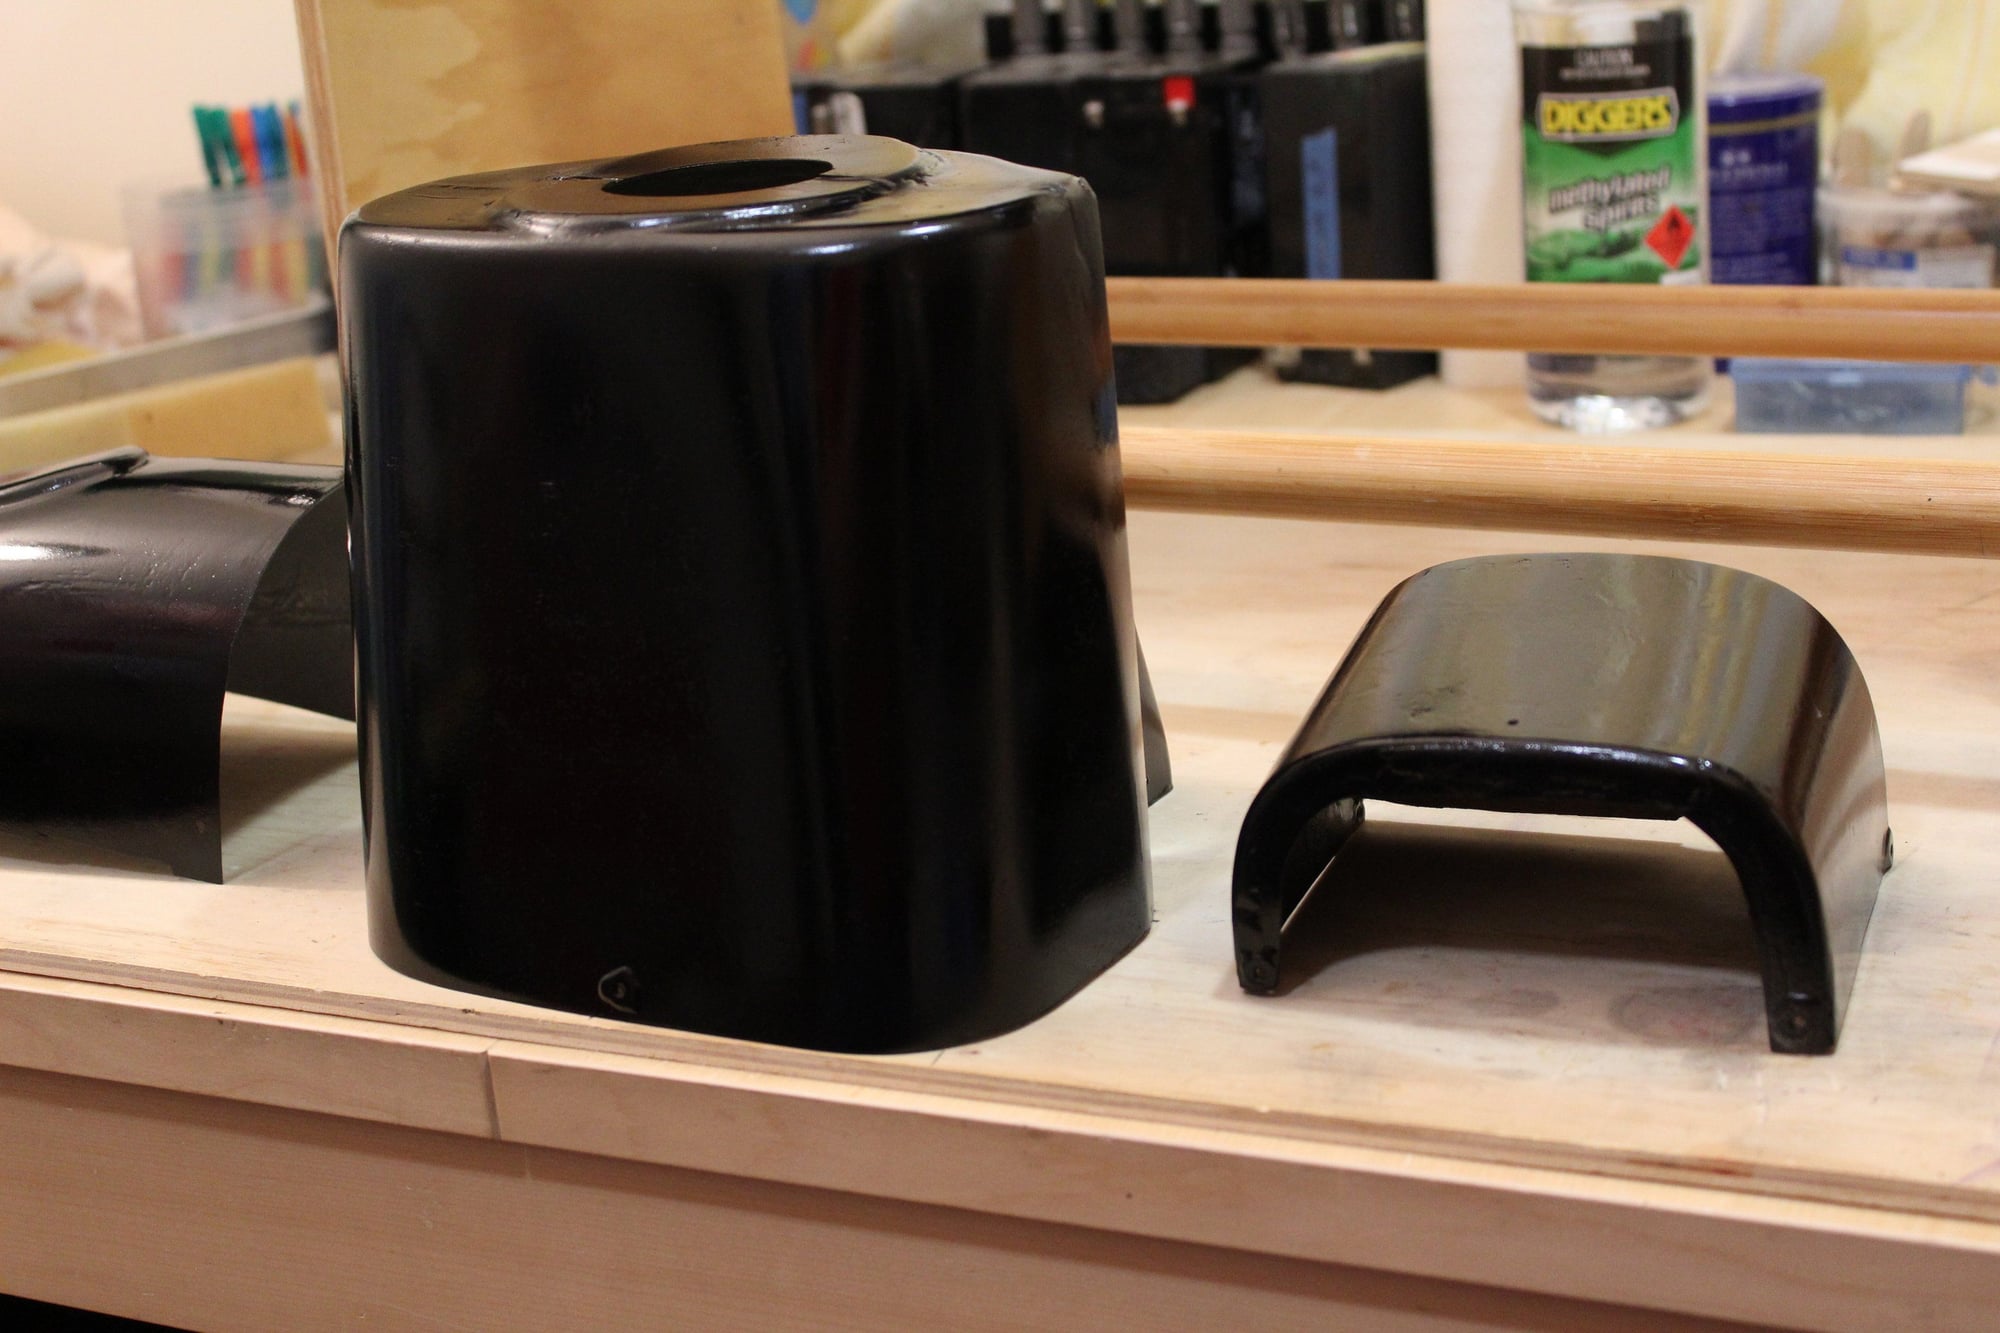
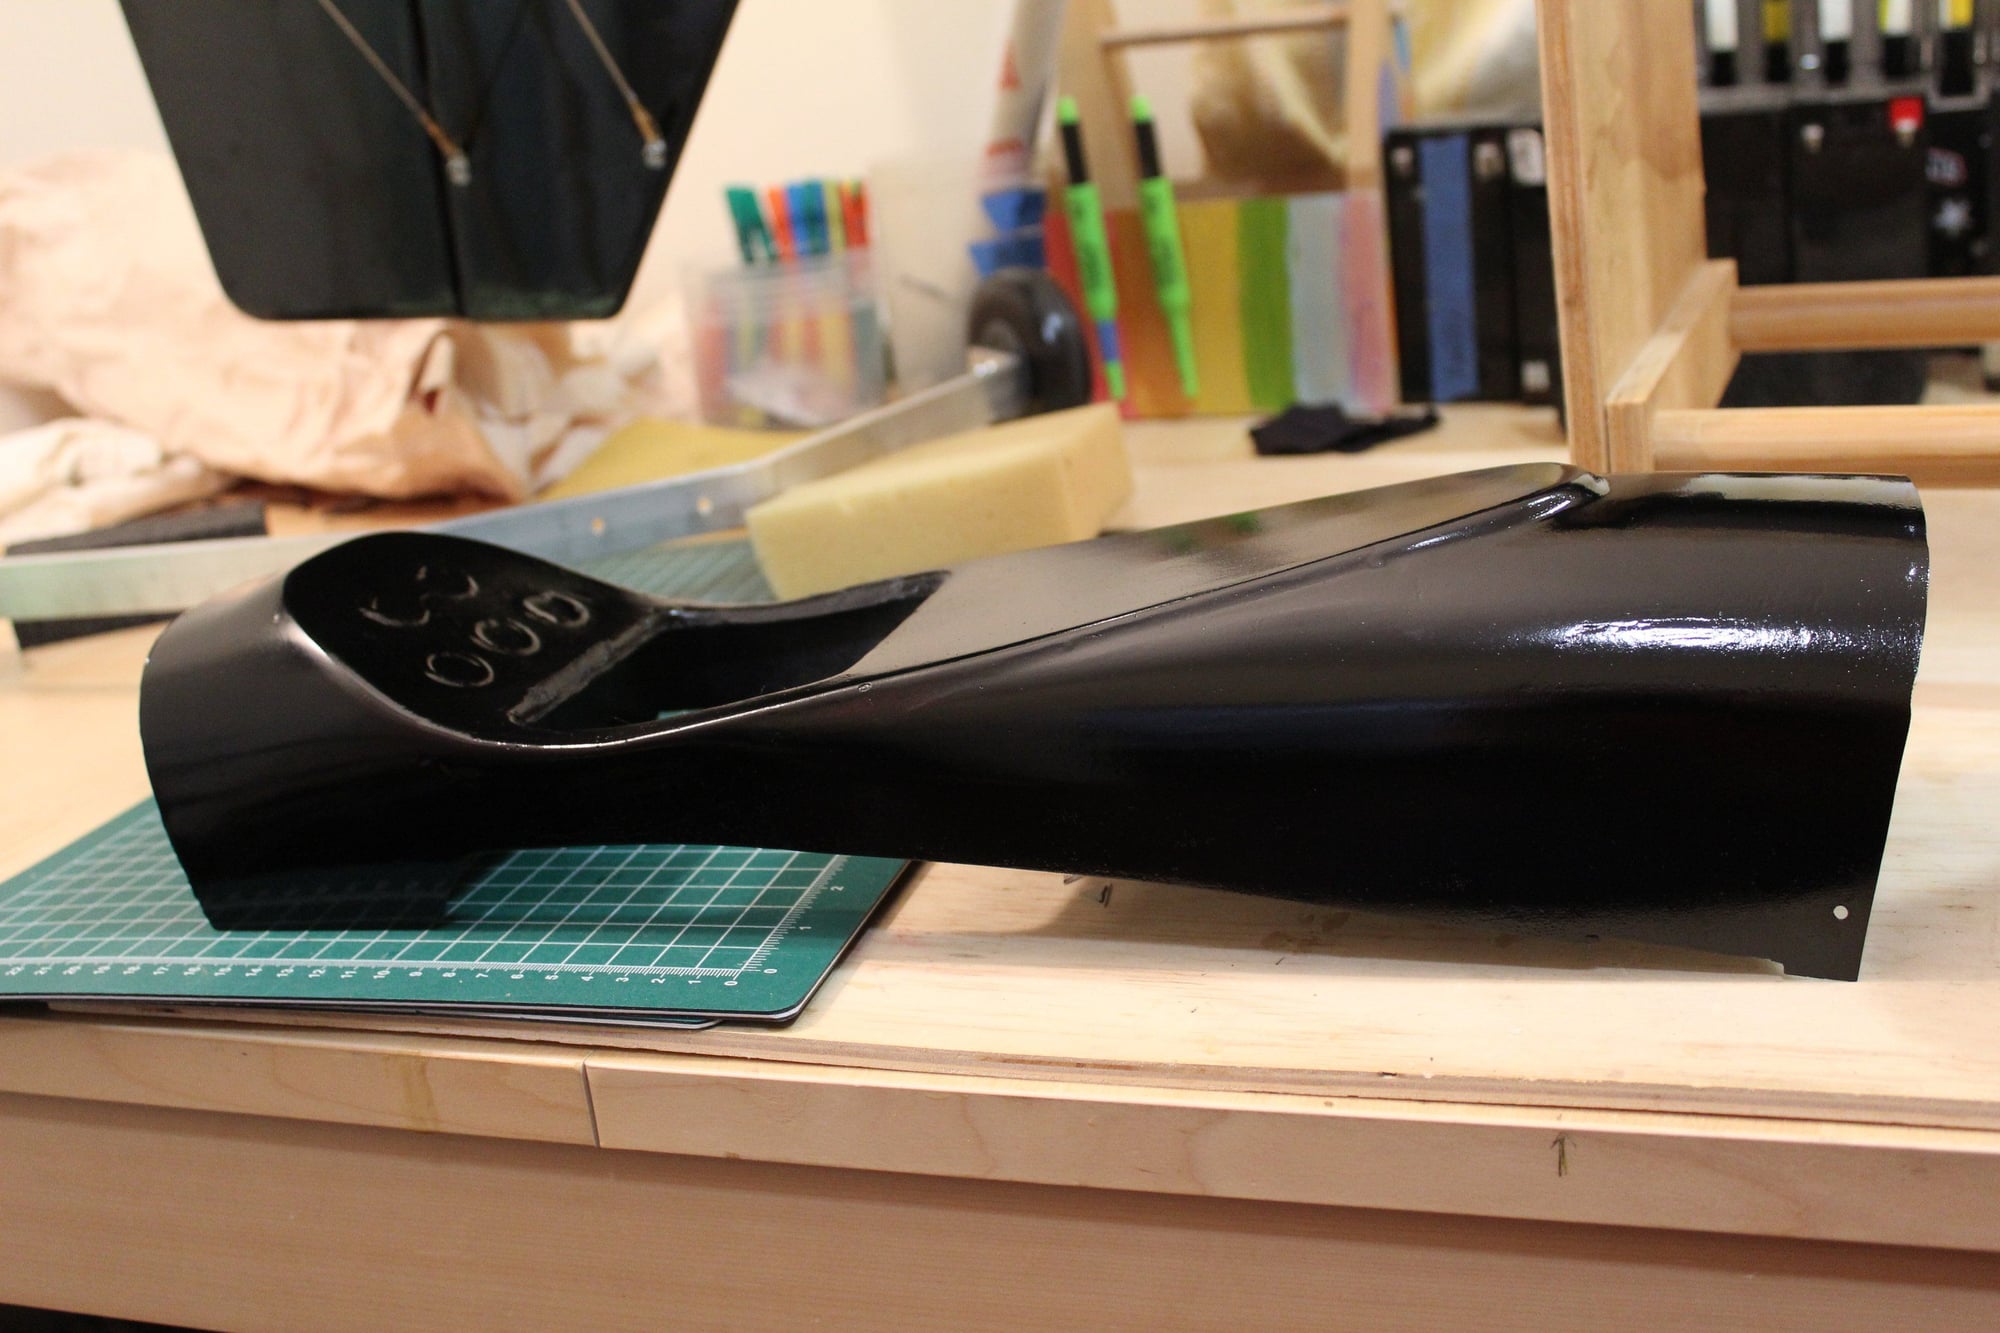
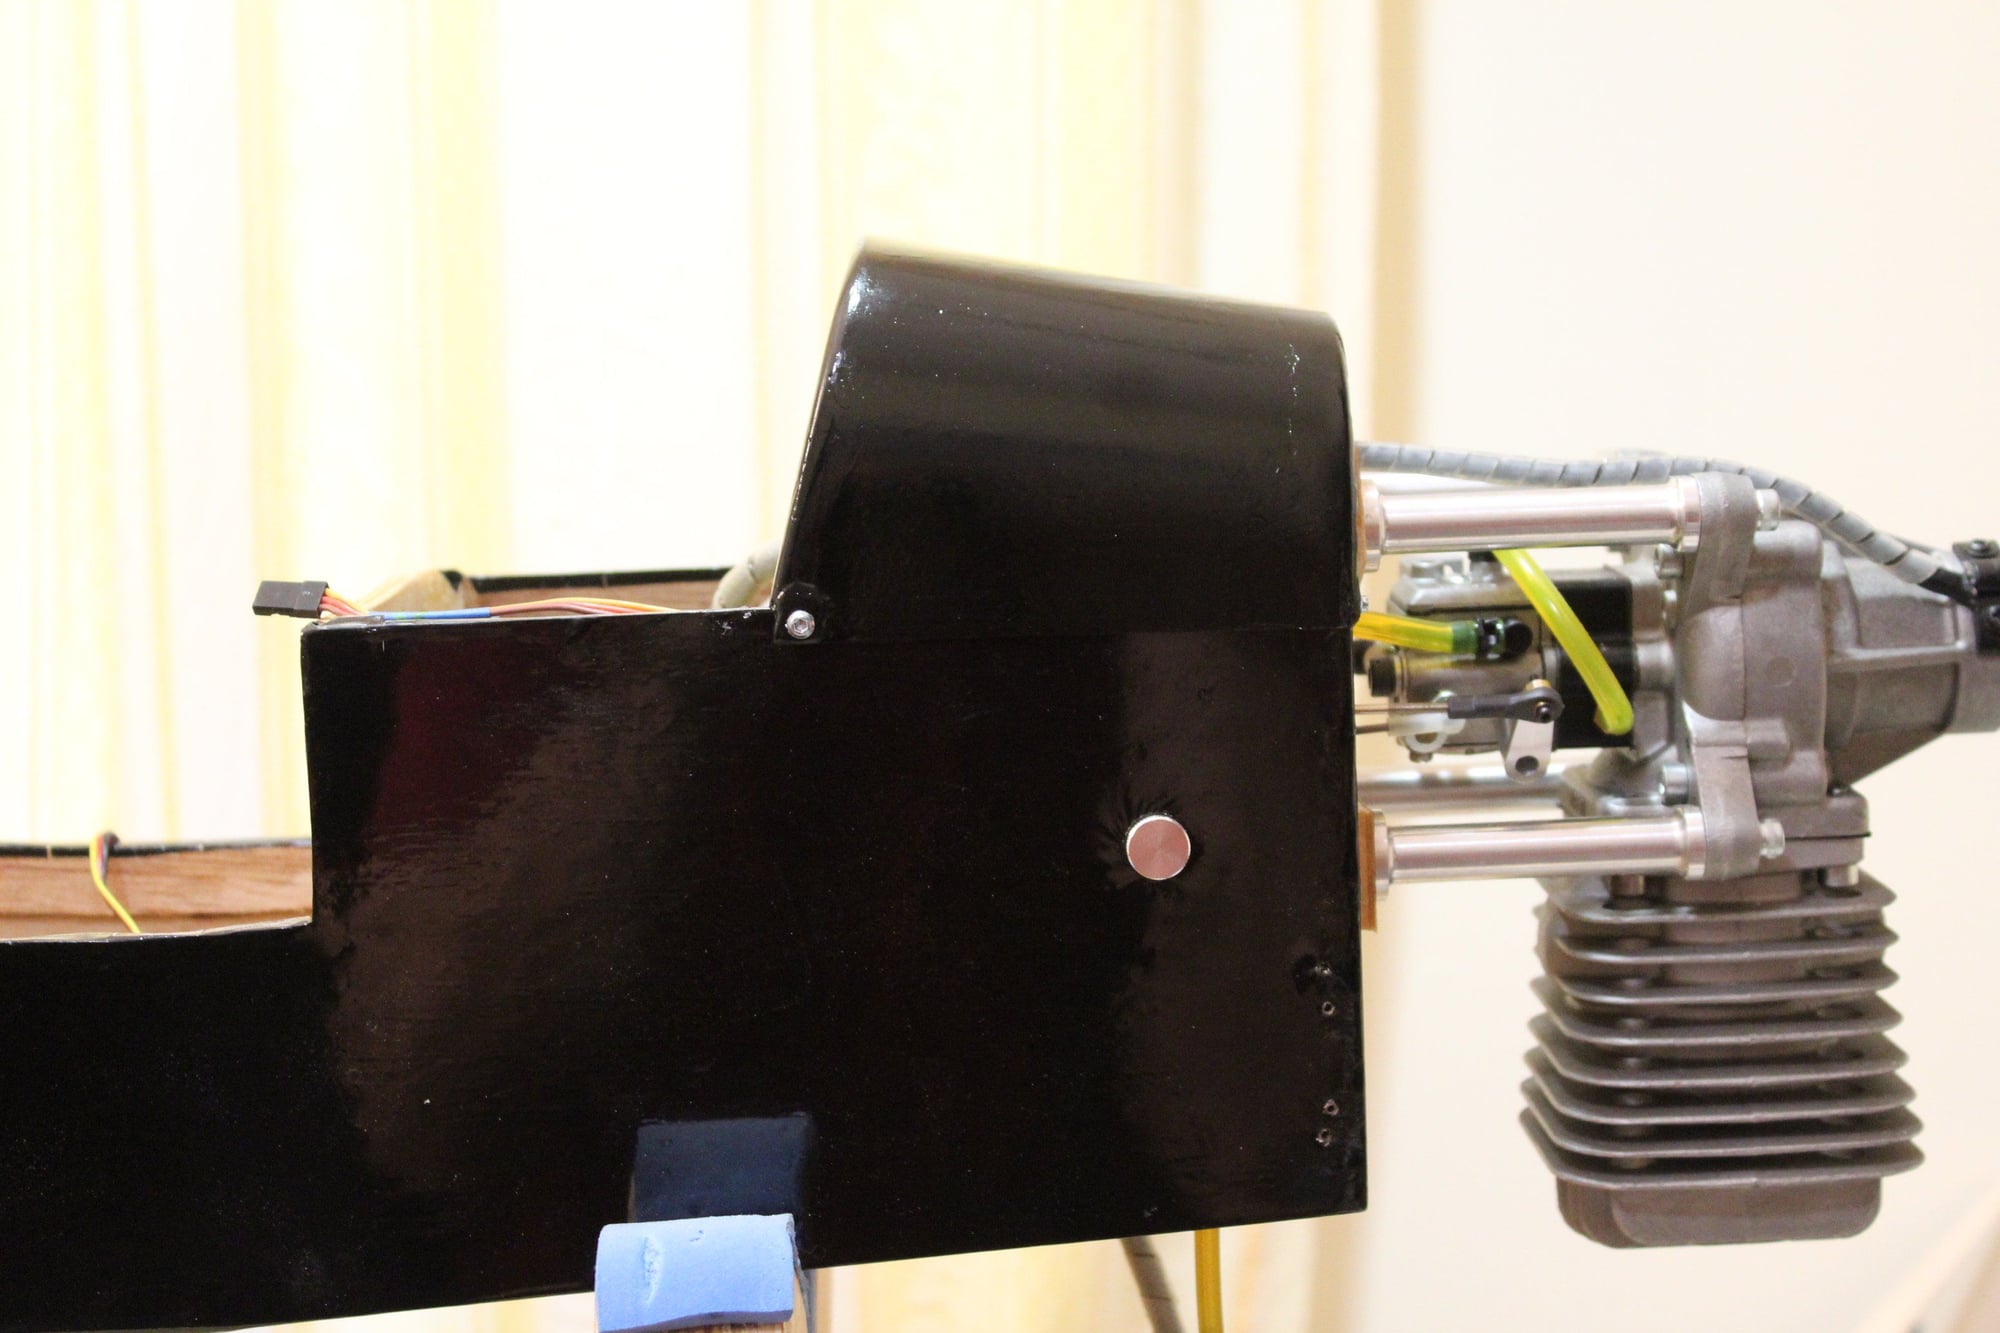
I pulled an "old style" fuel tank from my spares to replace the fuel tank intended for this build.
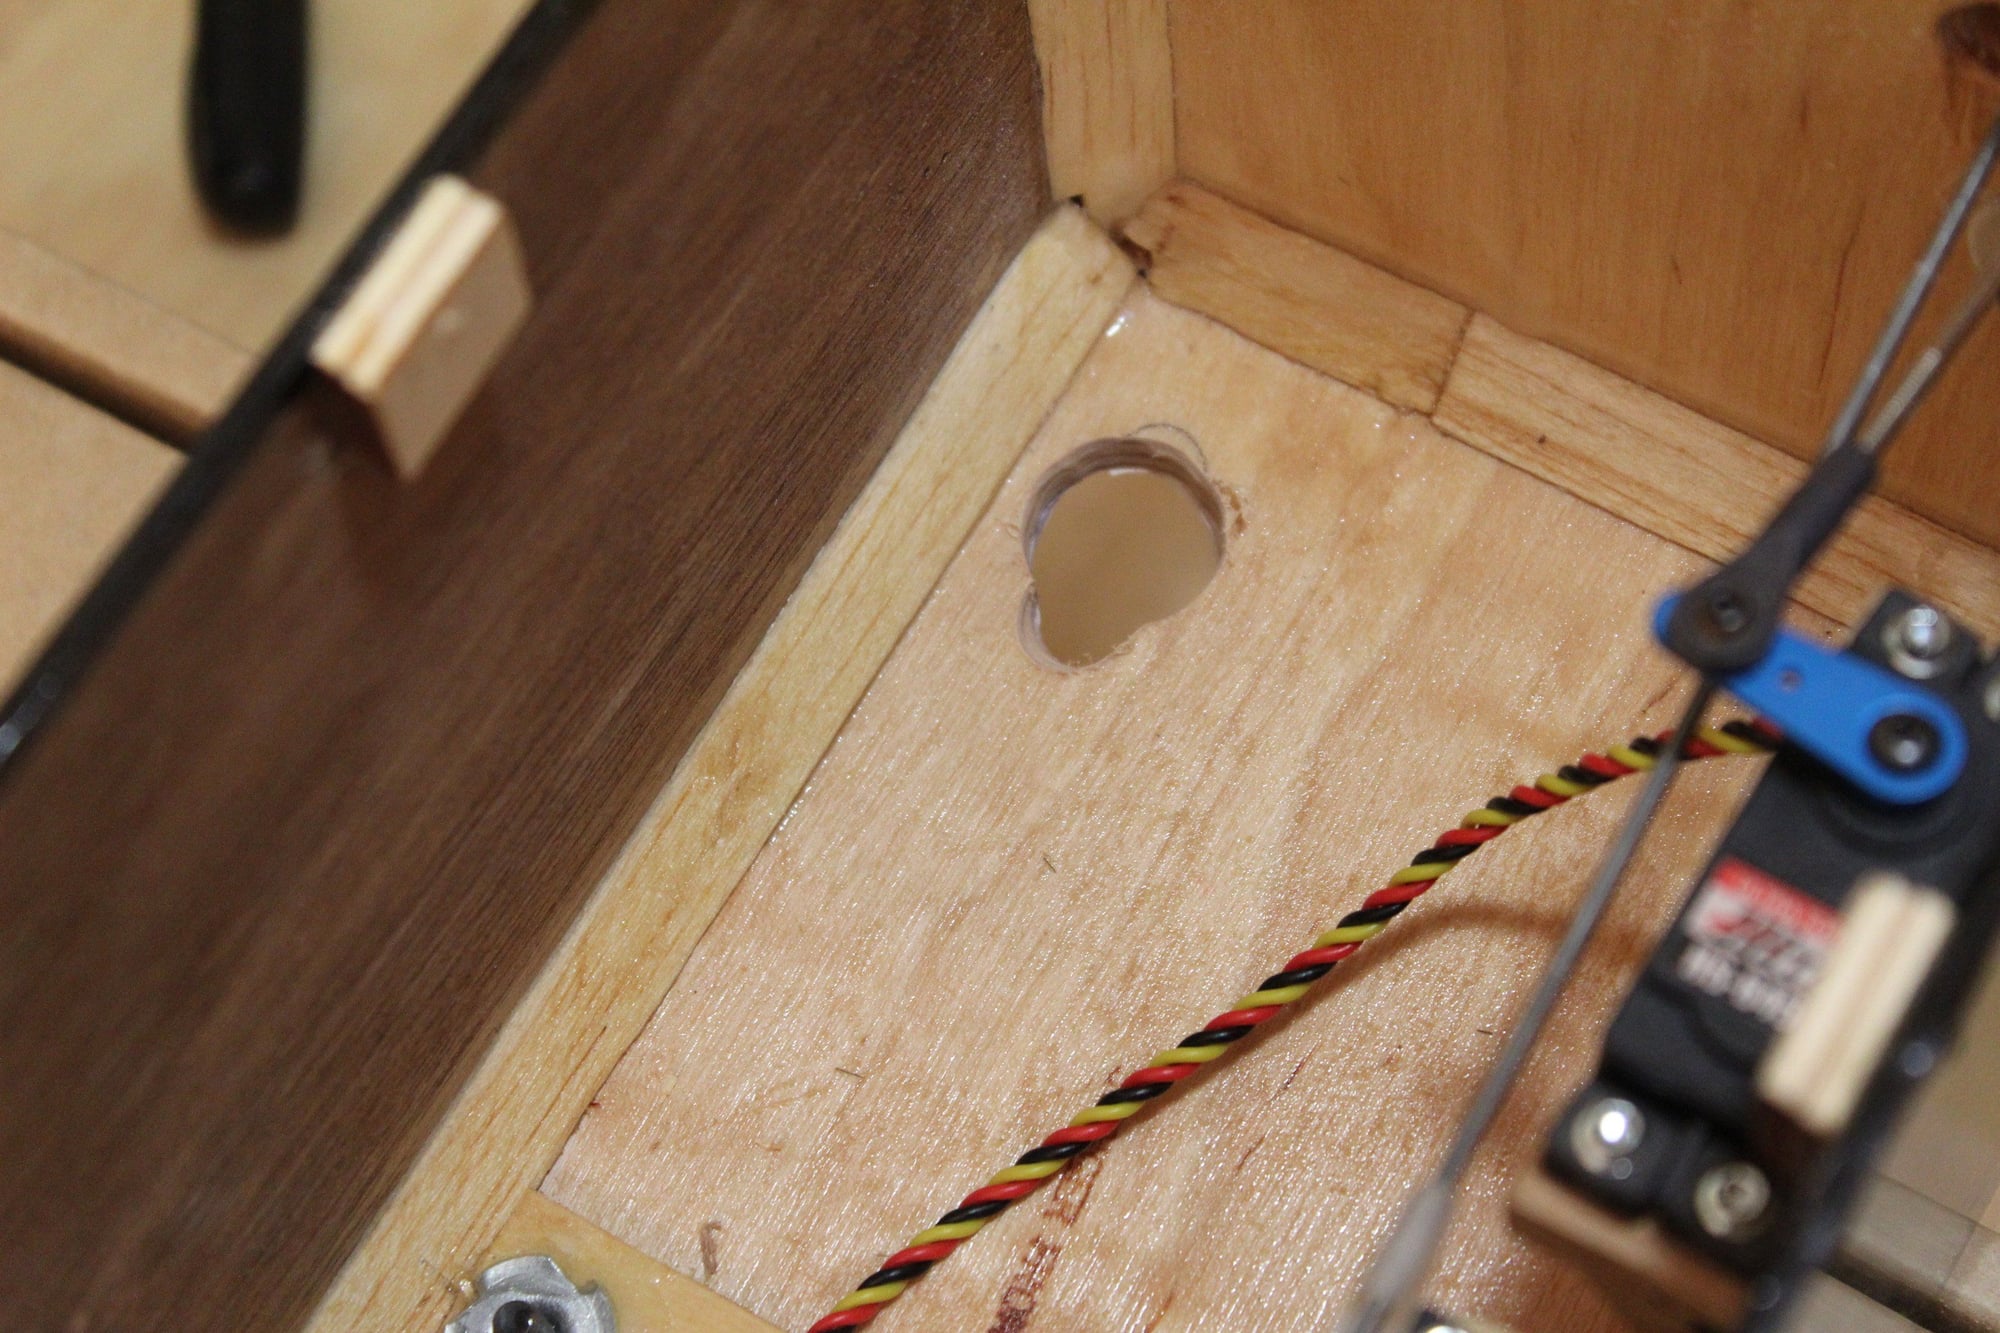
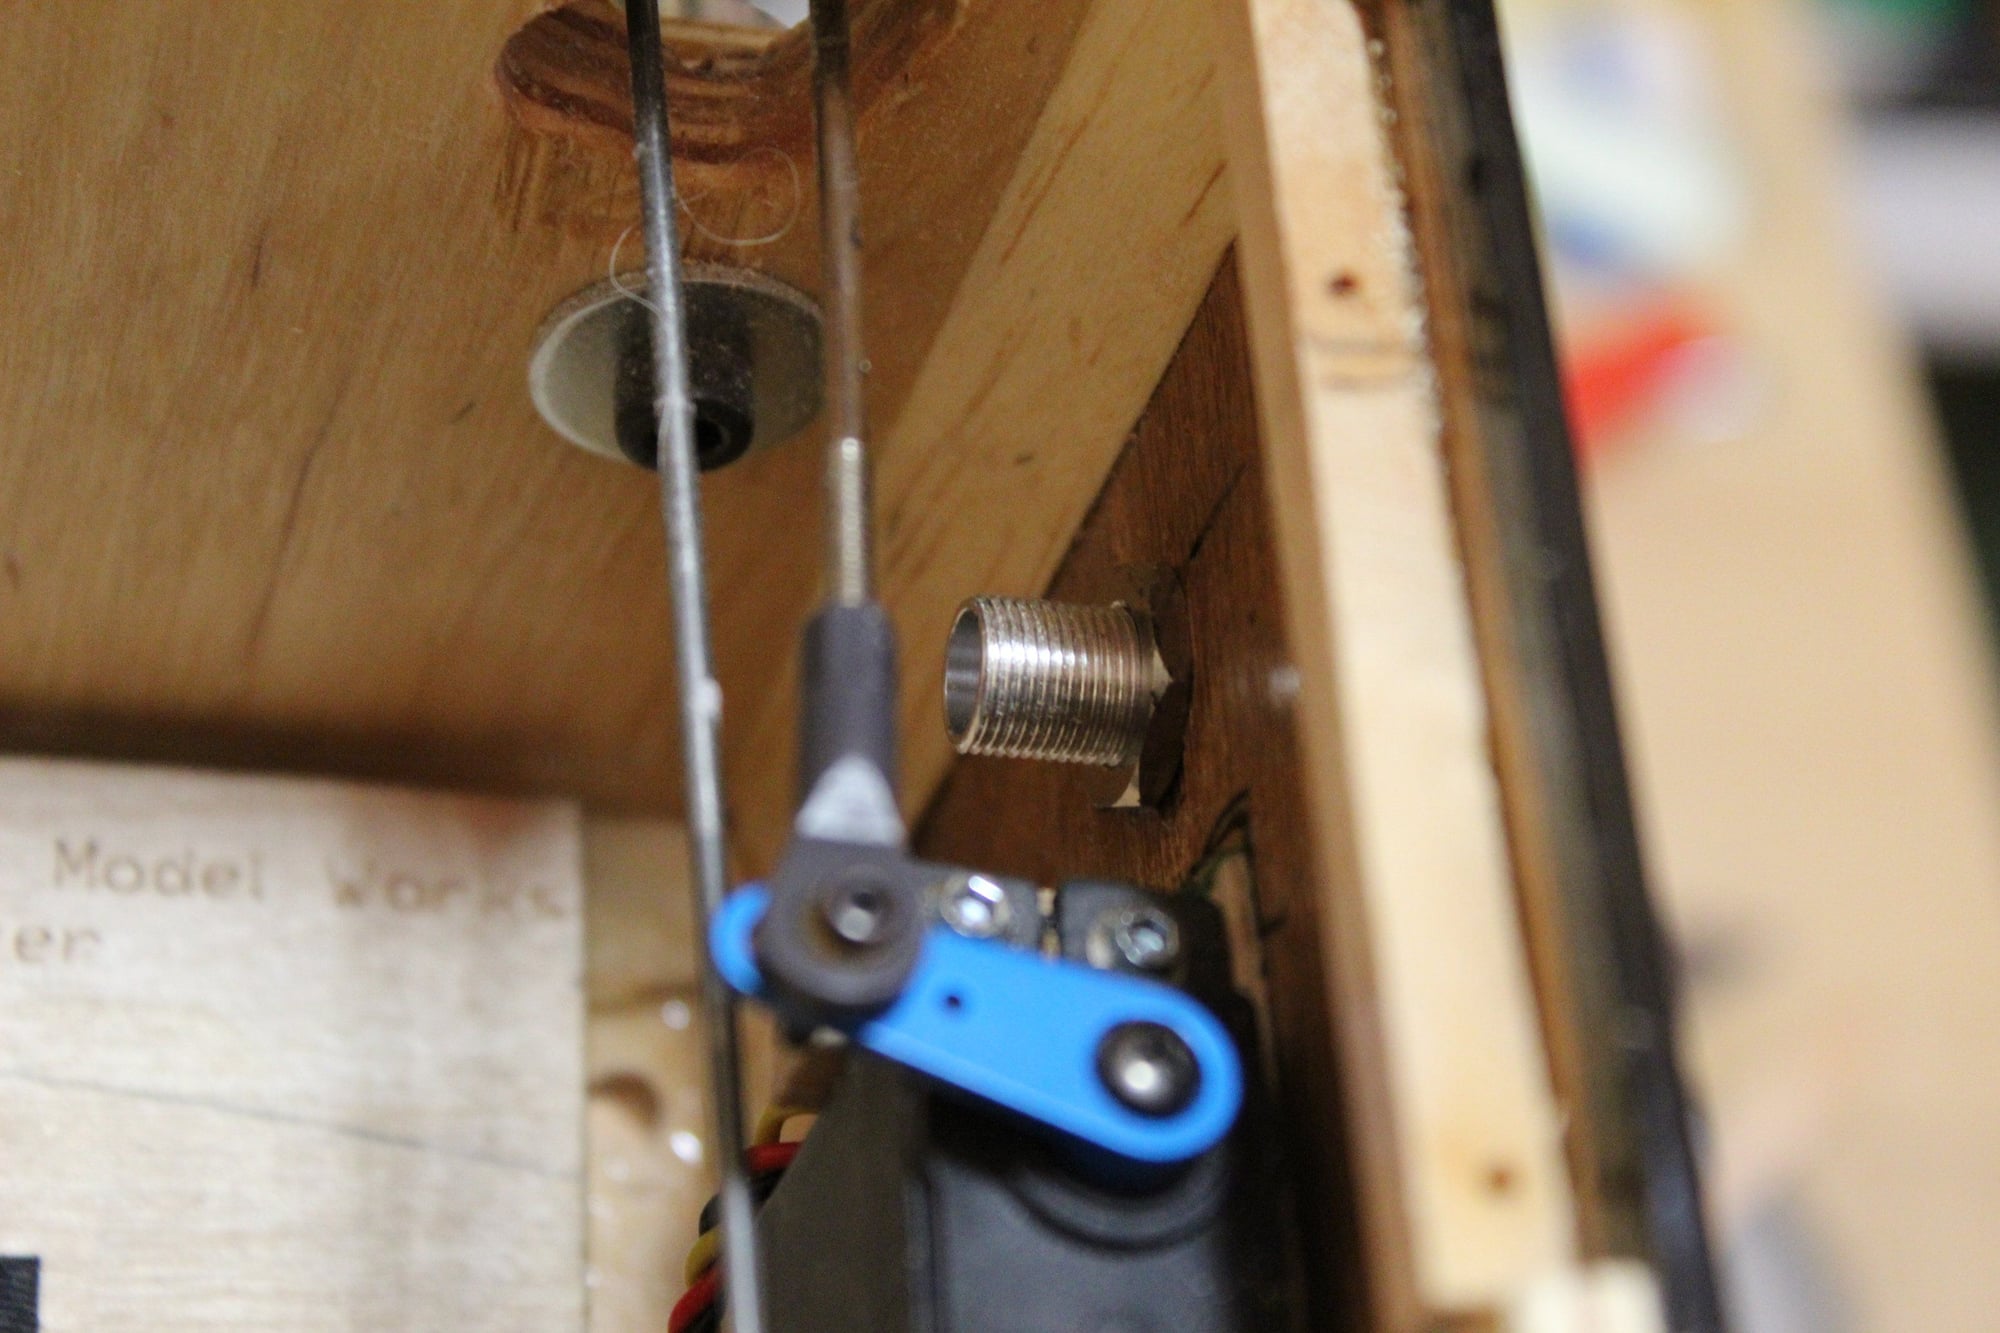
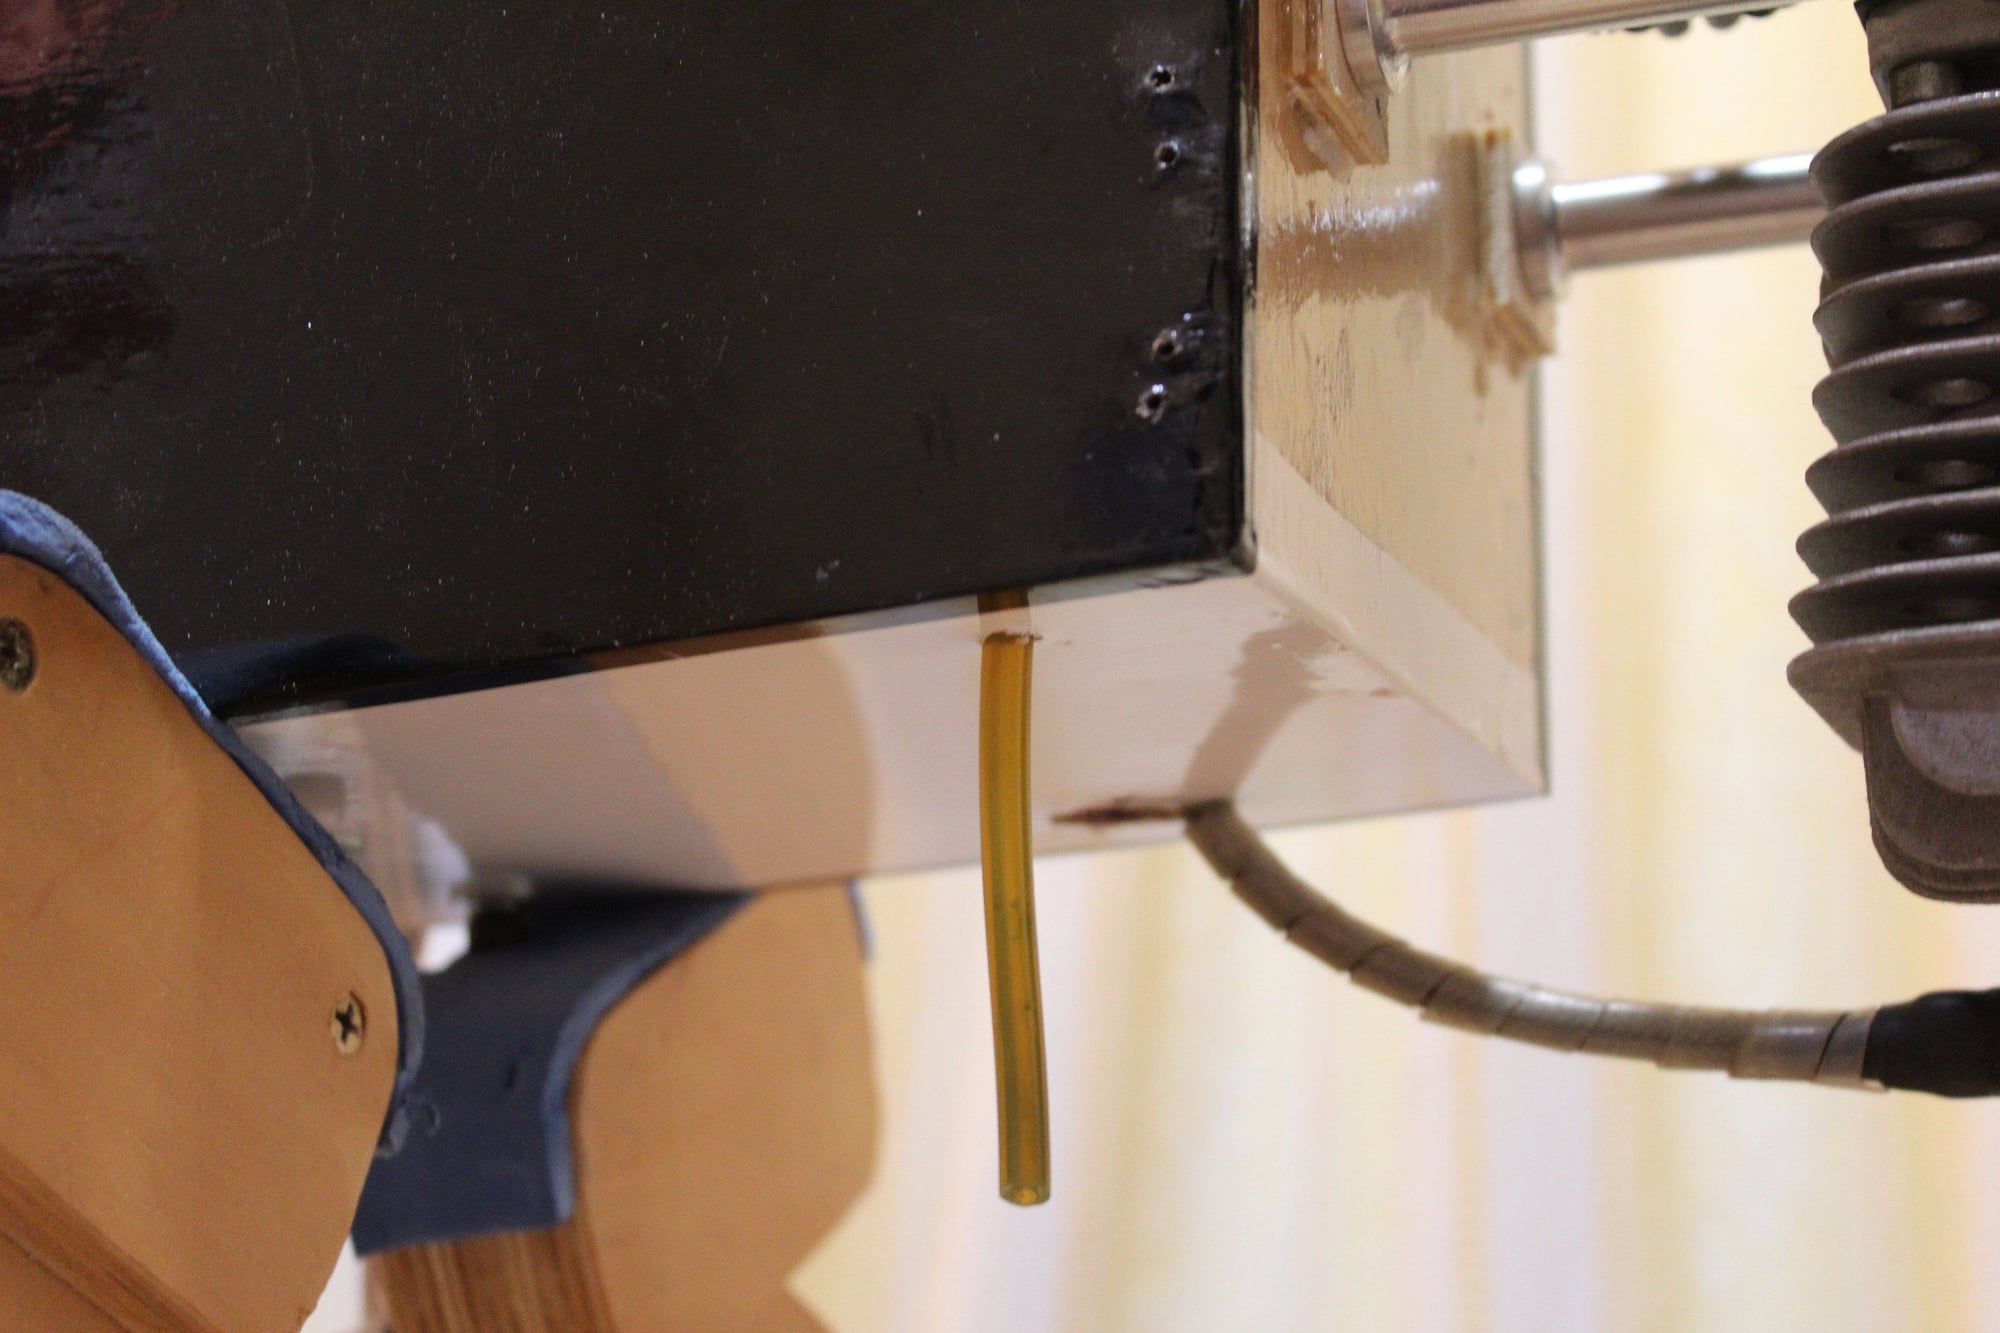
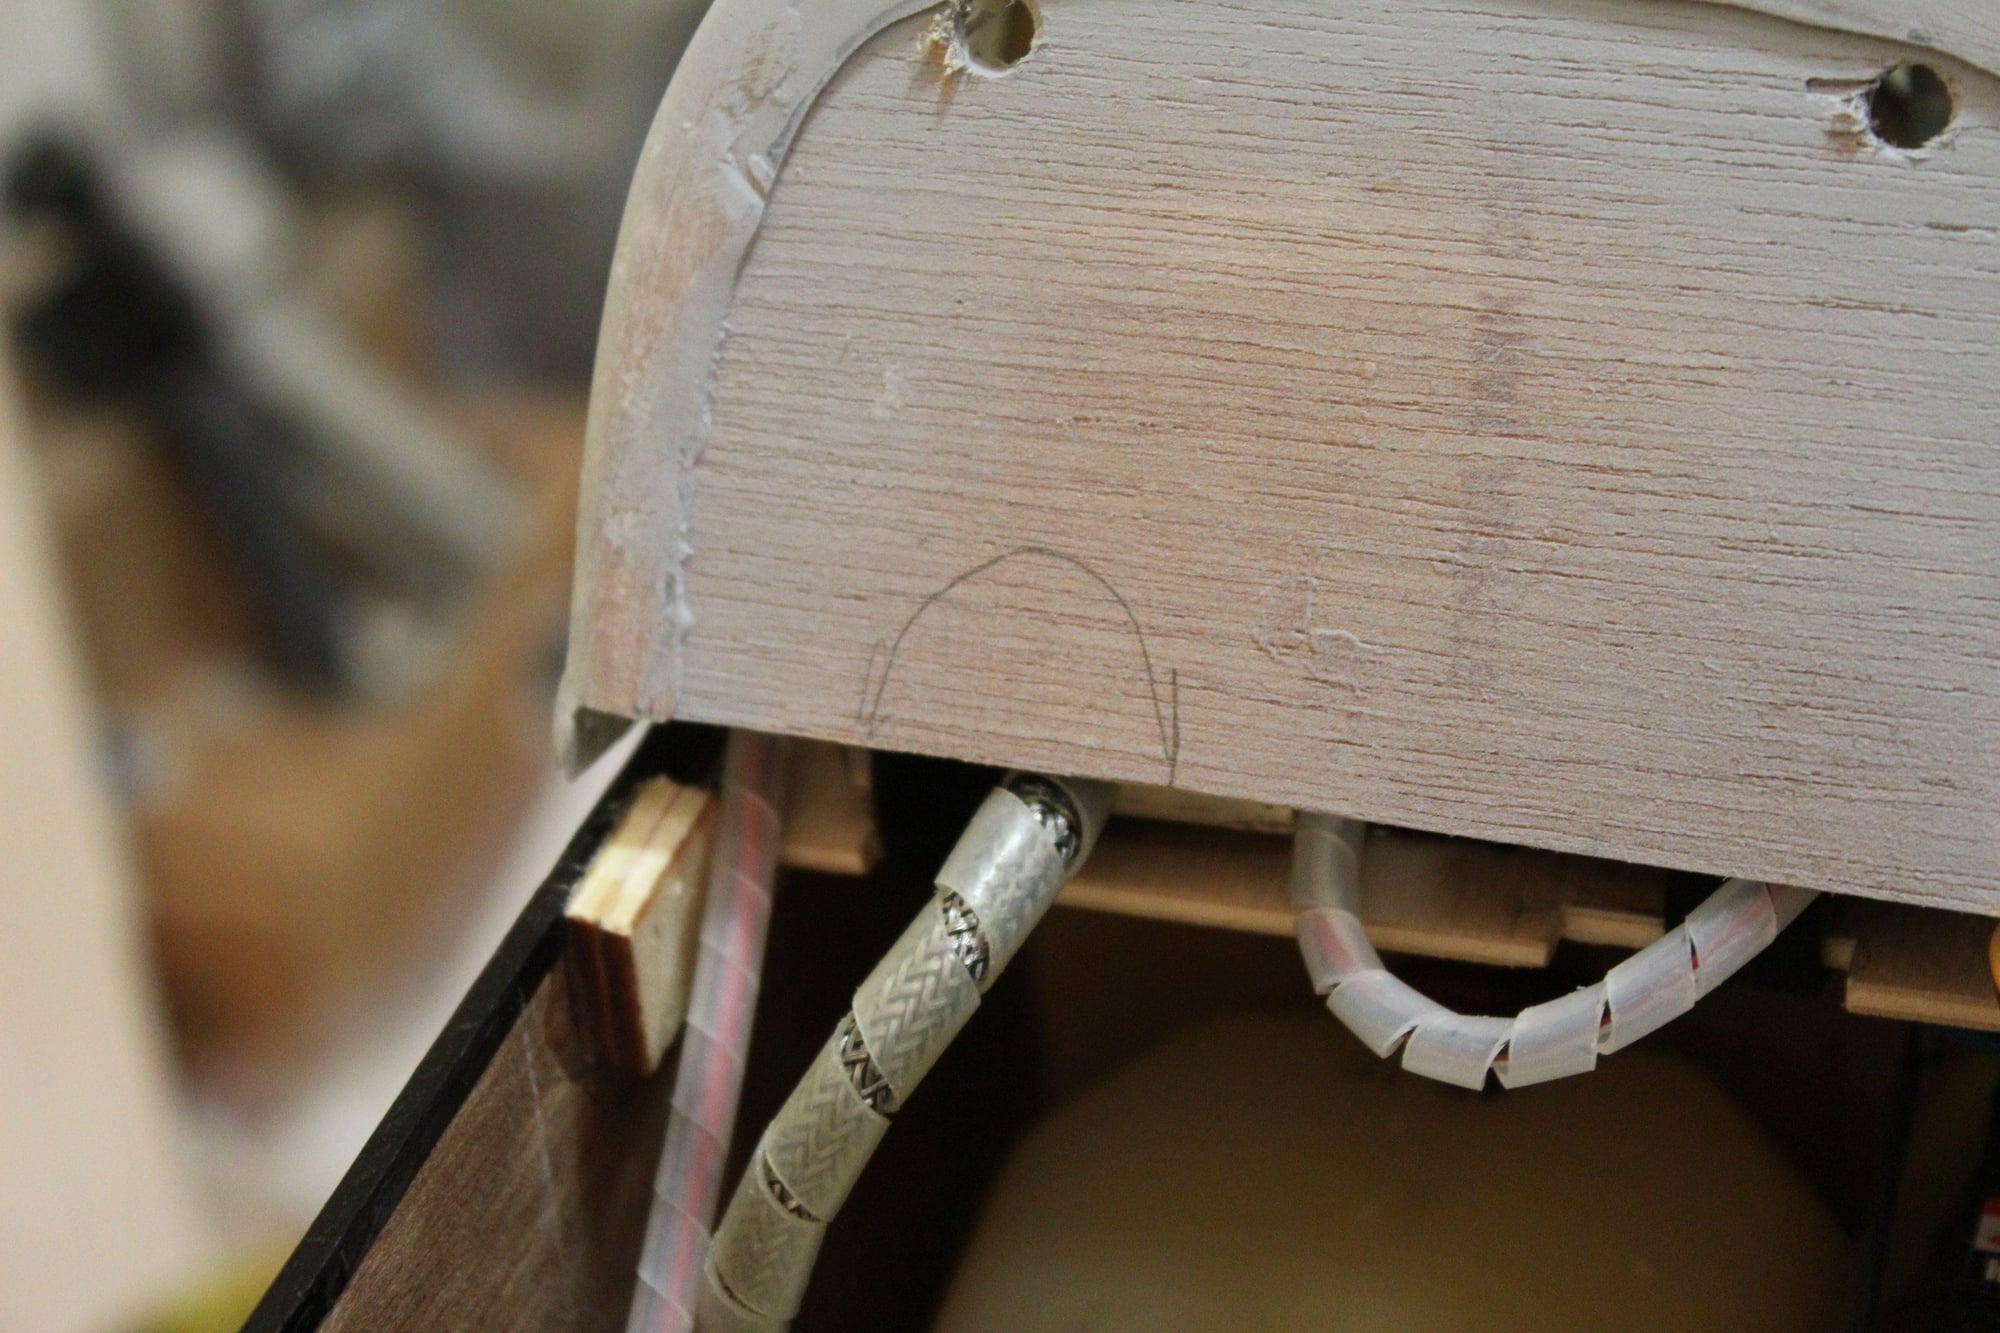
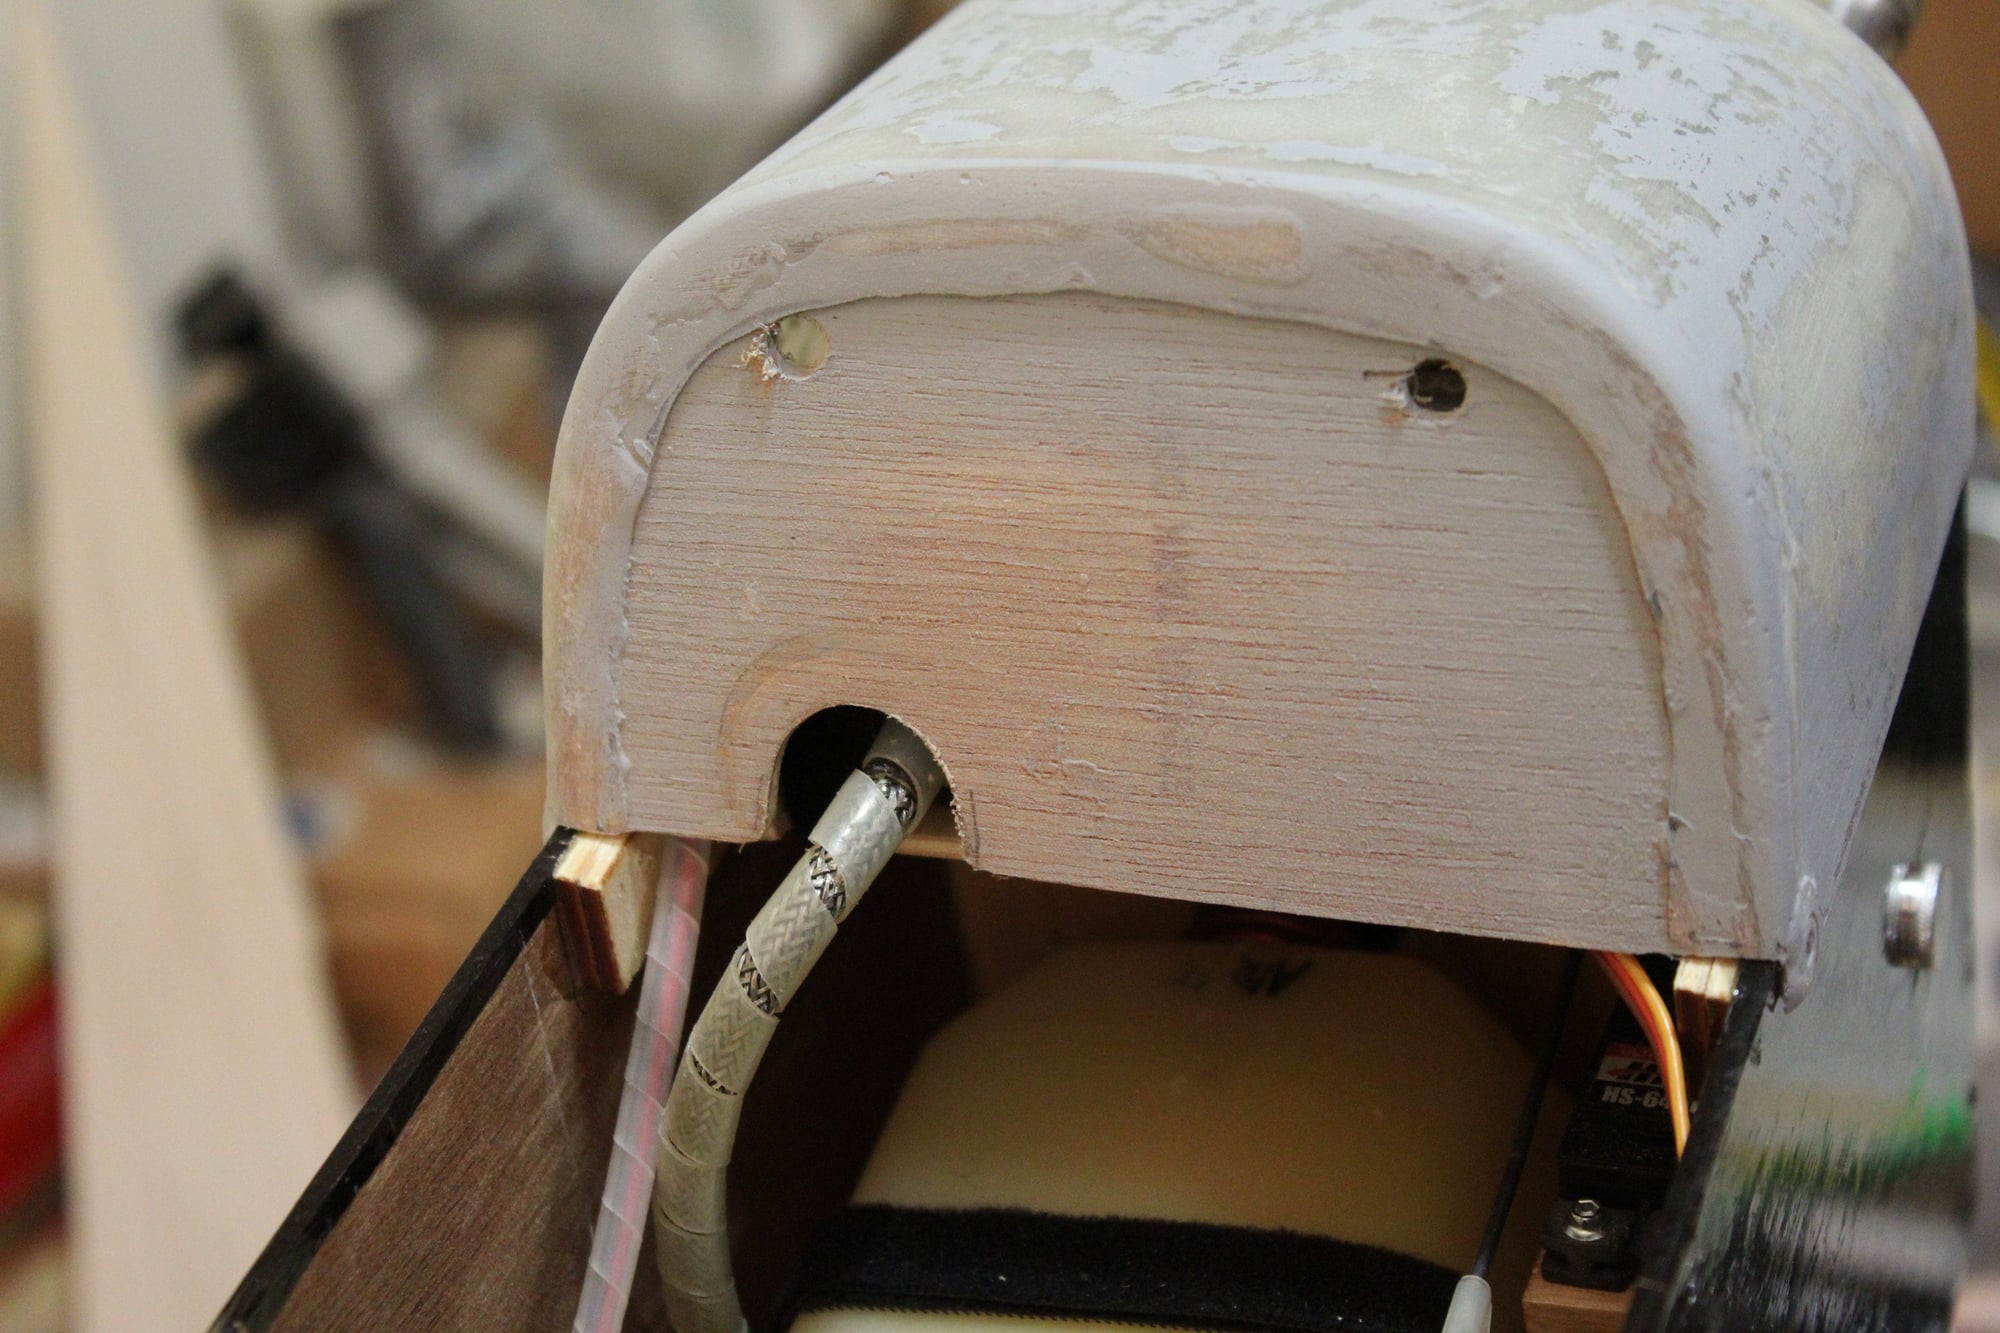
A hole was cut at the bottom of the fuselage for the spark plug cup, and a corresponding recess was cut into the fuel tank tray.
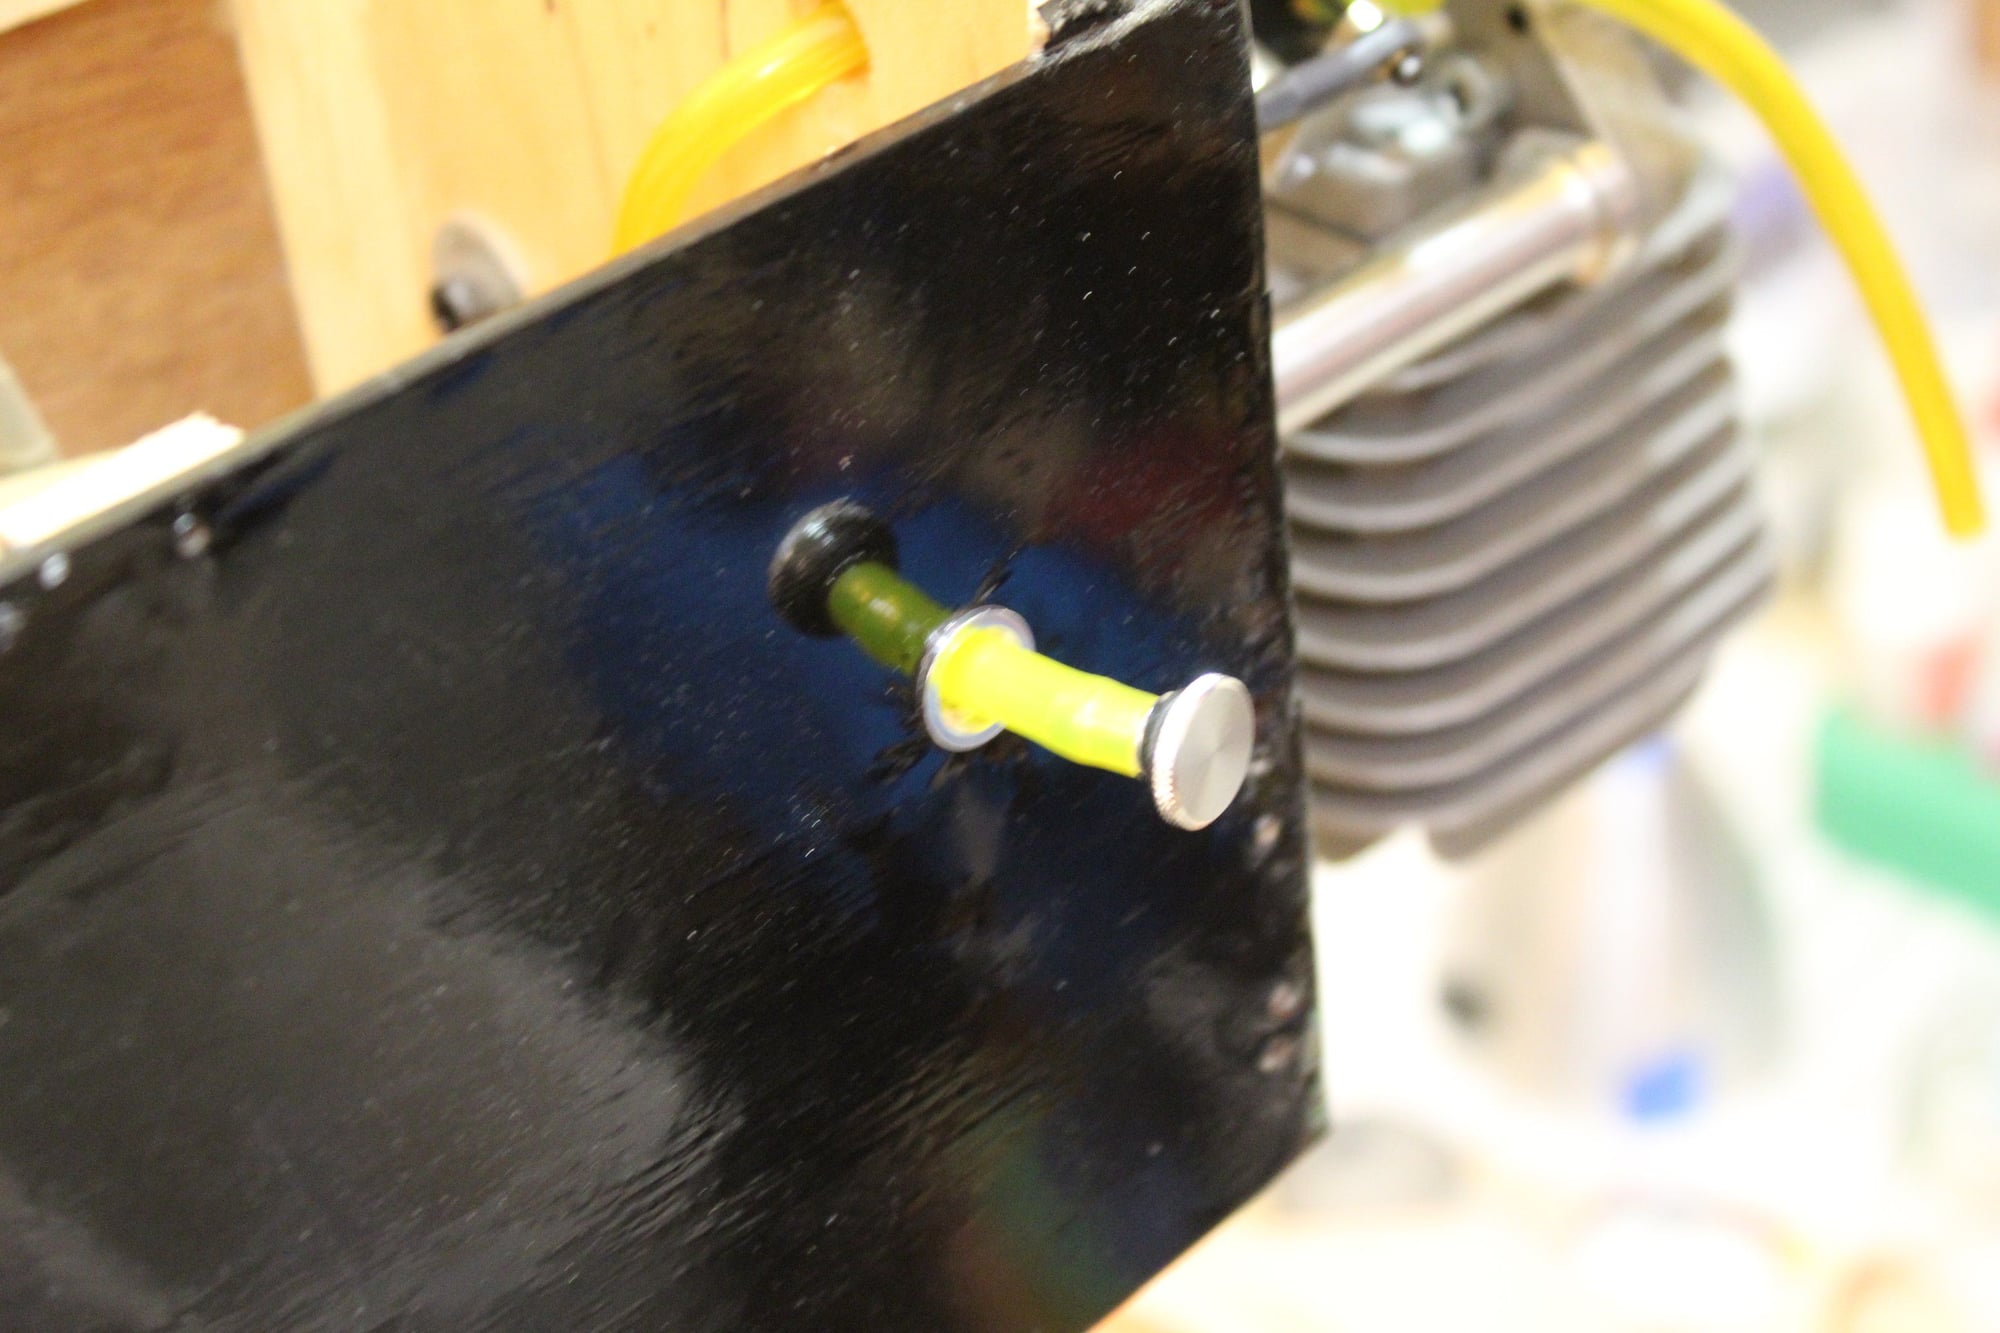
The fuel dot for refueling was installed and fuel plumbing routed.
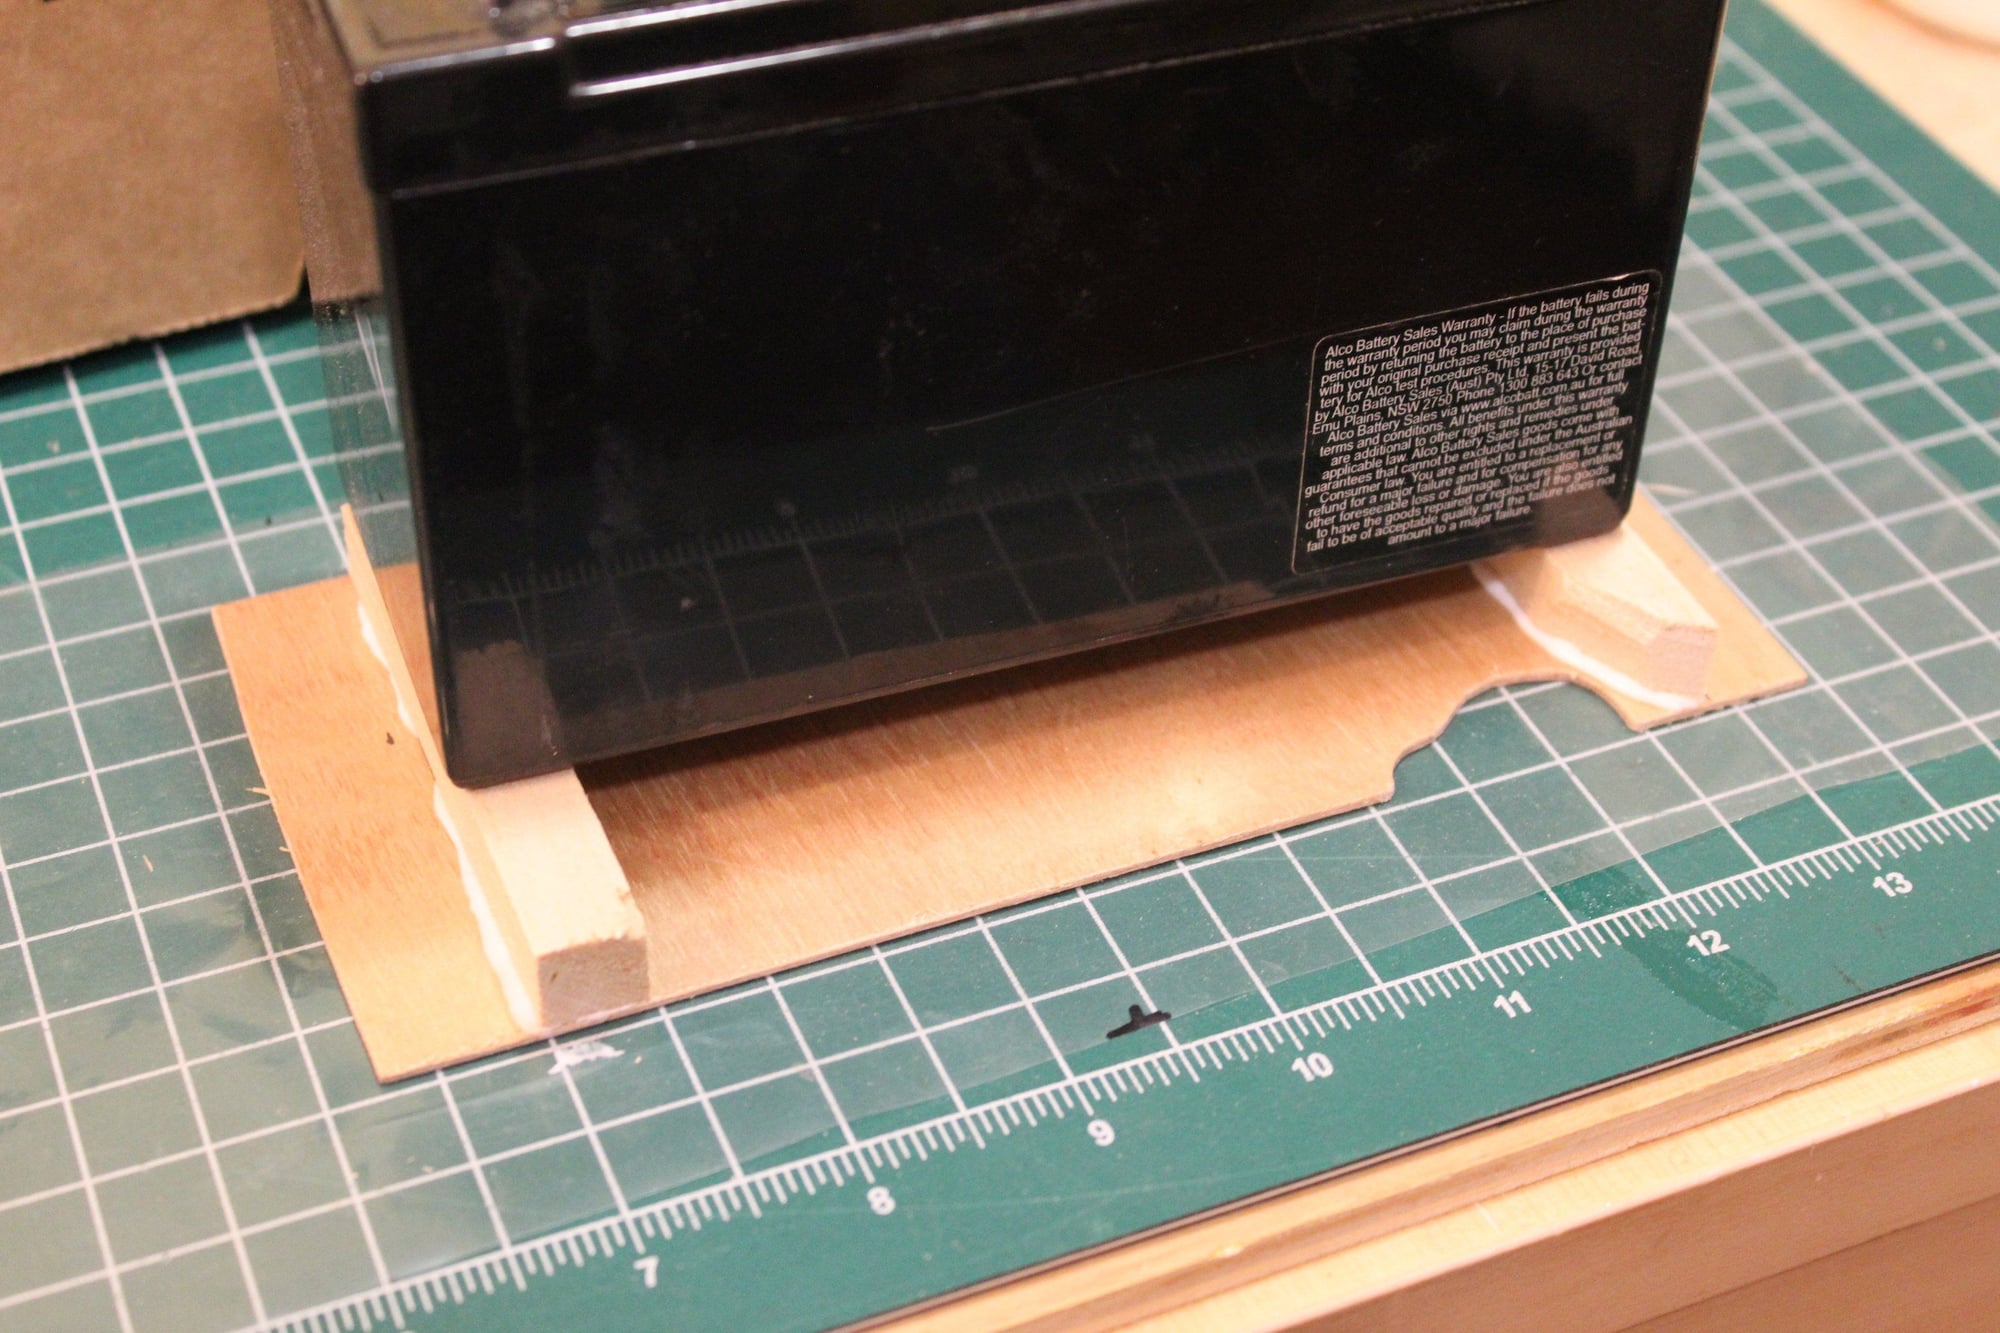
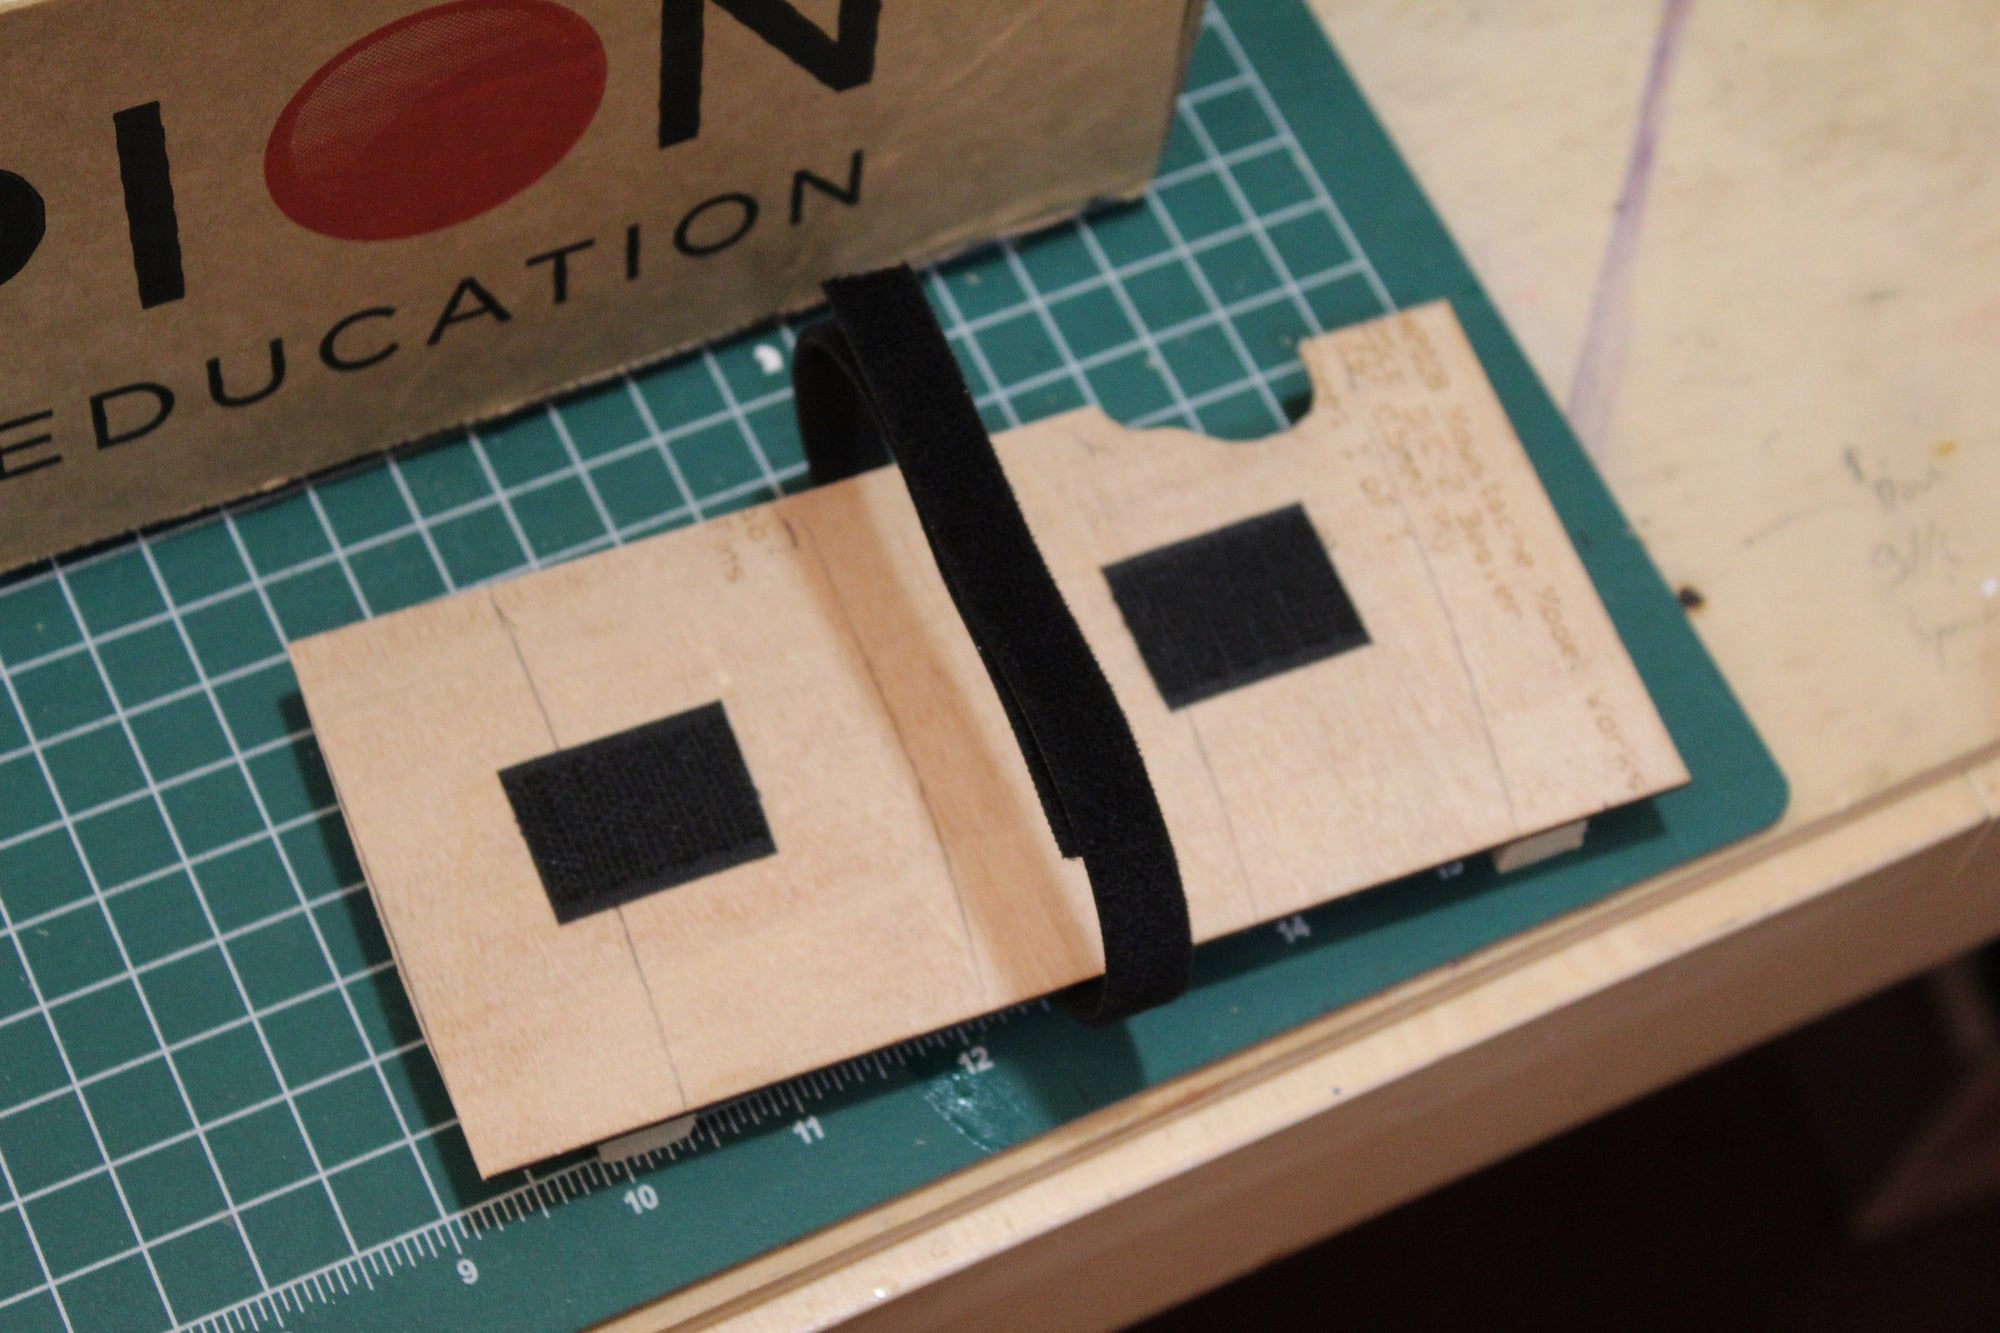
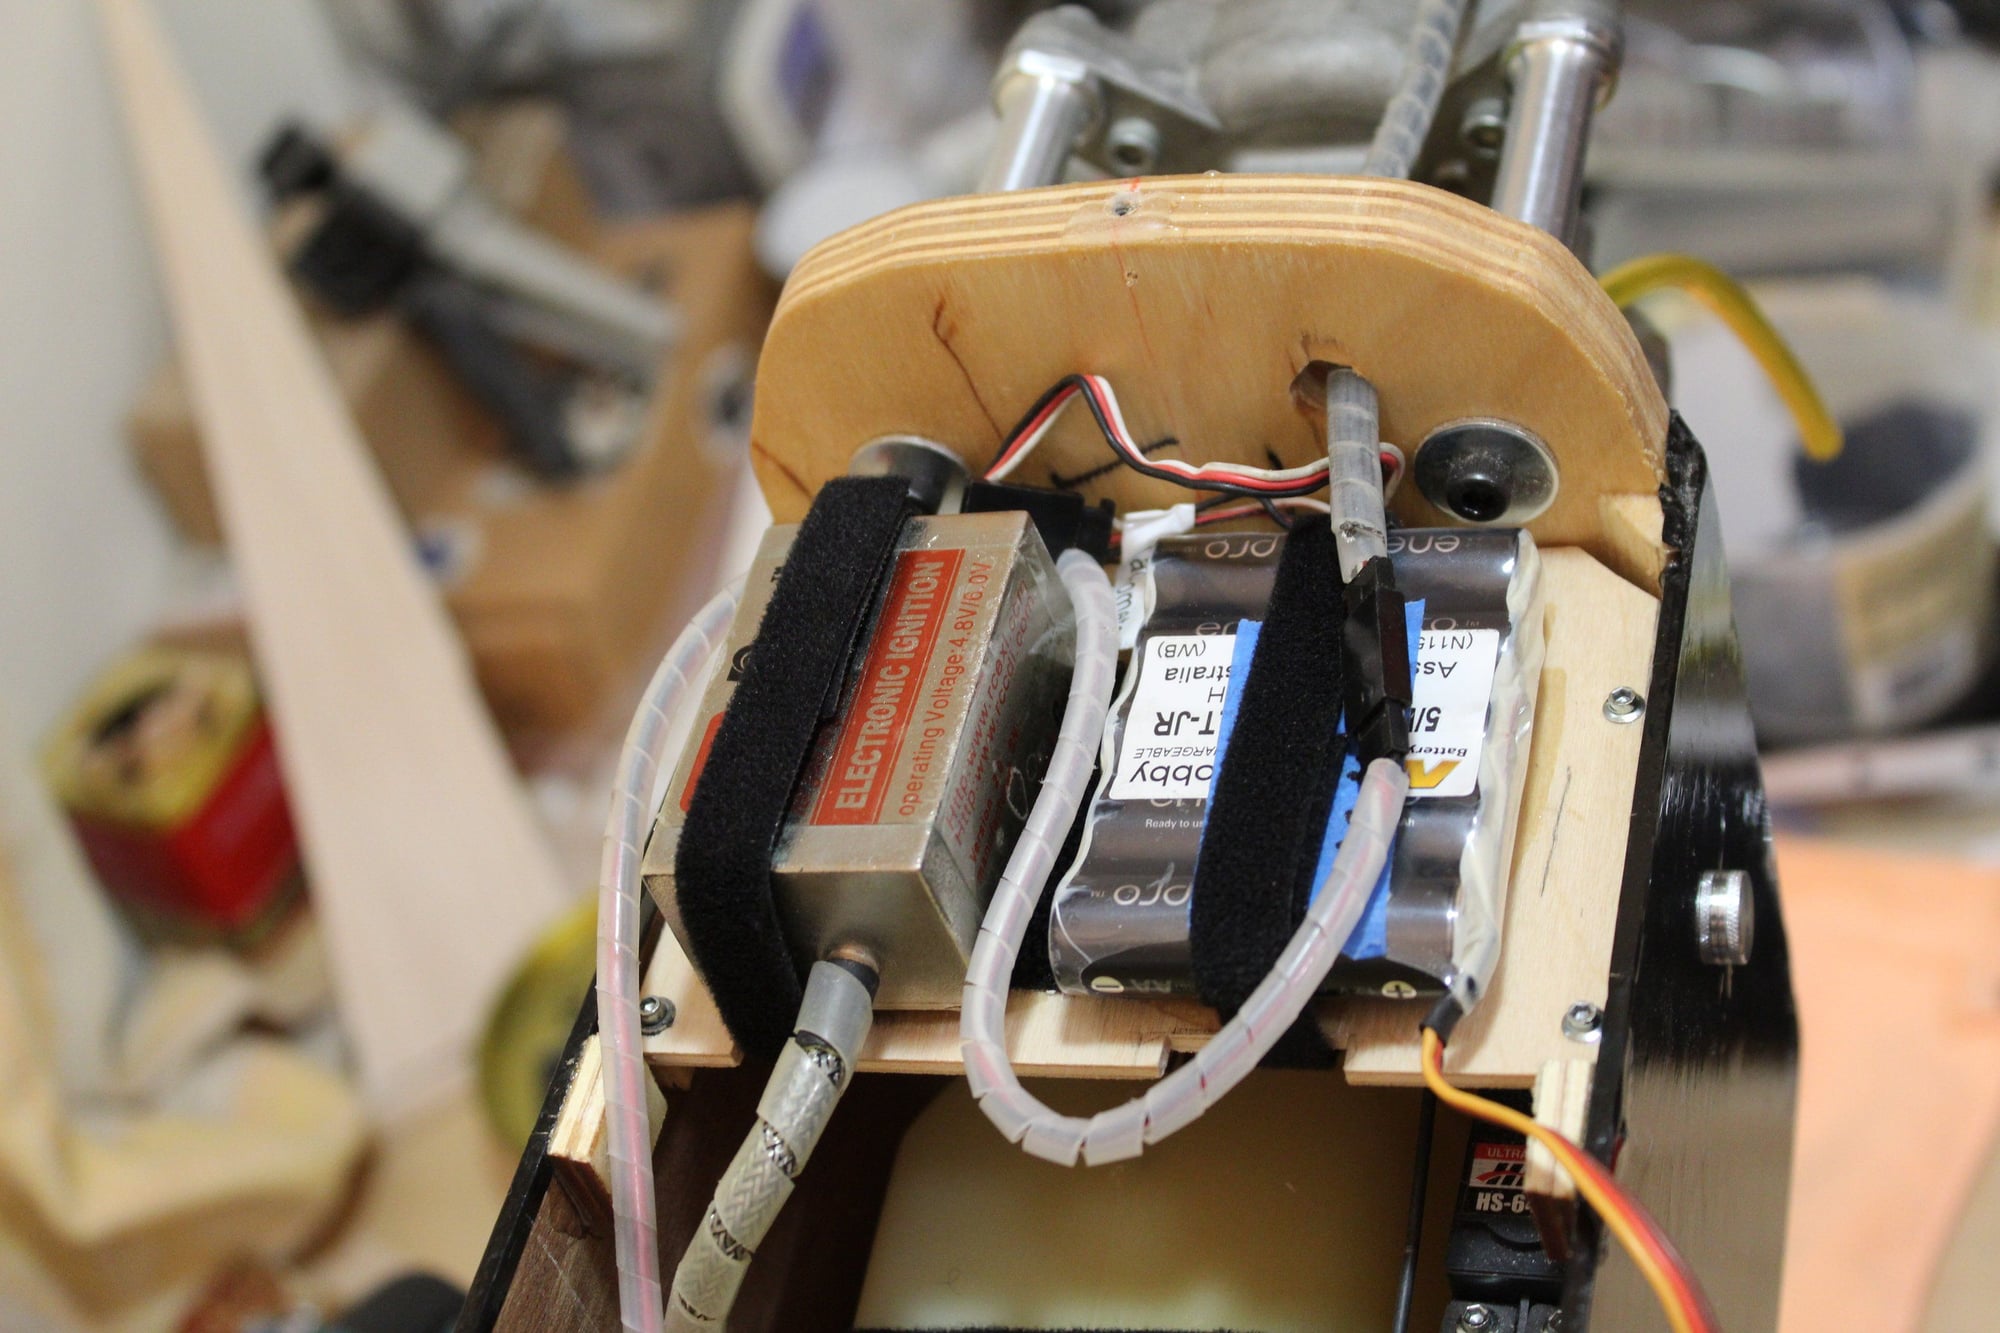
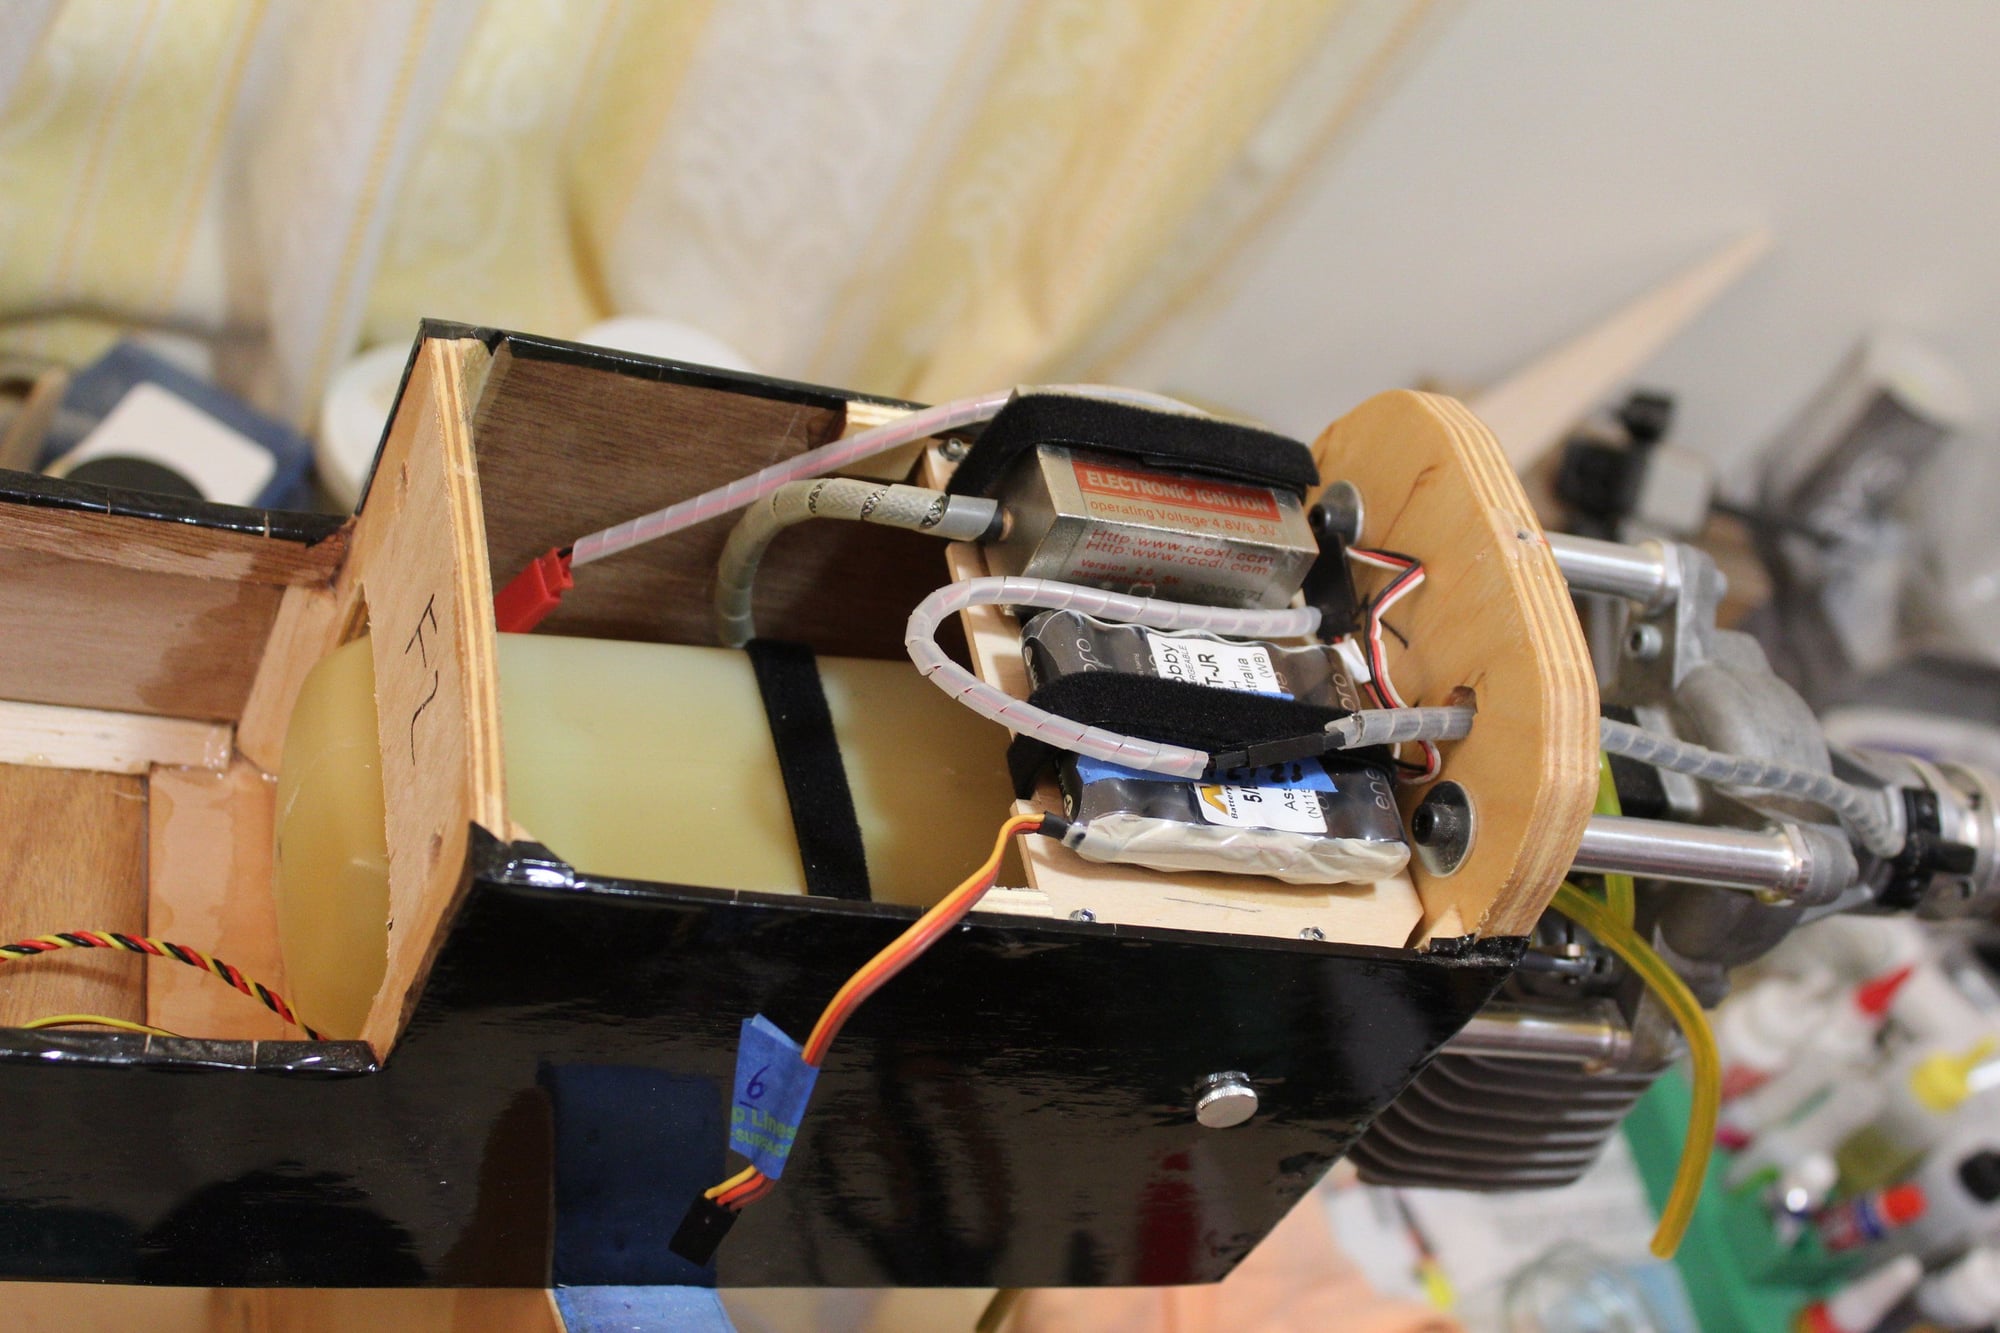
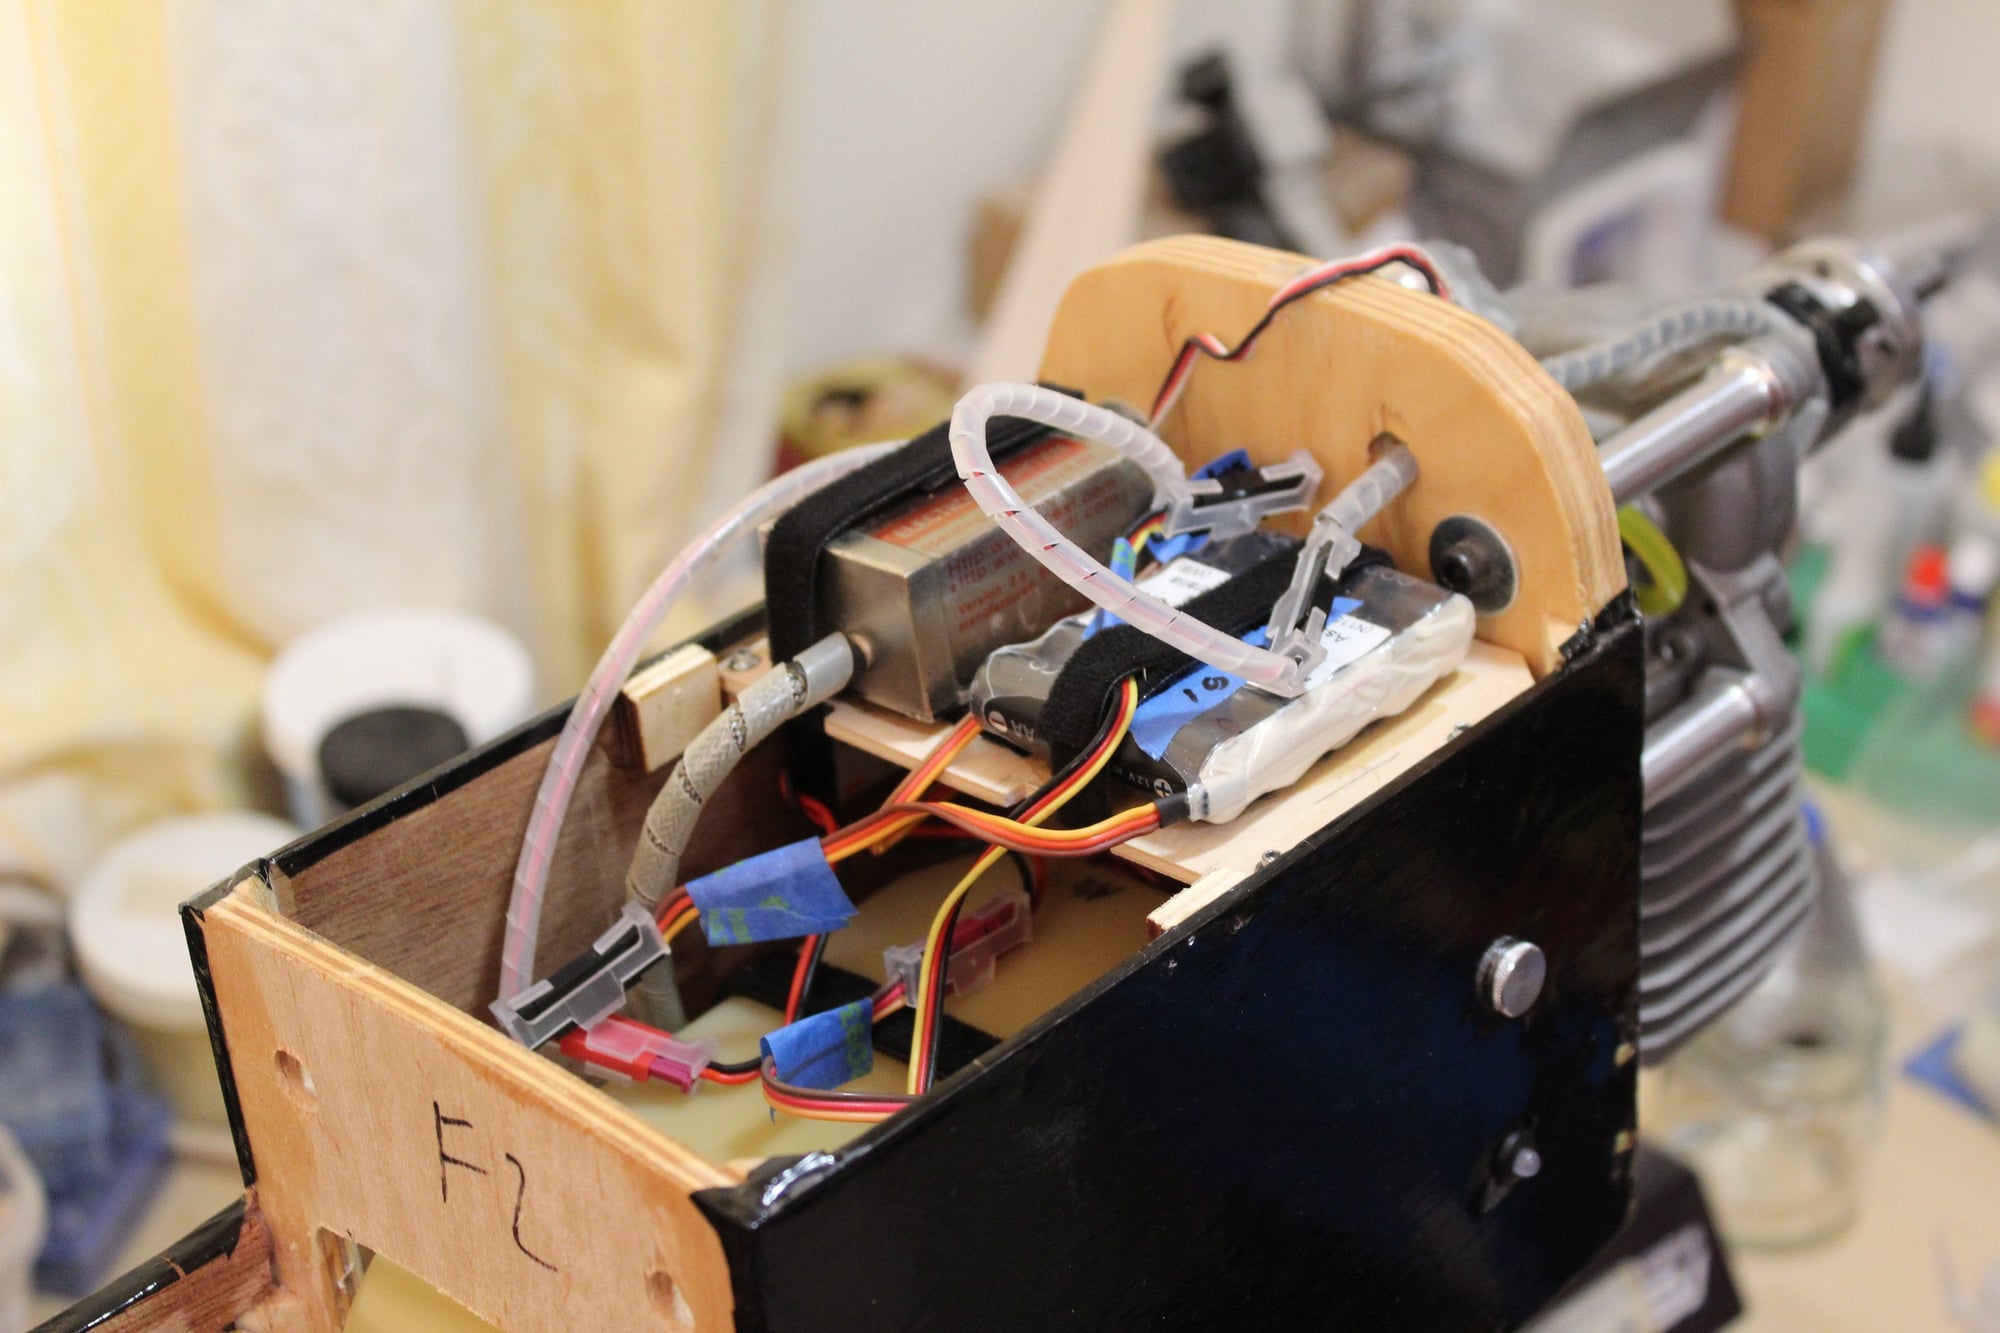
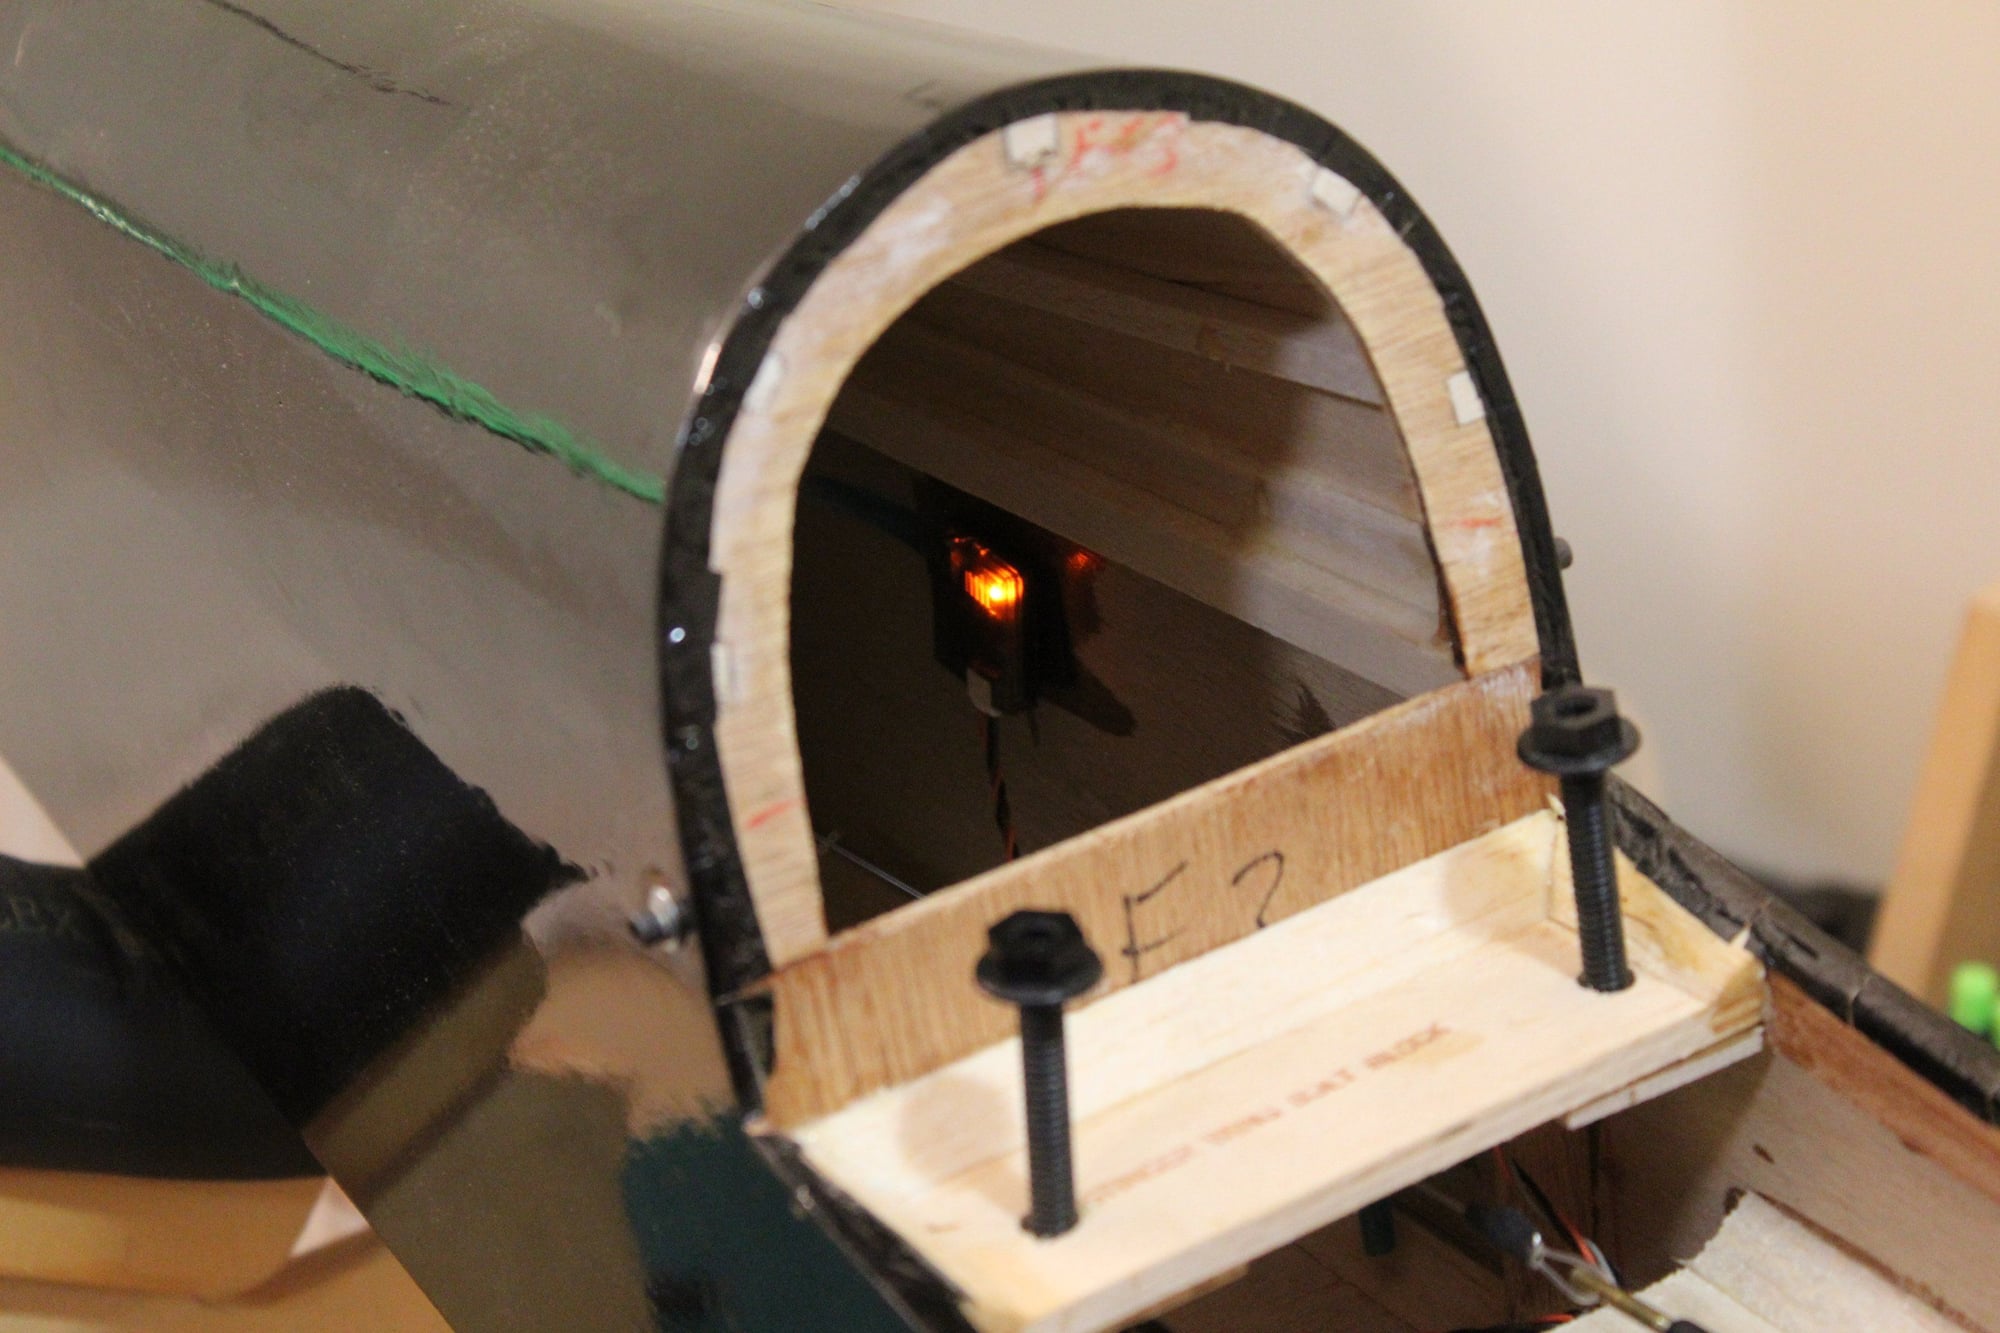
A tray was made to accommodate the ignition module and battery, in an attempt to put as much weight in the nose as possible.
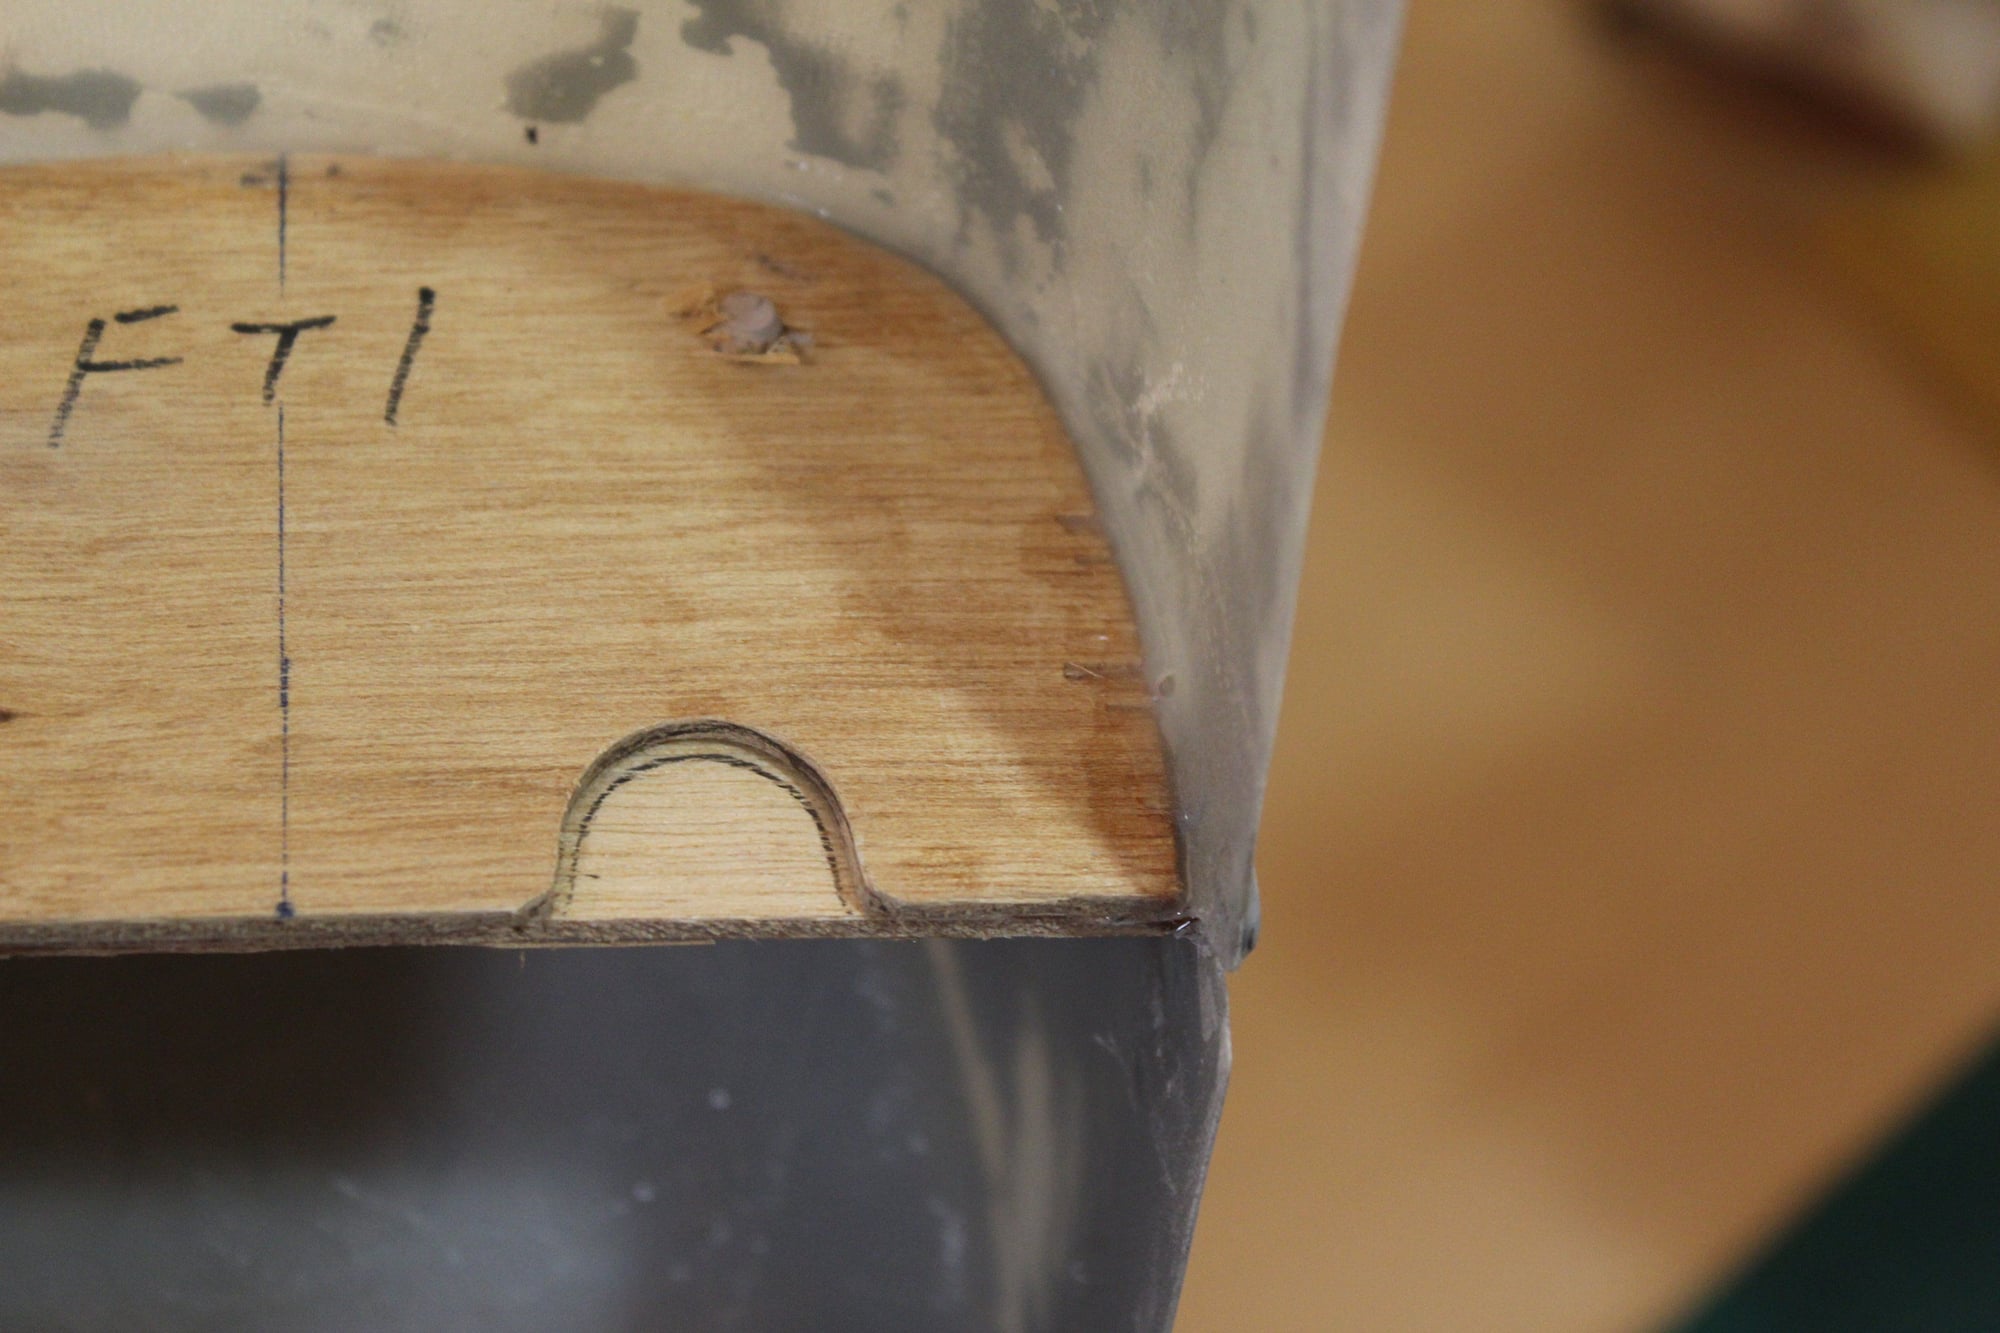
Last, a recess was cut into FT1 and FT2 for the ignition module spark plug cup cable.


Cheers,
Eran
A hole was cut at the bottom of the fuselage for the spark plug cup, and a corresponding recess was cut into the fuel tank tray.
The fuel dot for refueling was installed and fuel plumbing routed.
A tray was made to accommodate the ignition module and battery, in an attempt to put as much weight in the nose as possible.
Last, a recess was cut into FT1 and FT2 for the ignition module spark plug cup cable.
Cheers,
Eran

 03-23-2024, 07:41 PM
#106
Thread Starter
Join Date: Jun 2008
Location: Perth WA, AUSTRALIA
Posts: 1,208
Likes: 0
Received 11 Likes
on
11 Posts
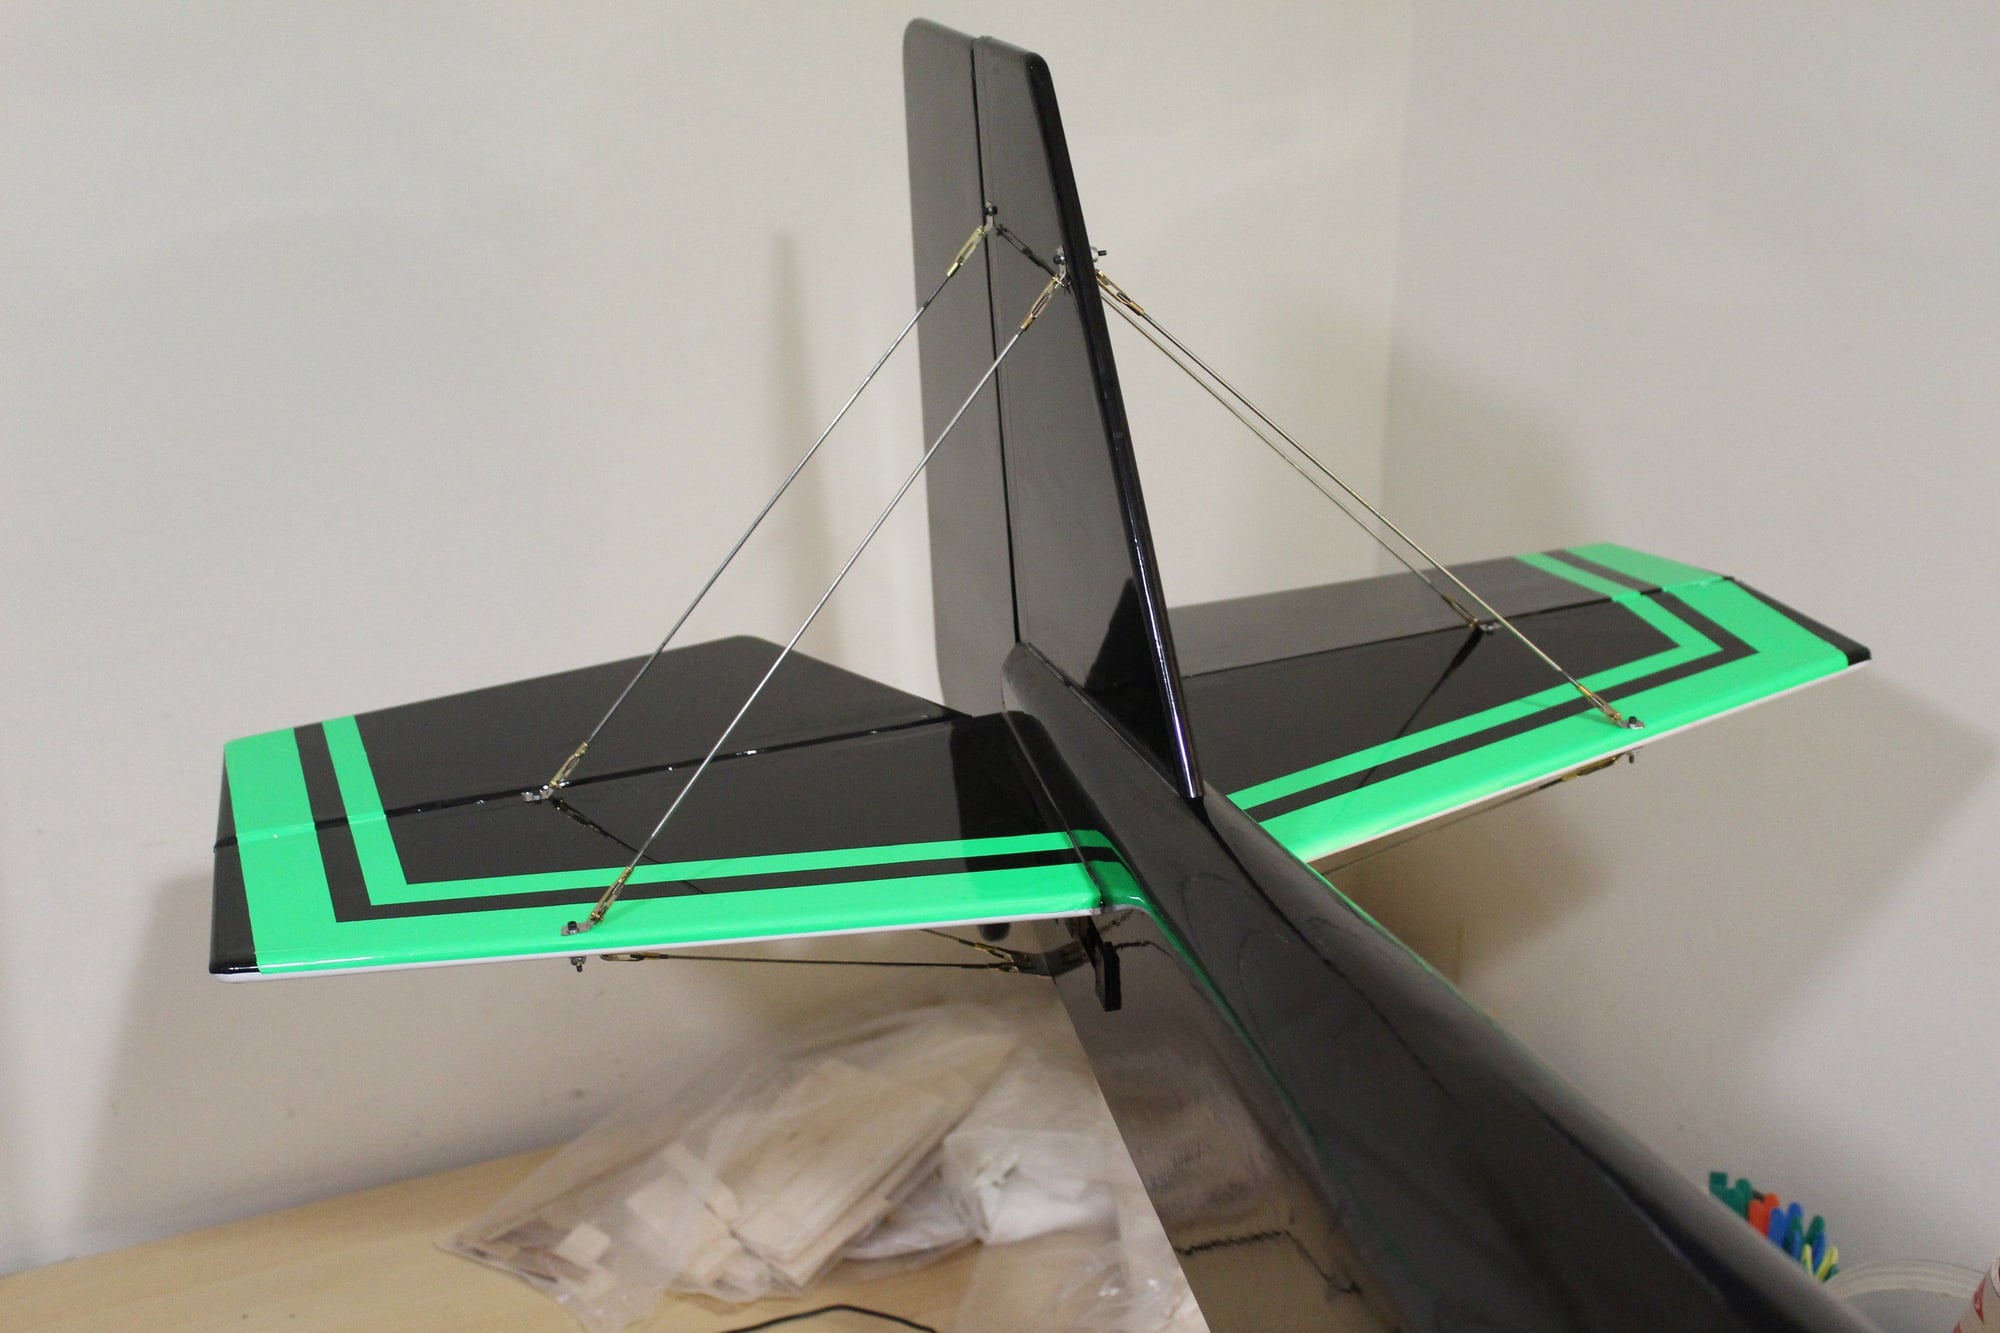
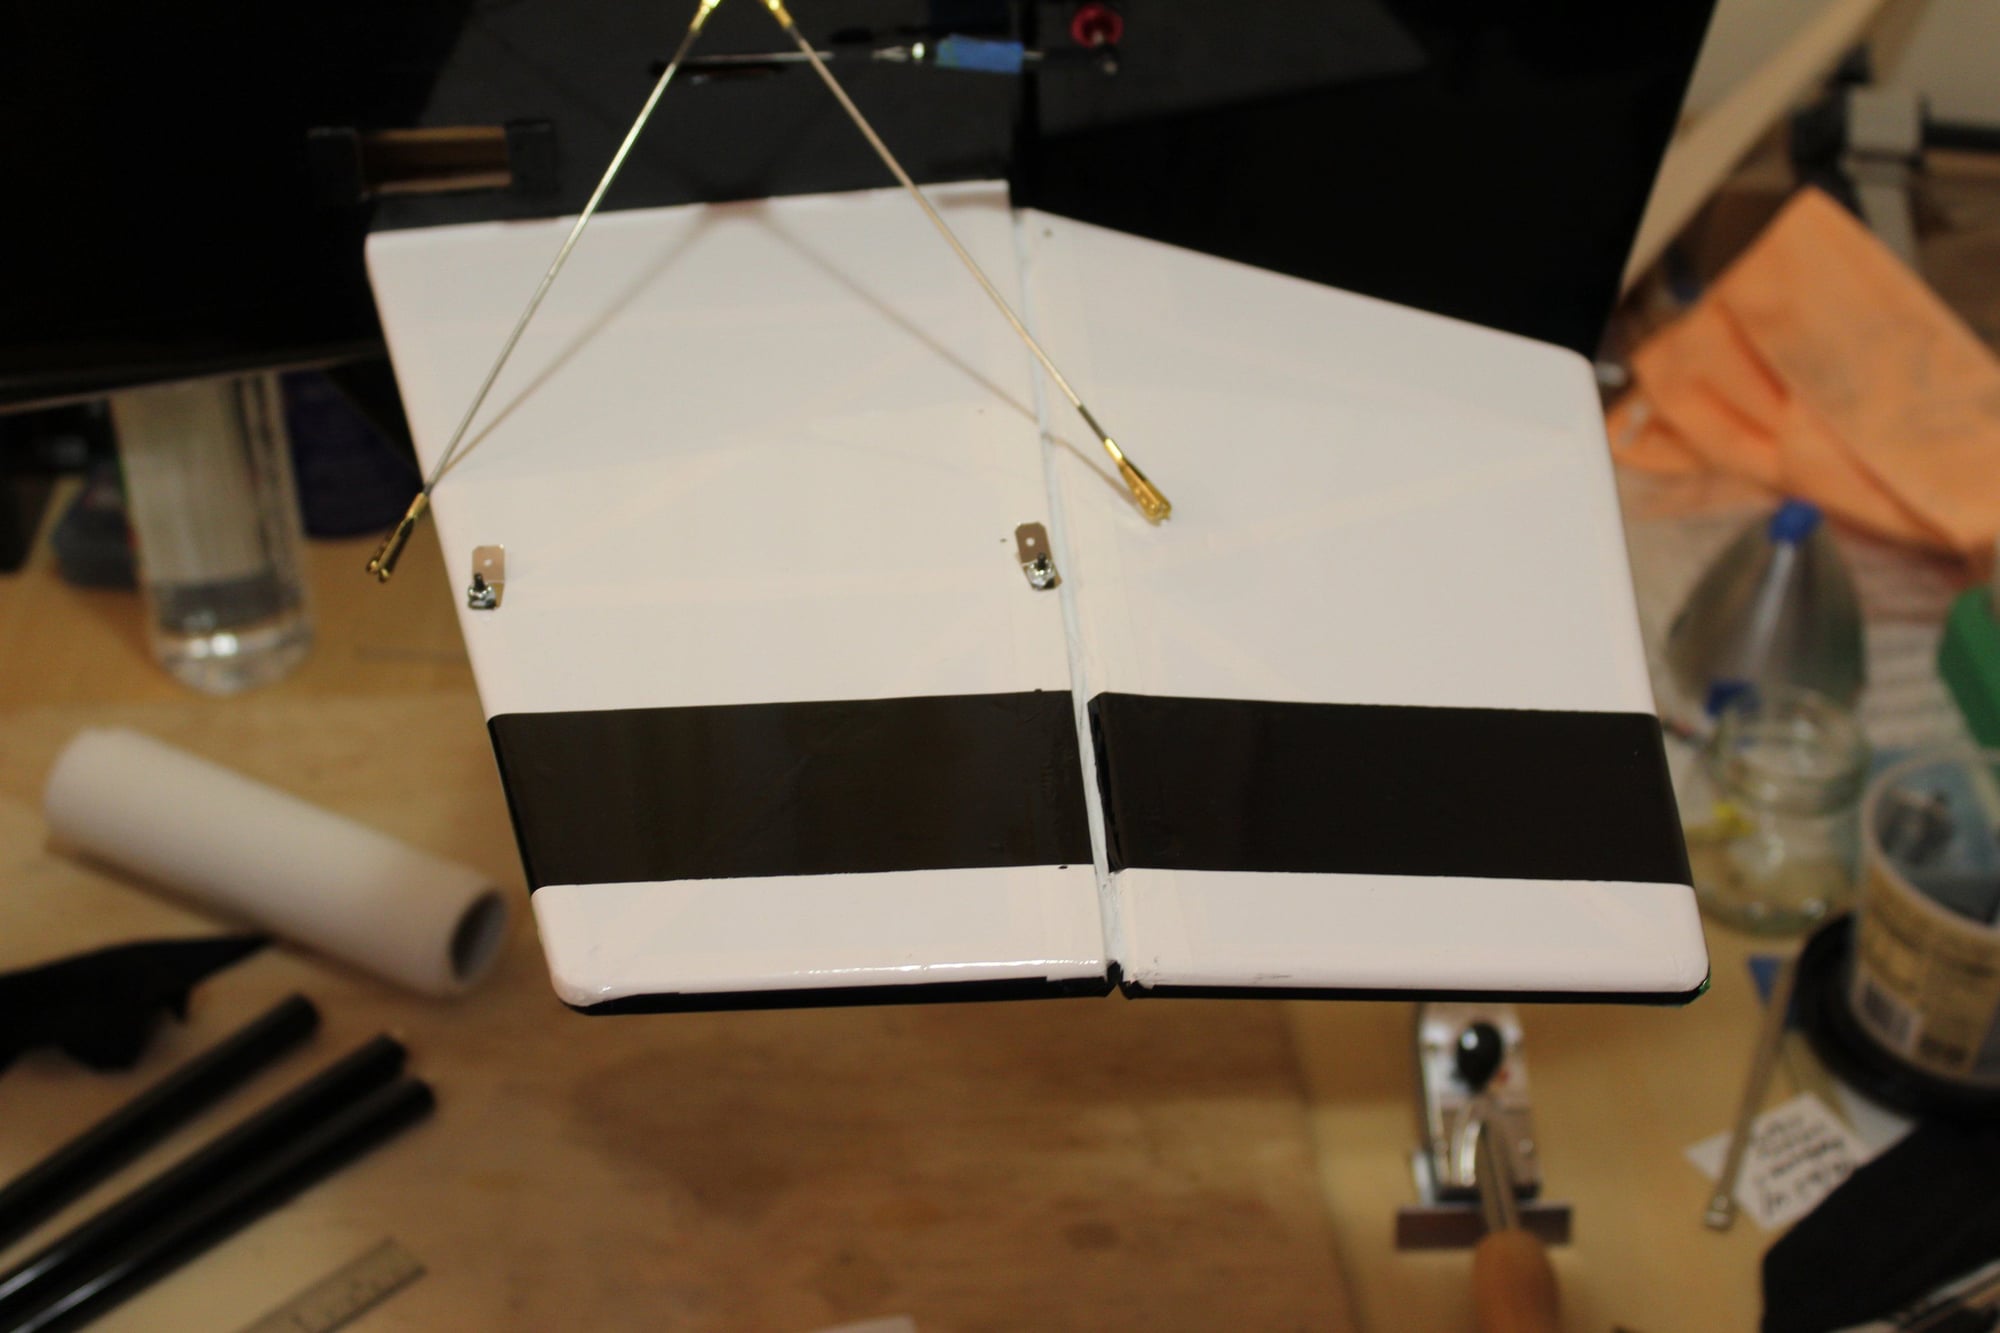
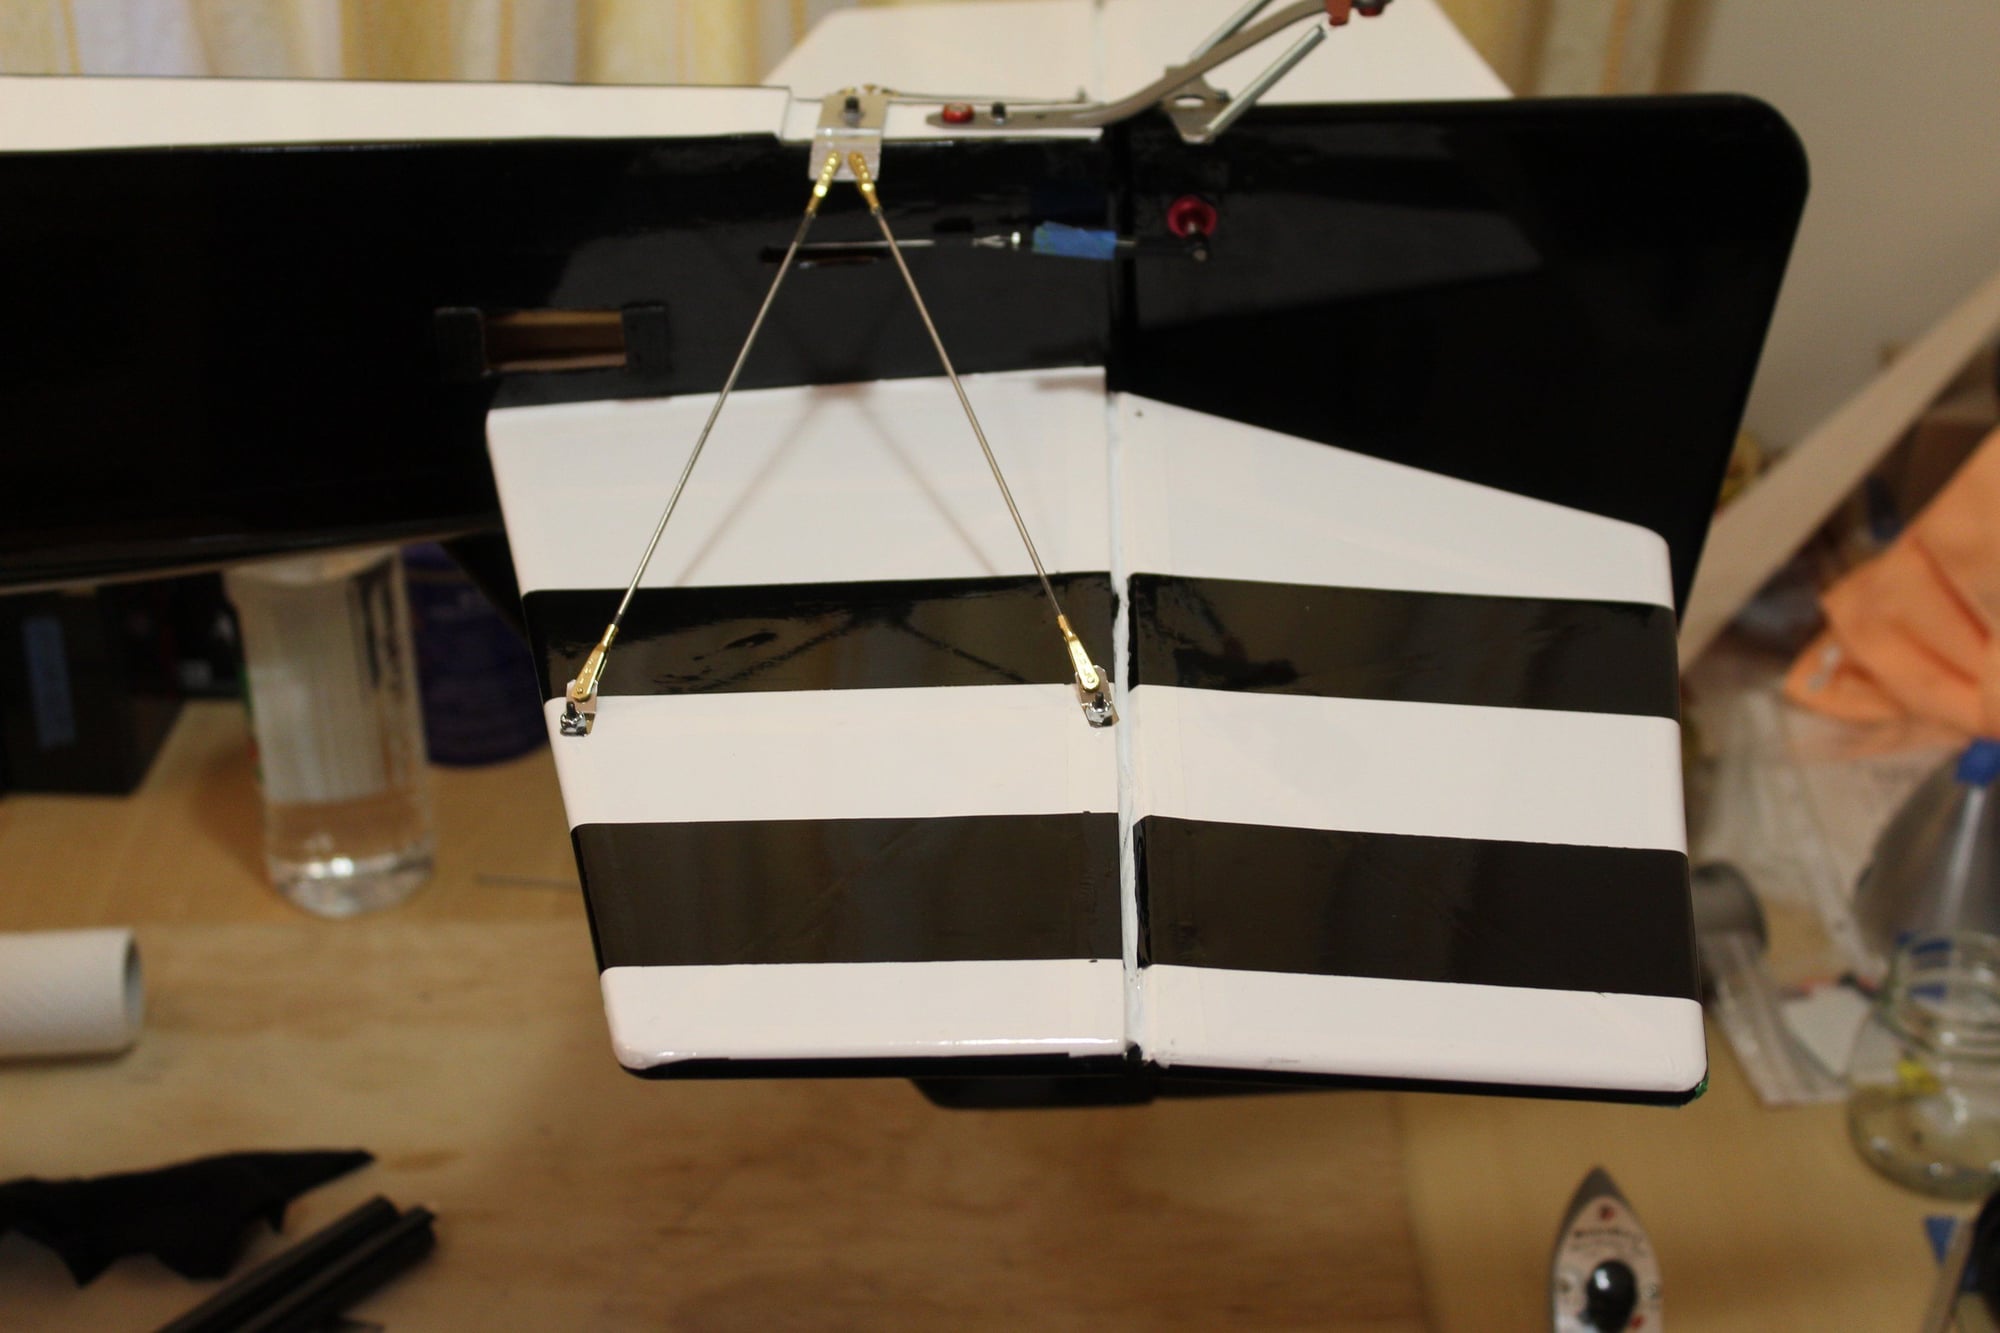
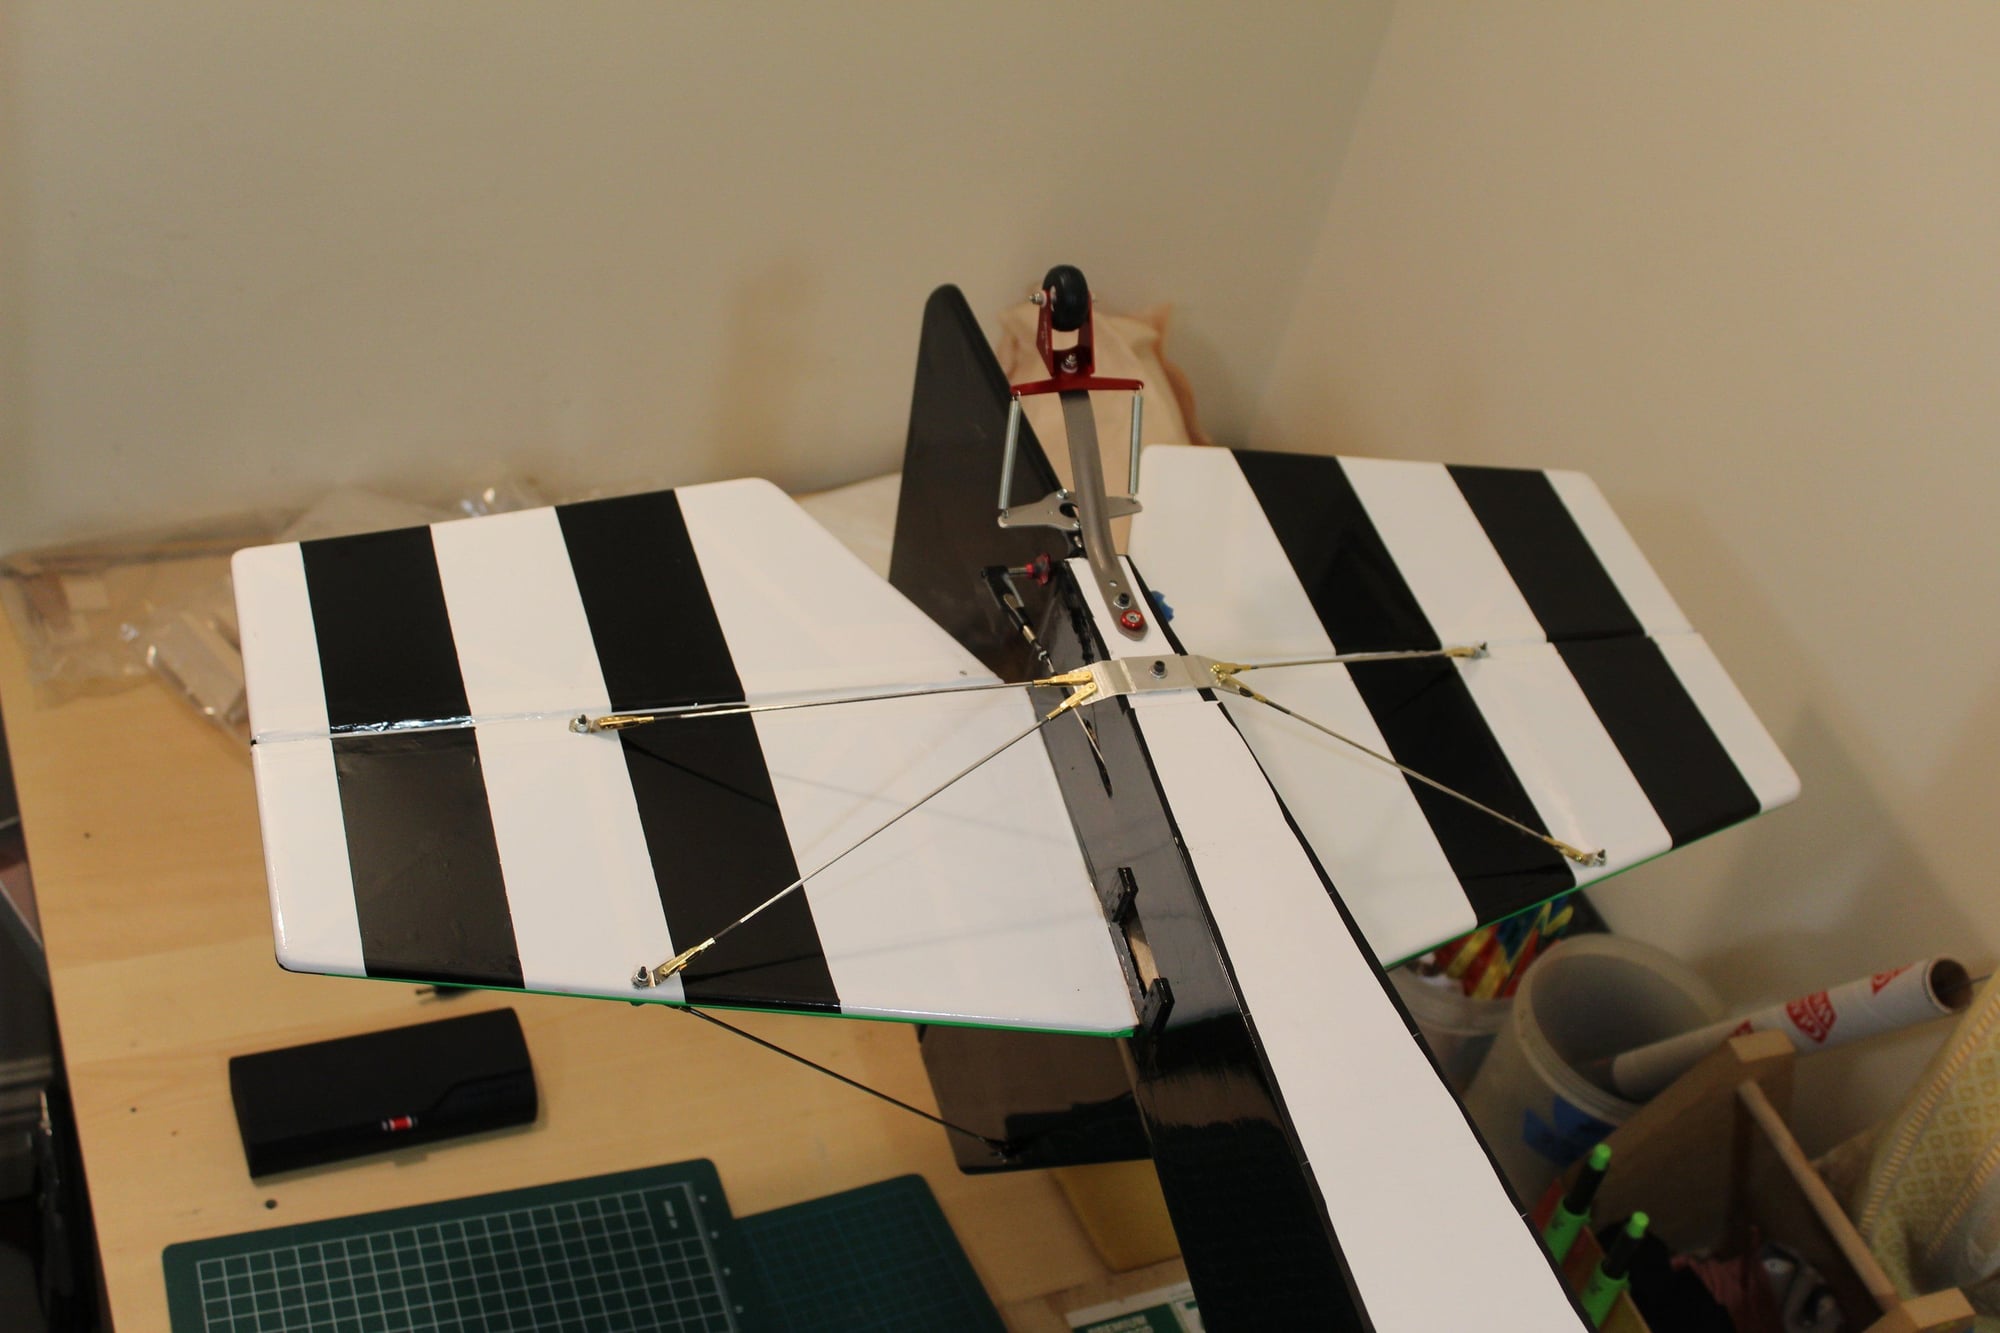
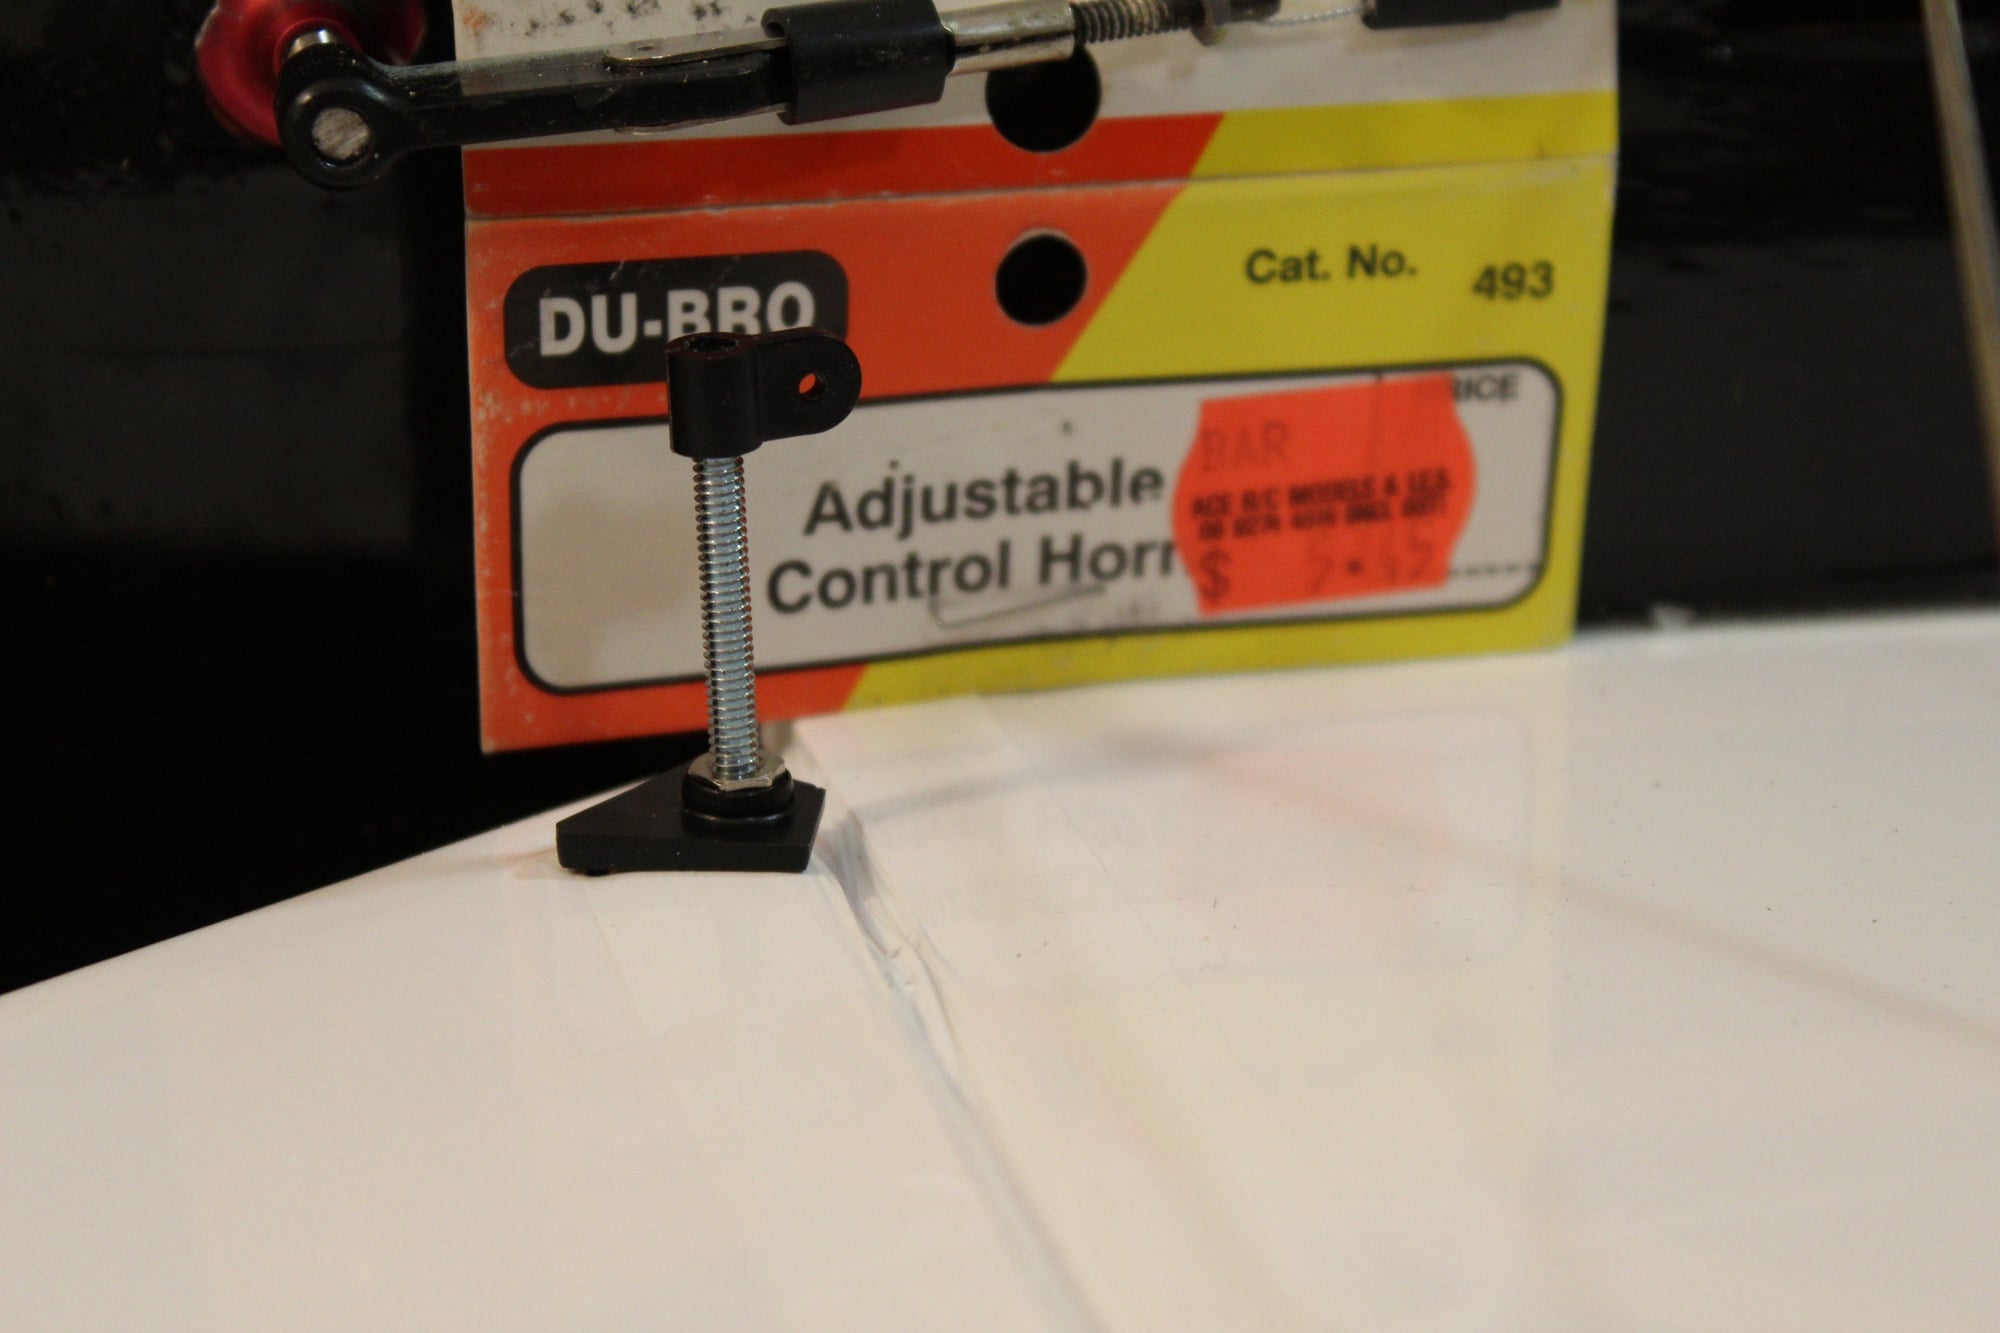
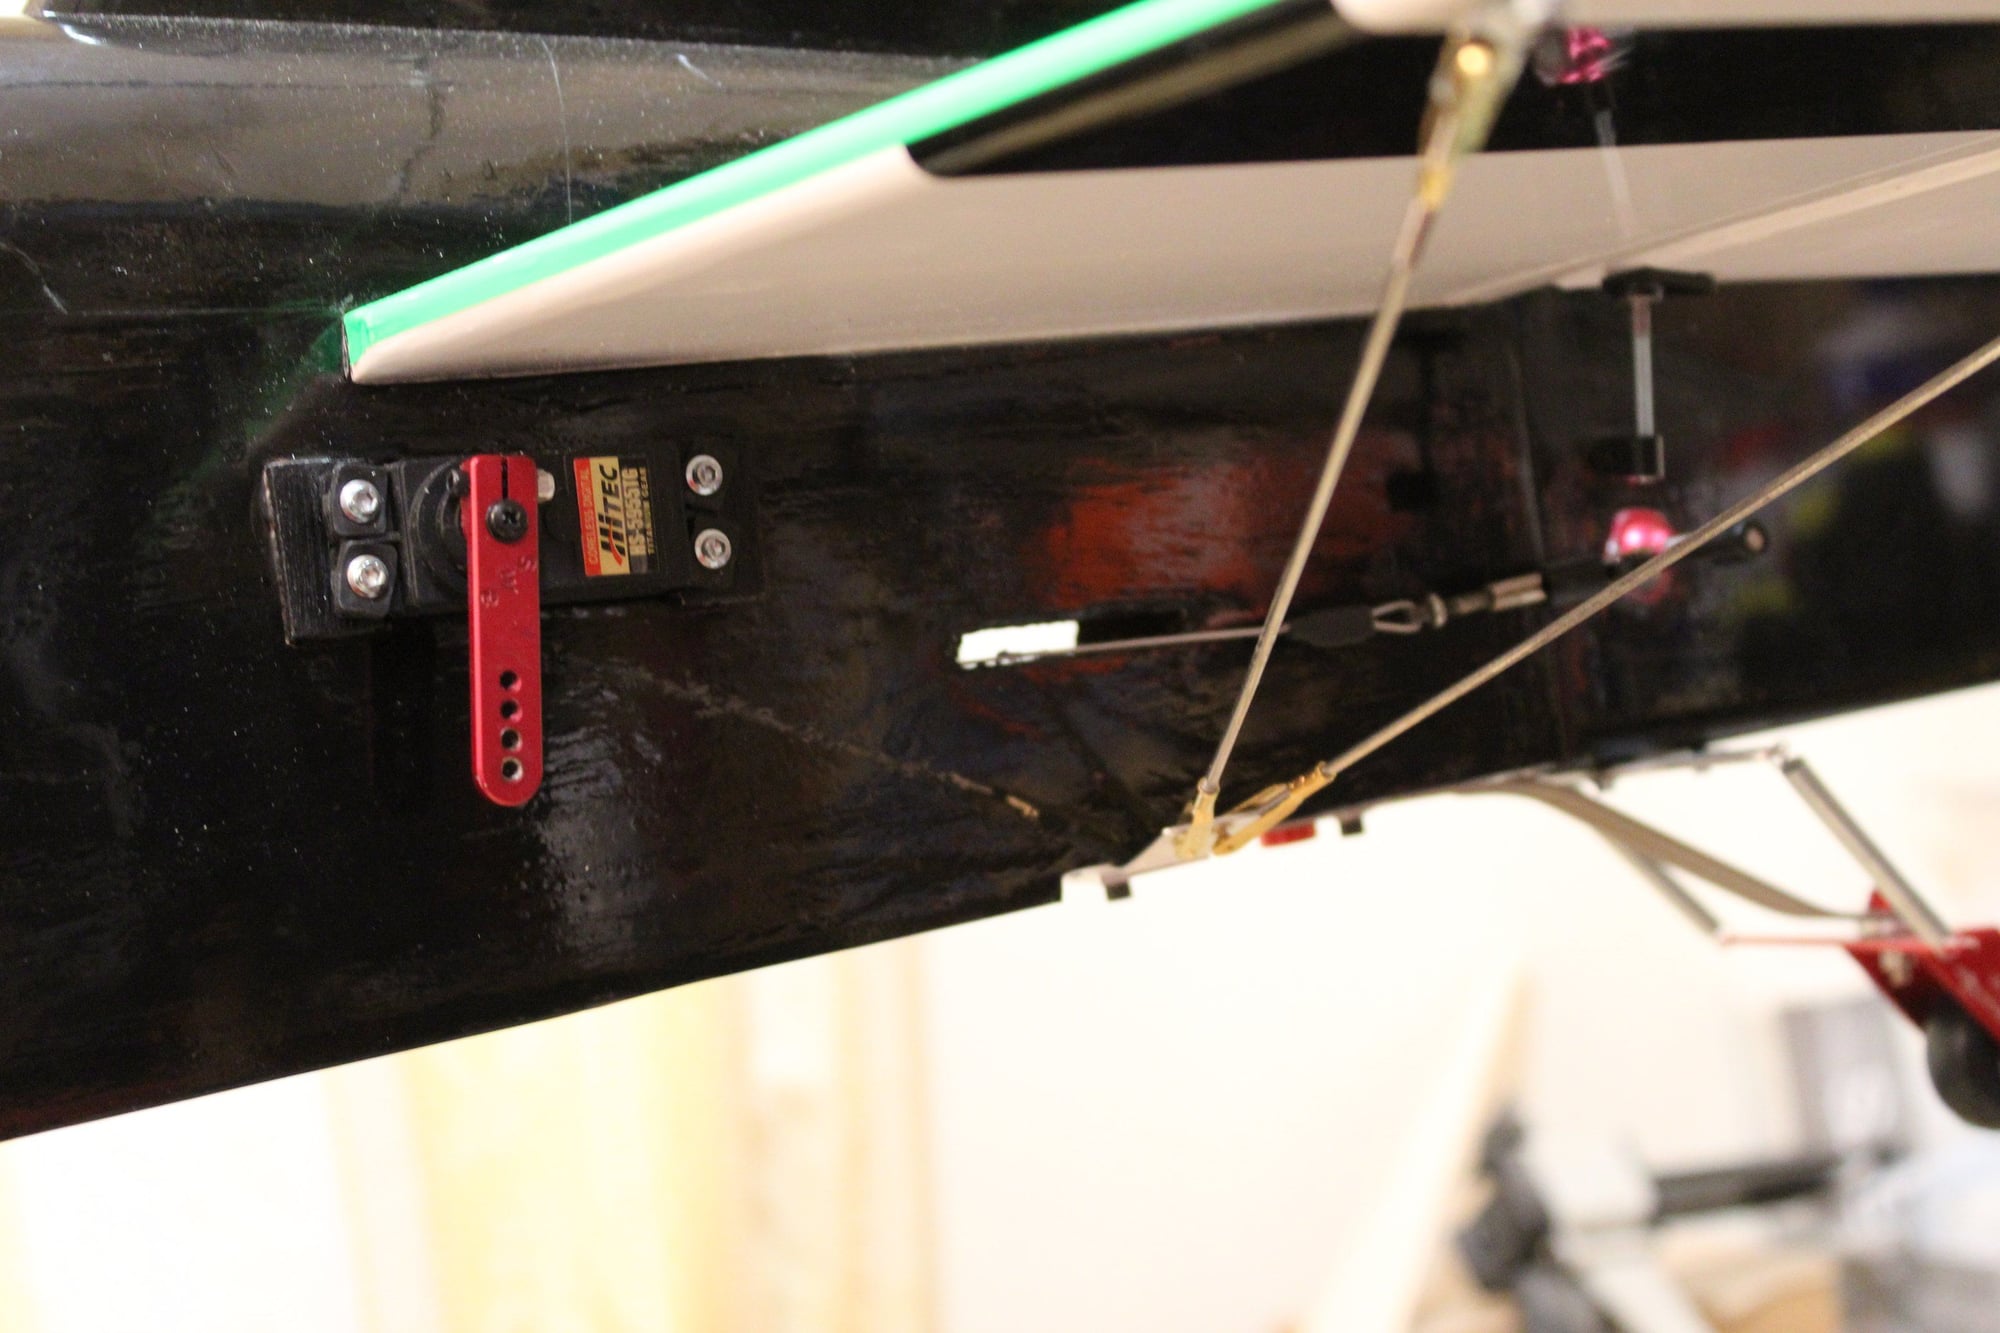
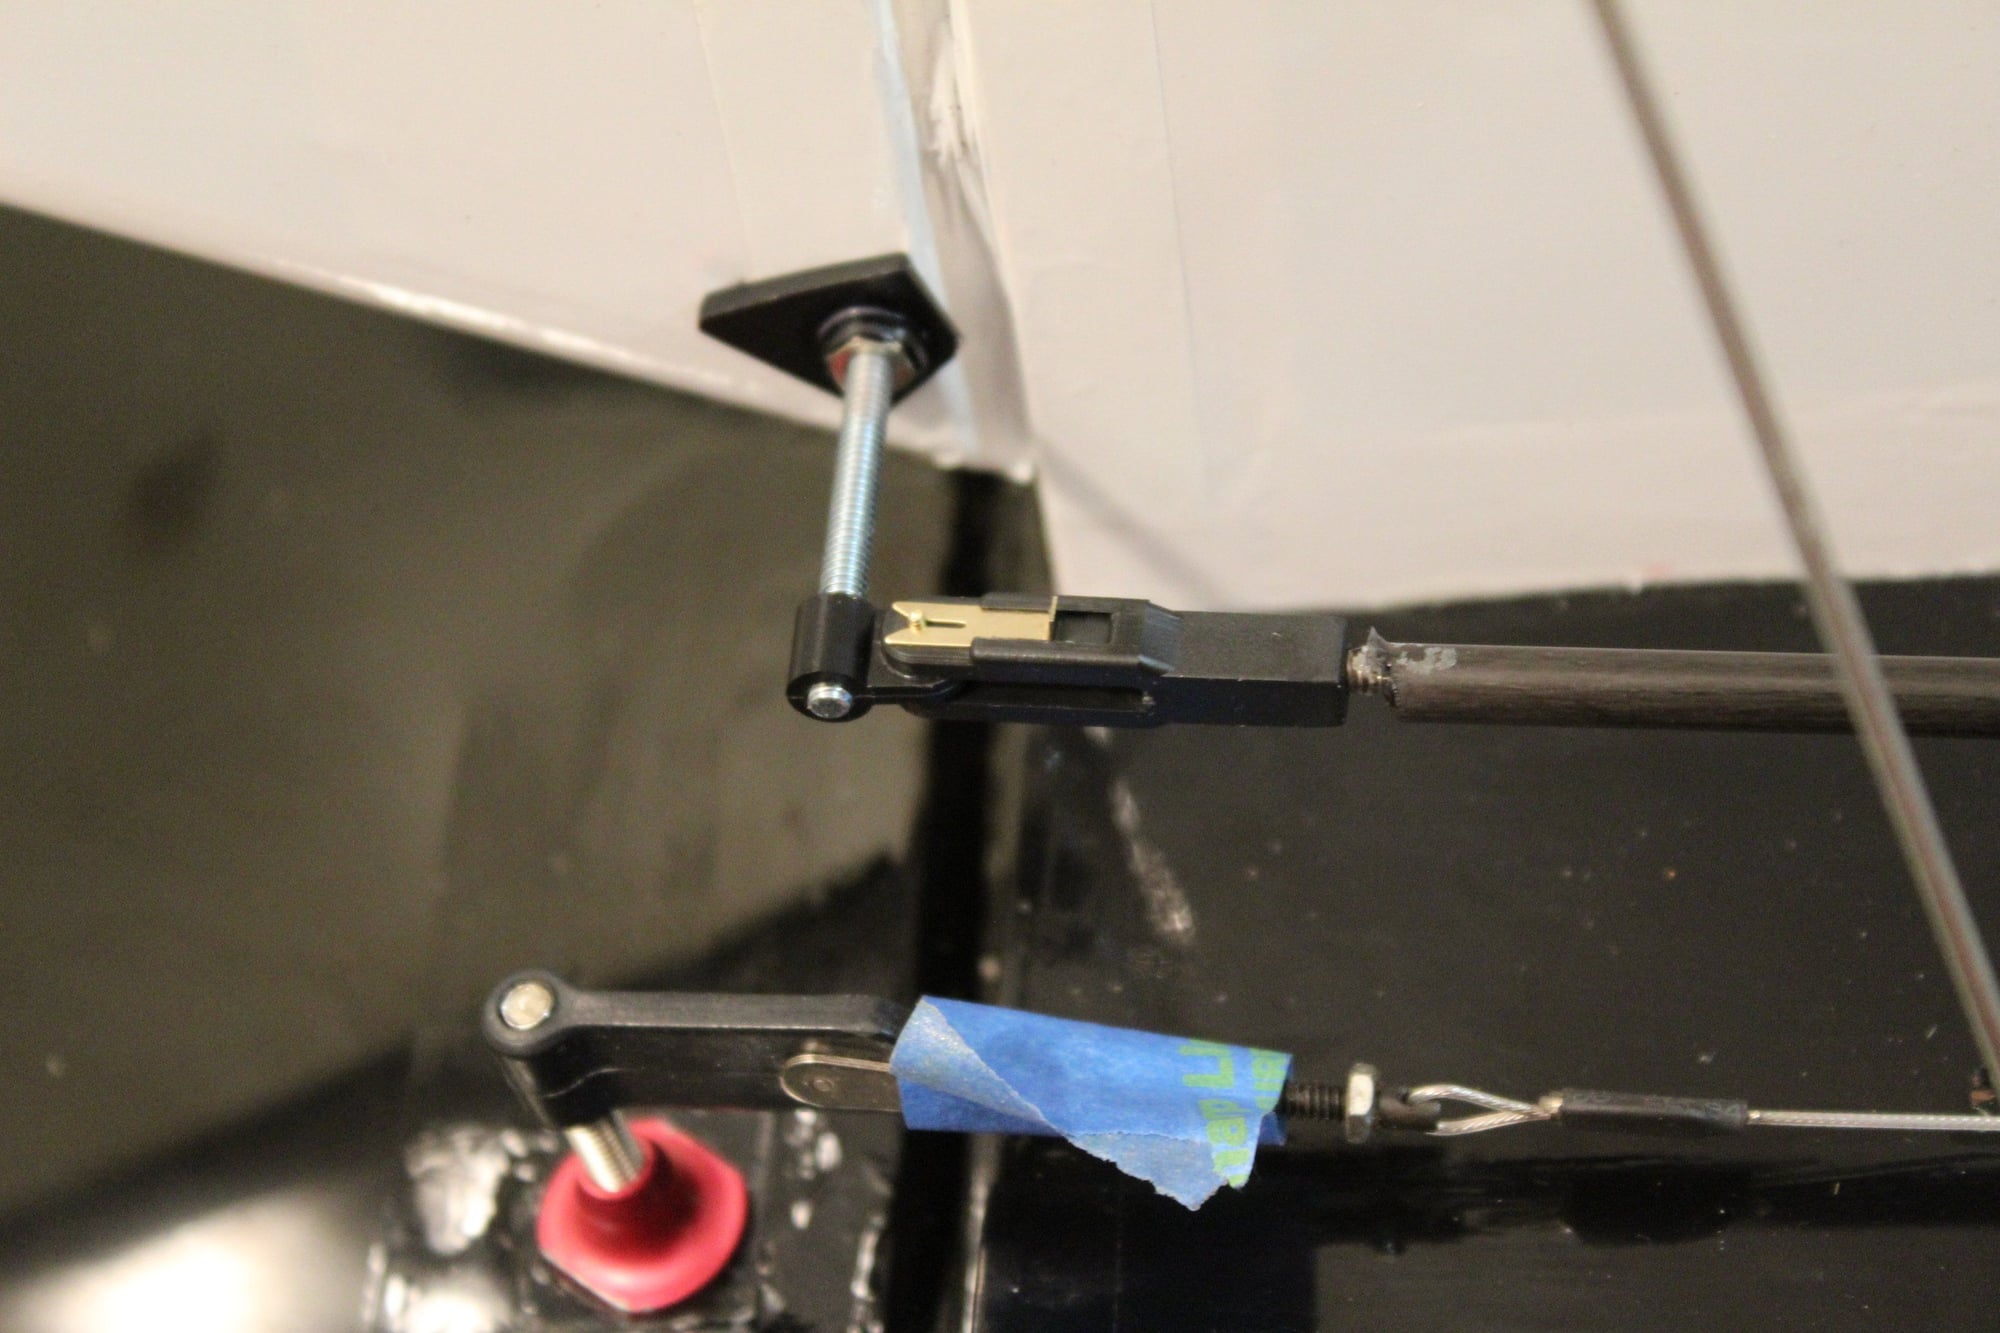
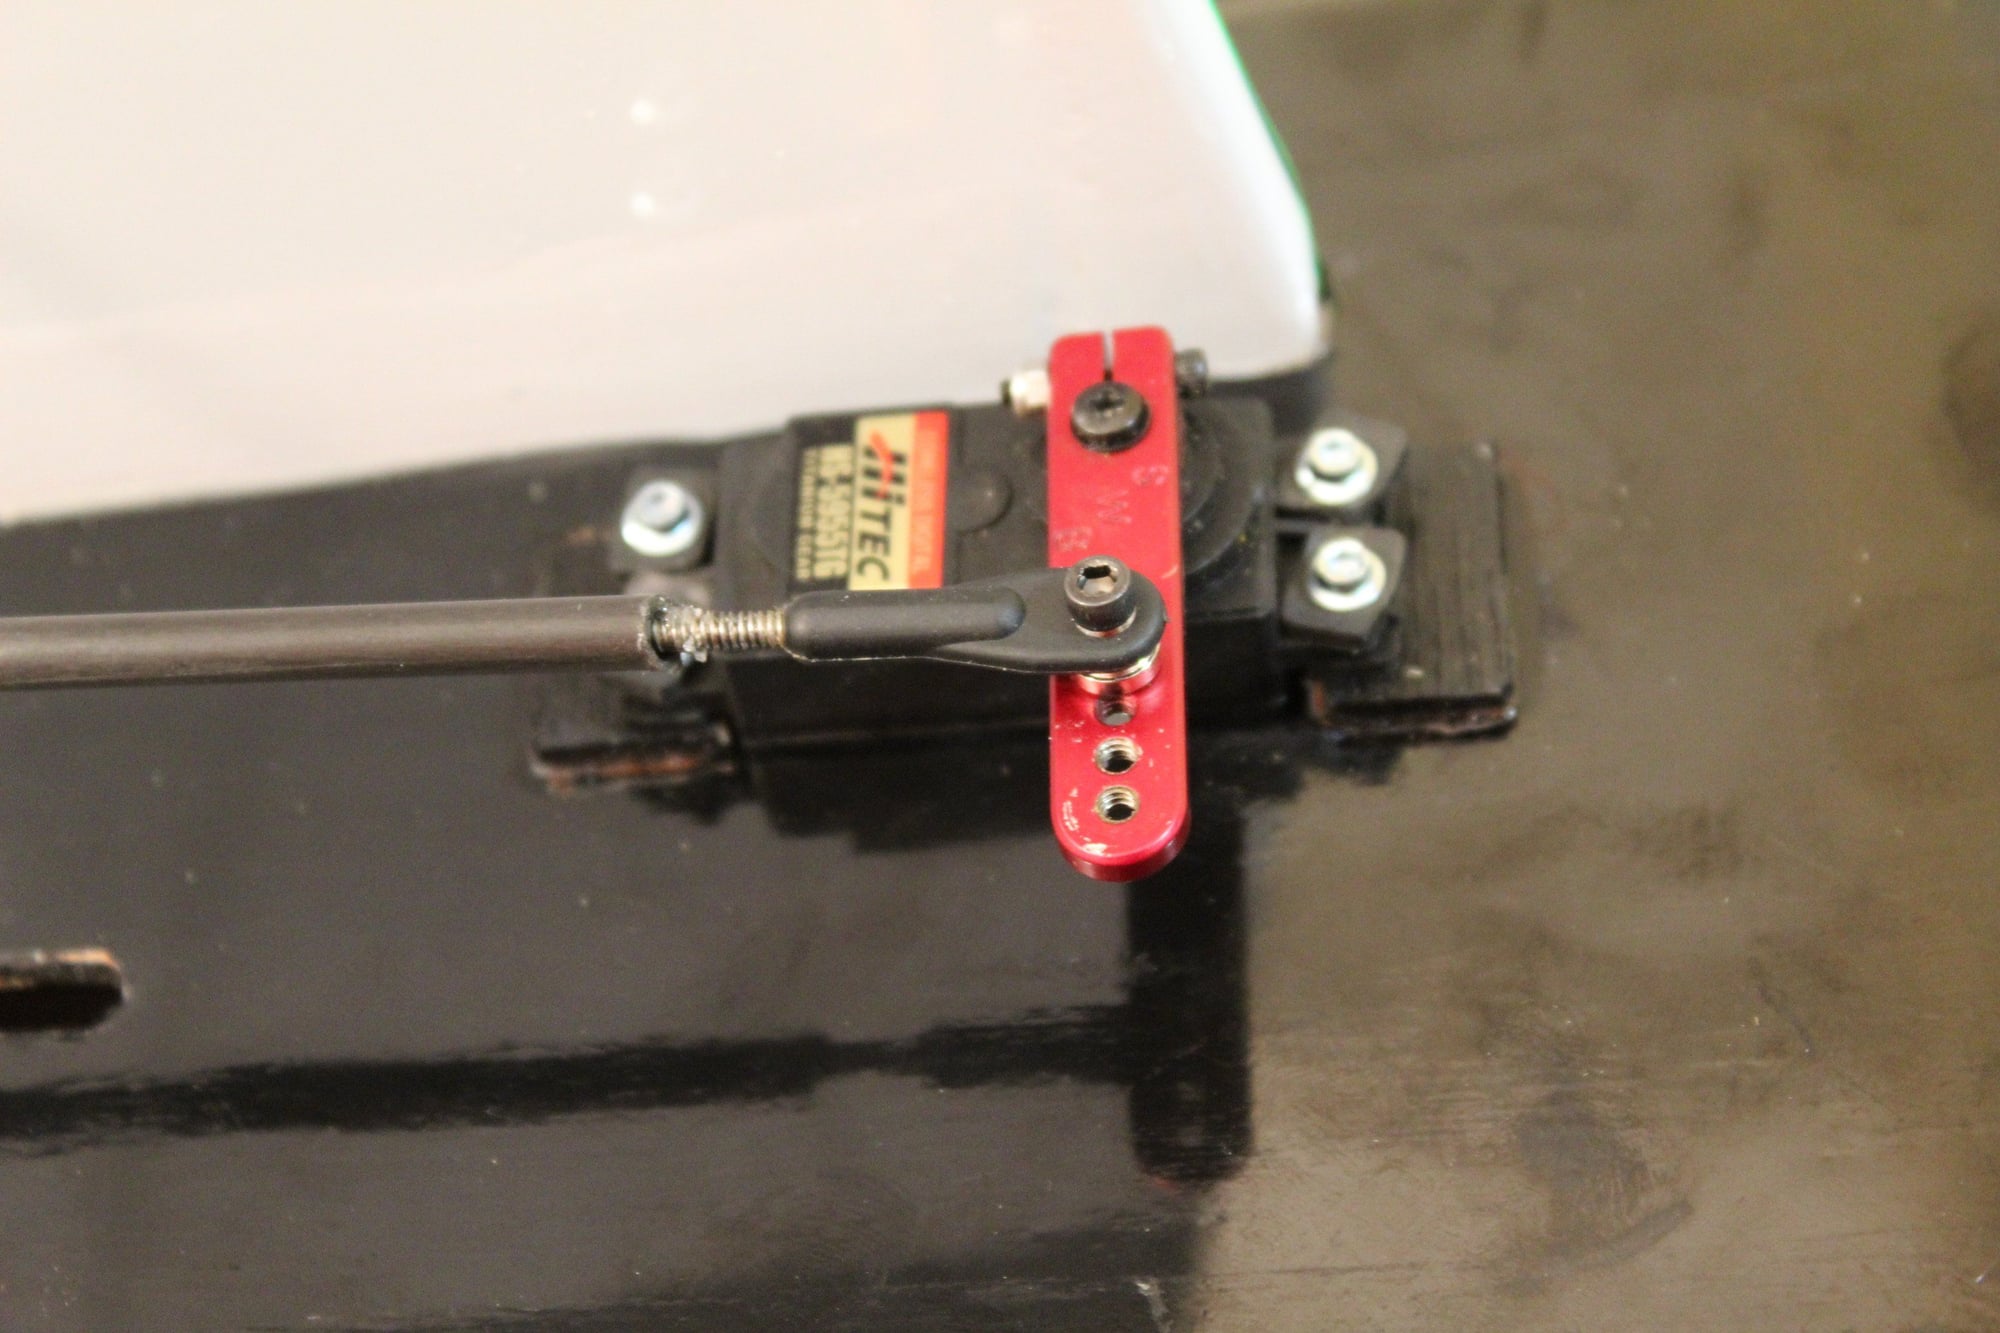
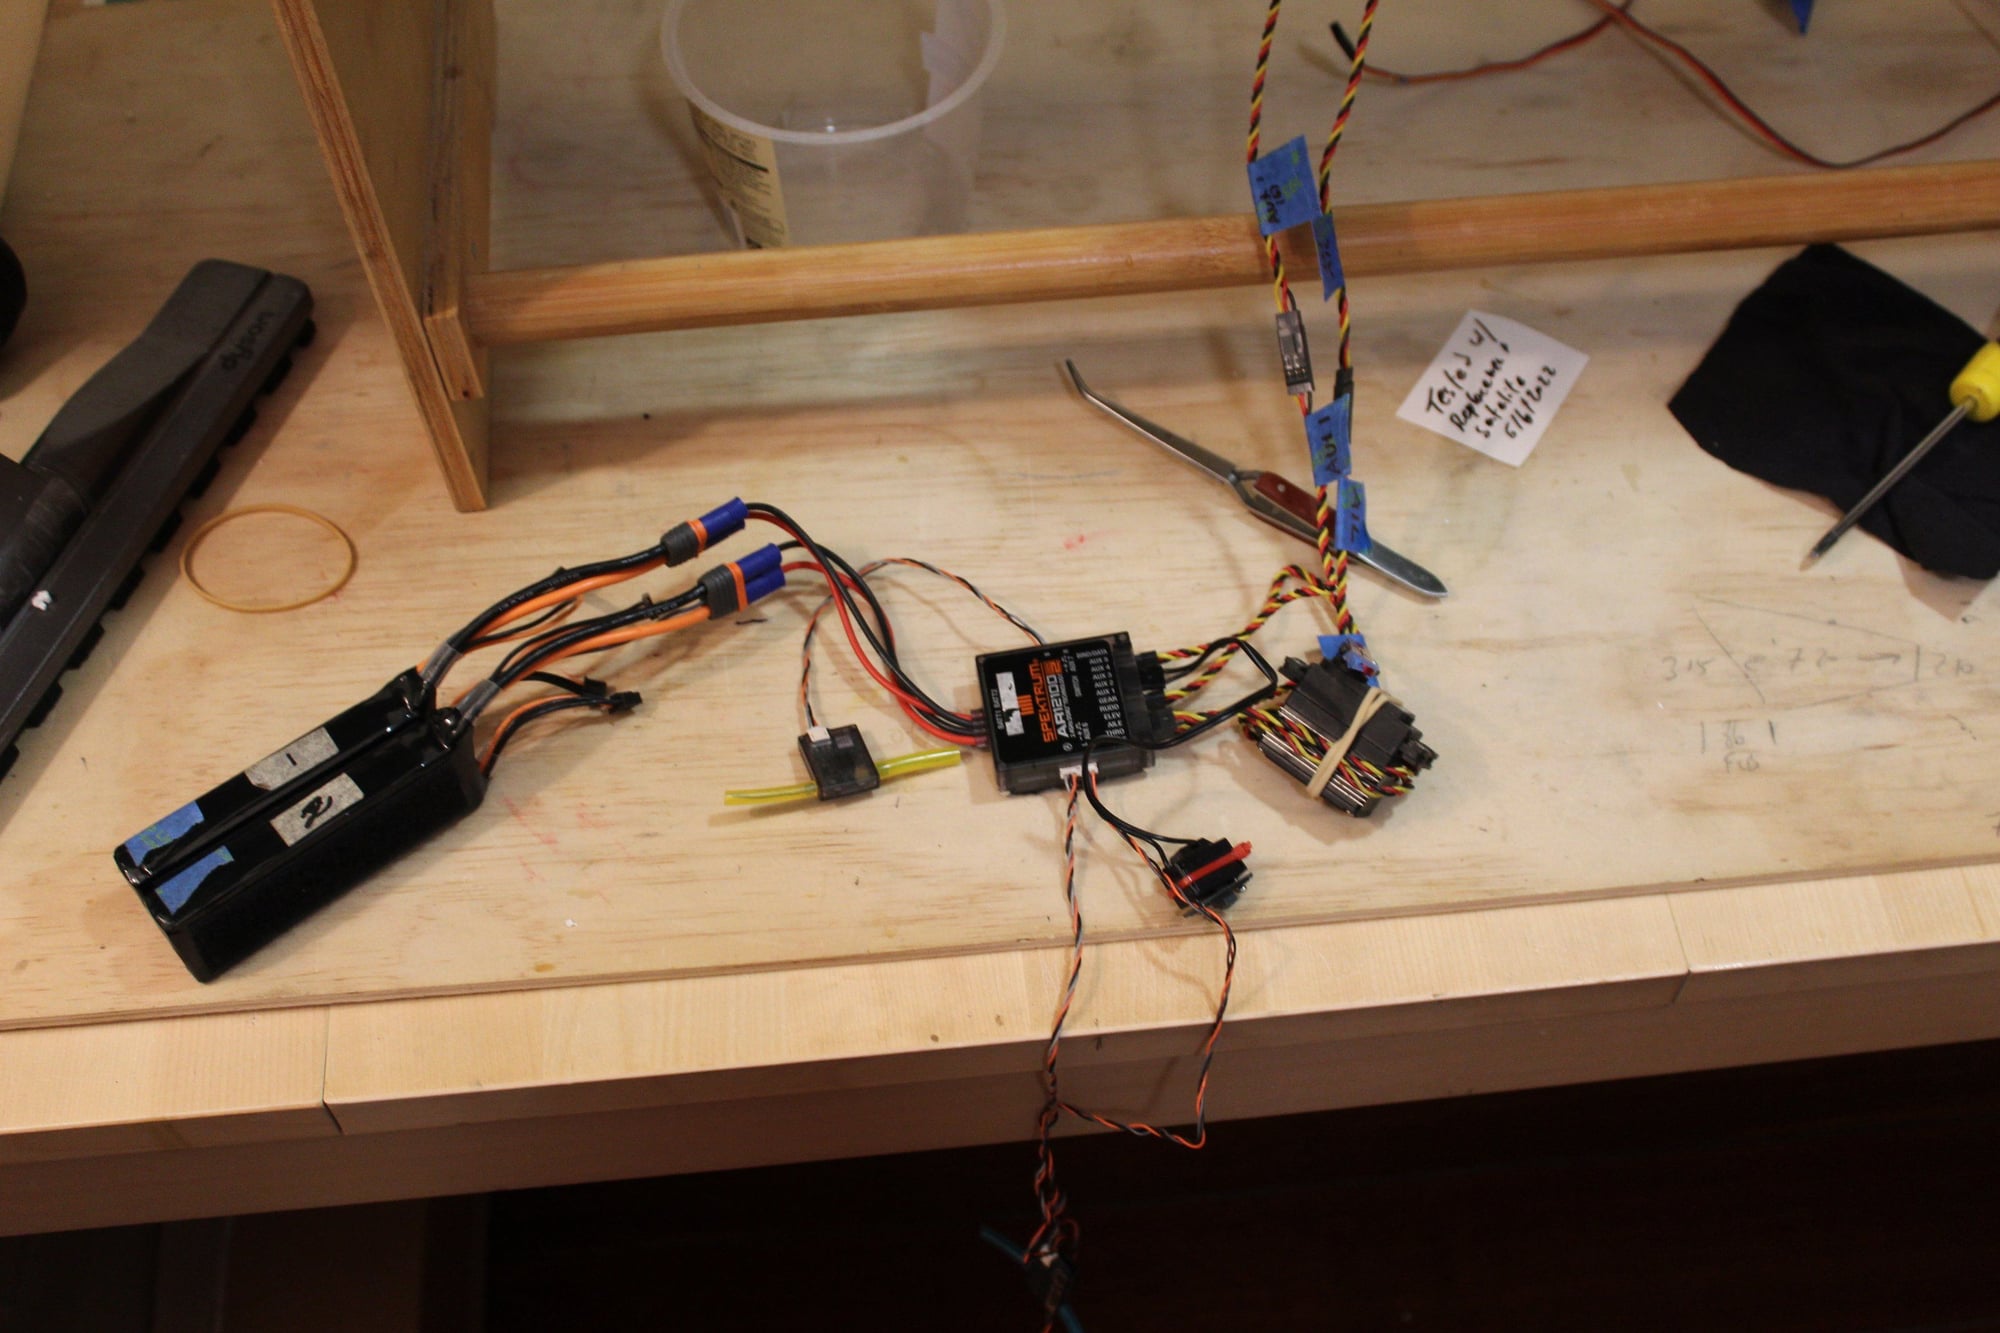
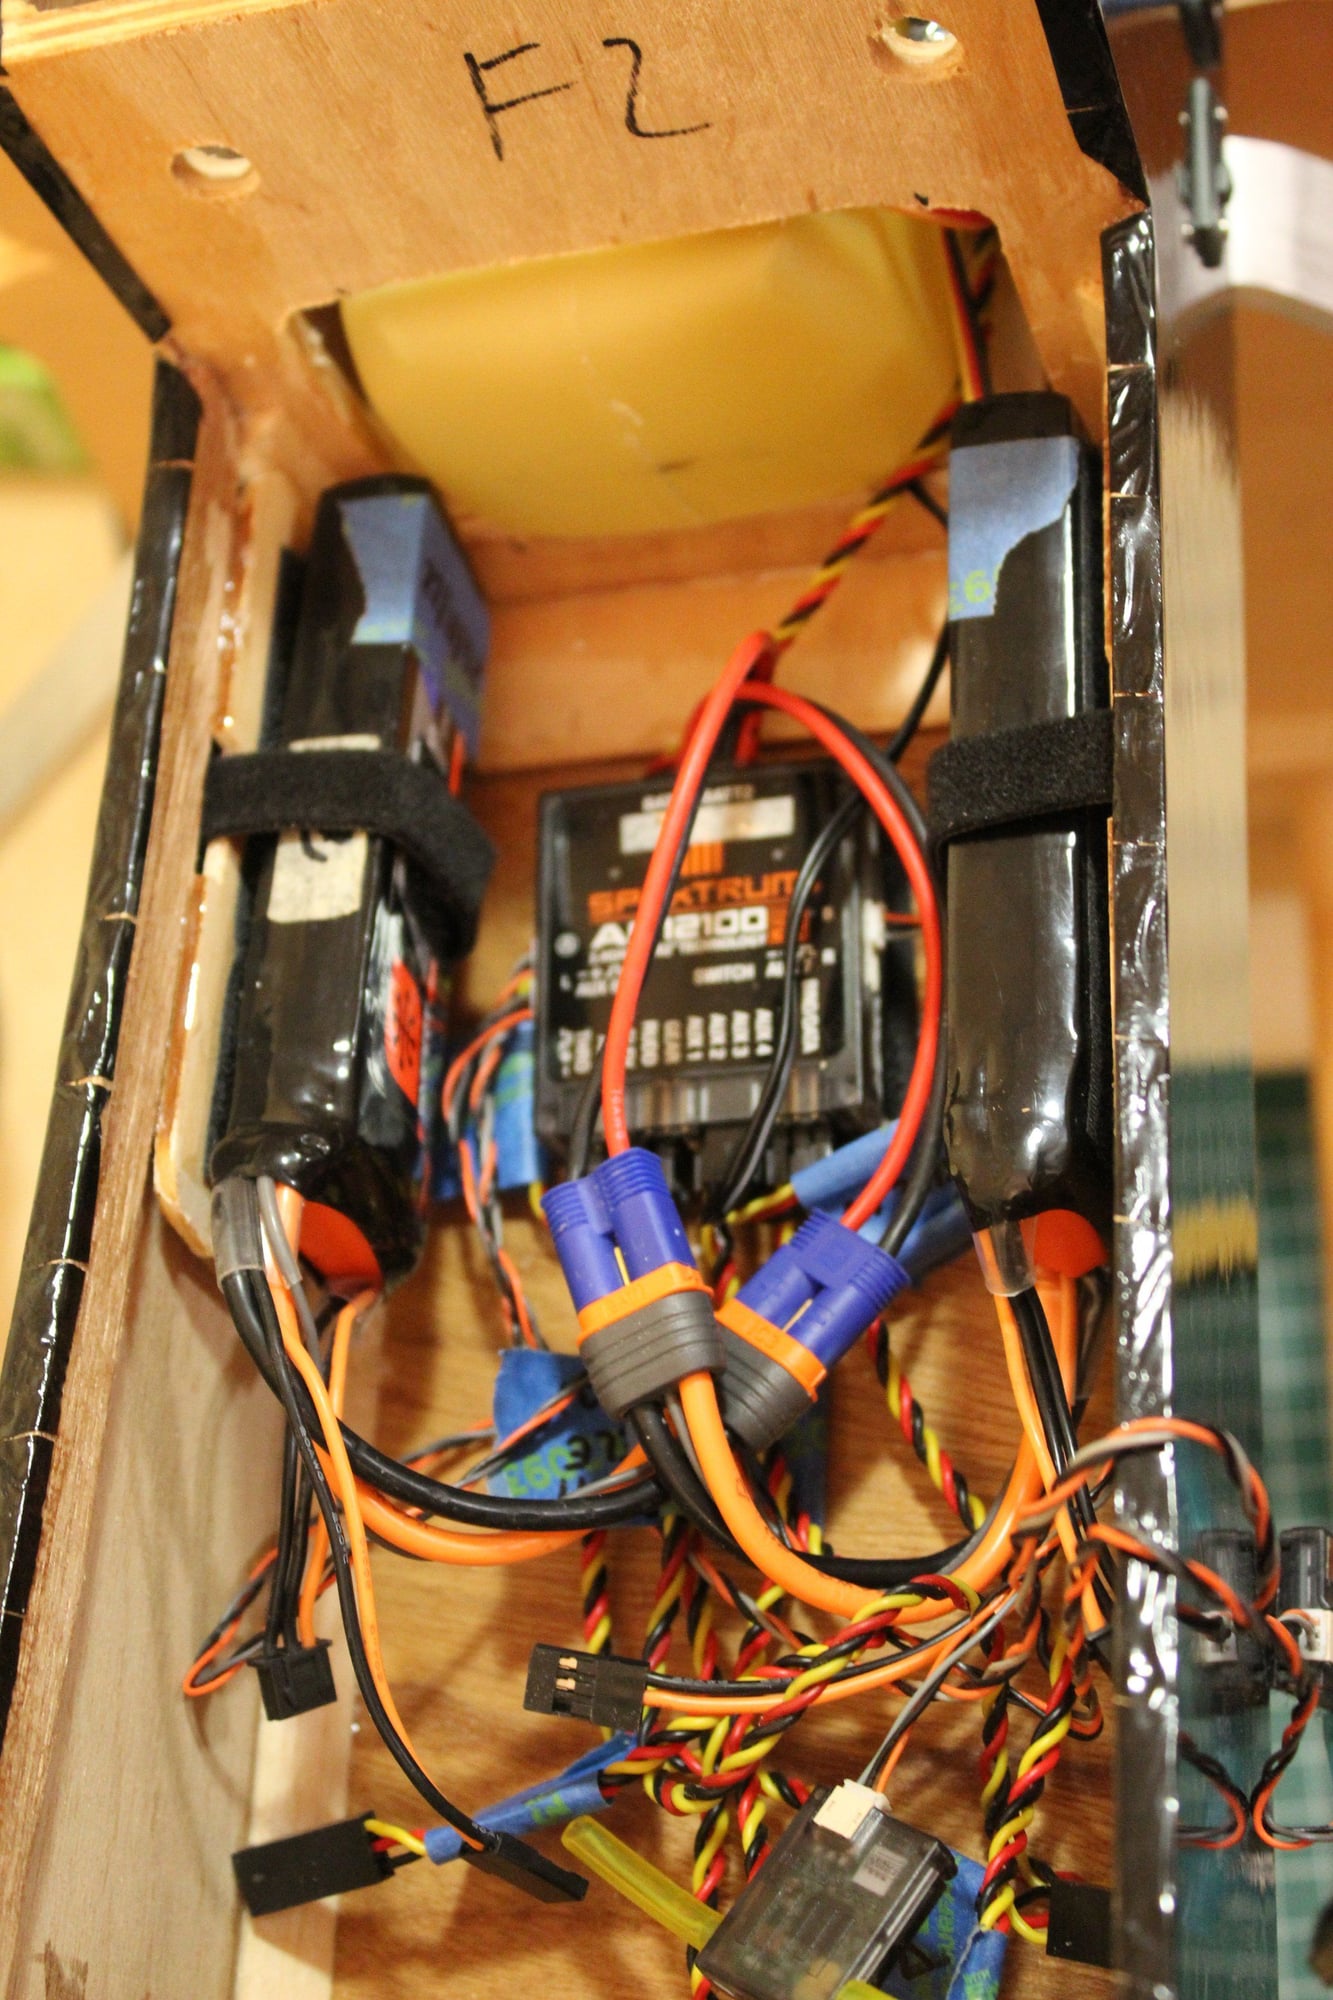
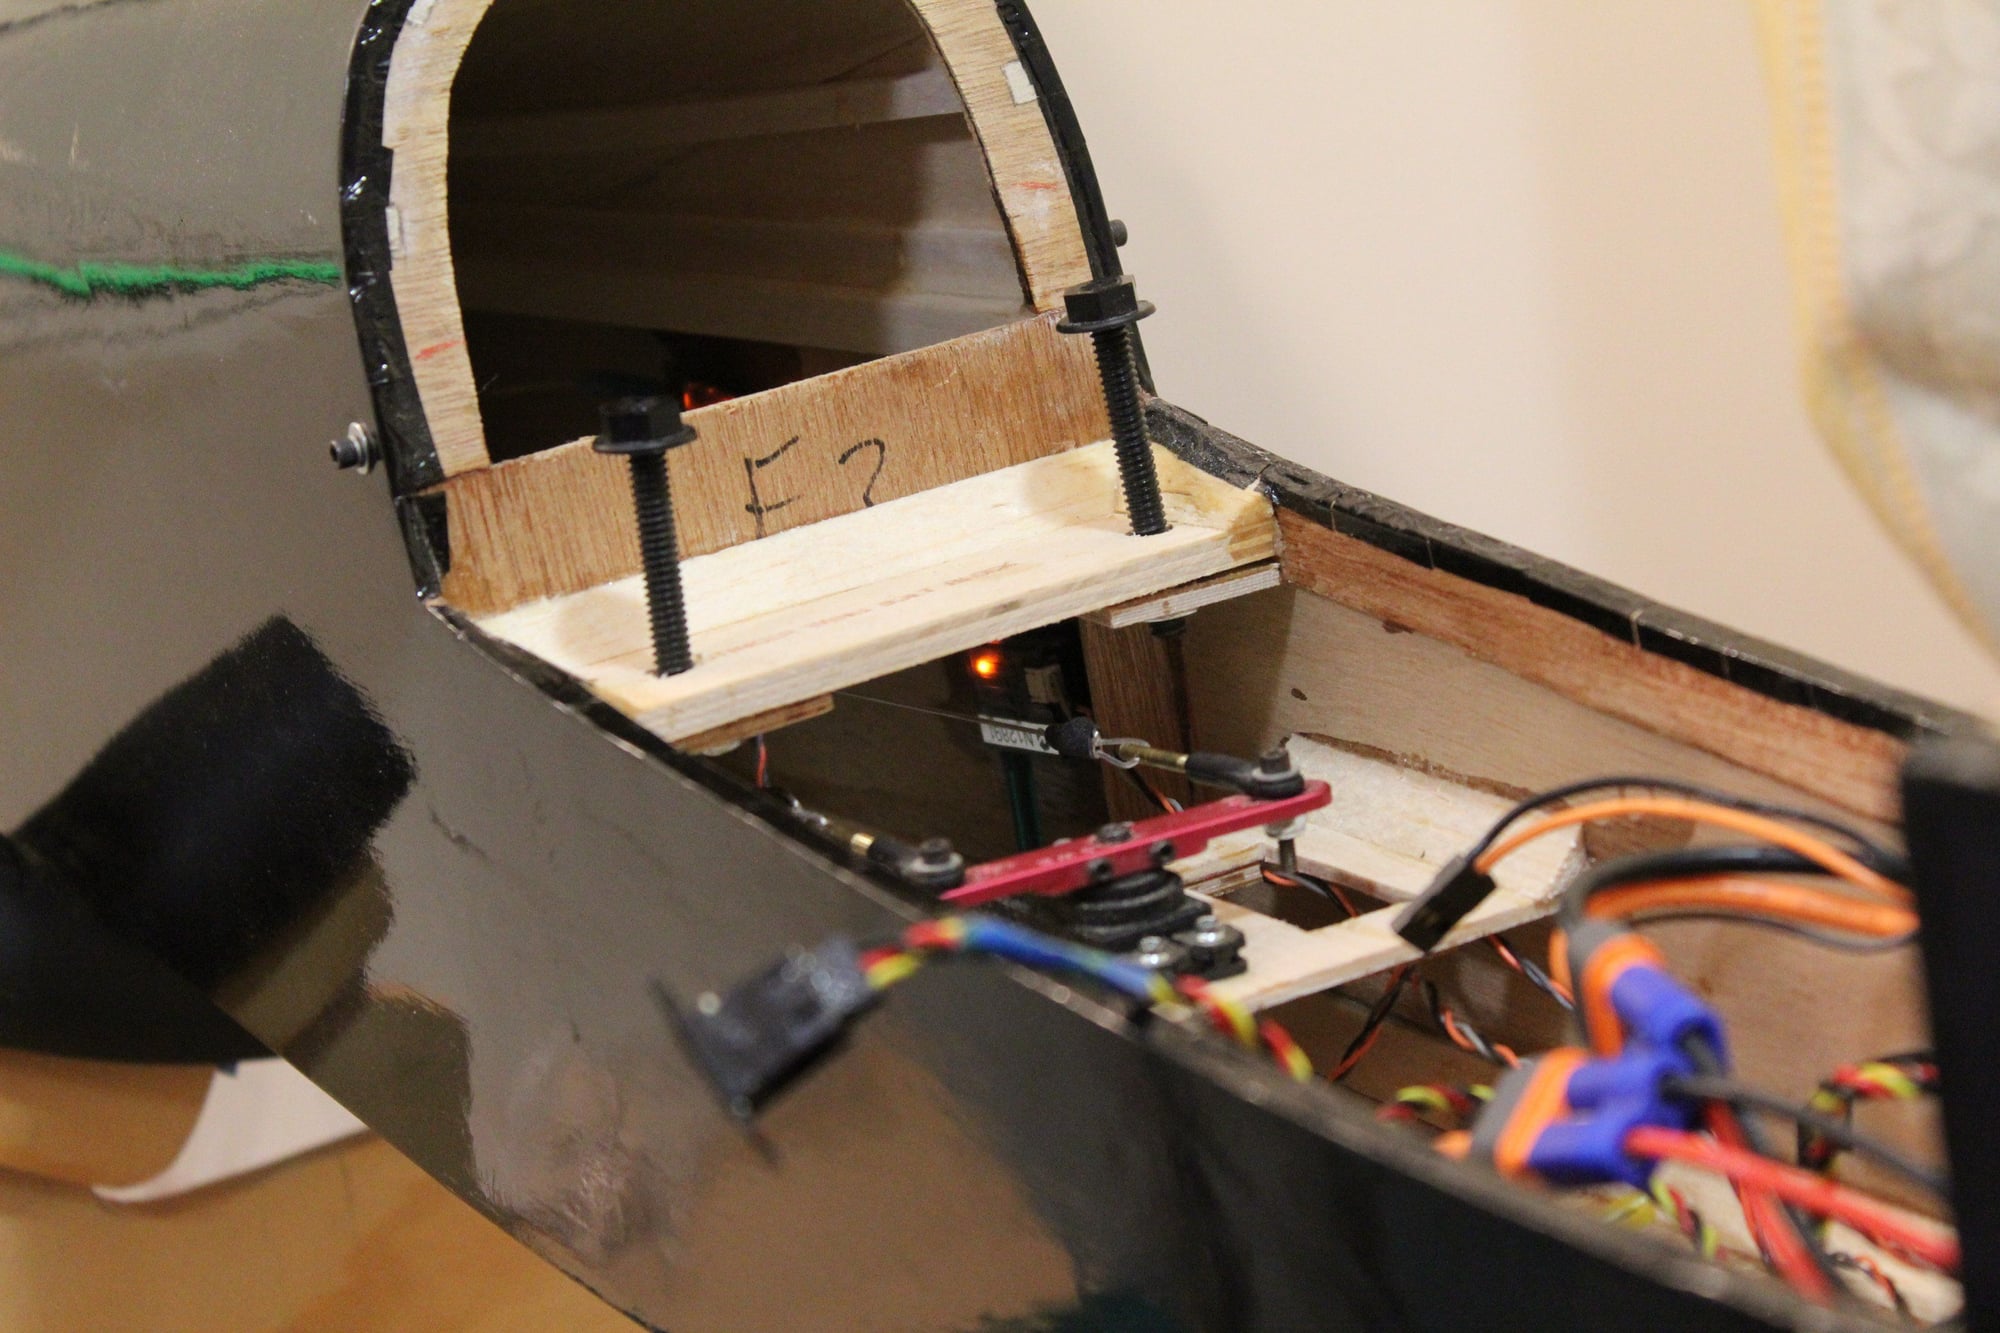
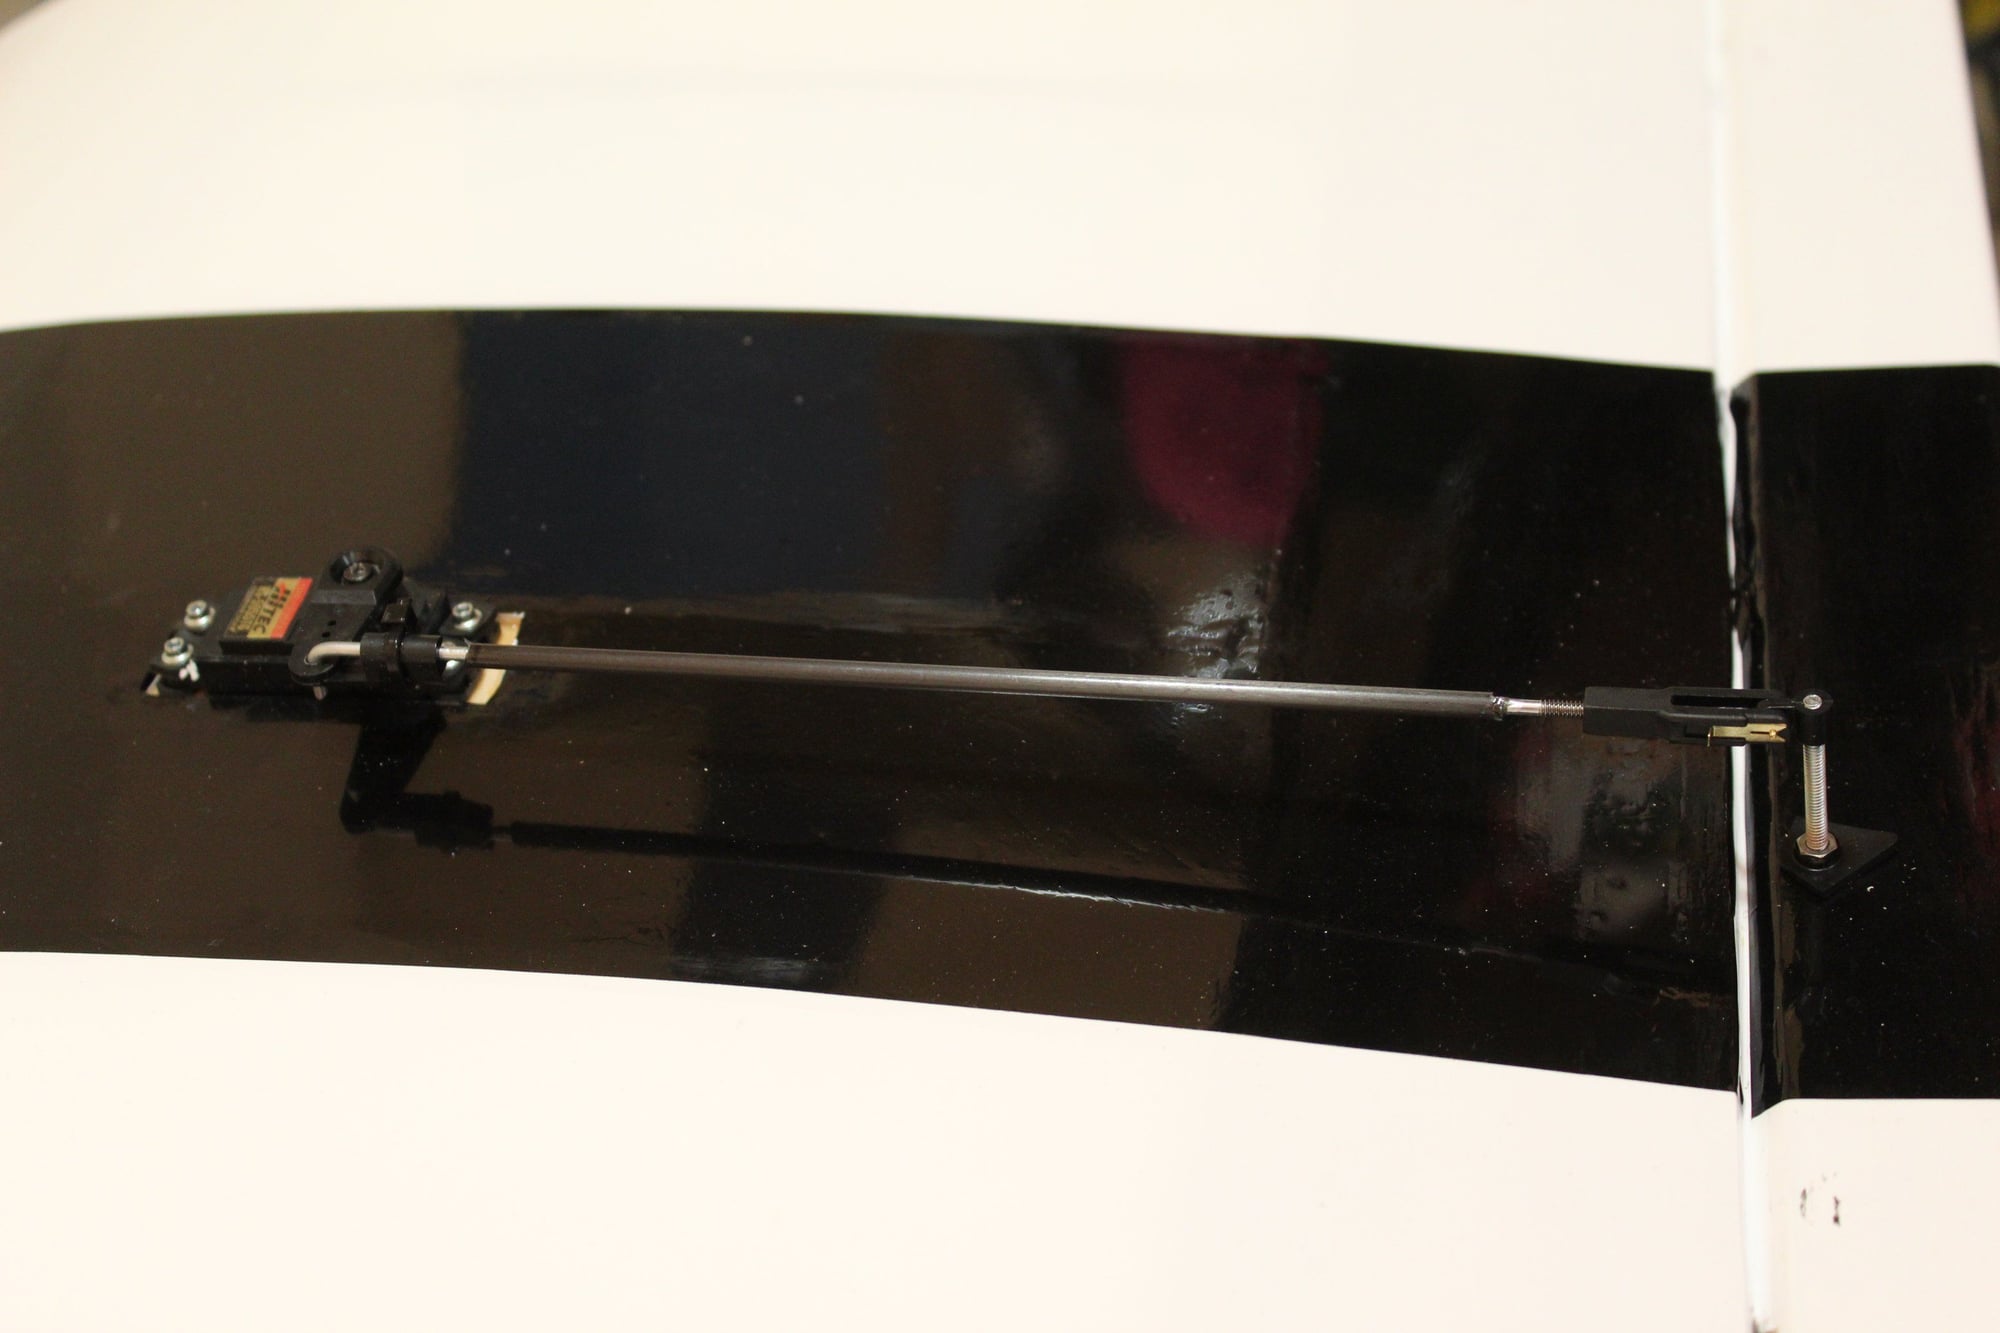
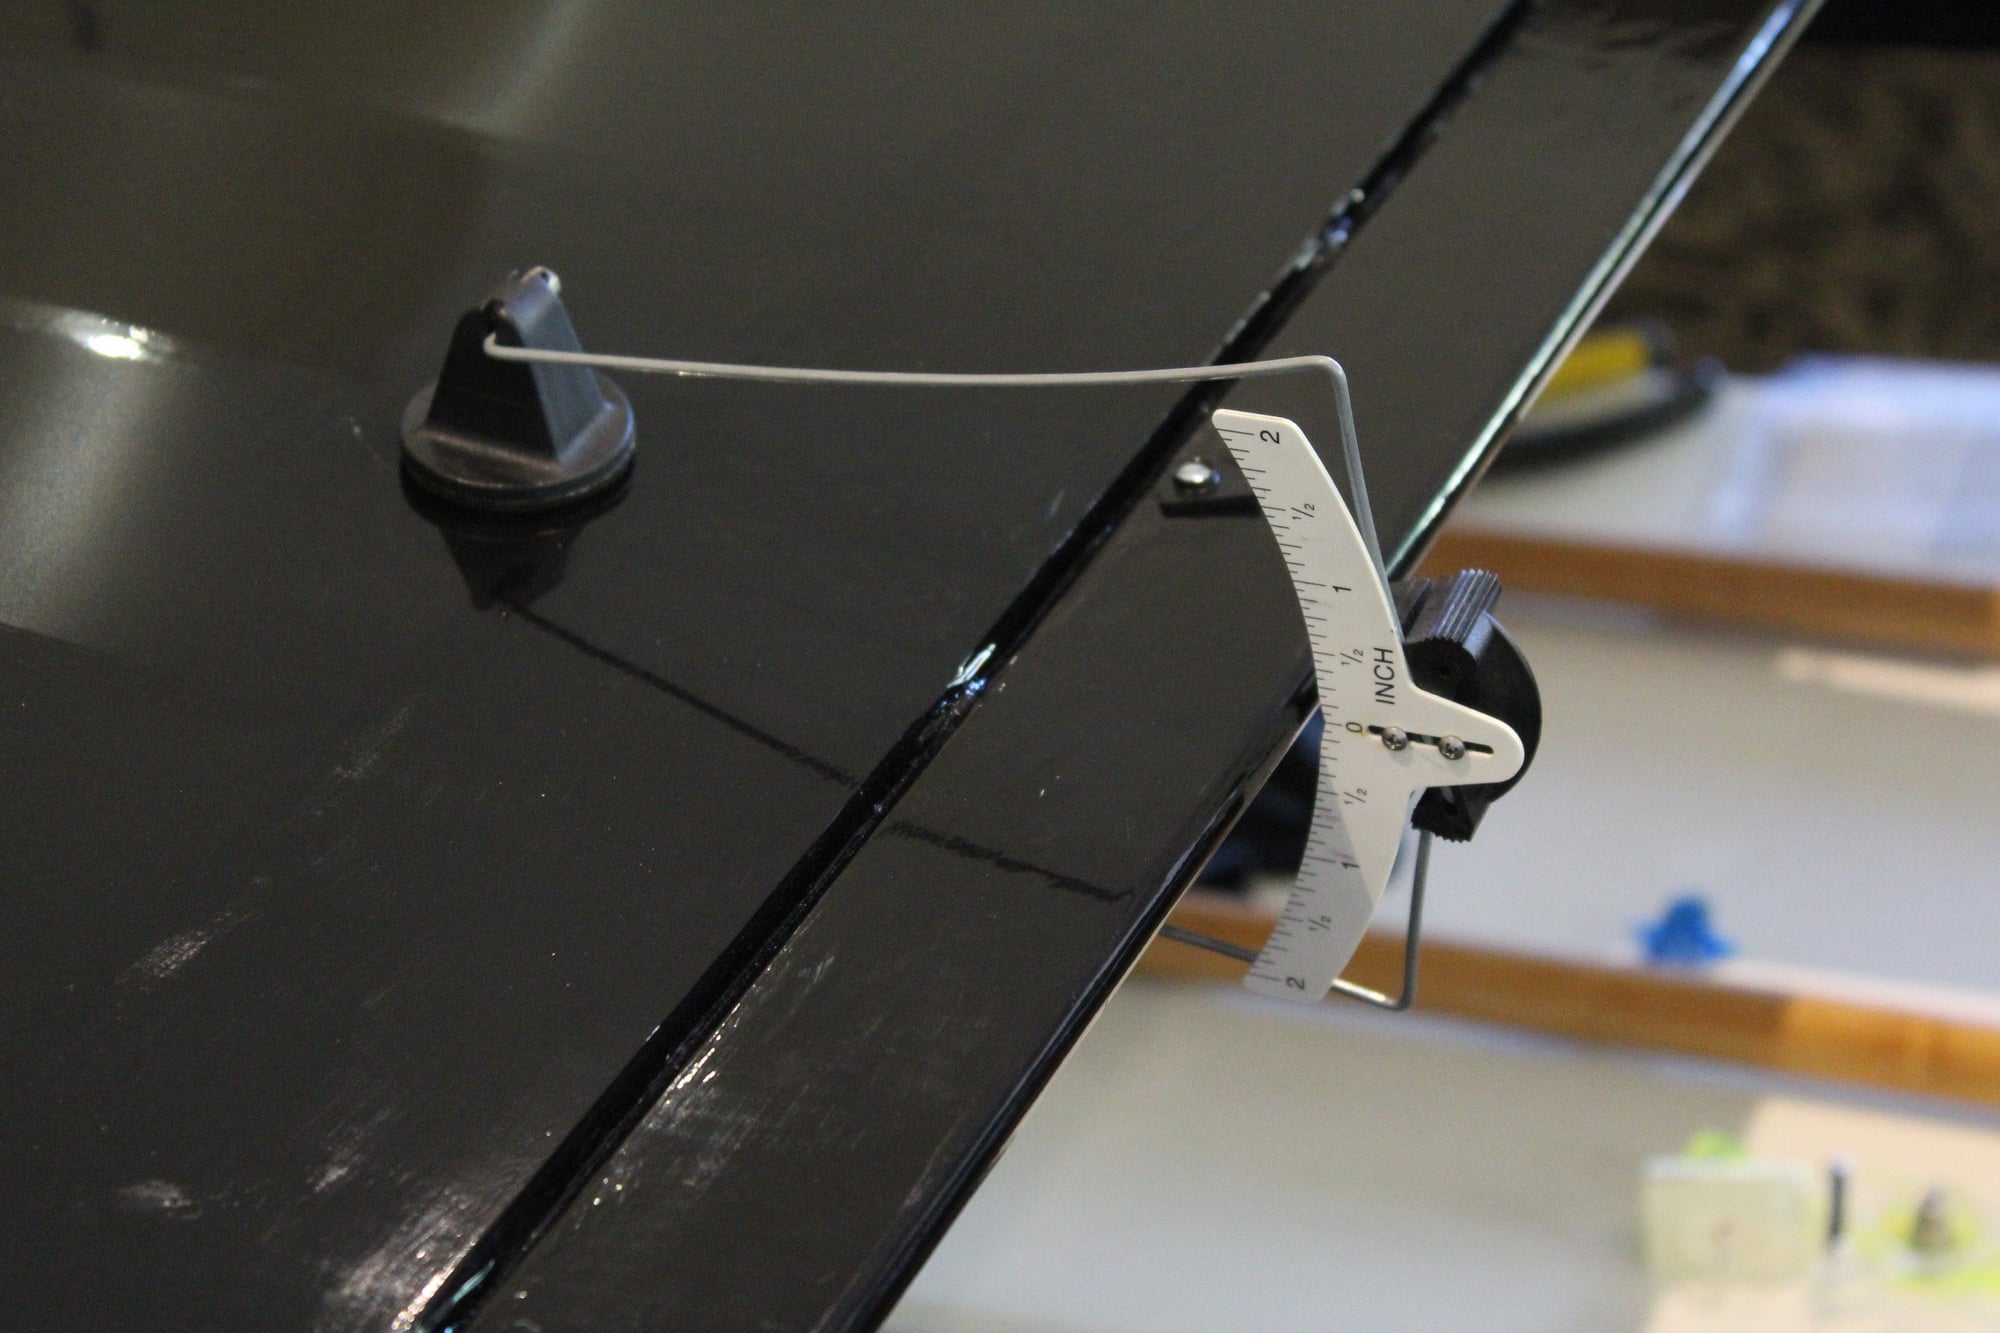
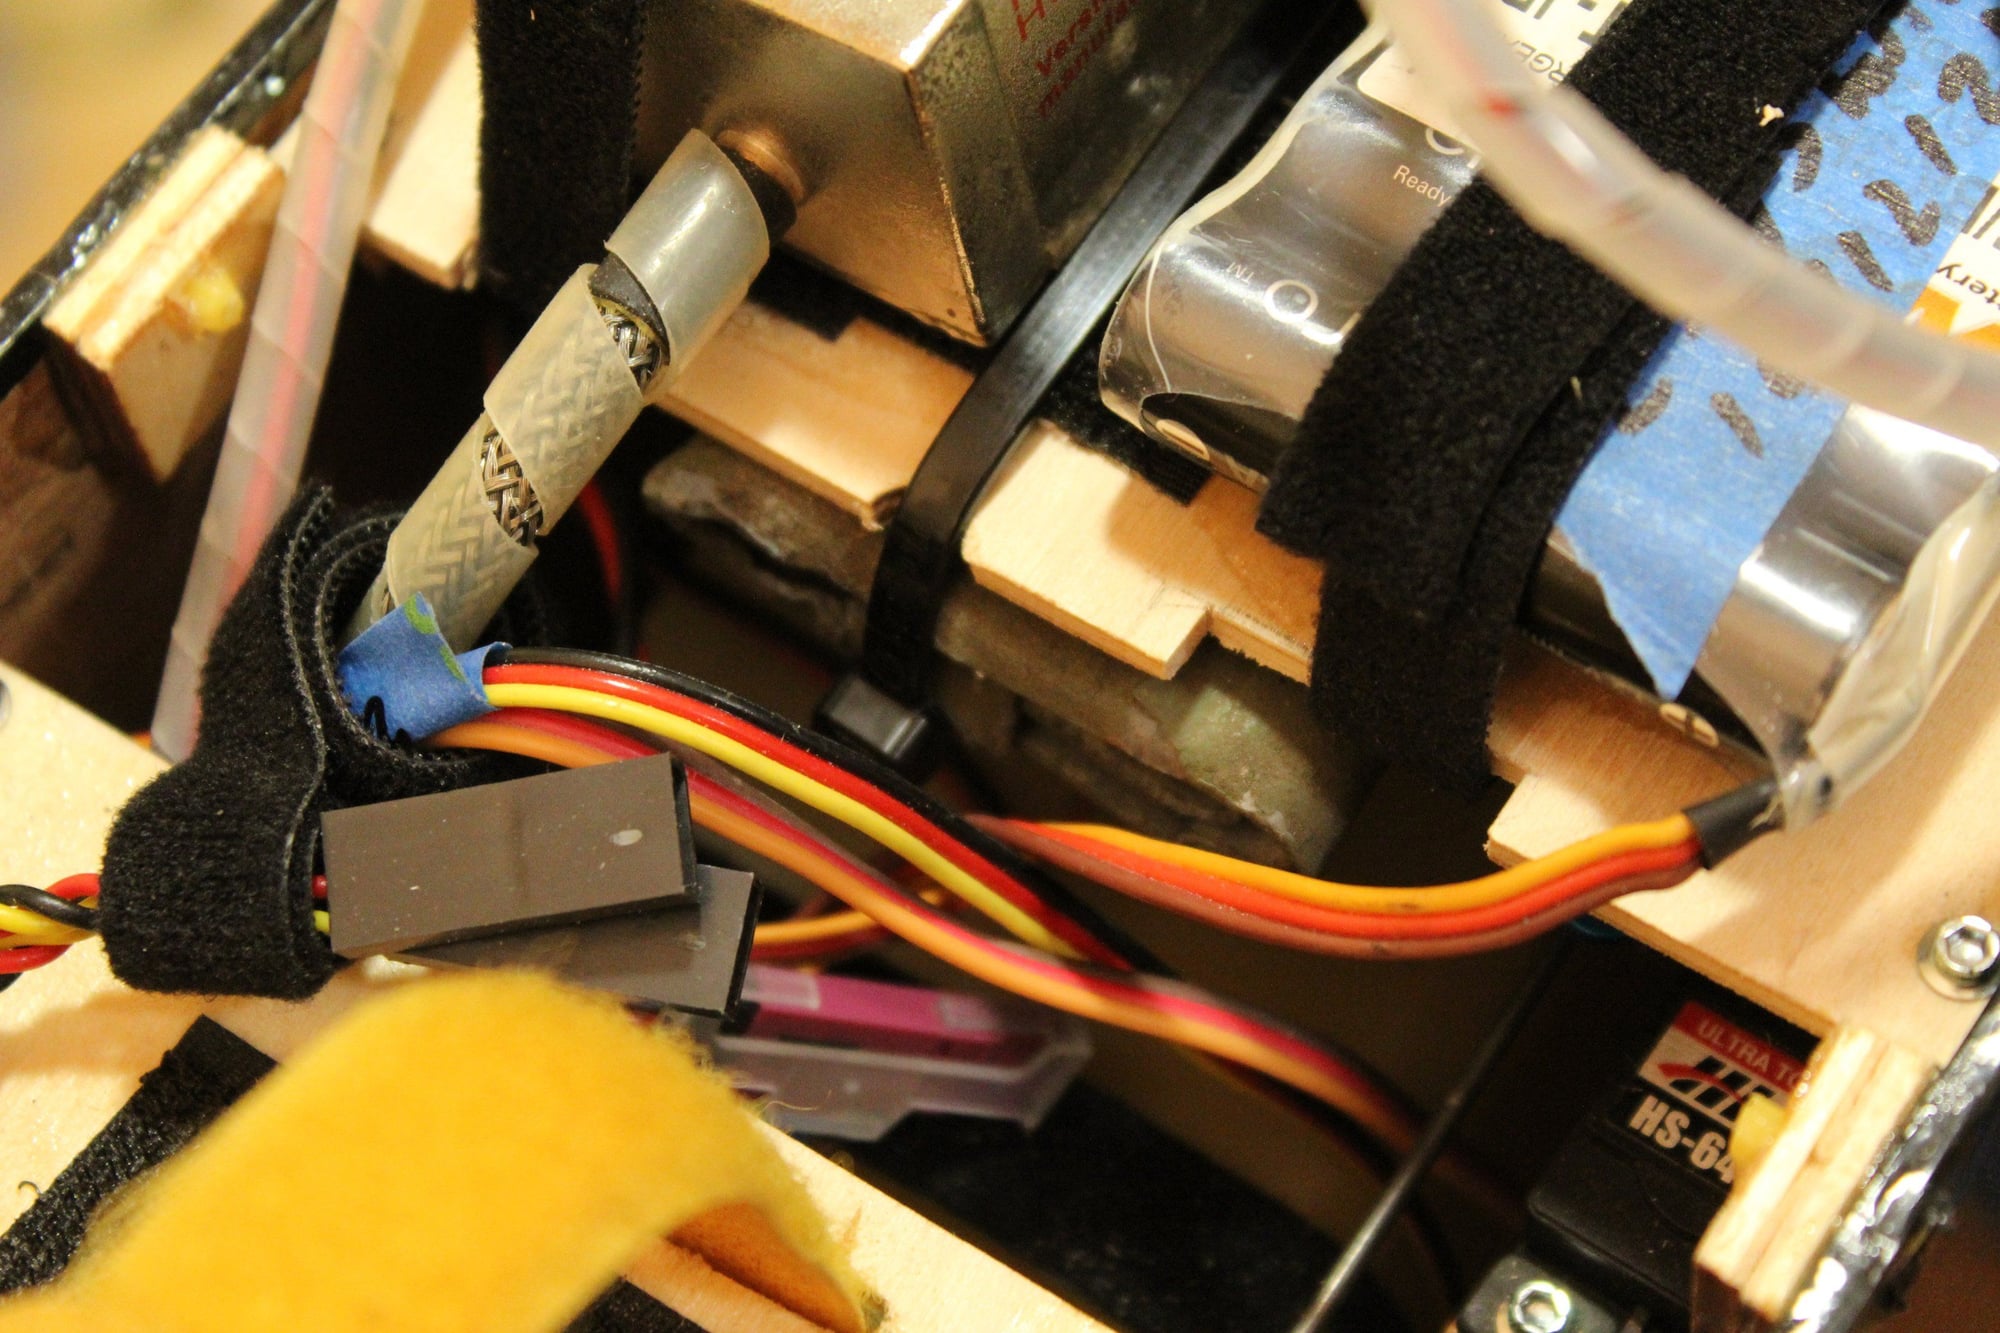
I installed the elevators control horns and set the servo linkages up. I then crudely set-up the receiver, created a new aeroplane in the transmitter and checked the control throws. On all my aeroplanes 30cc and up I am using PowerSafe receivers. Please note the zip-tie on the switch, which is the weak point of these receivers. I had one switch coming loose and failing (the aeroplane saved by the "fail on" feature of this receiver and switch).
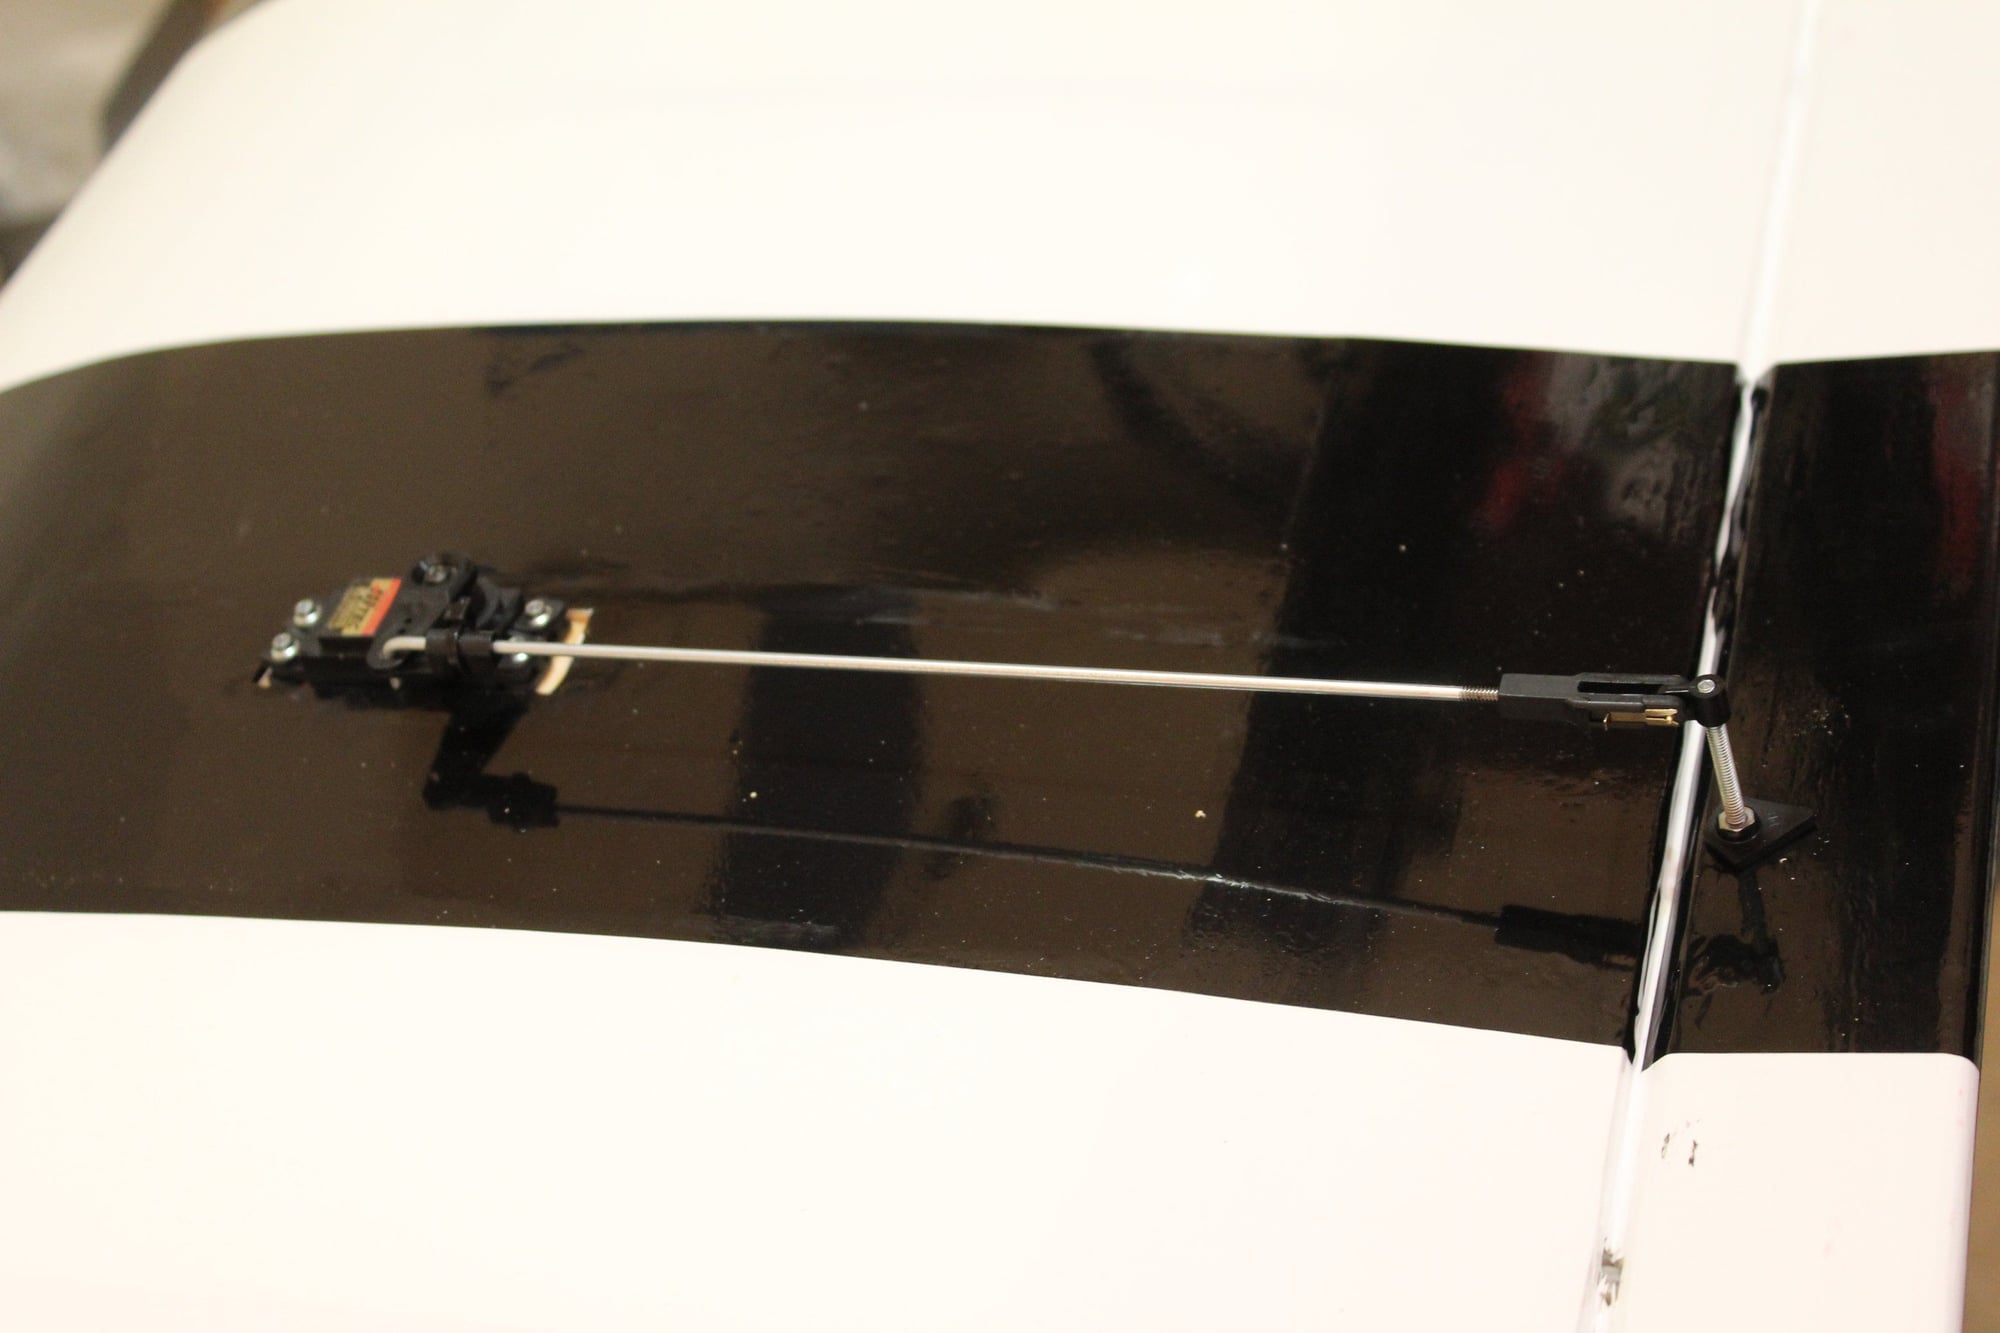
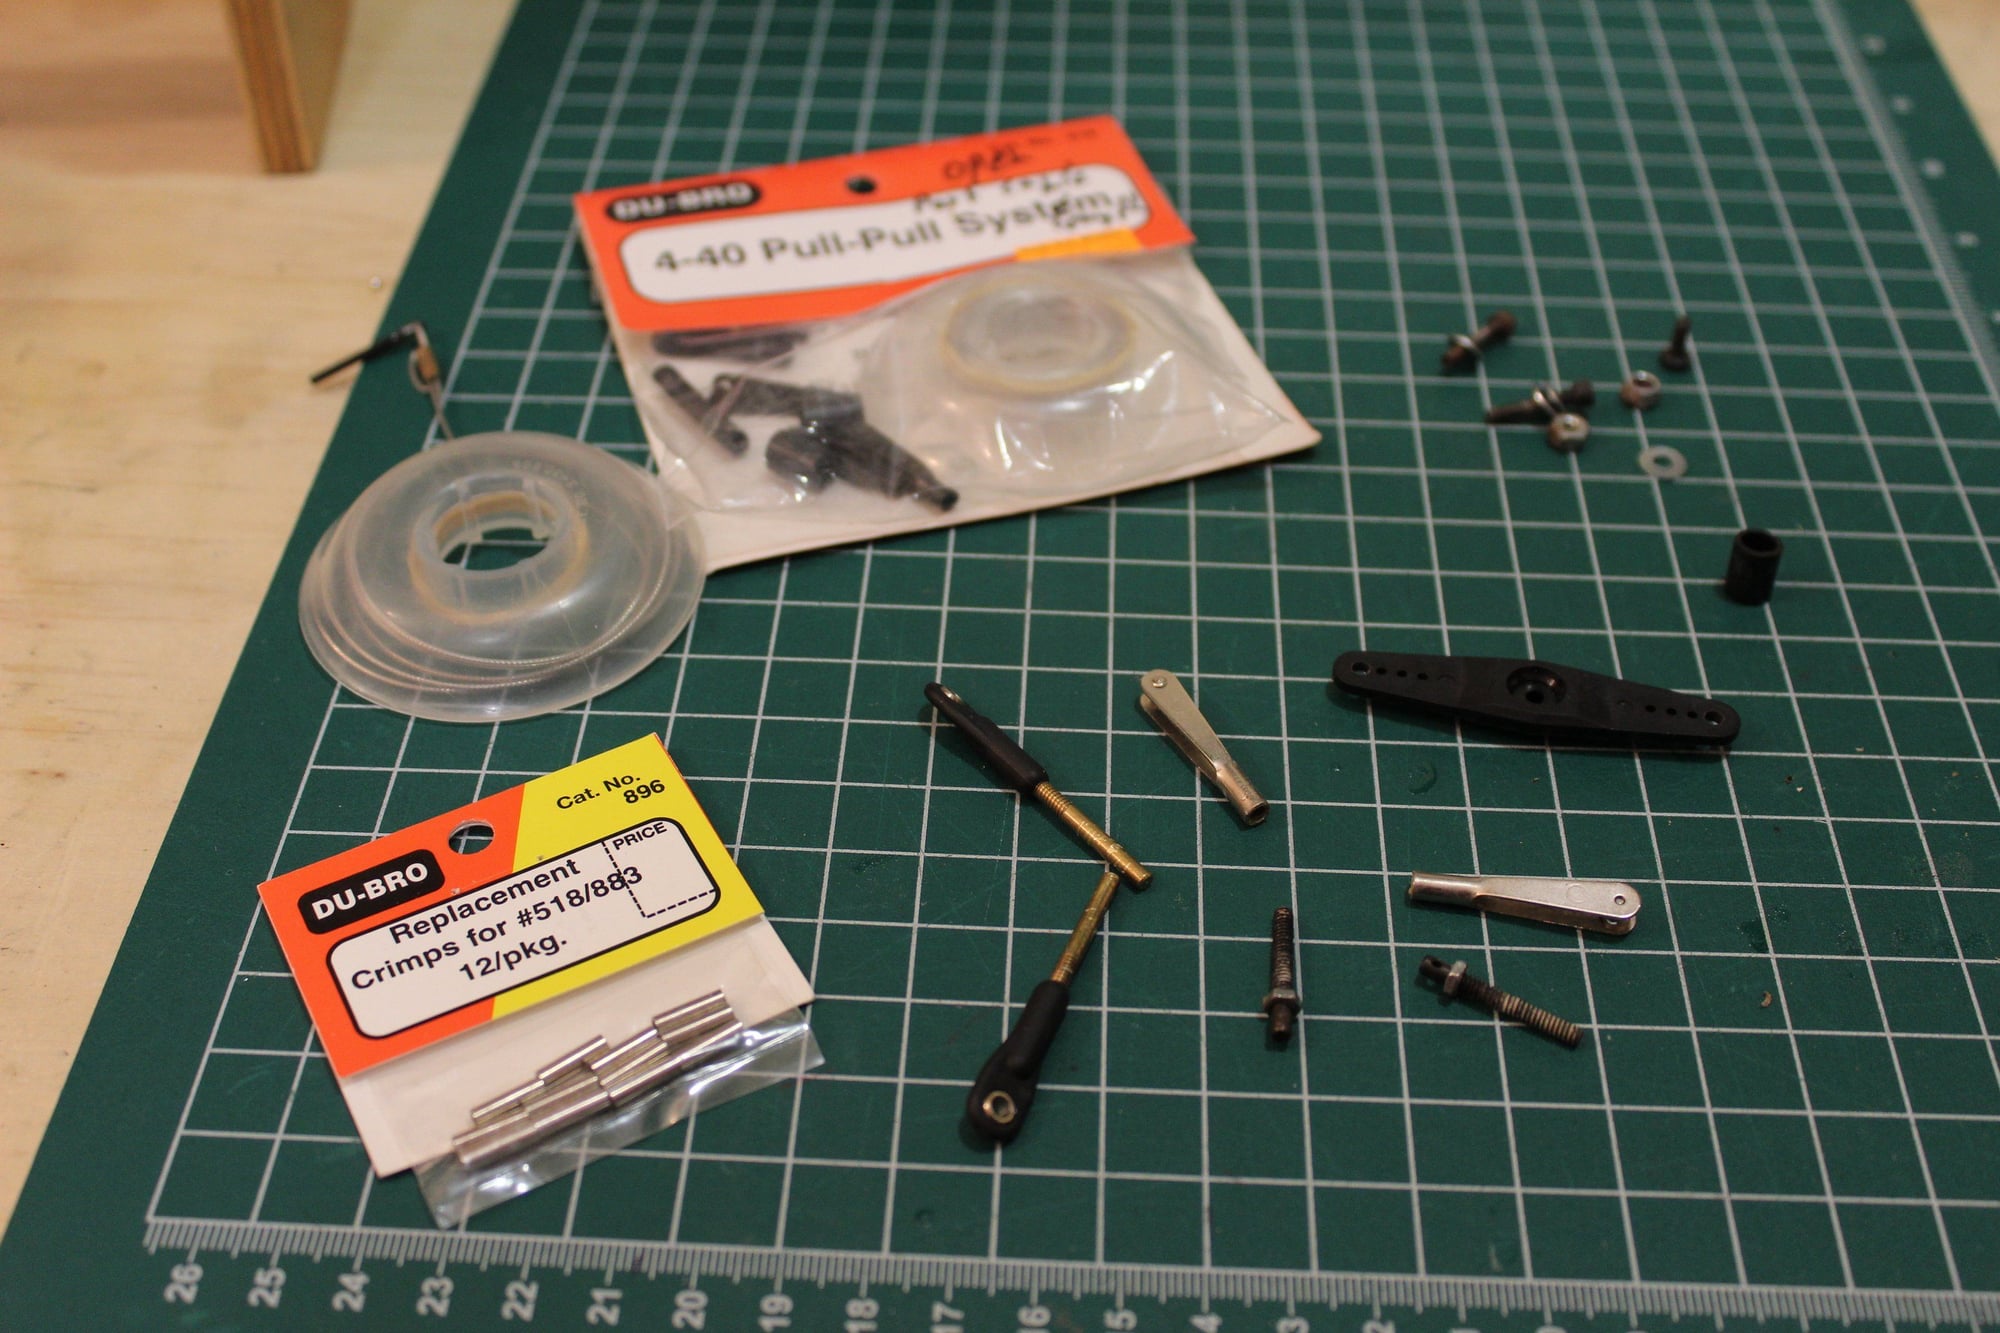
All linkages rods and fittings are 4-40 and hardware mostly Dubro. The metal pushrods are sleeved inside a carbon rod to stop them from flexing.
You may notice the blue tape on the rudder pull-pull indicating to me that further attention is required (i.e. do not fly as is). With these long kit builds, it is a great way to not forget things.
I also connected the wing and checked the ailerons movement while I had the receiver out.
Last, I enlarged the screw holes for the cowl mounting screws and glued inside a piece of Sullivan Gold-N-Rod pushrod. This holds the screws from vibrating loose.

Cheers,
Eran
All linkages rods and fittings are 4-40 and hardware mostly Dubro. The metal pushrods are sleeved inside a carbon rod to stop them from flexing.
You may notice the blue tape on the rudder pull-pull indicating to me that further attention is required (i.e. do not fly as is). With these long kit builds, it is a great way to not forget things.
I also connected the wing and checked the ailerons movement while I had the receiver out.
Last, I enlarged the screw holes for the cowl mounting screws and glued inside a piece of Sullivan Gold-N-Rod pushrod. This holds the screws from vibrating loose.
Cheers,
Eran
Last edited by erans; 03-23-2024 at 07:45 PM.
03-24-2024, 08:56 AM
#107
Eran,
I am sorry to have found this thread so late in progress. But I have read it all up to this point.
I have just three words to describe it: ace, bonzer, and ripper. According to my friends Bing and Google, they are Australian terms for excellent, outstanding, and cool, respectively.
Your approach to constructing older kits is spot on. Identify overengineered areas and substitute modern, stronger, and hopefully lighter materials. Place onboard equipment to compensate for differences alterations may make. And leave stuff alone that still works well these many years later.
I believe that your techniques are sound and reflect well on your many years of model building. They are very much worth emulating. This Stinger thread, in particular, could serve as a primer for new or returning RC modelers.
As I write this, my wife and I are watching a replay of the Australian F1 race held earlier today in Melbourne. You live in a beautiful and interesting country.
Take care,
Bren
03-24-2024, 03:01 PM
#108
Thread Starter
Join Date: Jun 2008
Location: Perth WA, AUSTRALIA
Posts: 1,208
Likes: 0
Received 11 Likes
on
11 Posts
Bren - Thank you for your comments, it is much appreciated.
Not like modern social media posts which get deleted after some time, the good old forums keep these threads for a very long time allowing the passage of knowledge. I learned a lot from reading build threads and I hope that I contribute something to others. There is no "one correct way" to builds an RC model. I am still learning new things myself. For example, it is only the second build that I am using the idea of using the Sullivan Gold-N-Rod pushrod for the cowl screws, after a my heavy model inspector suggested it to me on one of my aeroplanes that started to have a loose cowl screw.
As to Australia, we are fortunate to live in this beautiful country : )
Cheers,
Eran
03-24-2024, 03:50 PM
#109
Thread Starter
Join Date: Jun 2008
Location: Perth WA, AUSTRALIA
Posts: 1,208
Likes: 0
Received 11 Likes
on
11 Posts
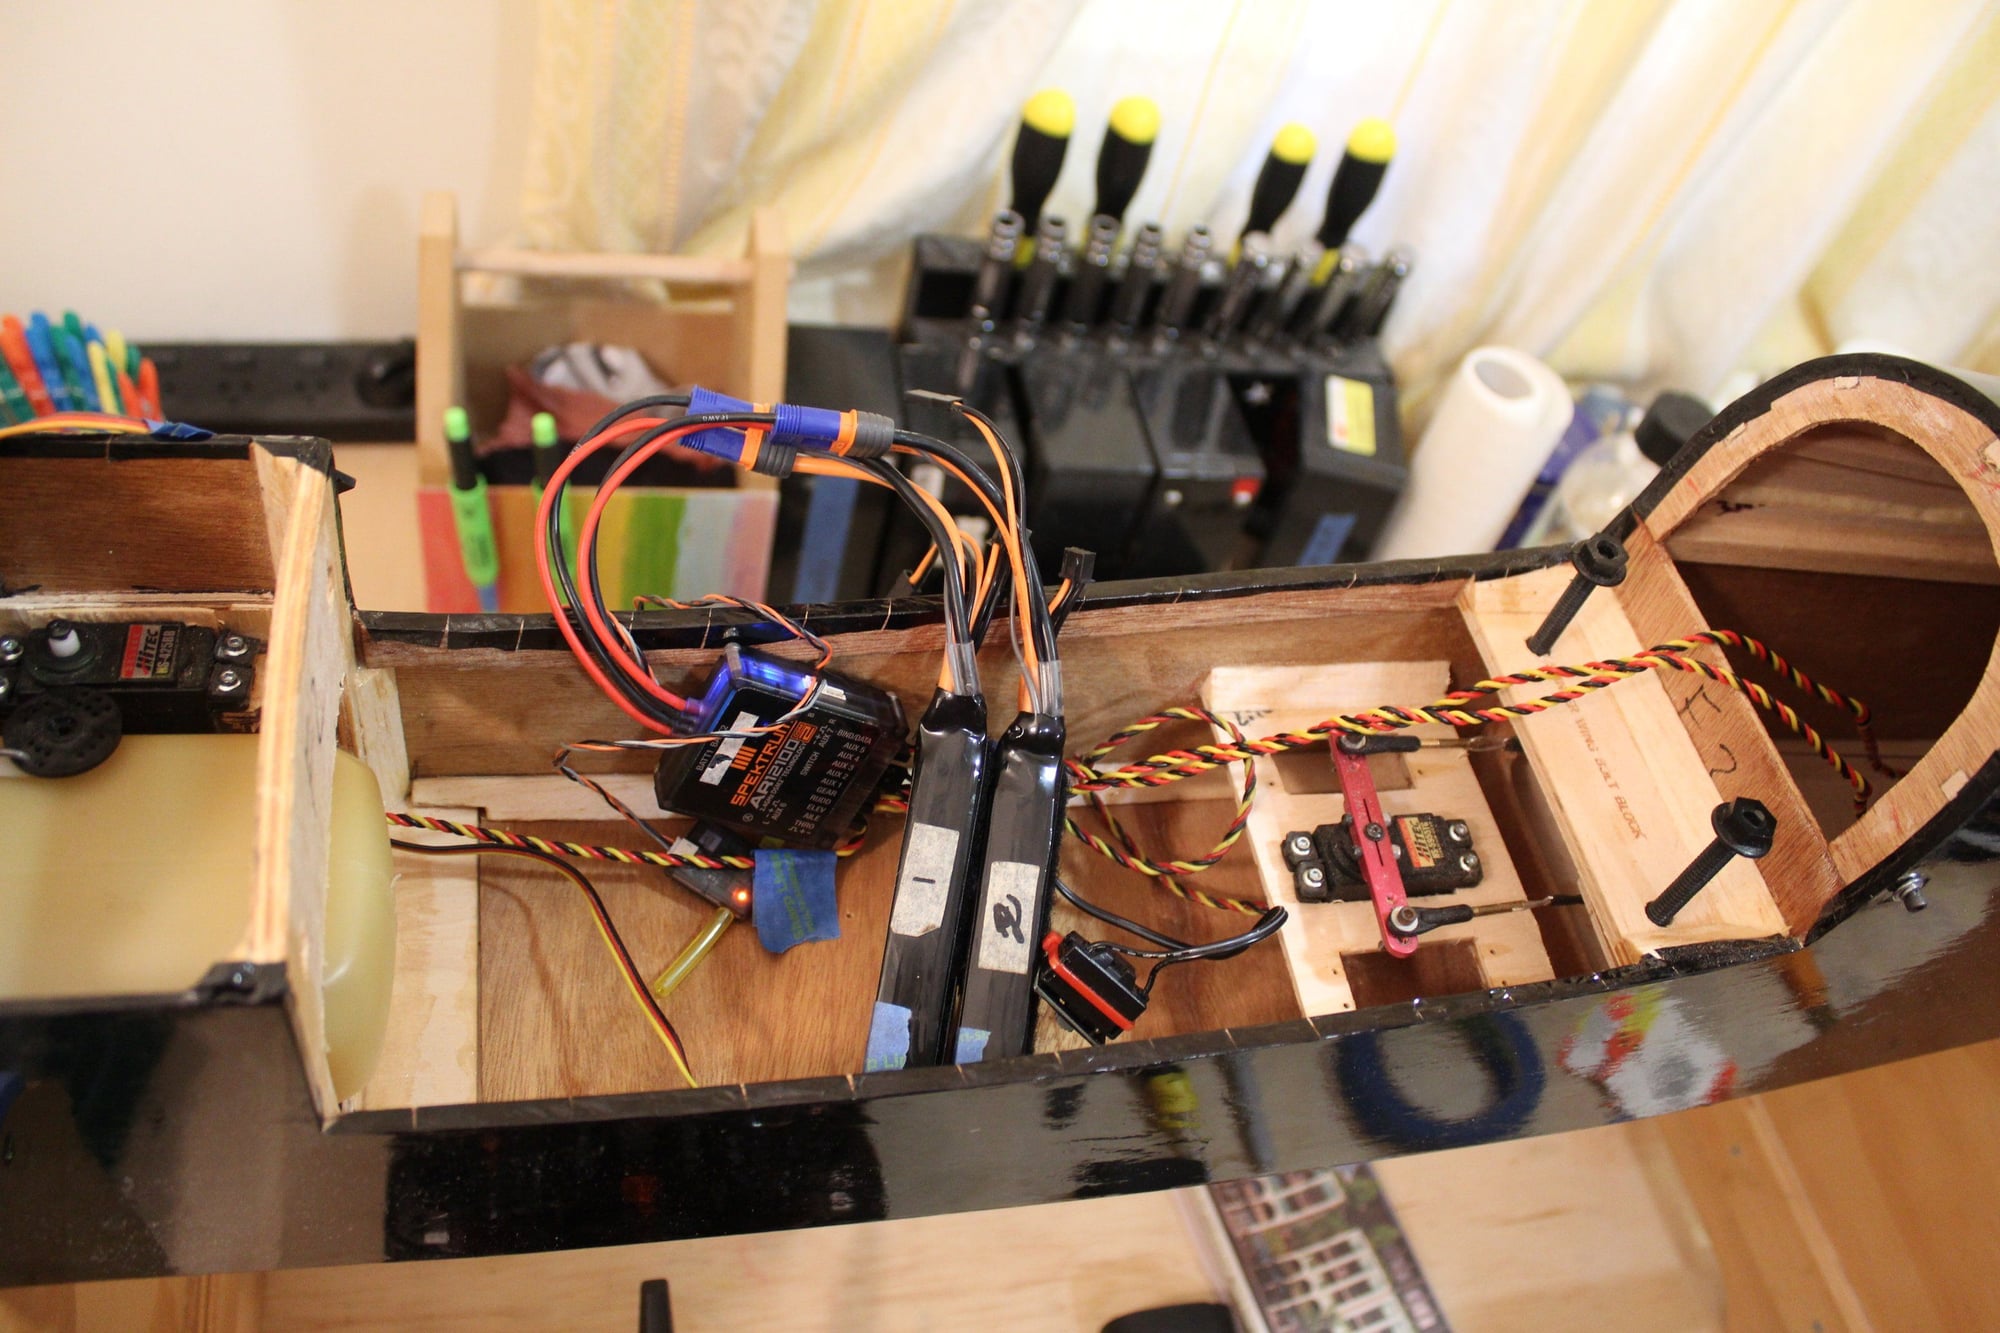
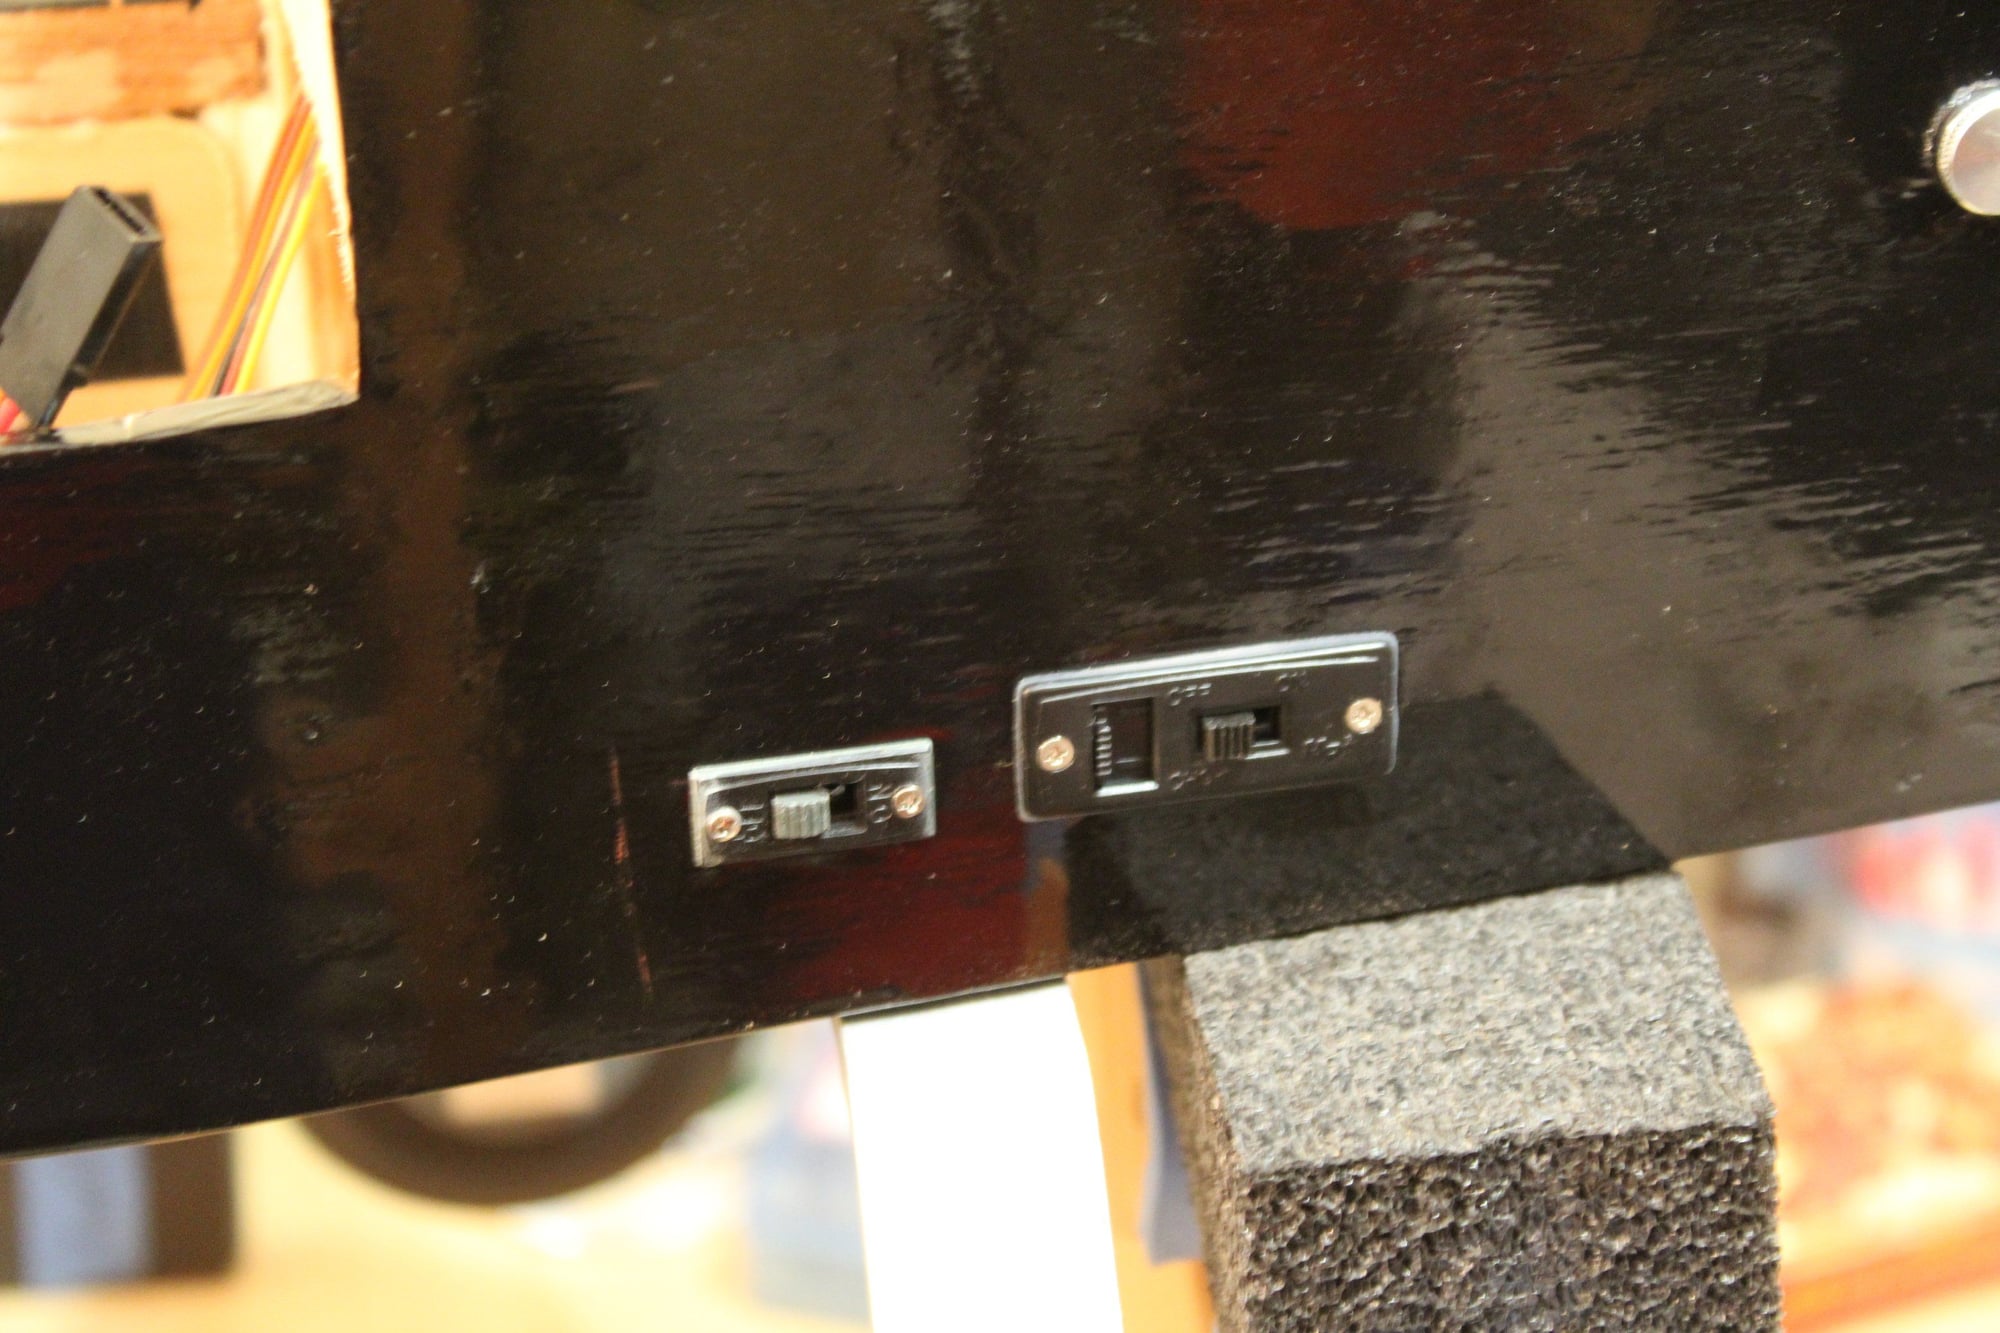
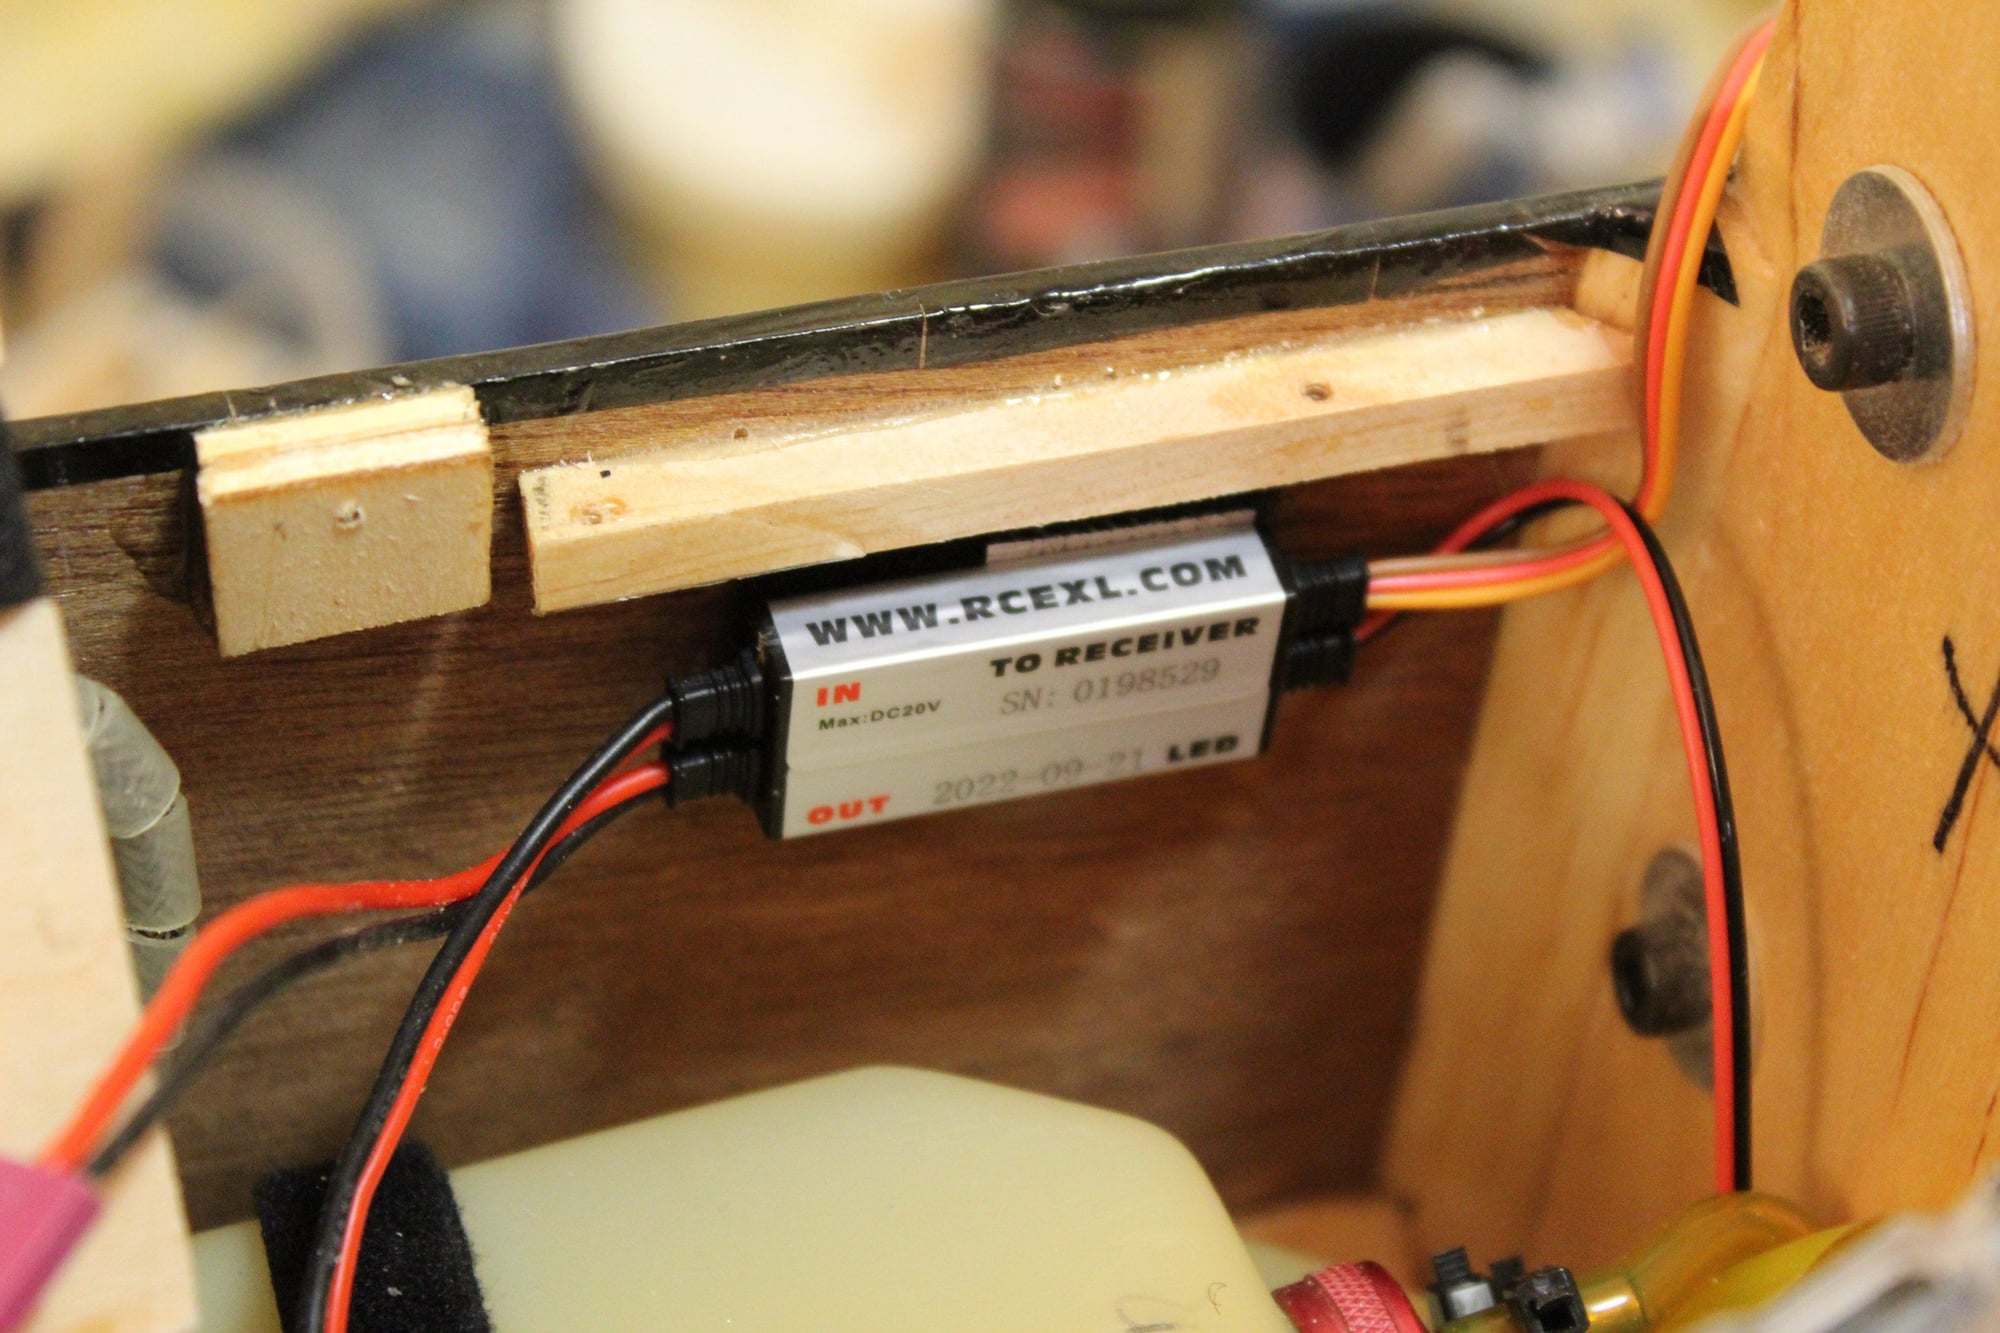
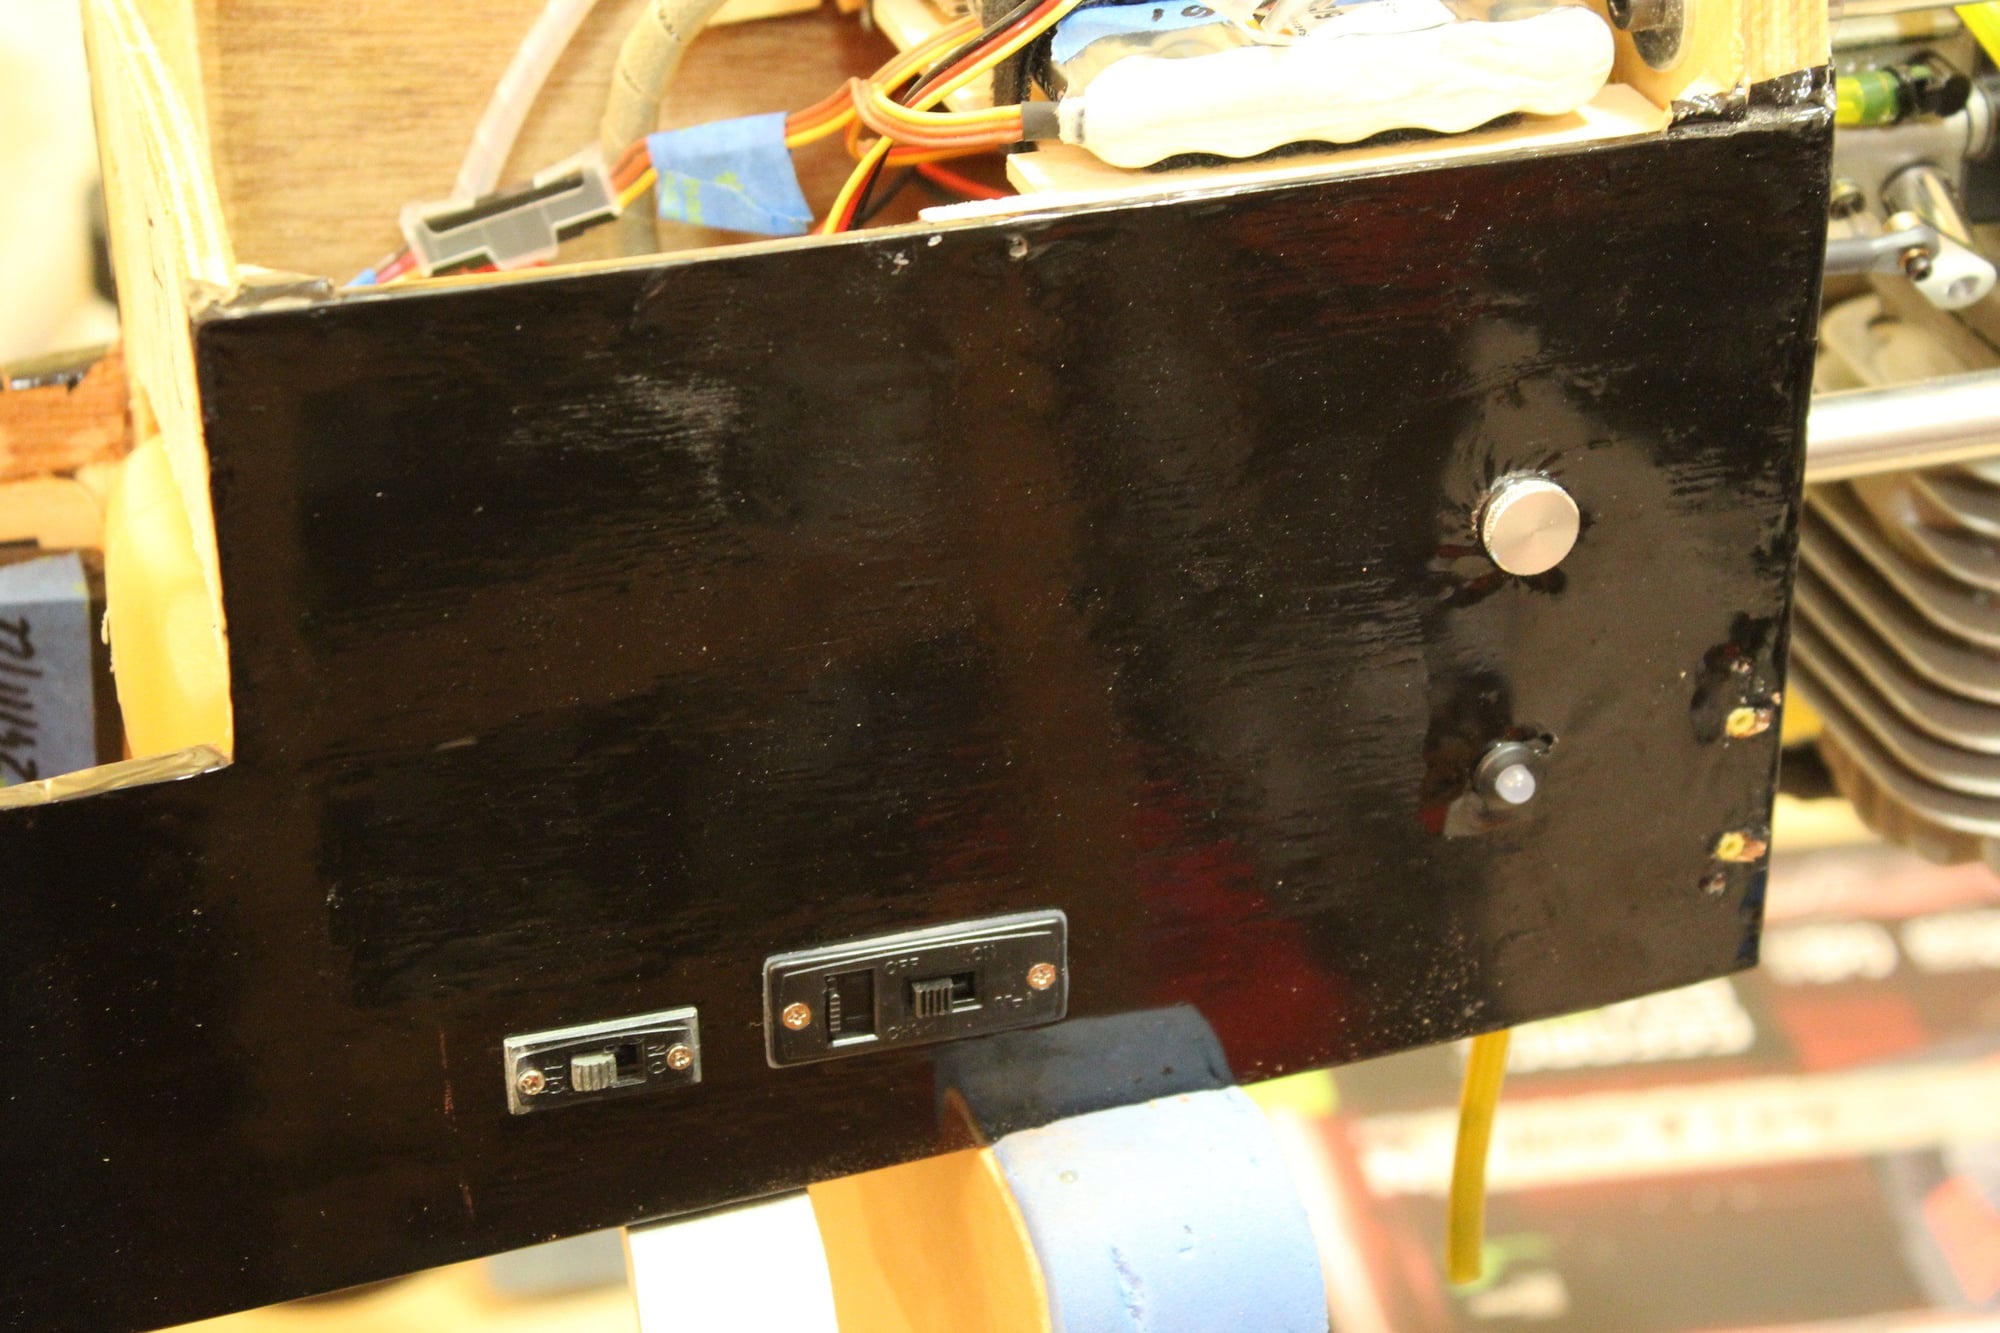
I made the receiver batteries trays, installed the switches for both ignition and receiver, the optical kill switch and its LED light. I screwed into place the "accessories tray" with the ignition battery and ignition module. Last, I positioned the remote receivers in the three orientations away from the rest of the gear as the leads allowed.


Cheers,
Eran
Cheers,
Eran
03-26-2024, 12:48 AM
#110
Thread Starter
Join Date: Jun 2008
Location: Perth WA, AUSTRALIA
Posts: 1,208
Likes: 0
Received 11 Likes
on
11 Posts
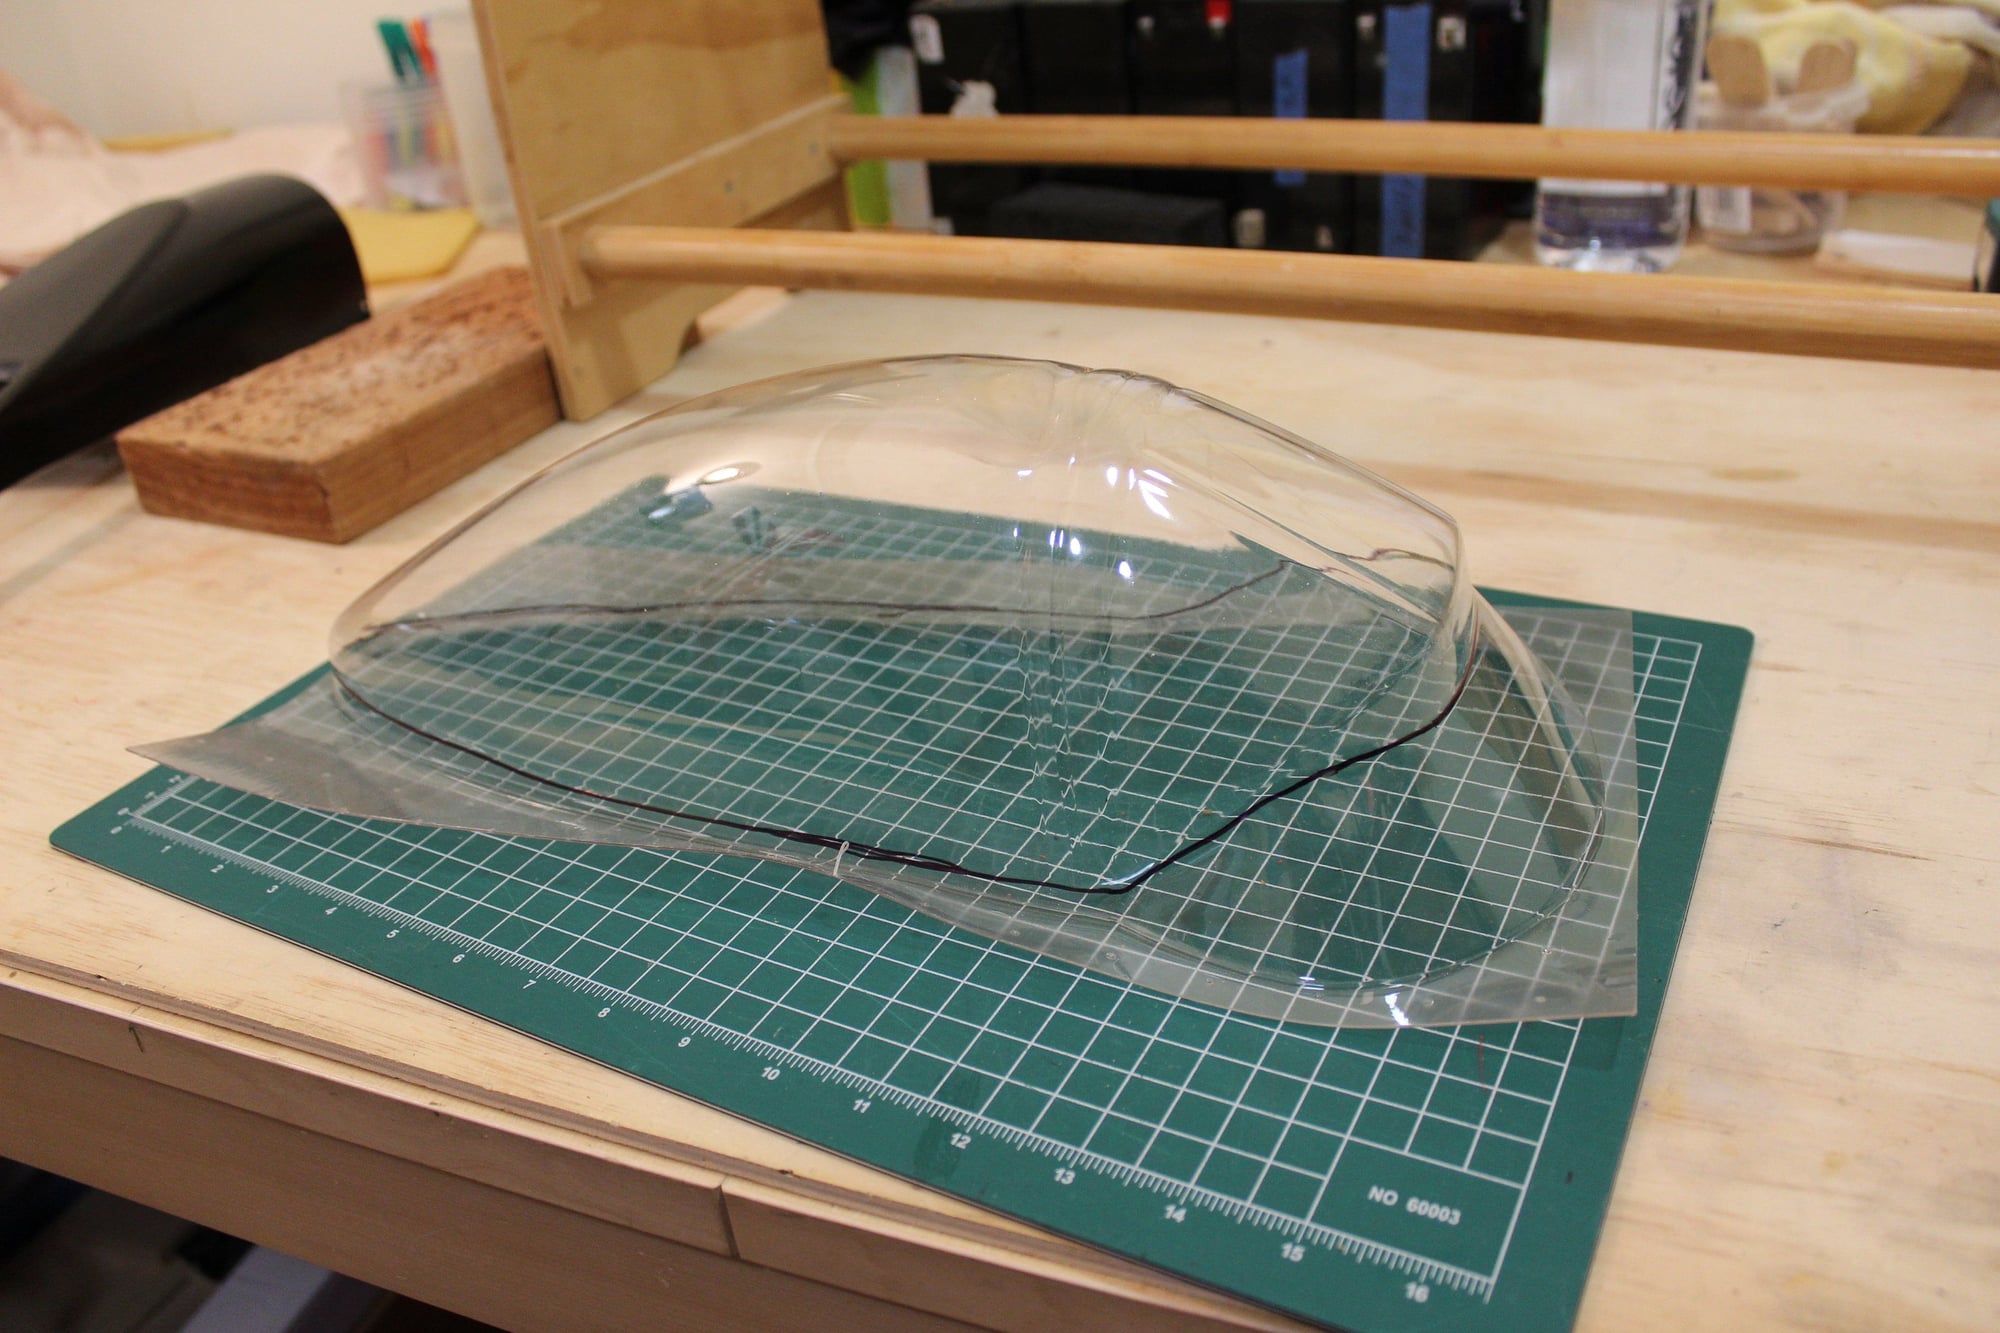
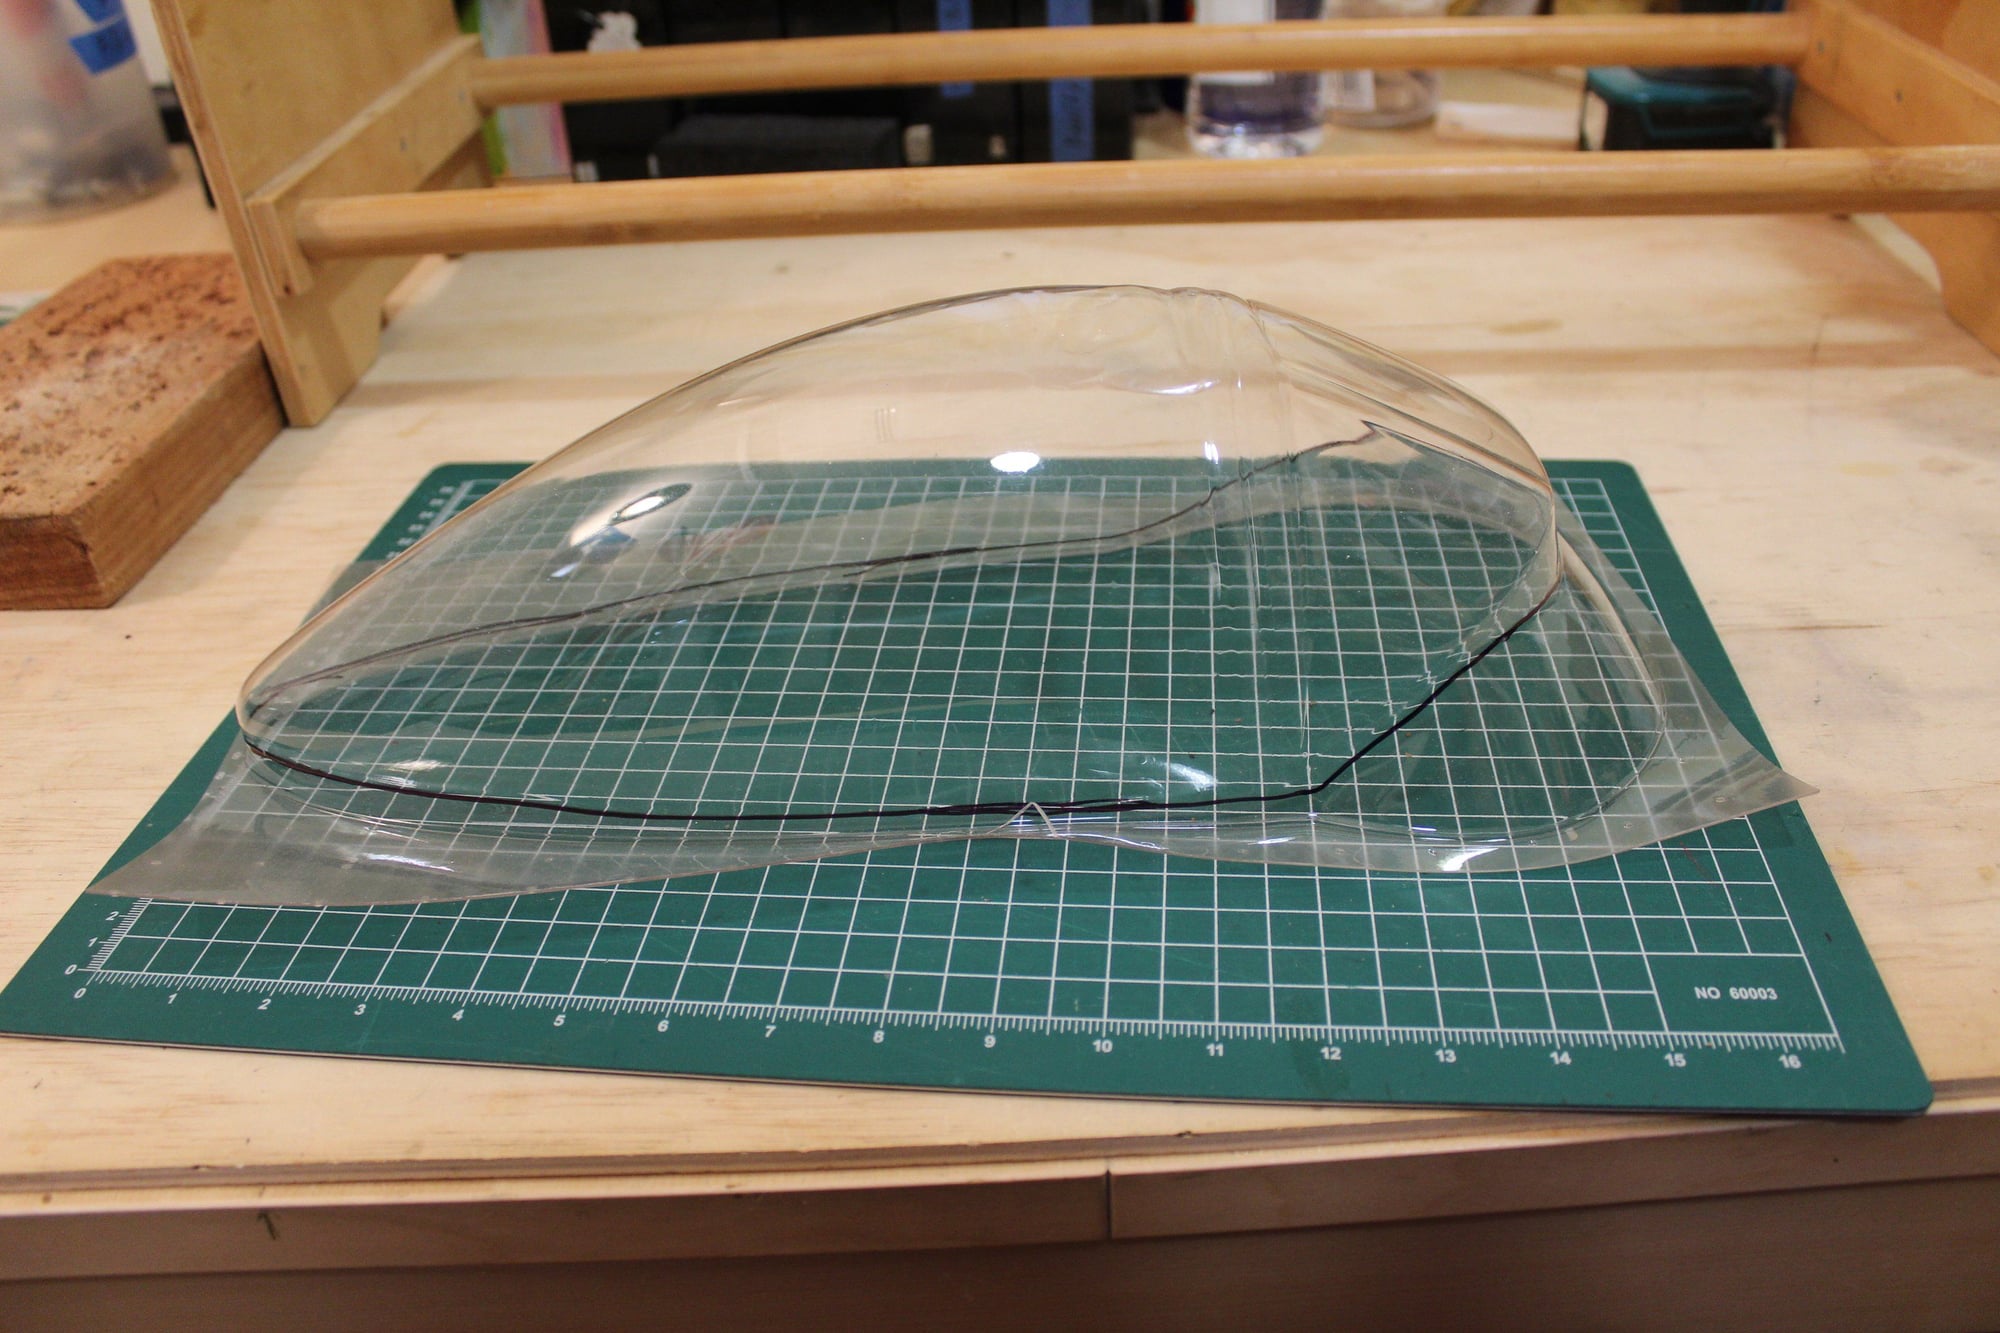
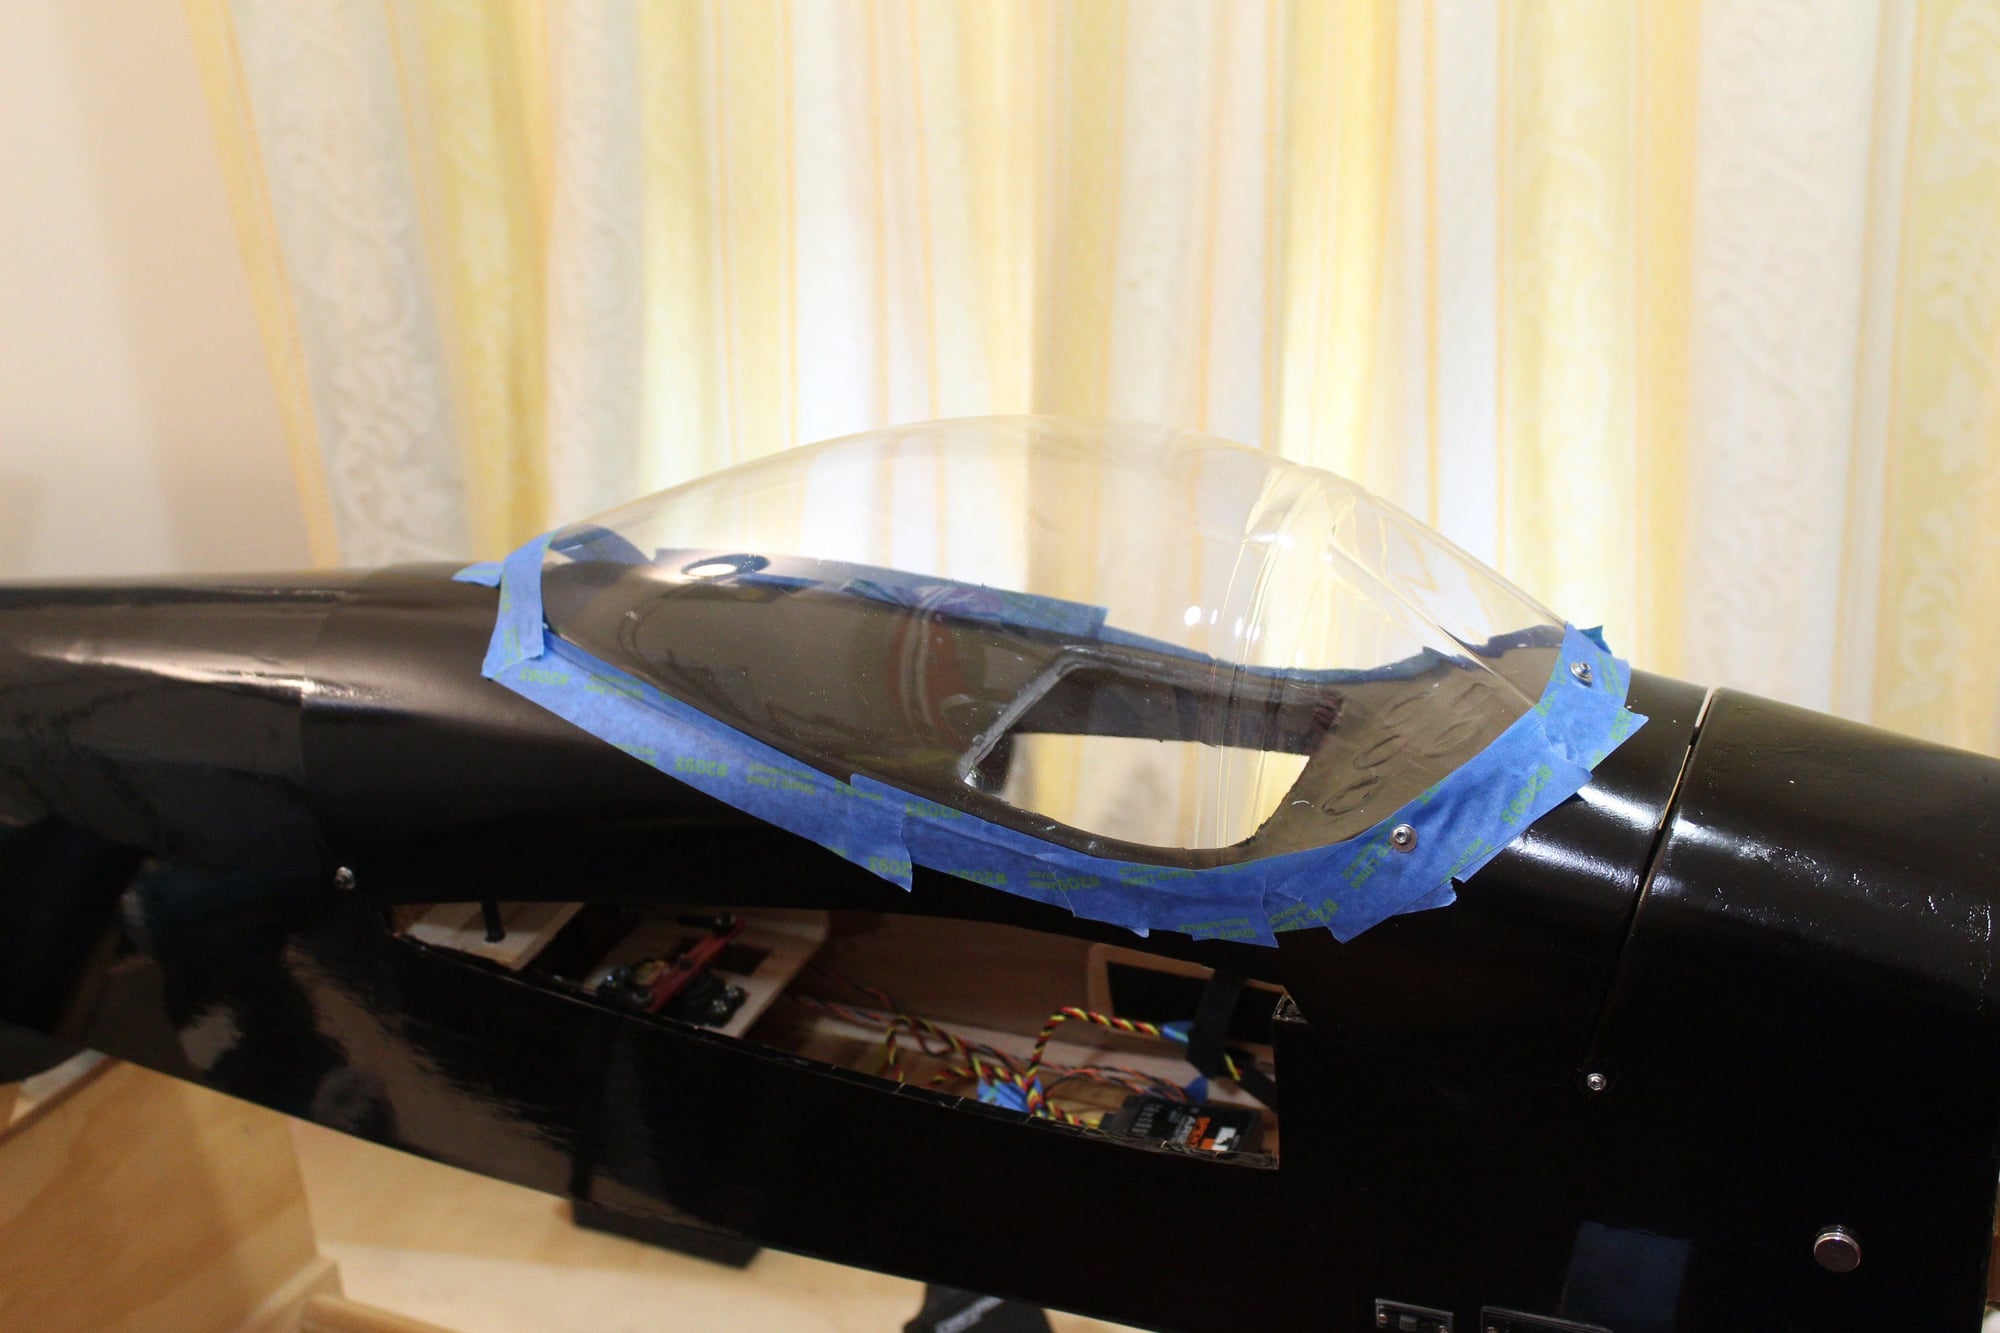
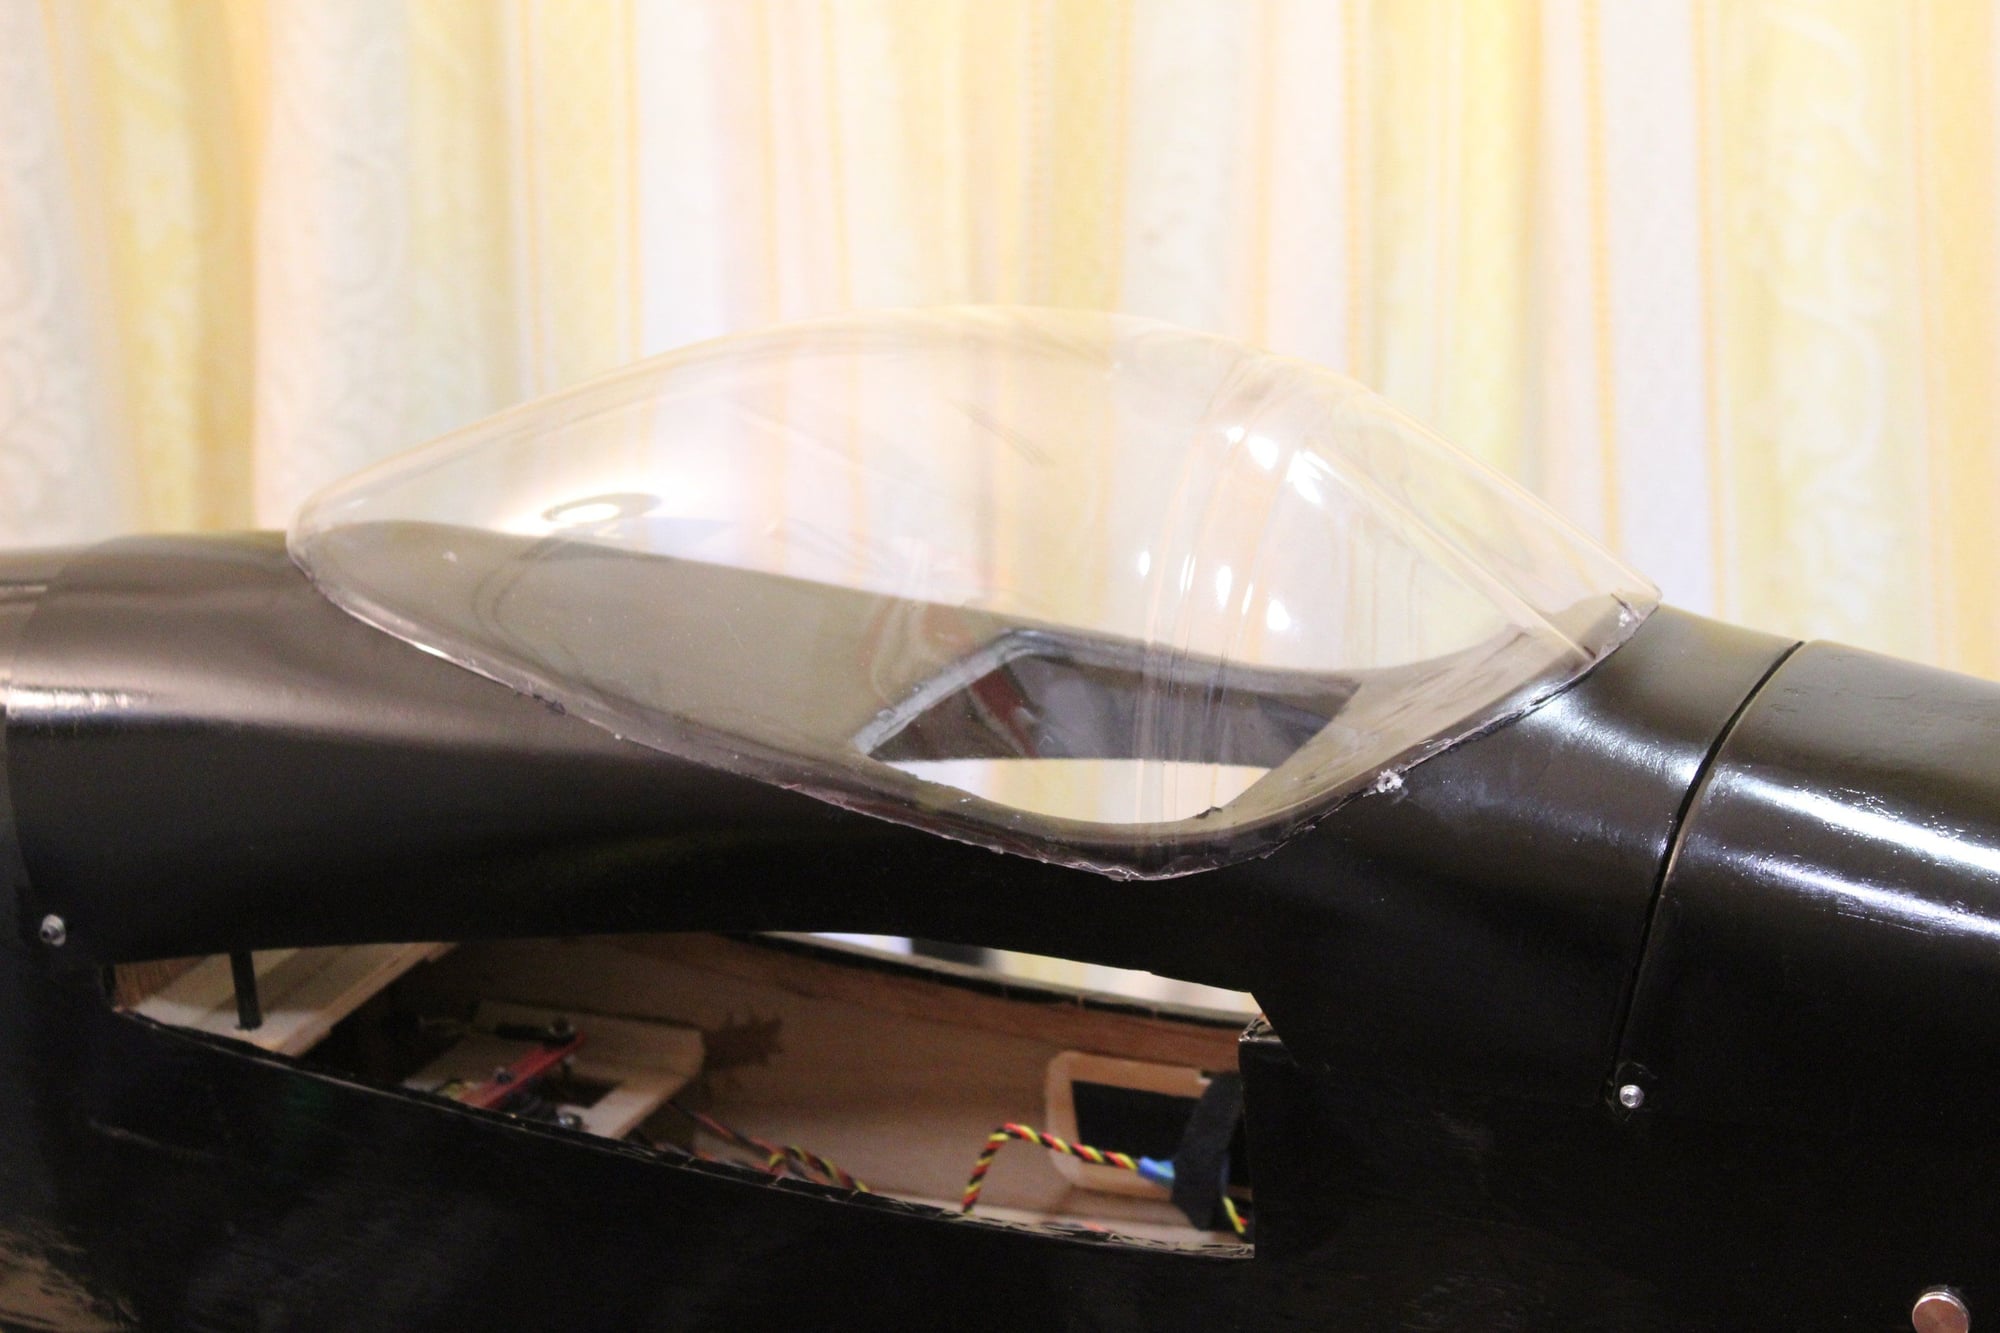
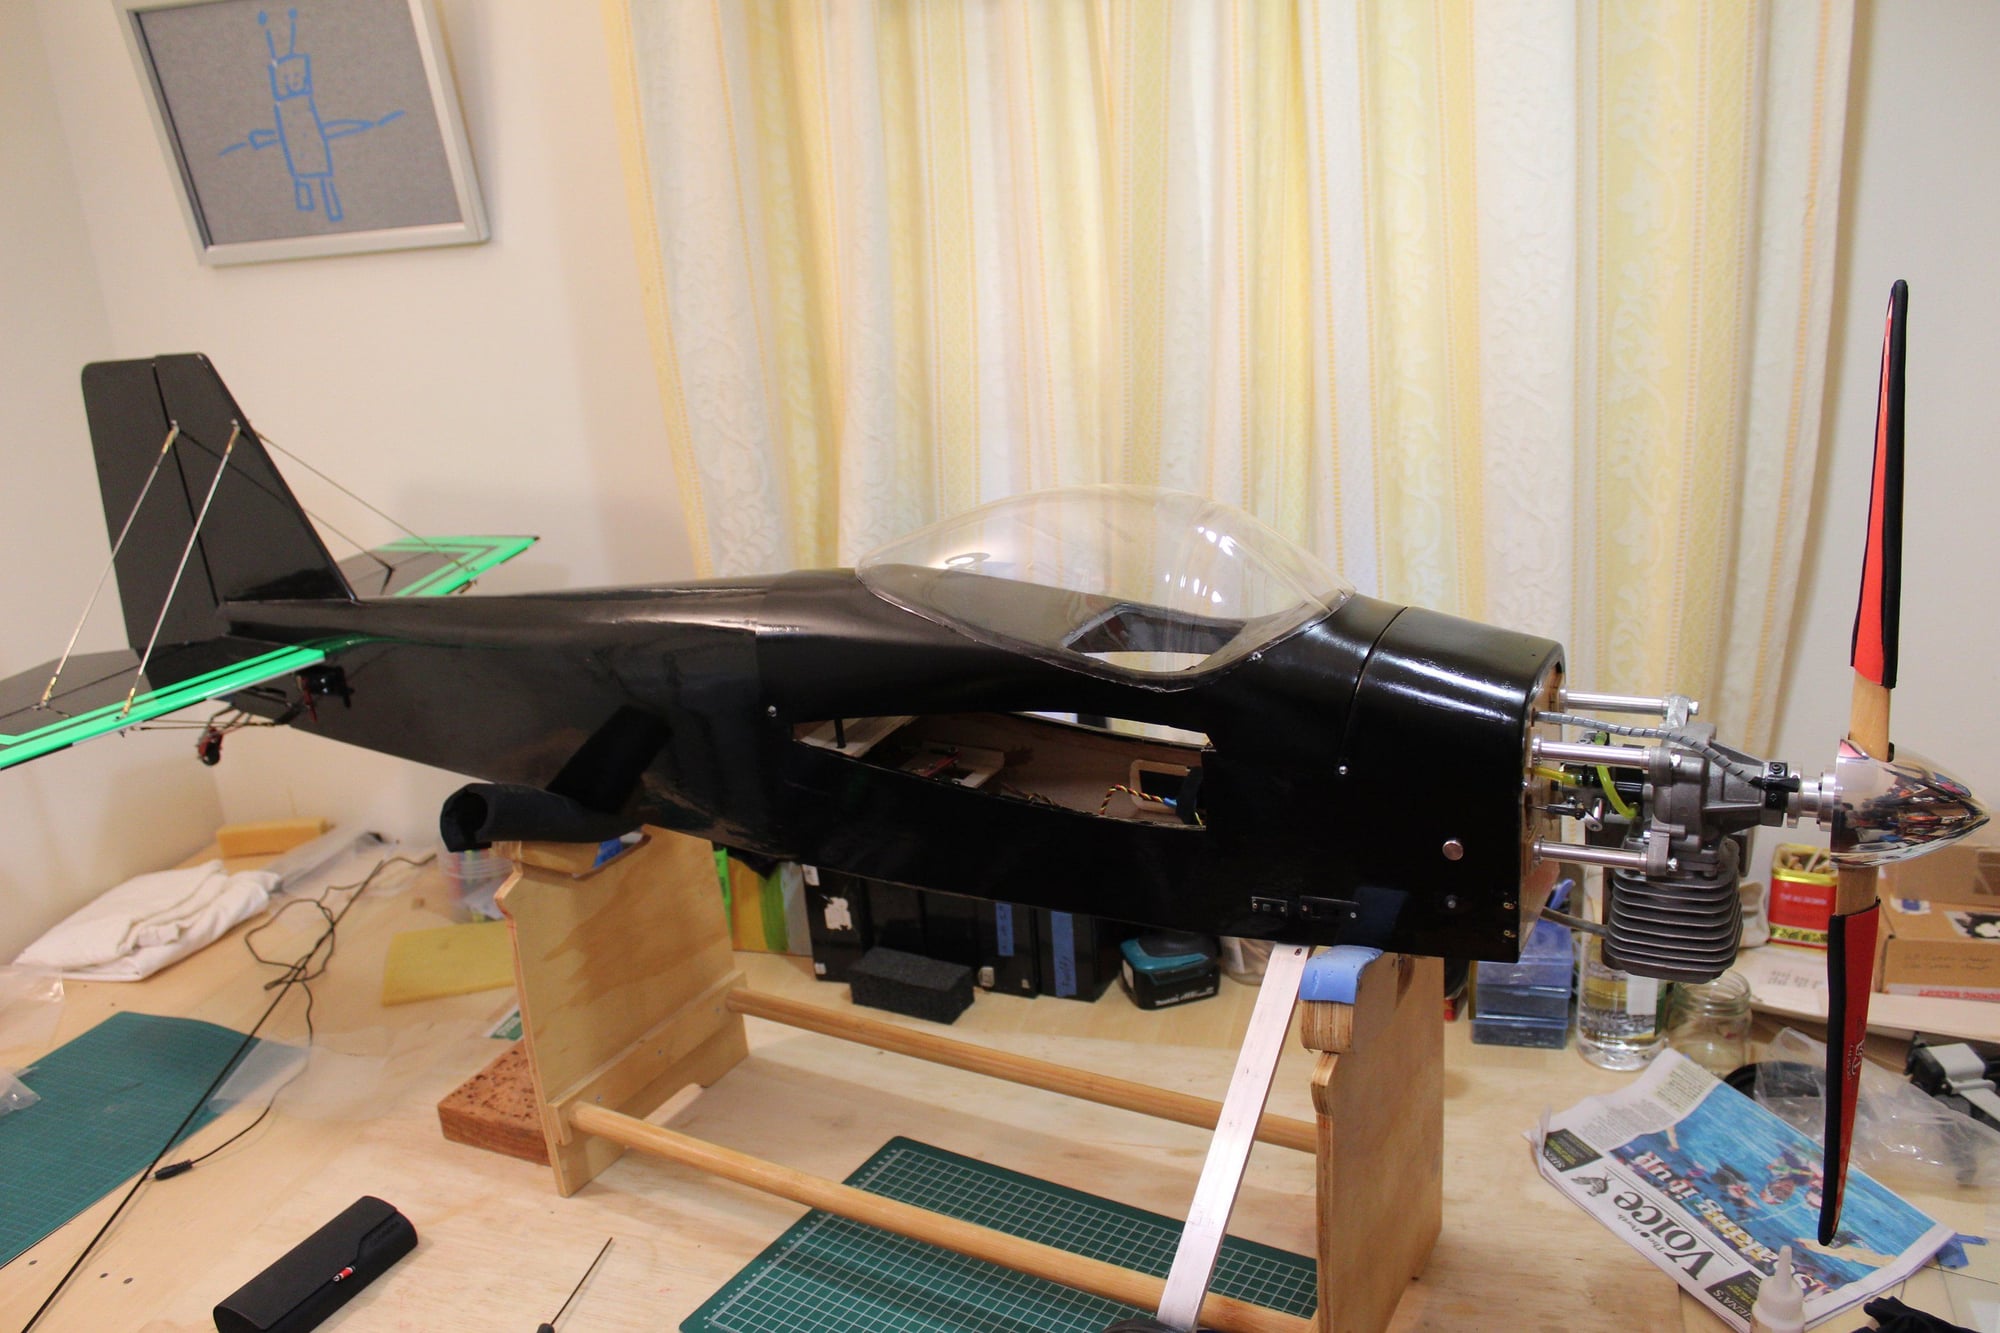
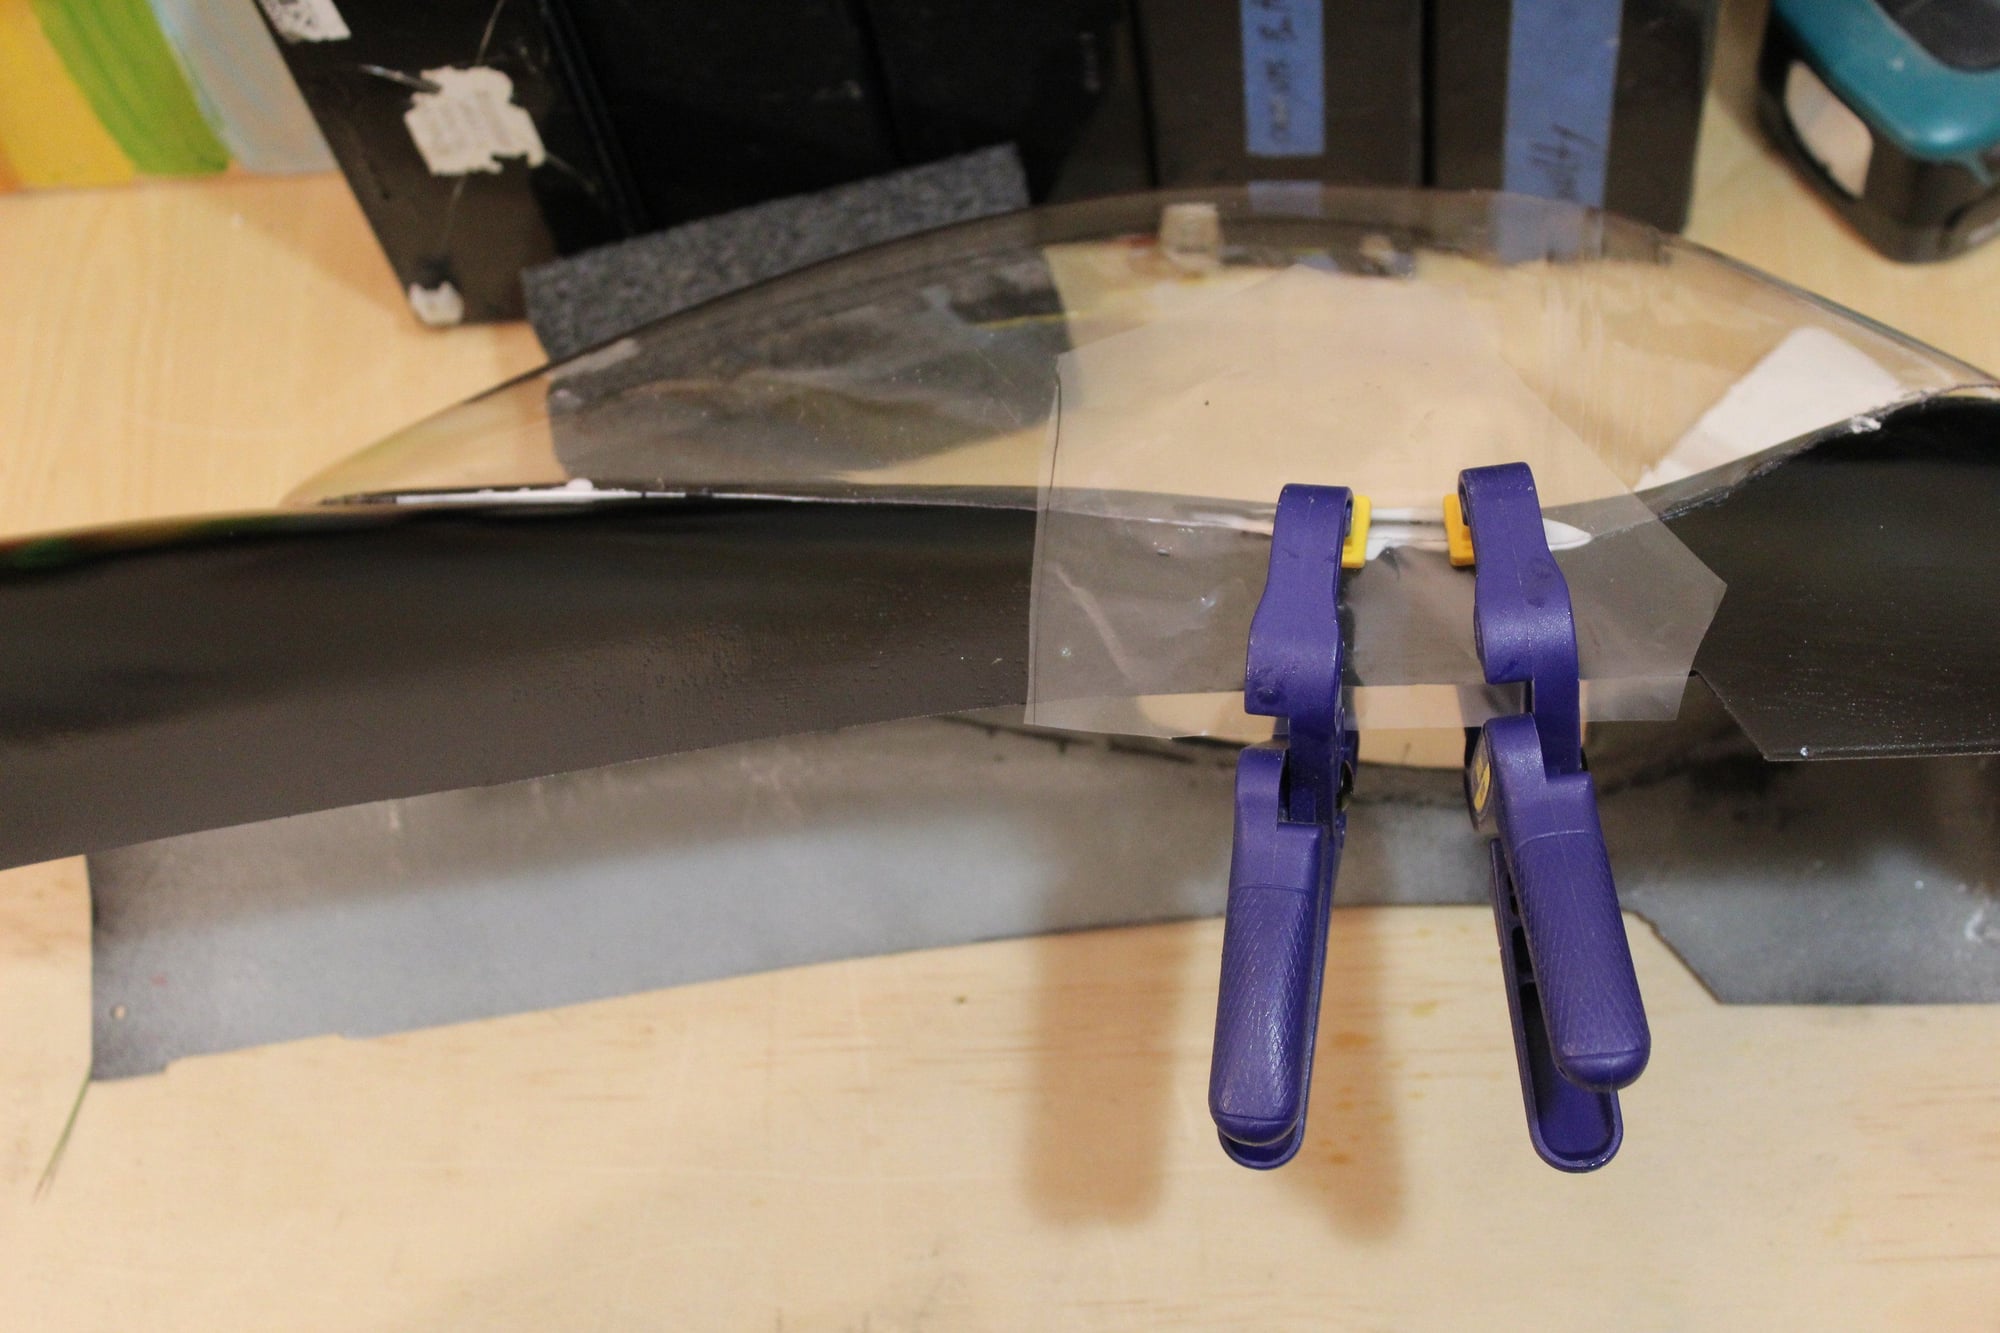
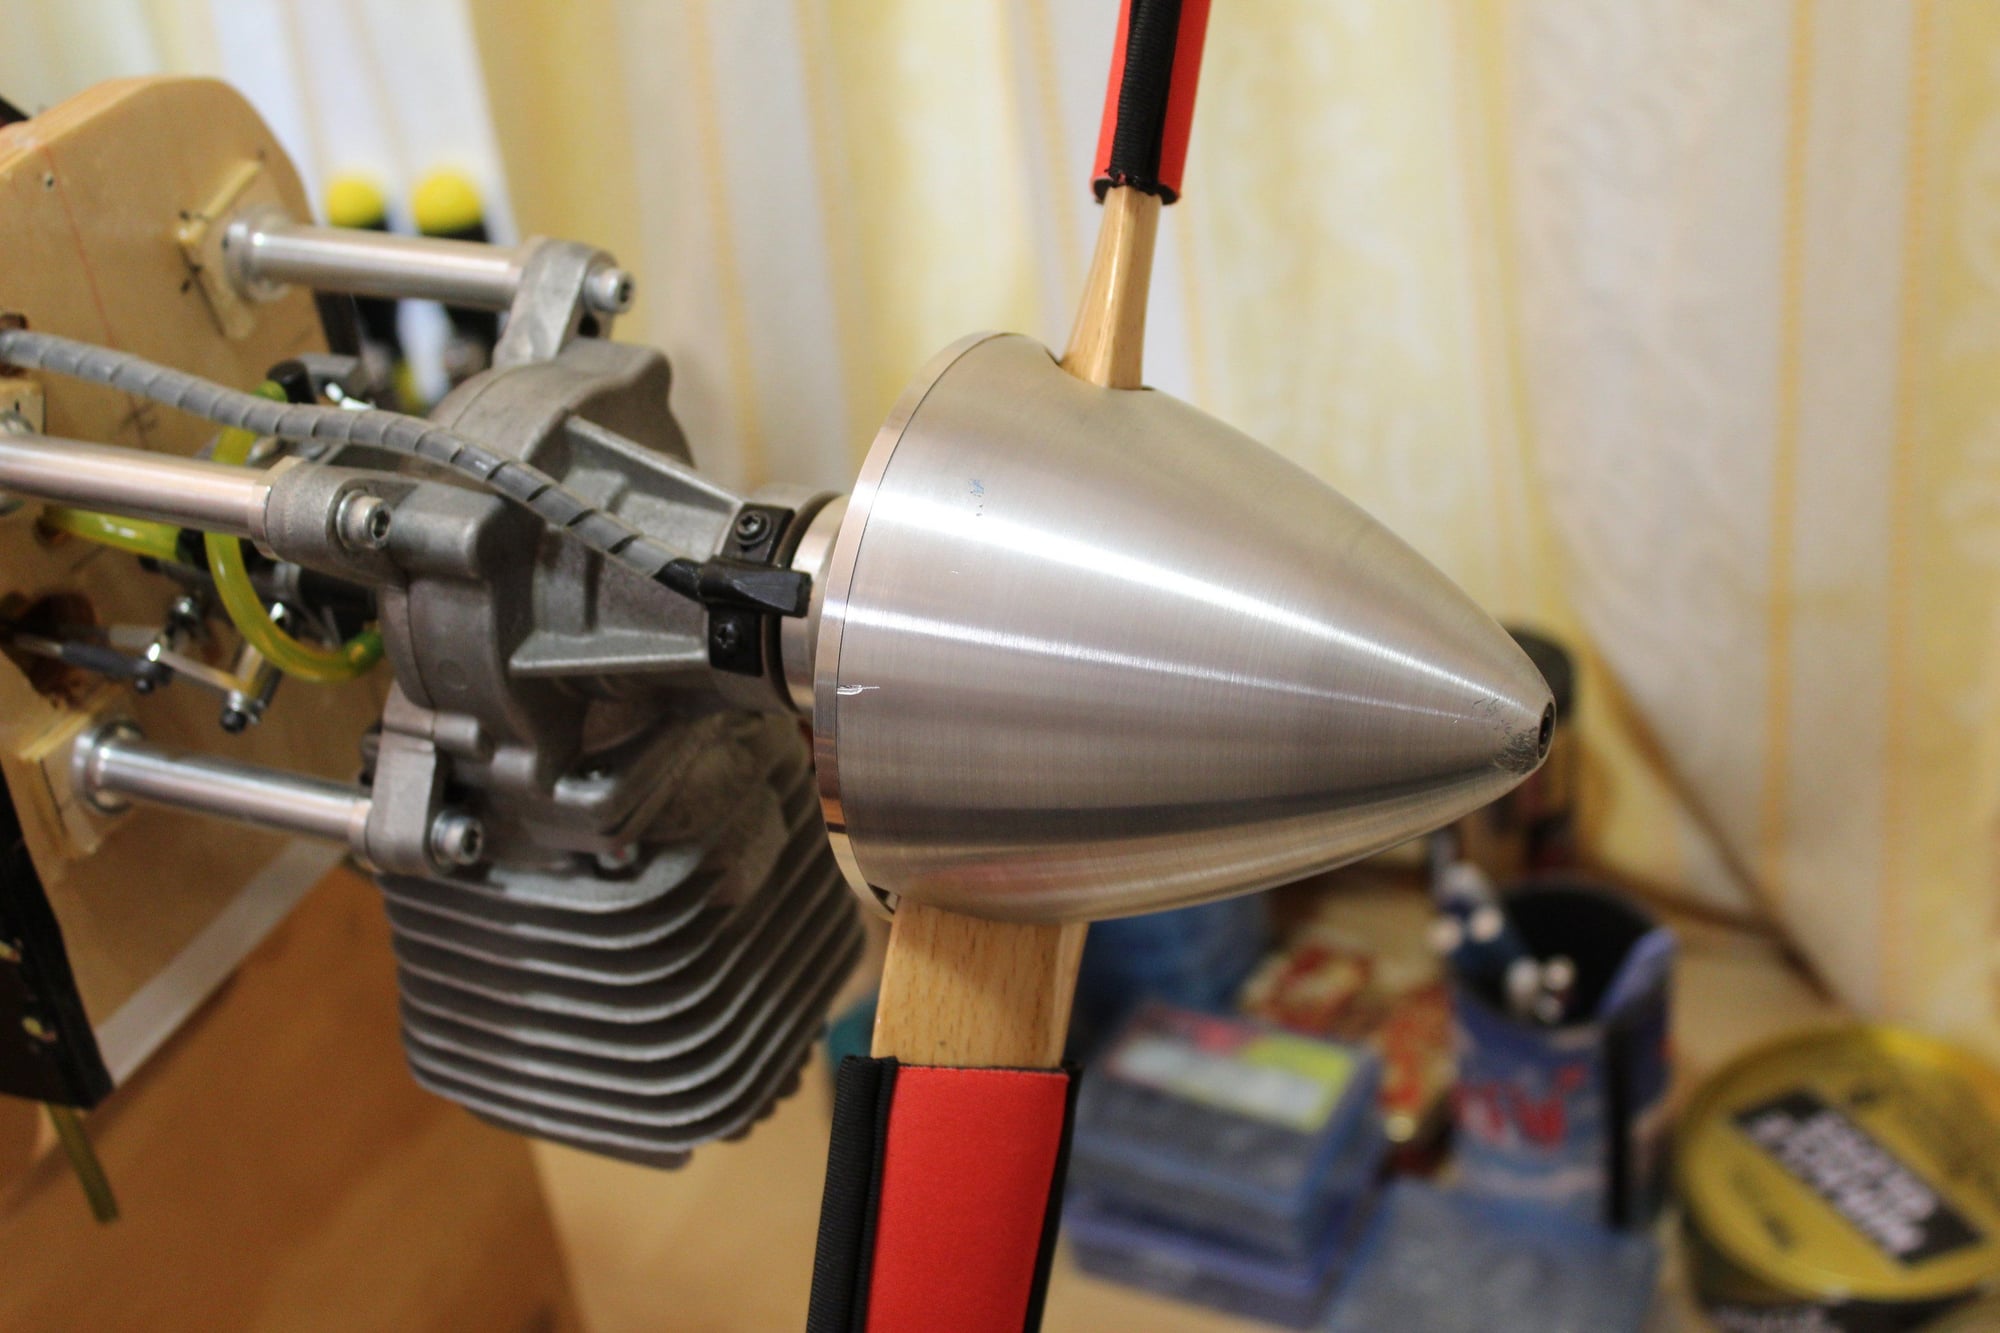
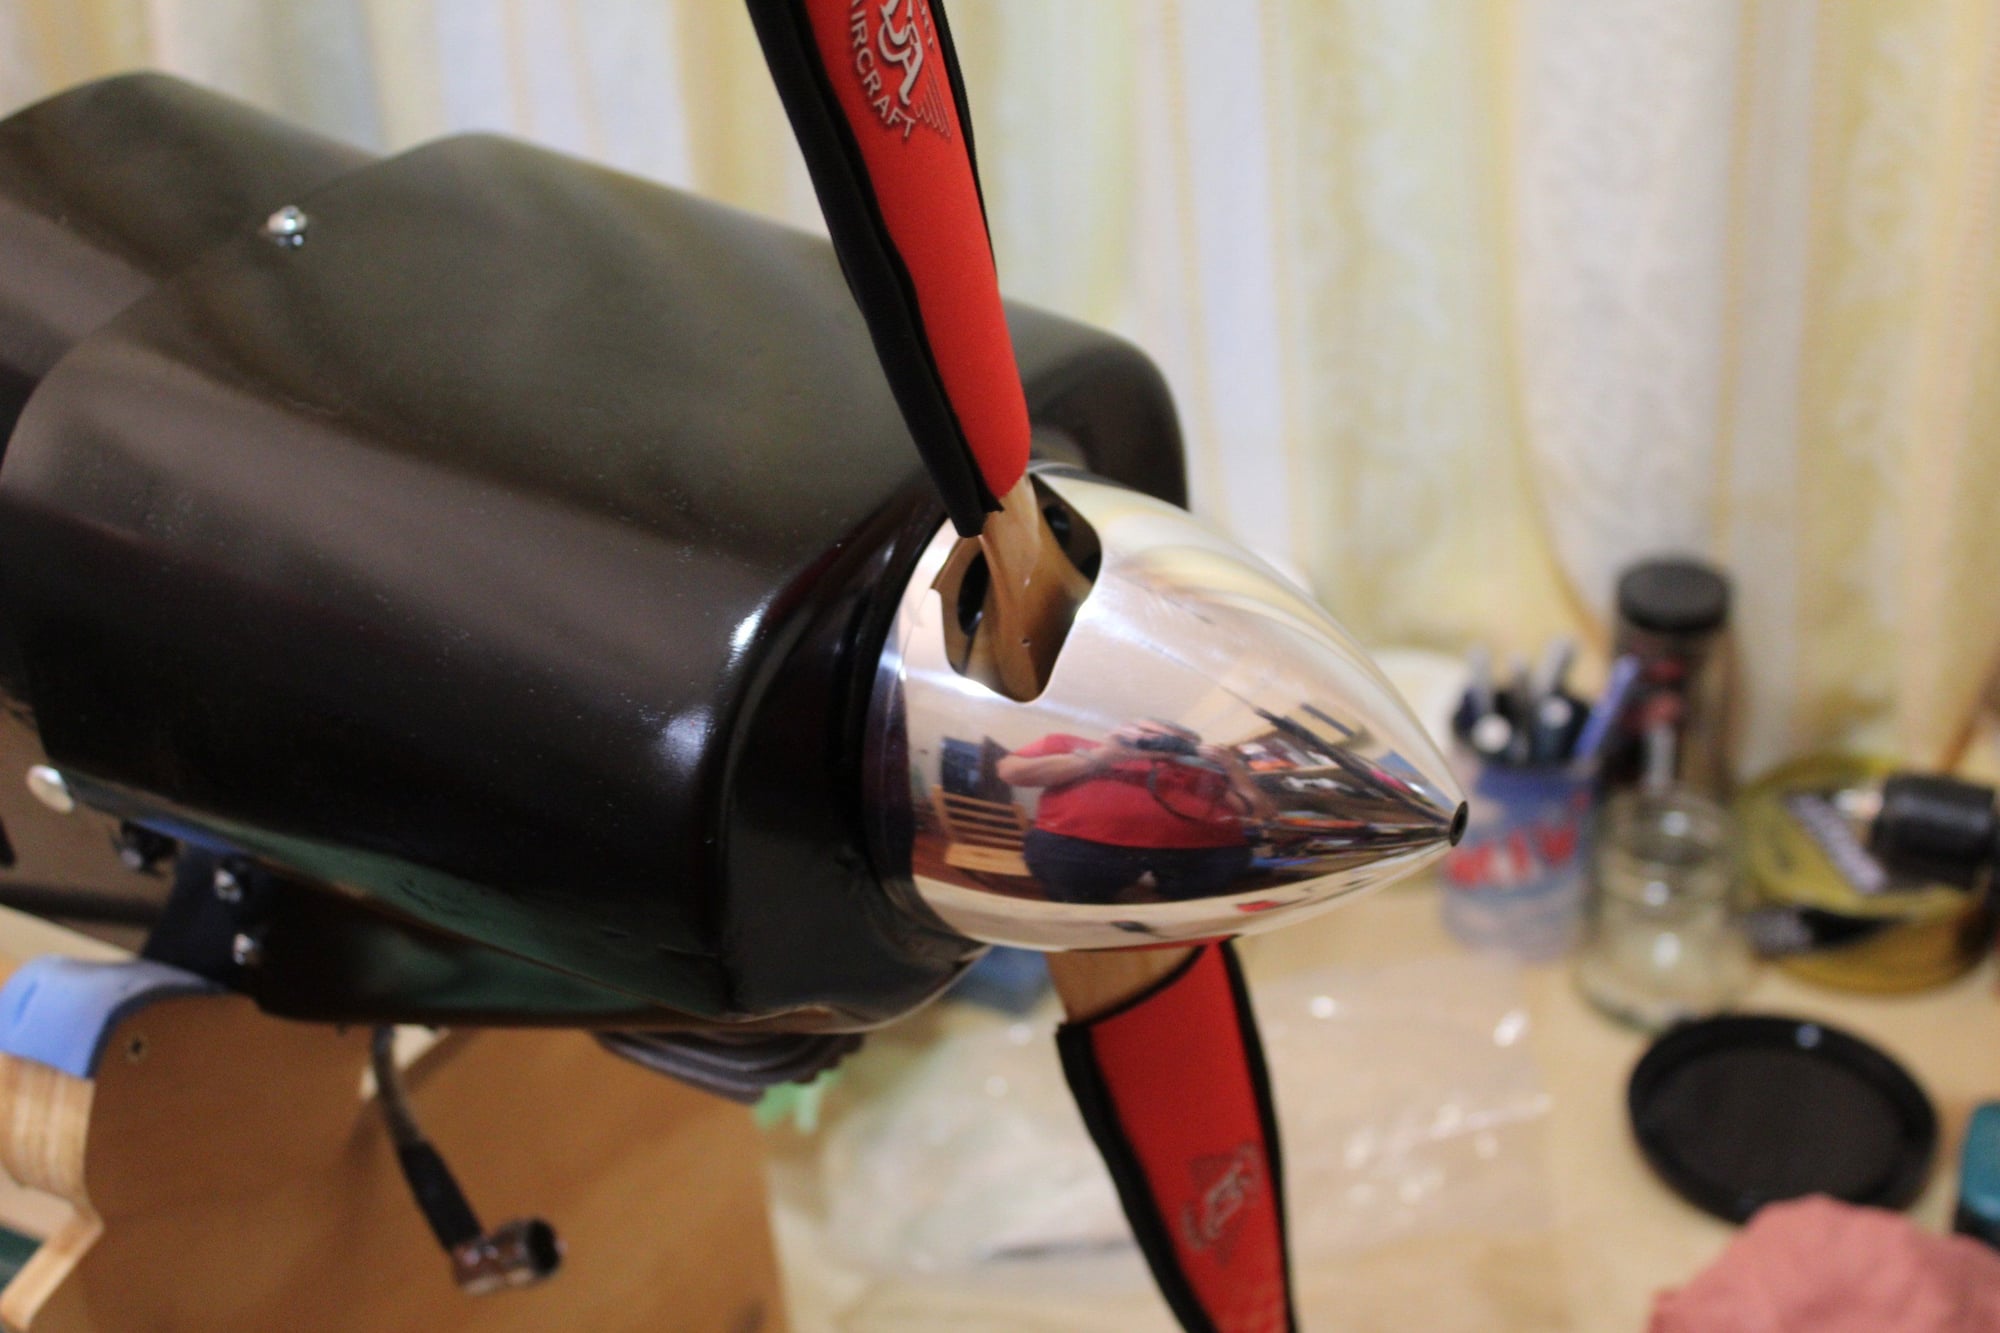
Getting close now. Prop is balanced, trimming the canopy was much more difficult than expected, but it is now completed and the canopy glued into place.
While it is drying, I sleeved the ailerons pushrods in carbon fibre tube to prevent them from flexing.

Cheers,
Eran
While it is drying, I sleeved the ailerons pushrods in carbon fibre tube to prevent them from flexing.
Cheers,
Eran
03-27-2024, 03:48 AM
#111
Thread Starter
Join Date: Jun 2008
Location: Perth WA, AUSTRALIA
Posts: 1,208
Likes: 0
Received 11 Likes
on
11 Posts
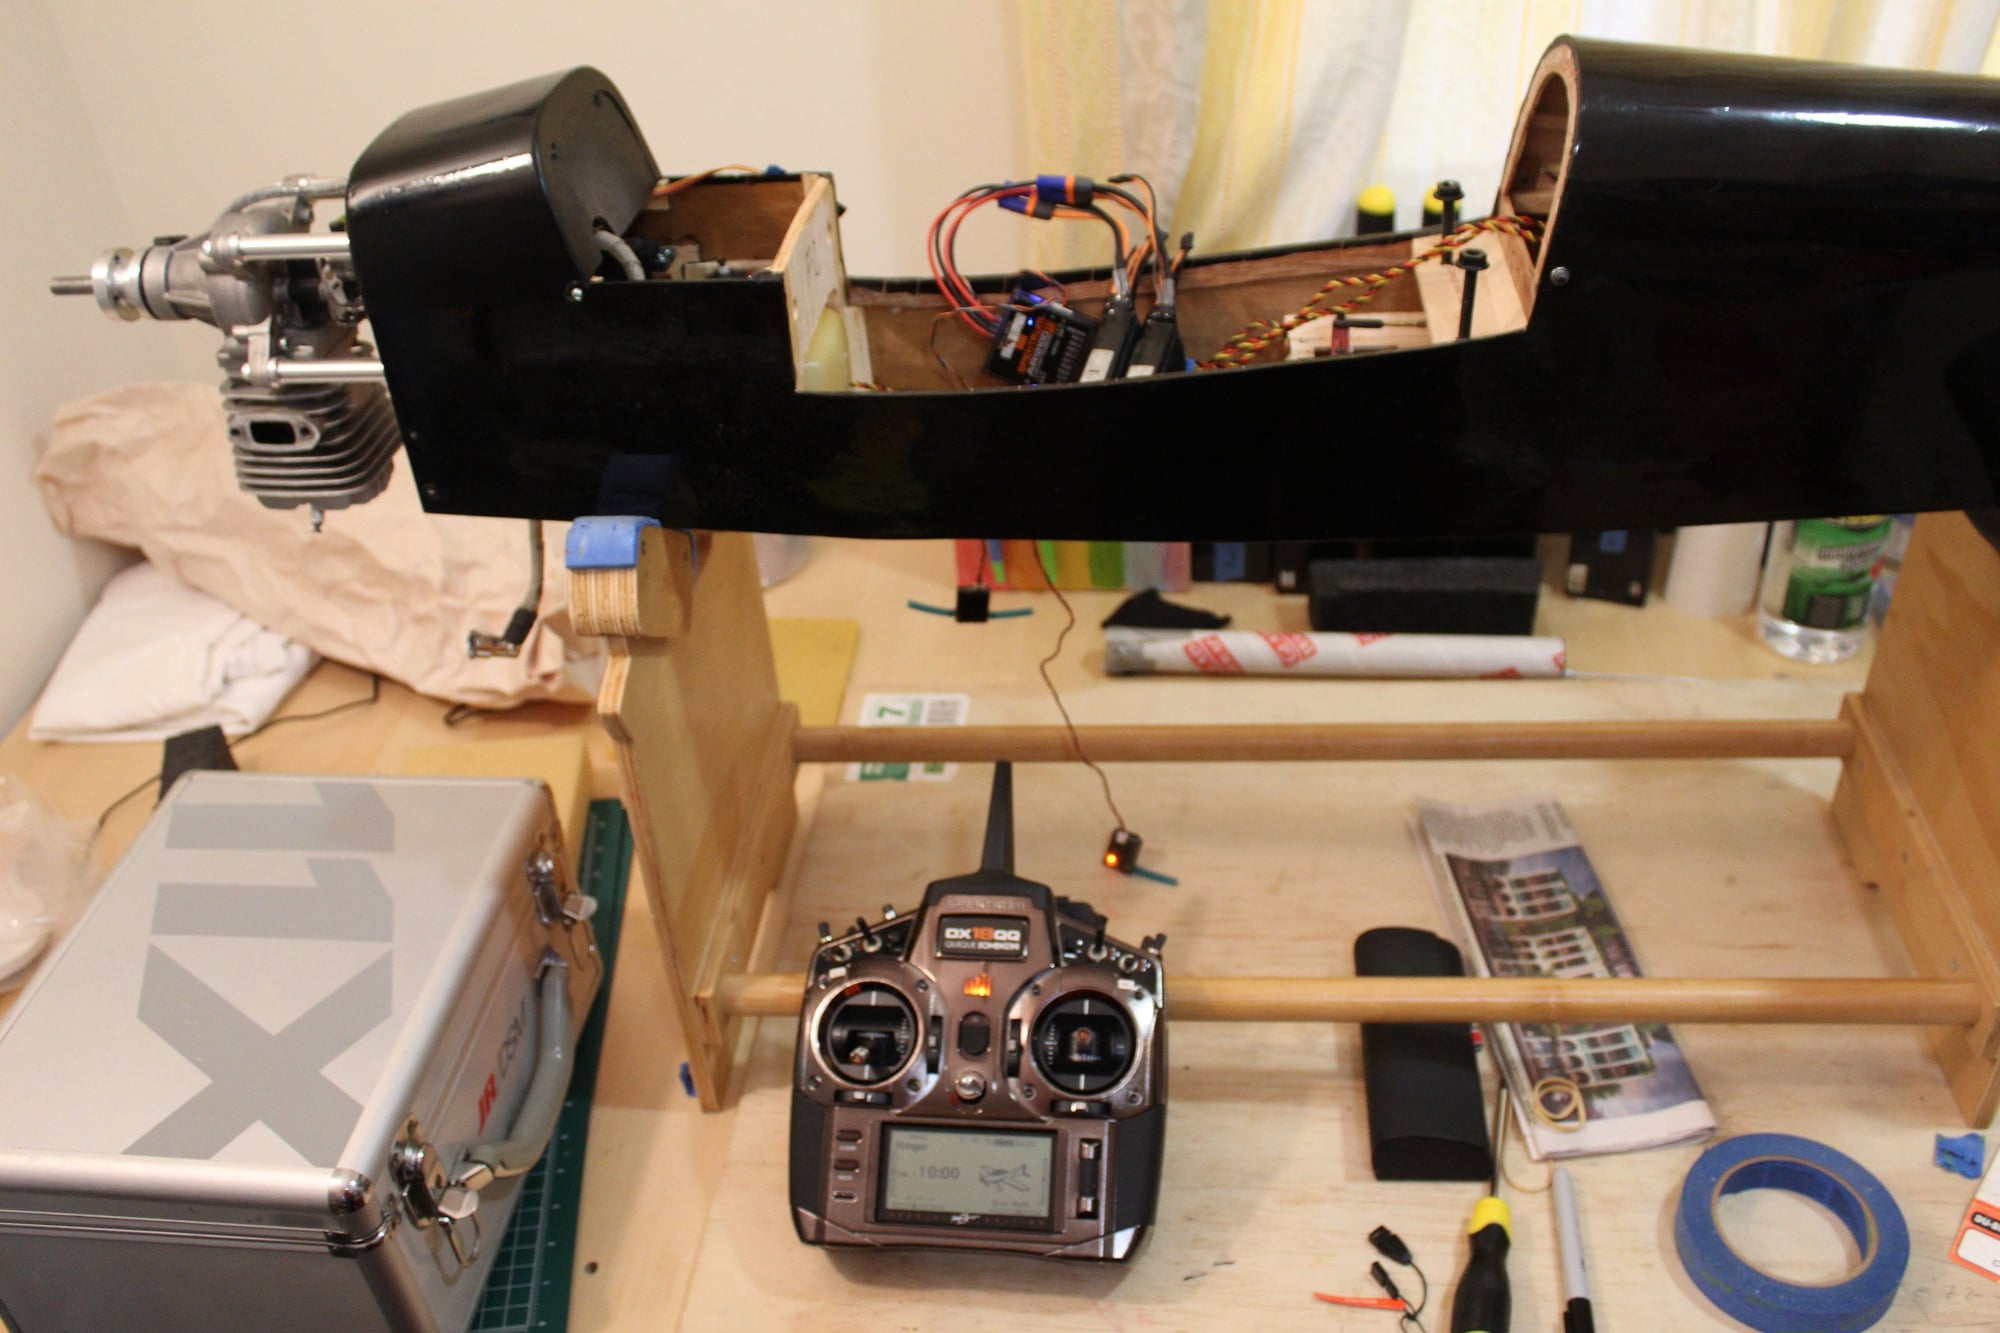
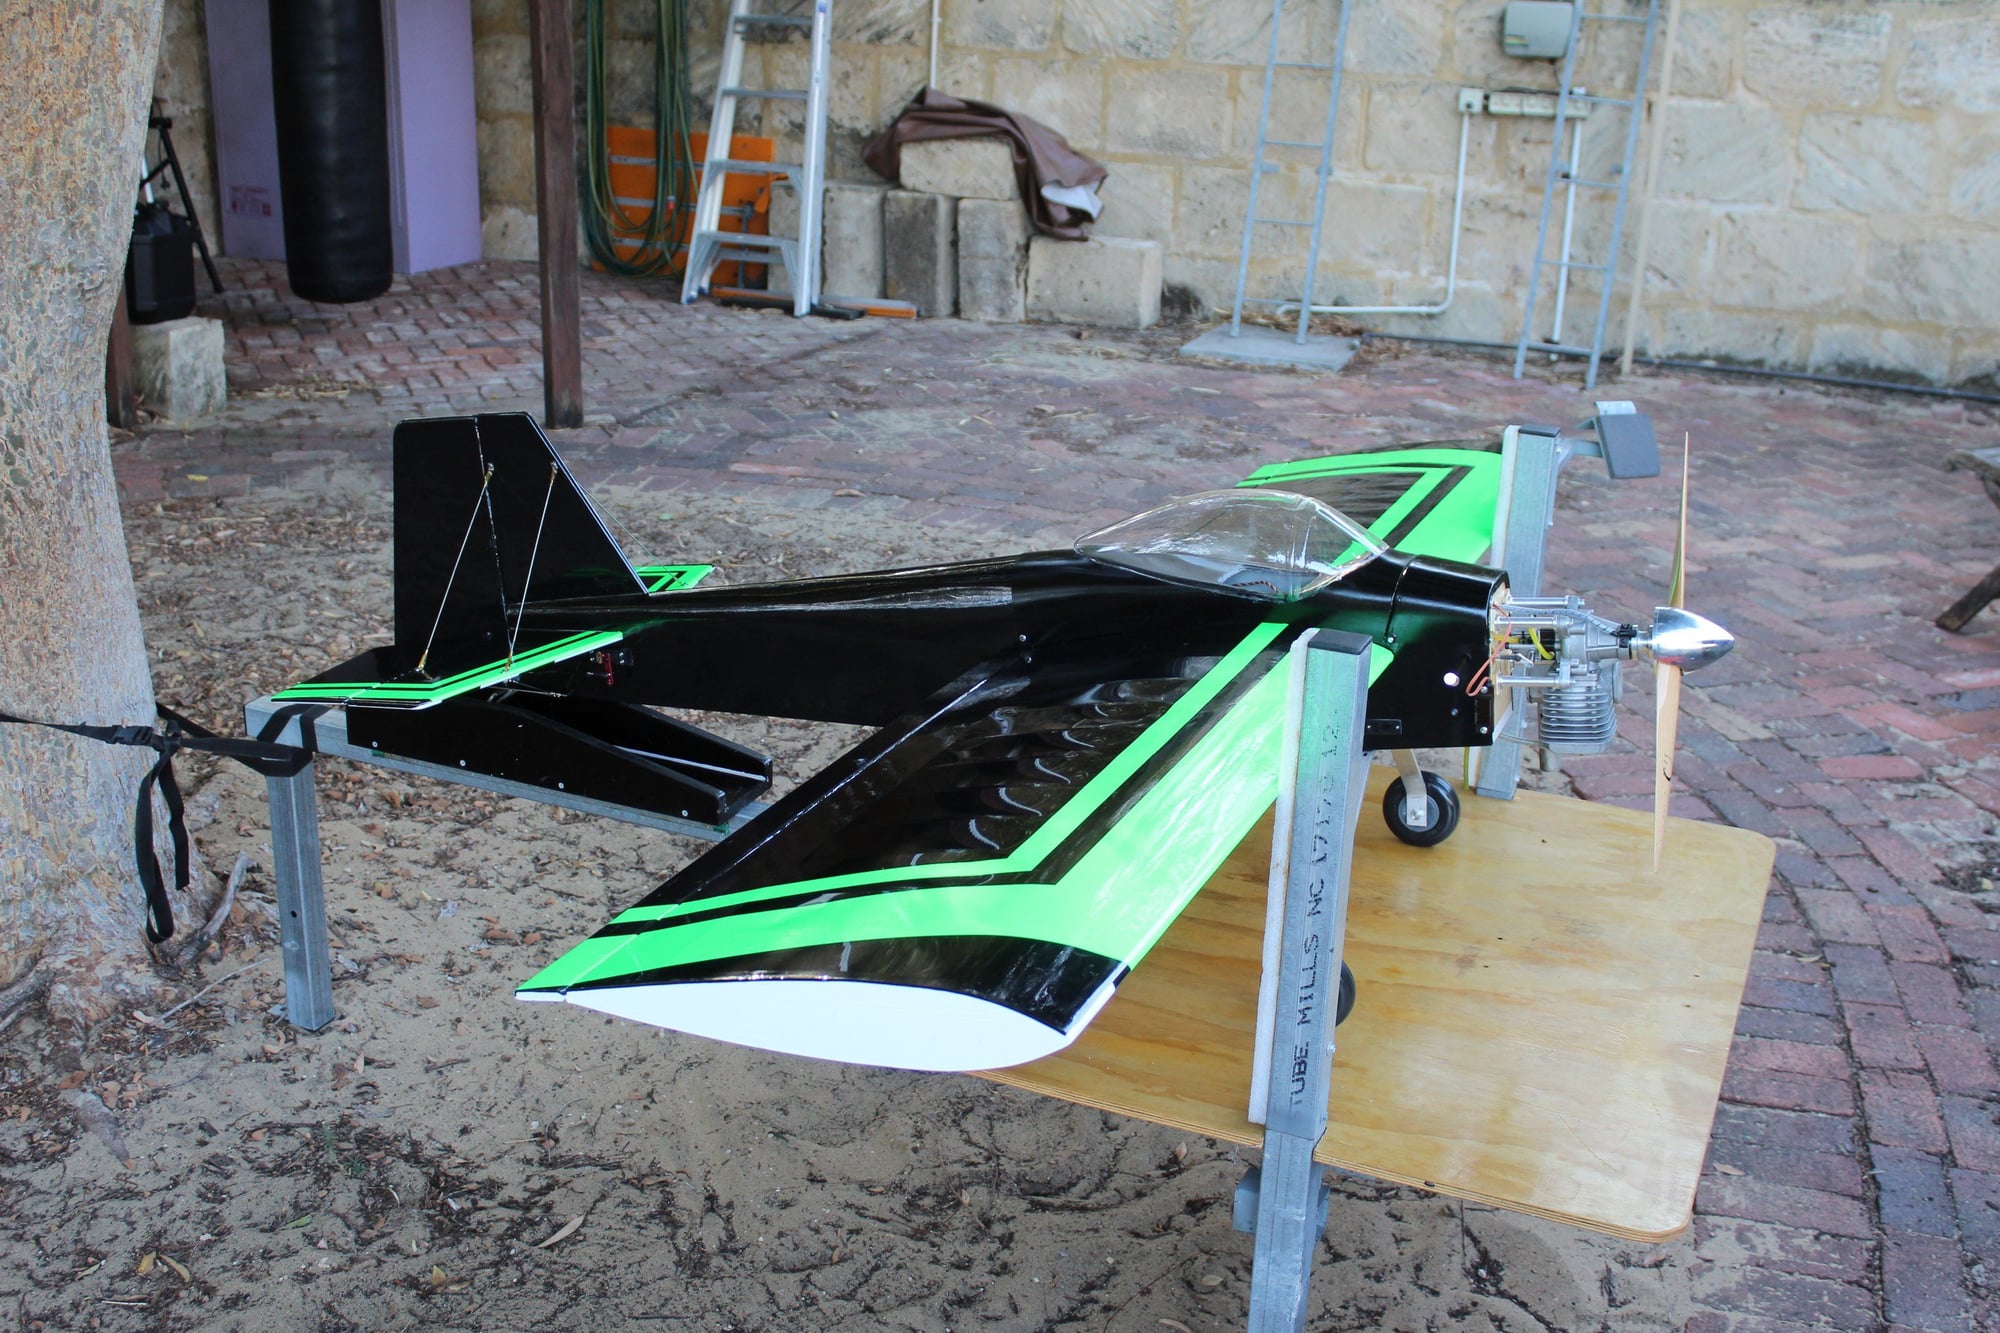
First run of the engine on the stand (I am lucky to have a purpose built stand at home). It run well. The phone camera captures the green neon colour better than the SLR...

Cheers,
Eran
Cheers,
Eran
04-04-2024, 09:31 PM
#113
Thread Starter
Join Date: Jun 2008
Location: Perth WA, AUSTRALIA
Posts: 1,208
Likes: 0
Received 11 Likes
on
11 Posts
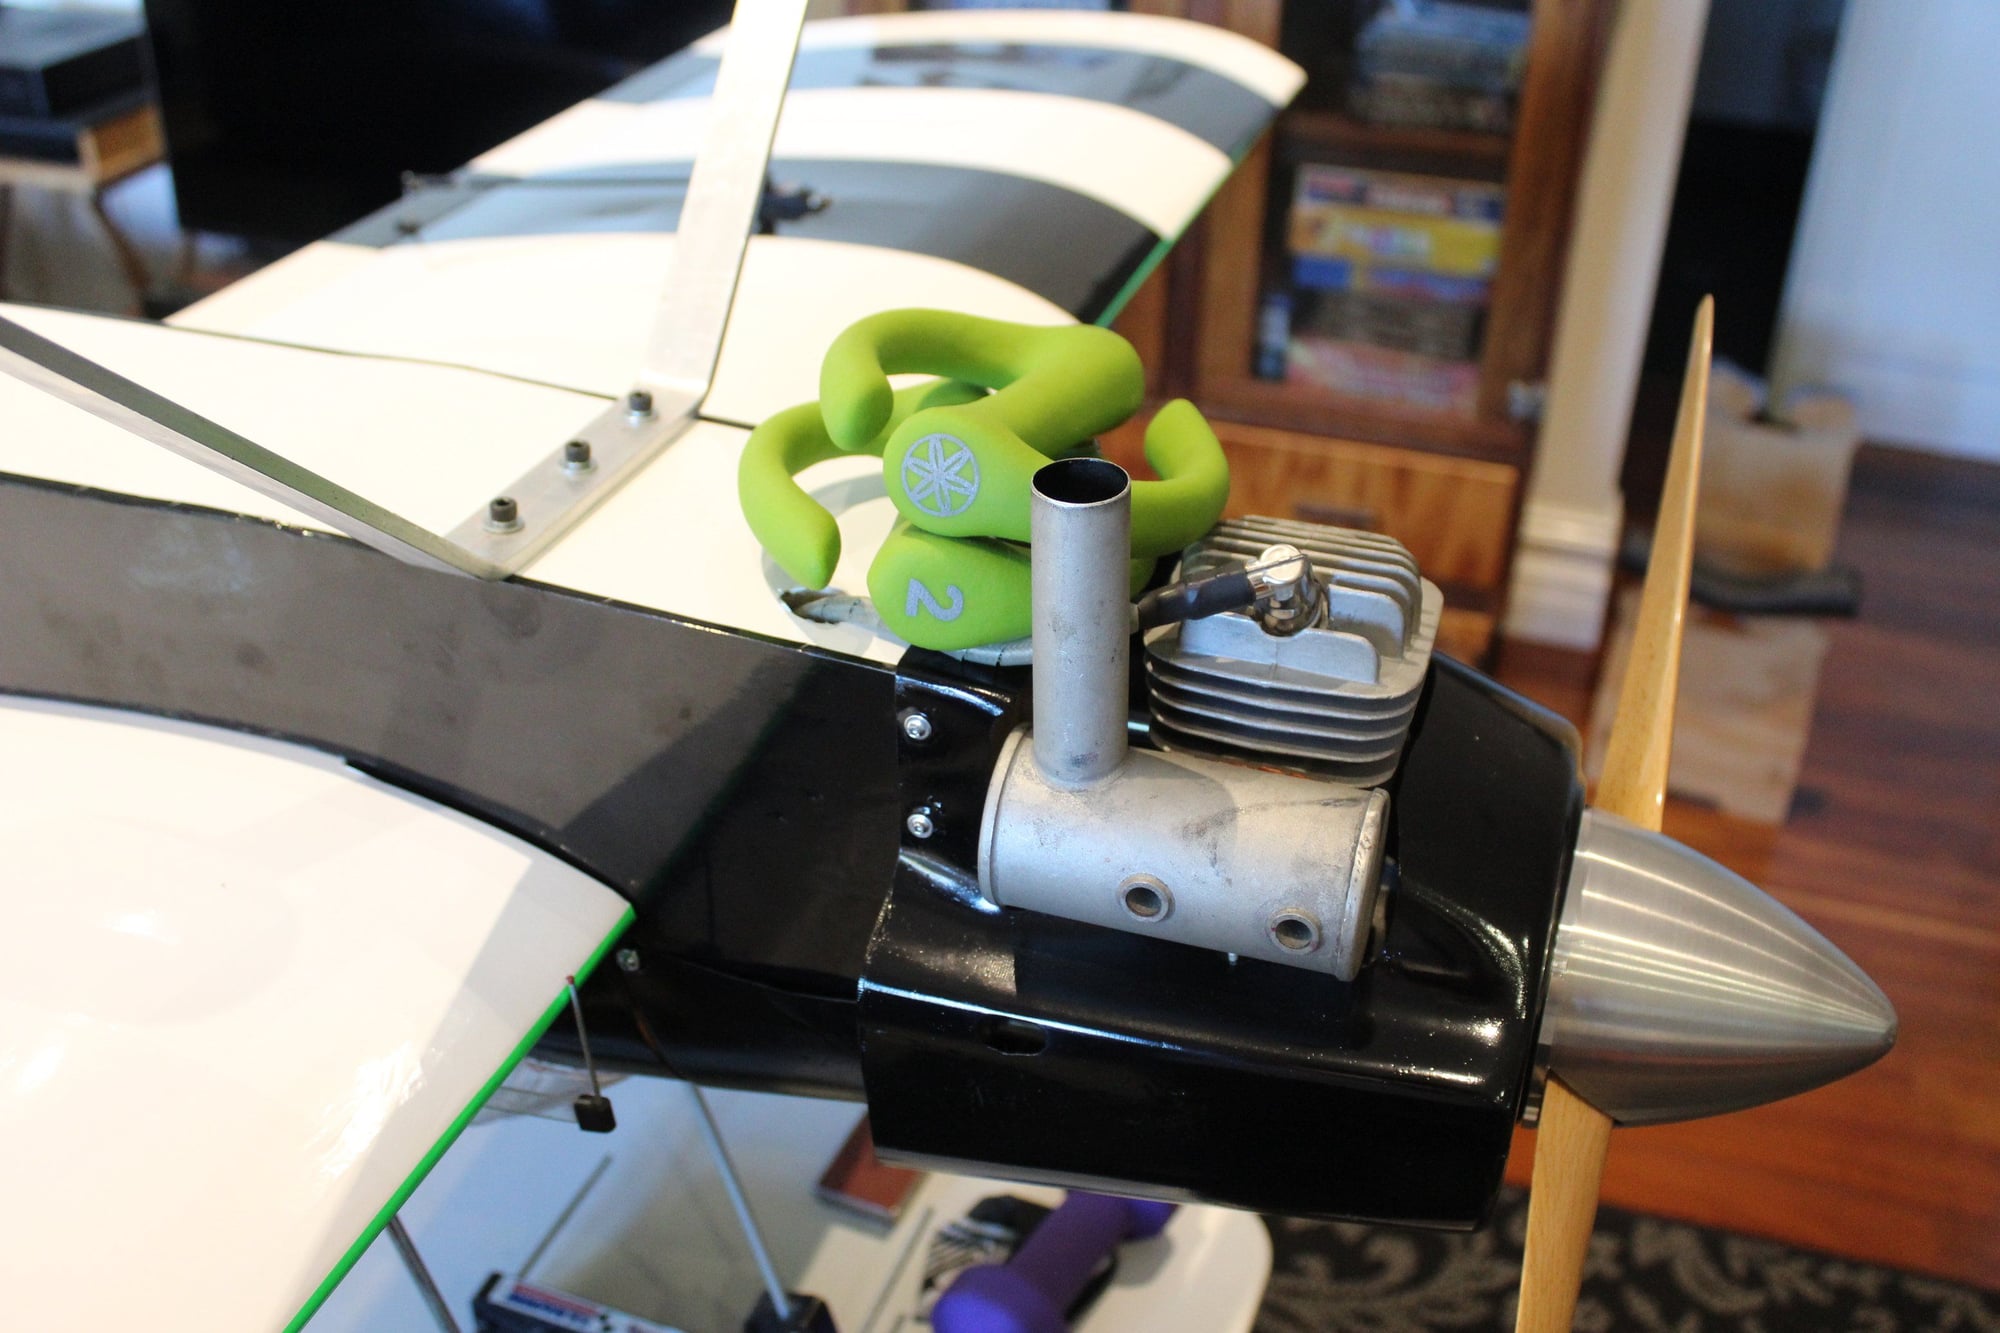
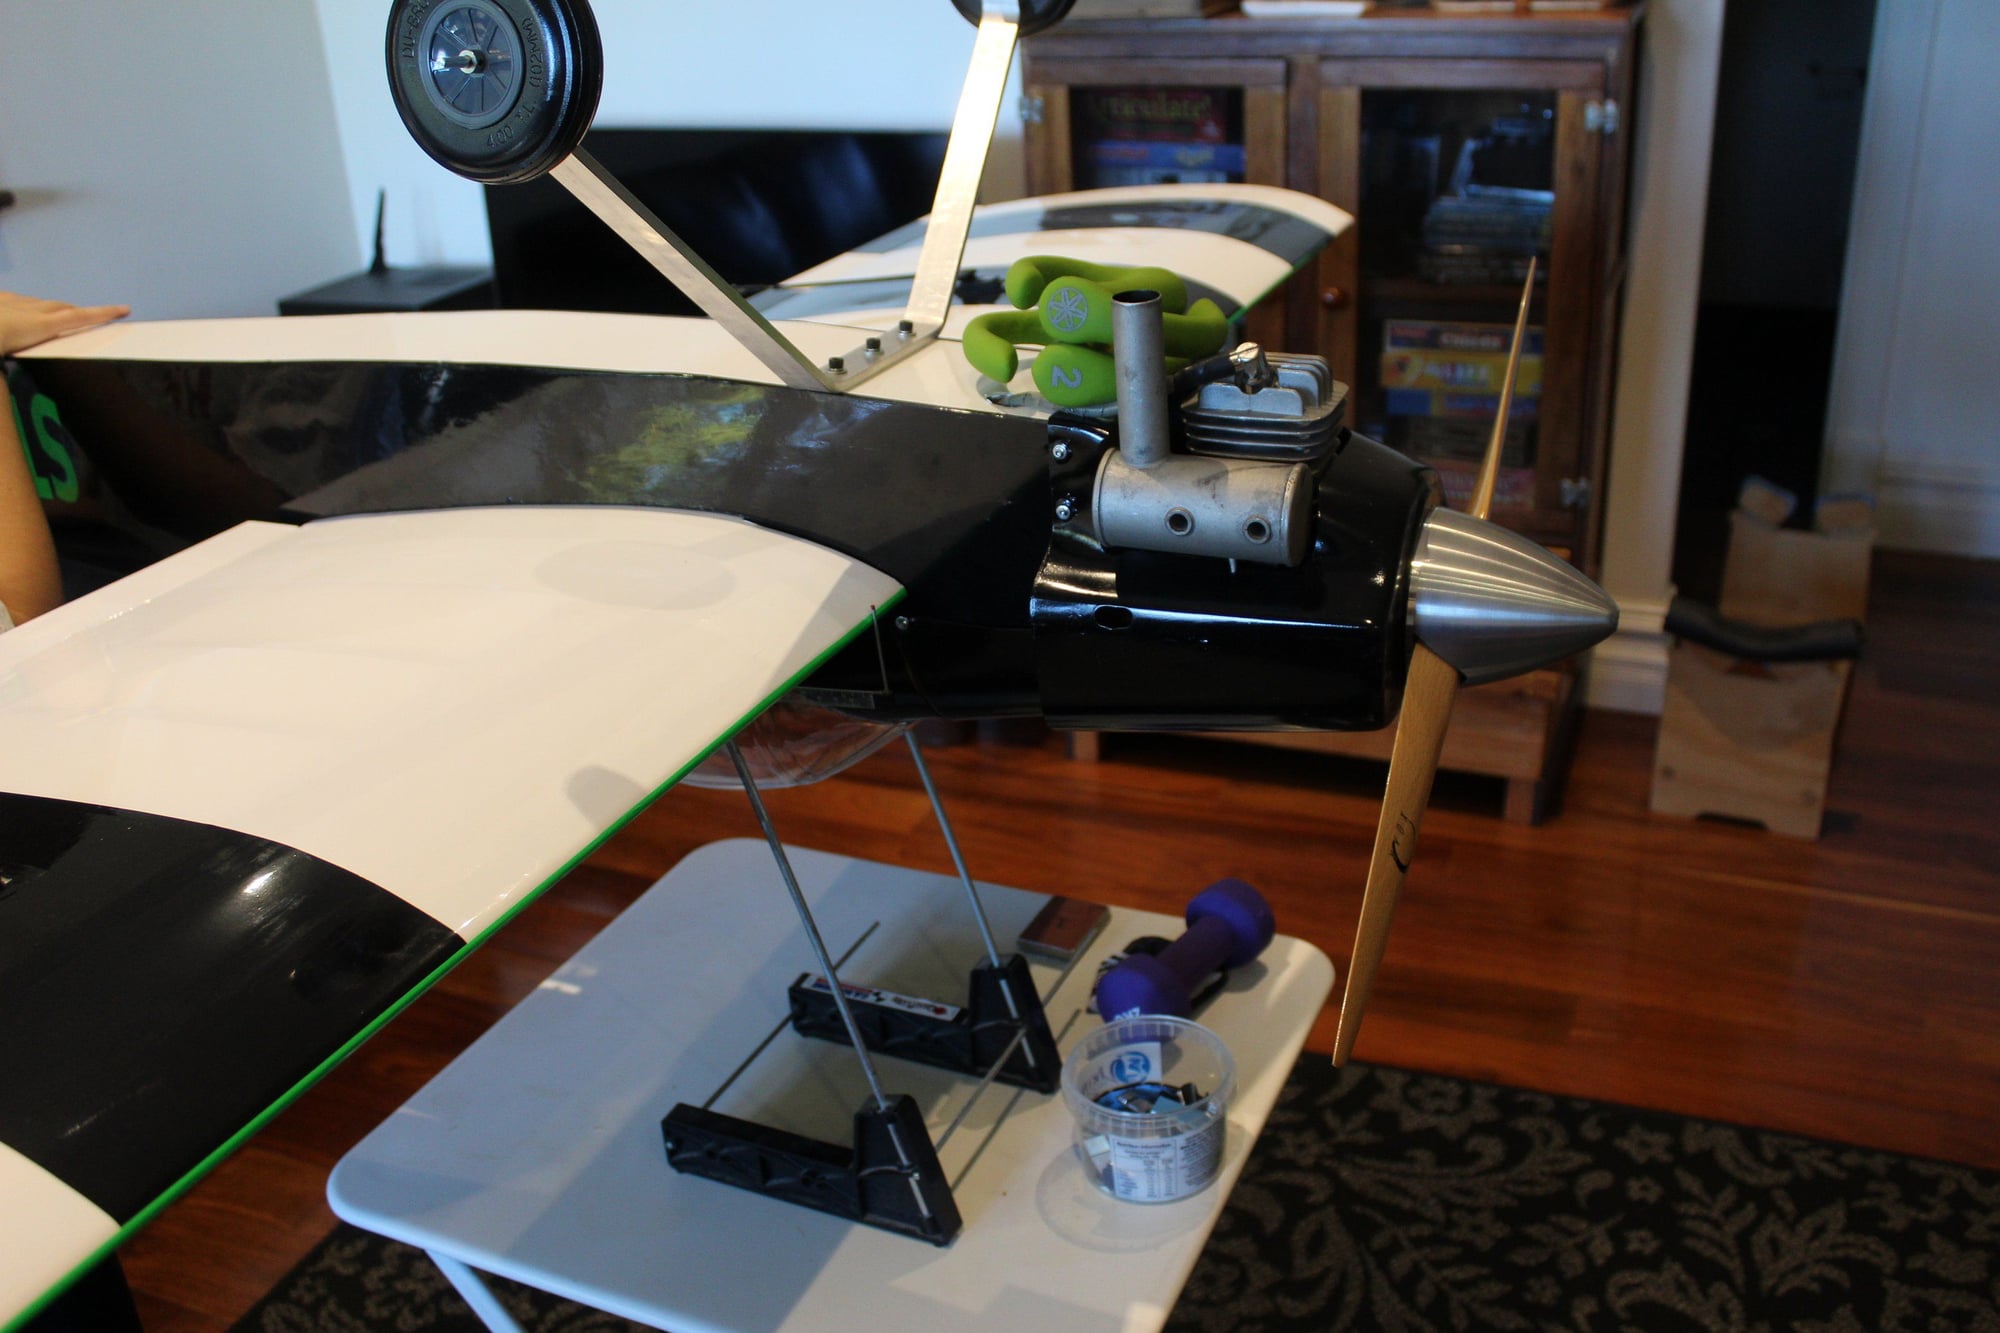
Couple of items to bring the Stinger closer to completion.
The first was fitting a 4" spinner. The spinner I ordered on ebay had a defect on arrival. Another identical spinner that I had in stock made a complete set, however, I failed all attempts to balance it. In this spinner the prop cutting was way to small to accommodate the 22 x 8 prop. My additional cutting was obviously not identical and to make things more difficult, it was very difficult to secure this spinner to the balance machine. Time for plan B...
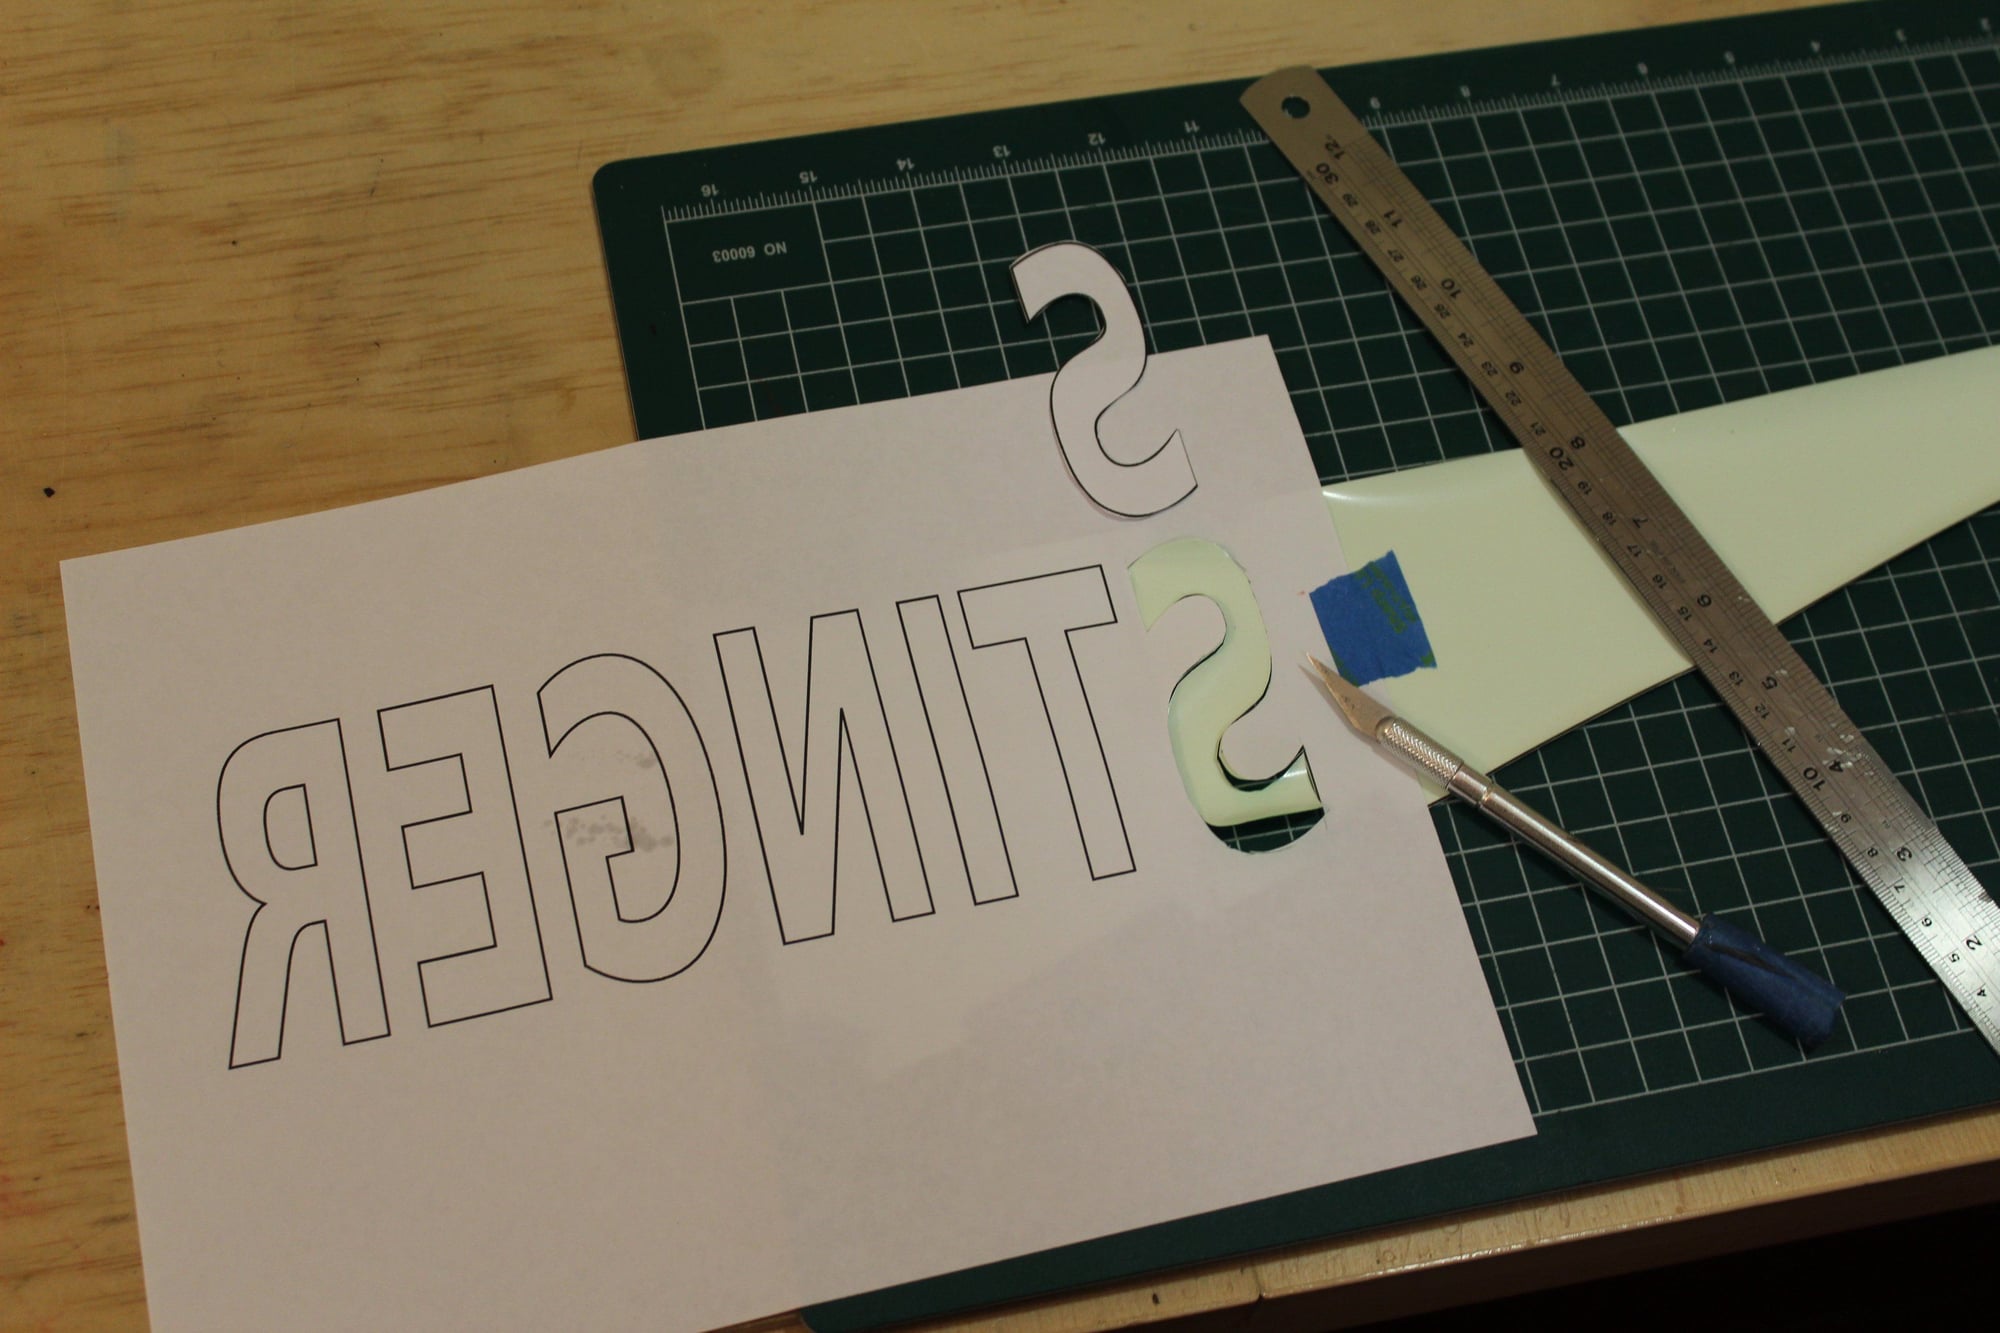
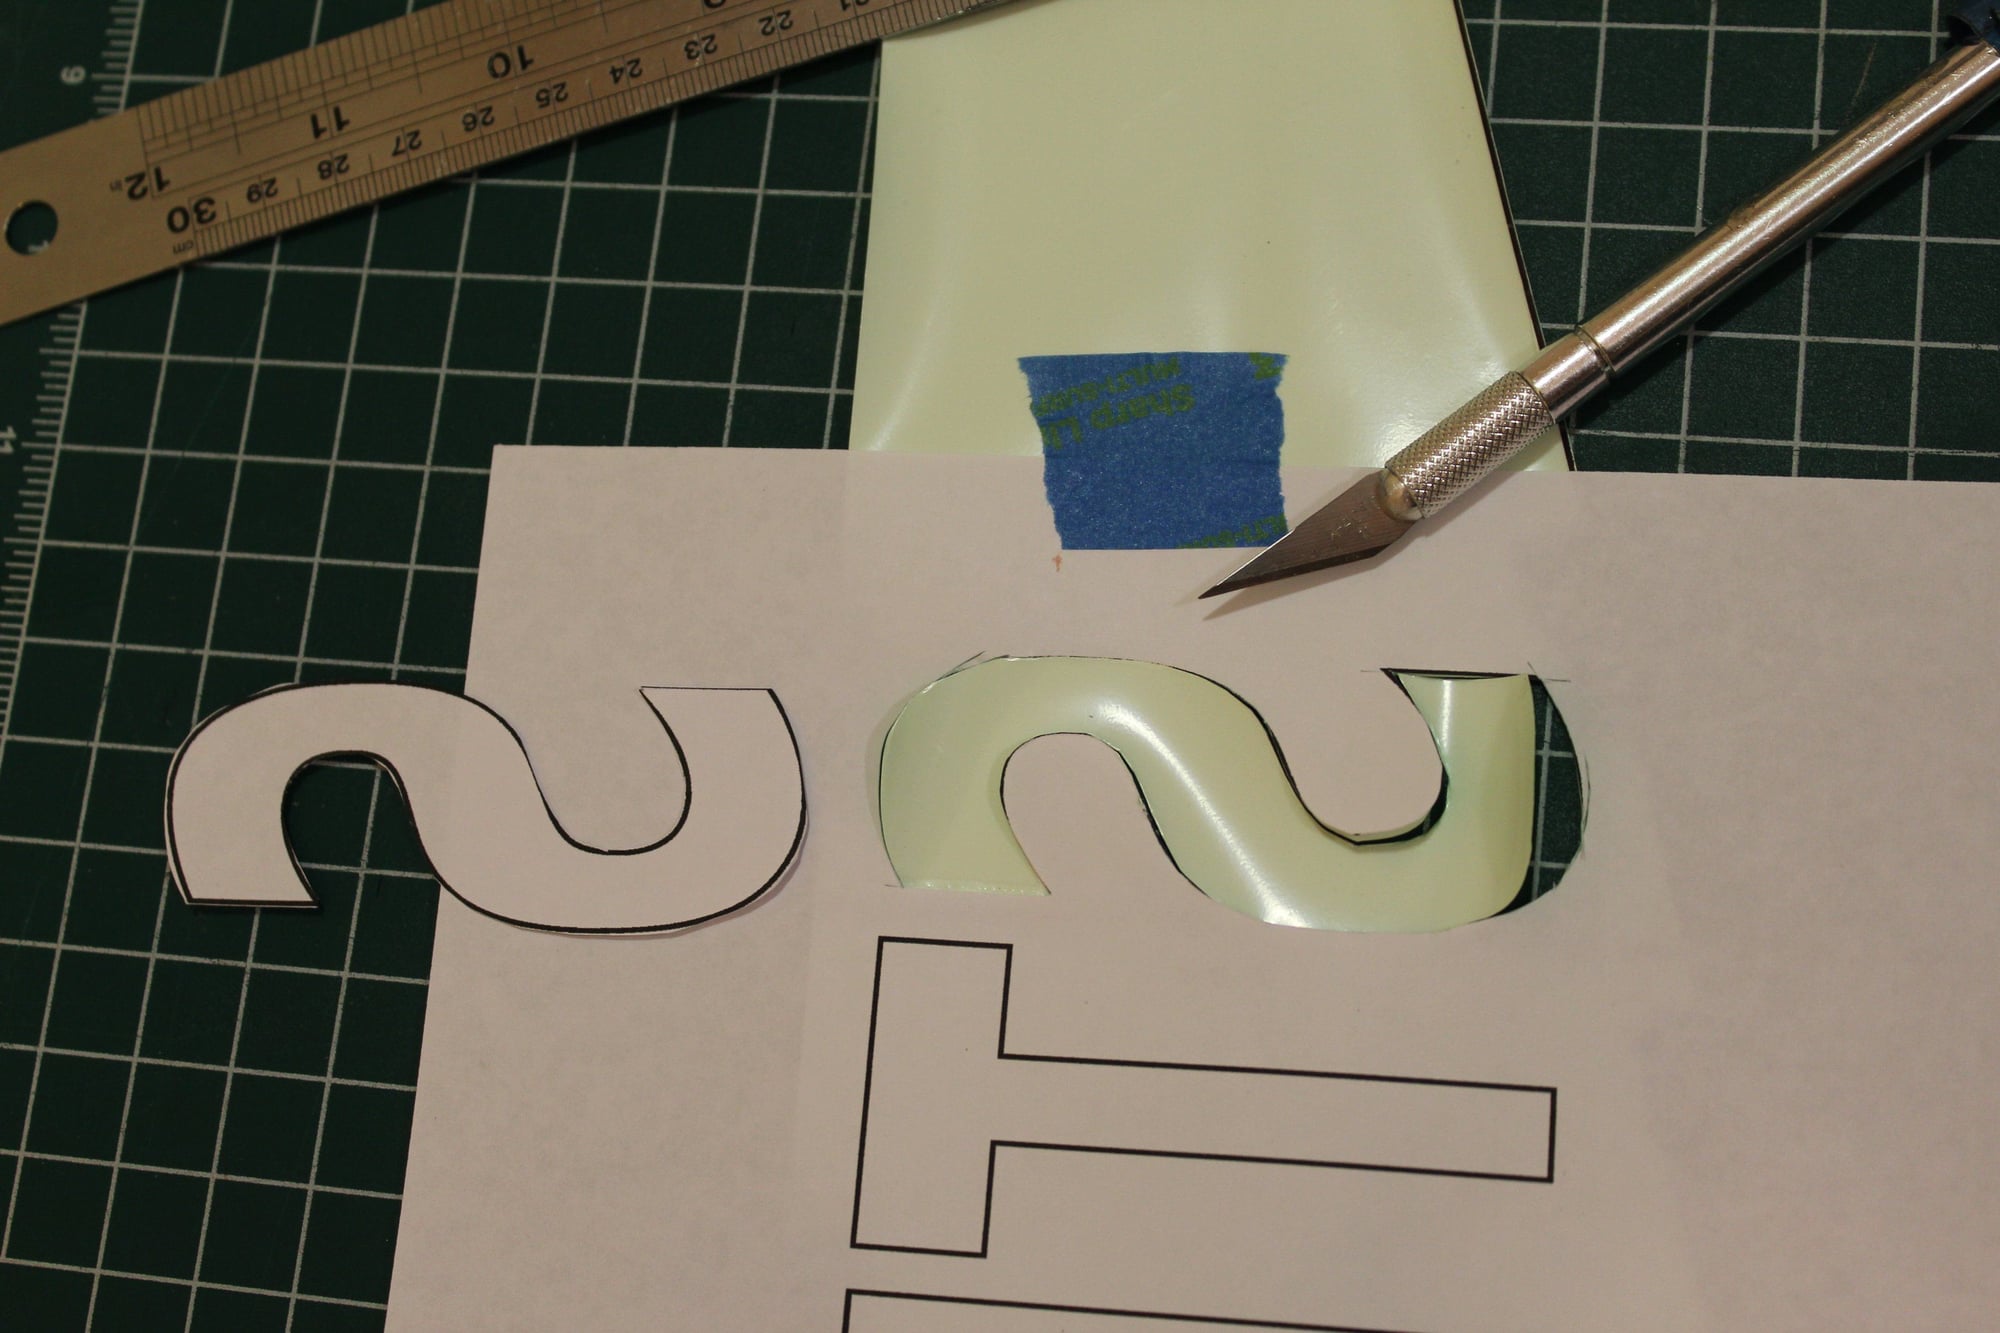
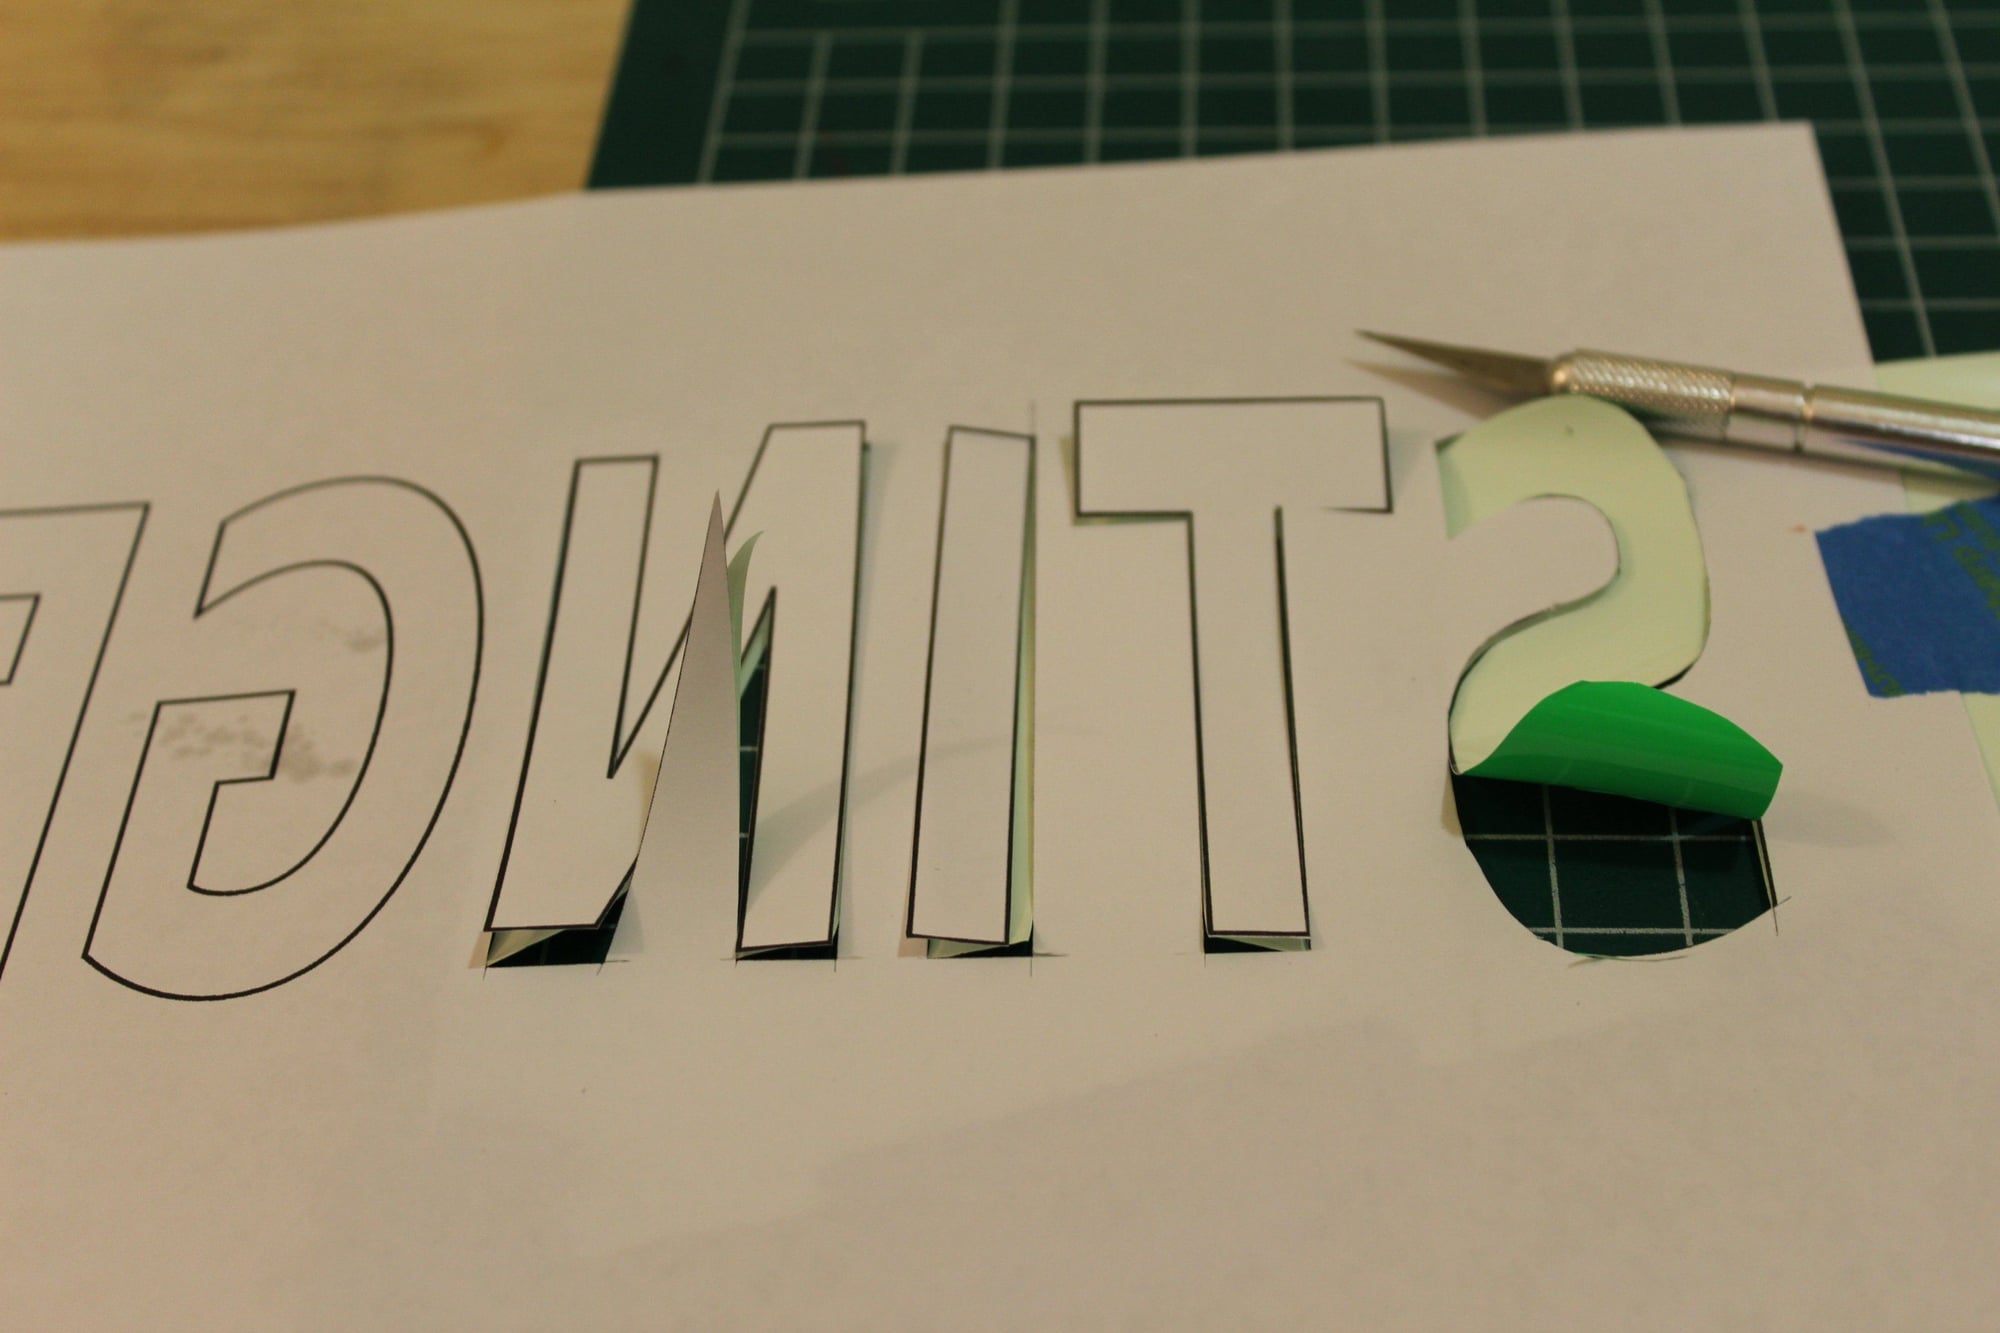
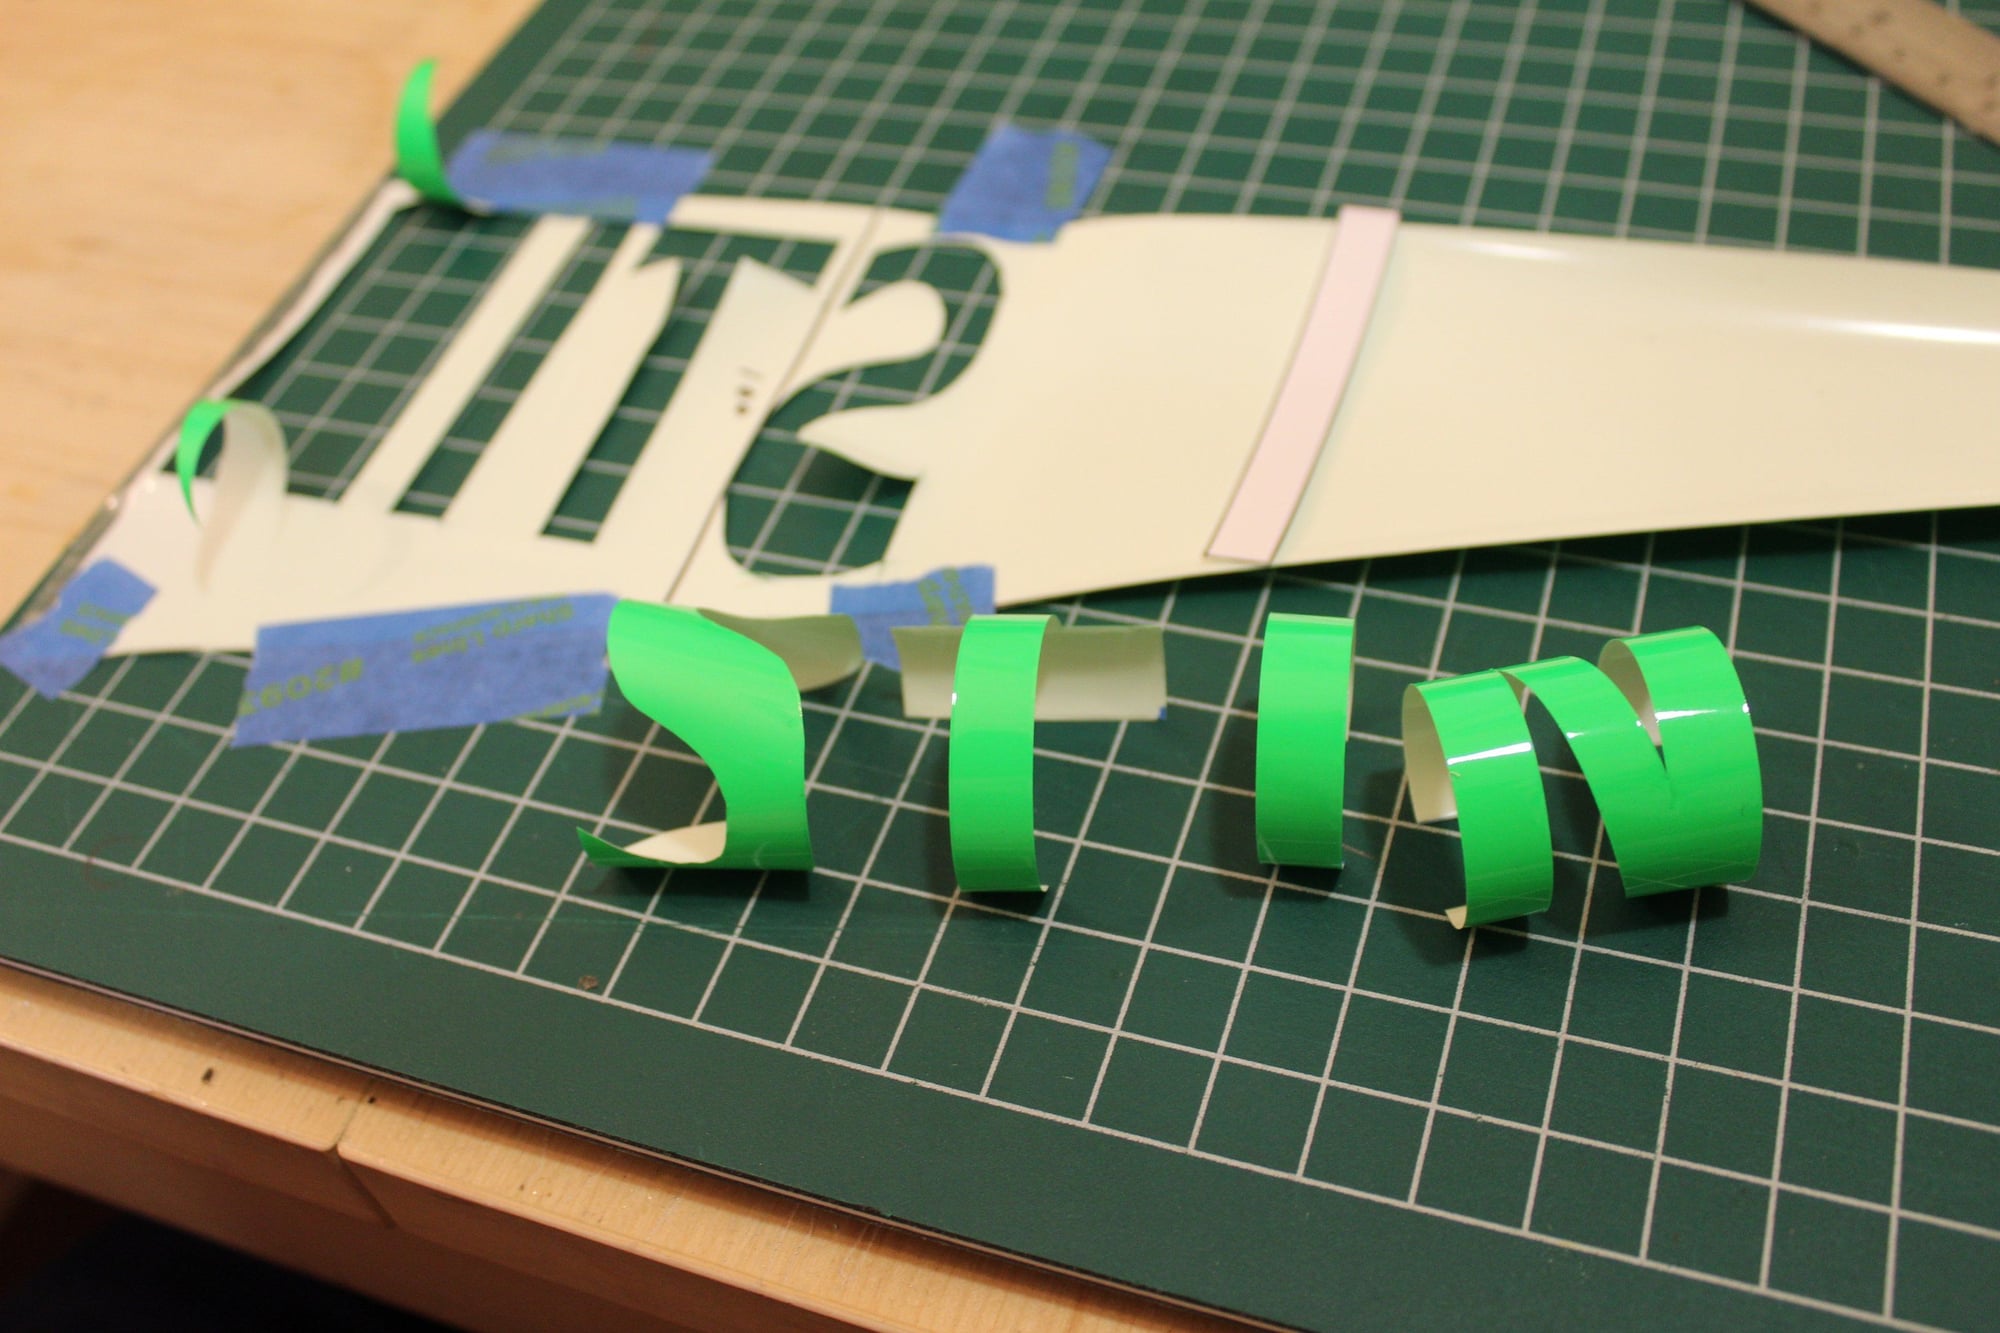
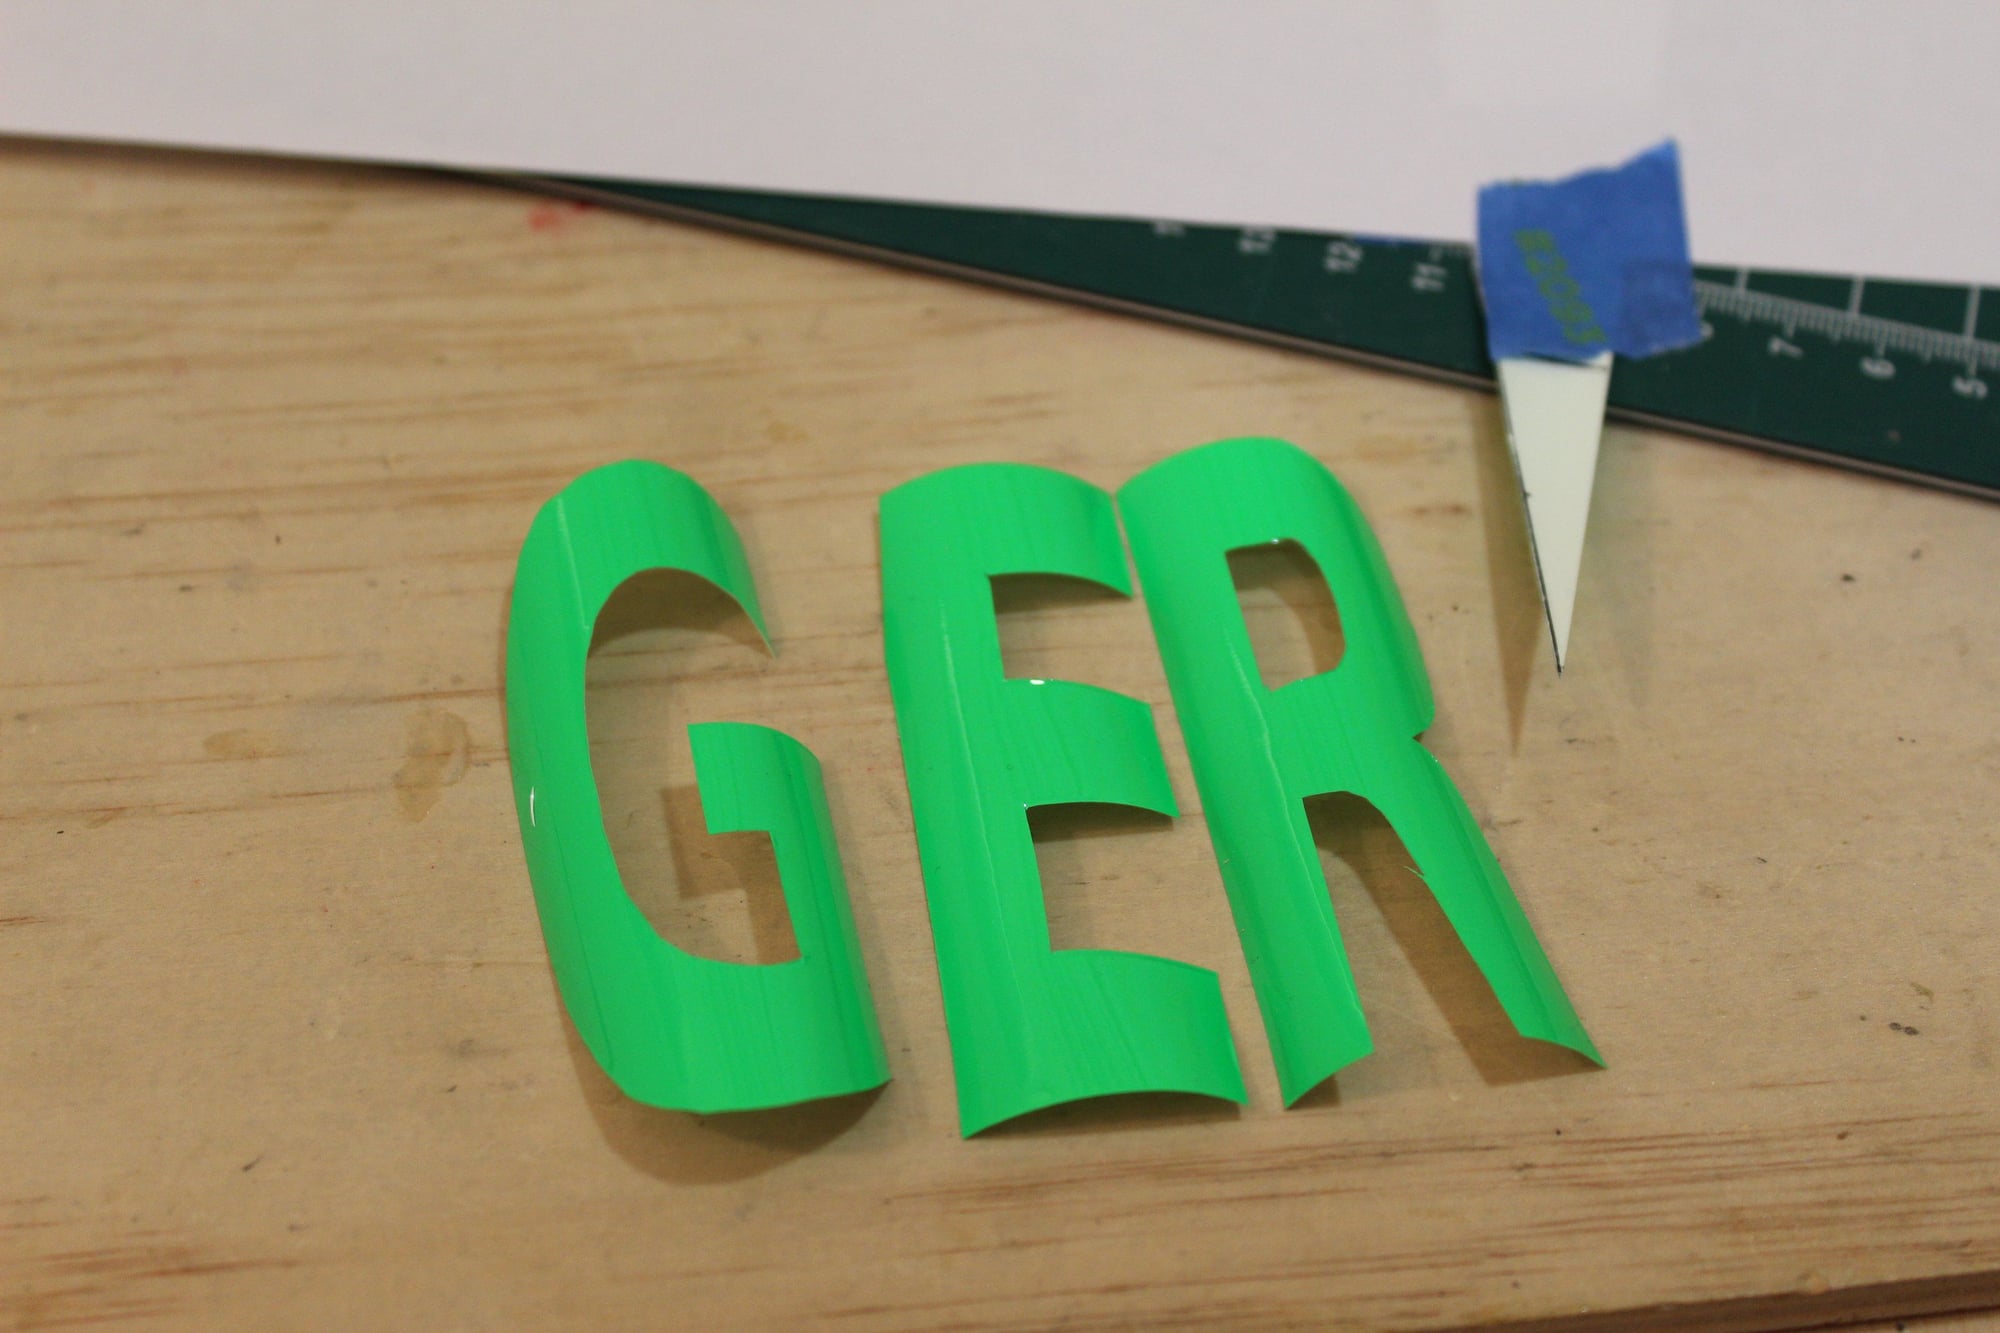
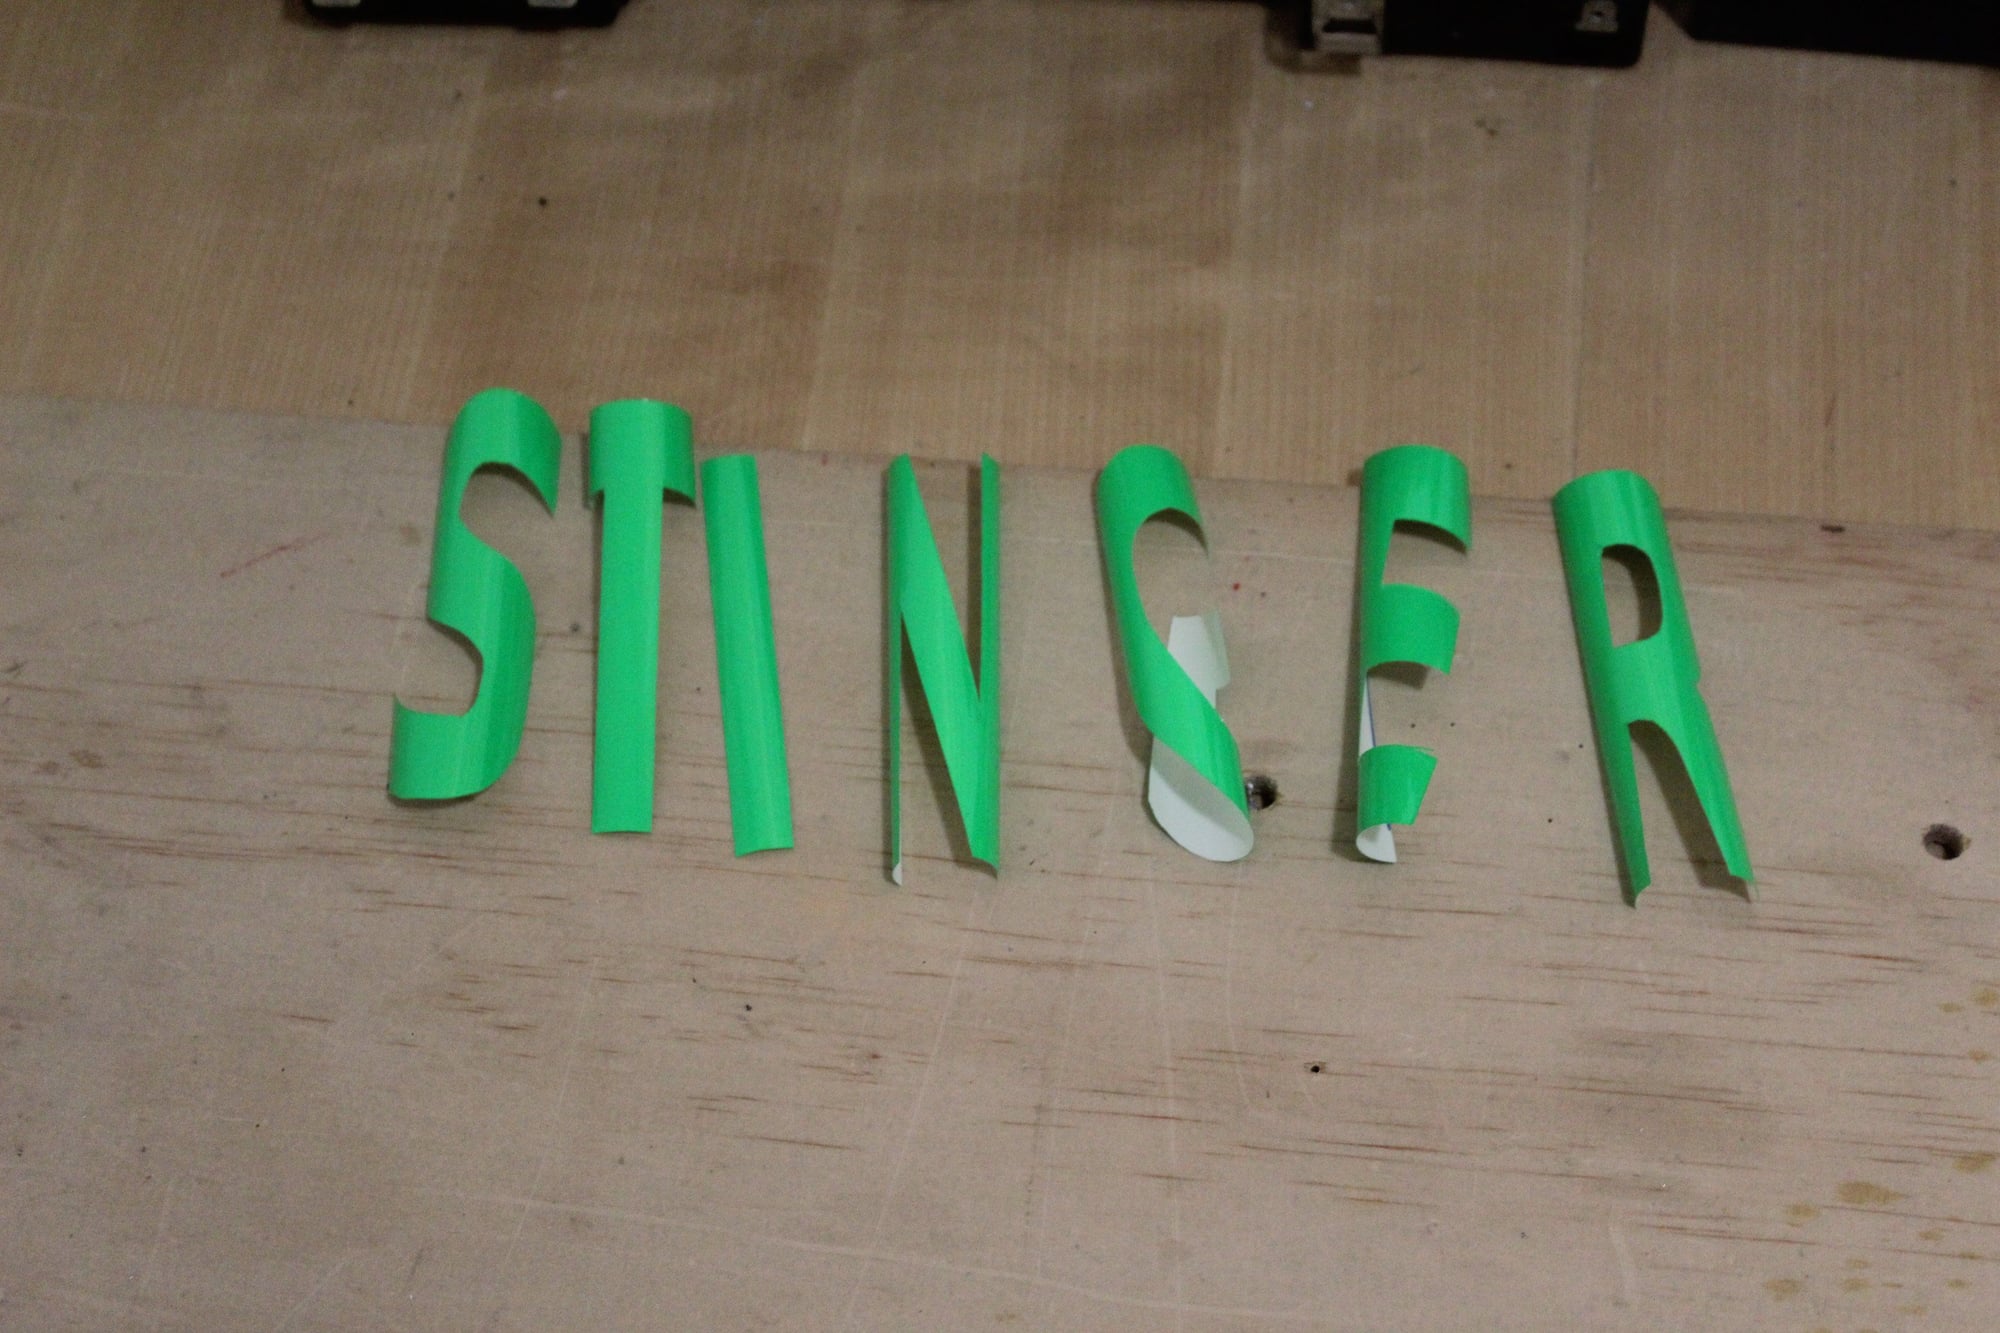
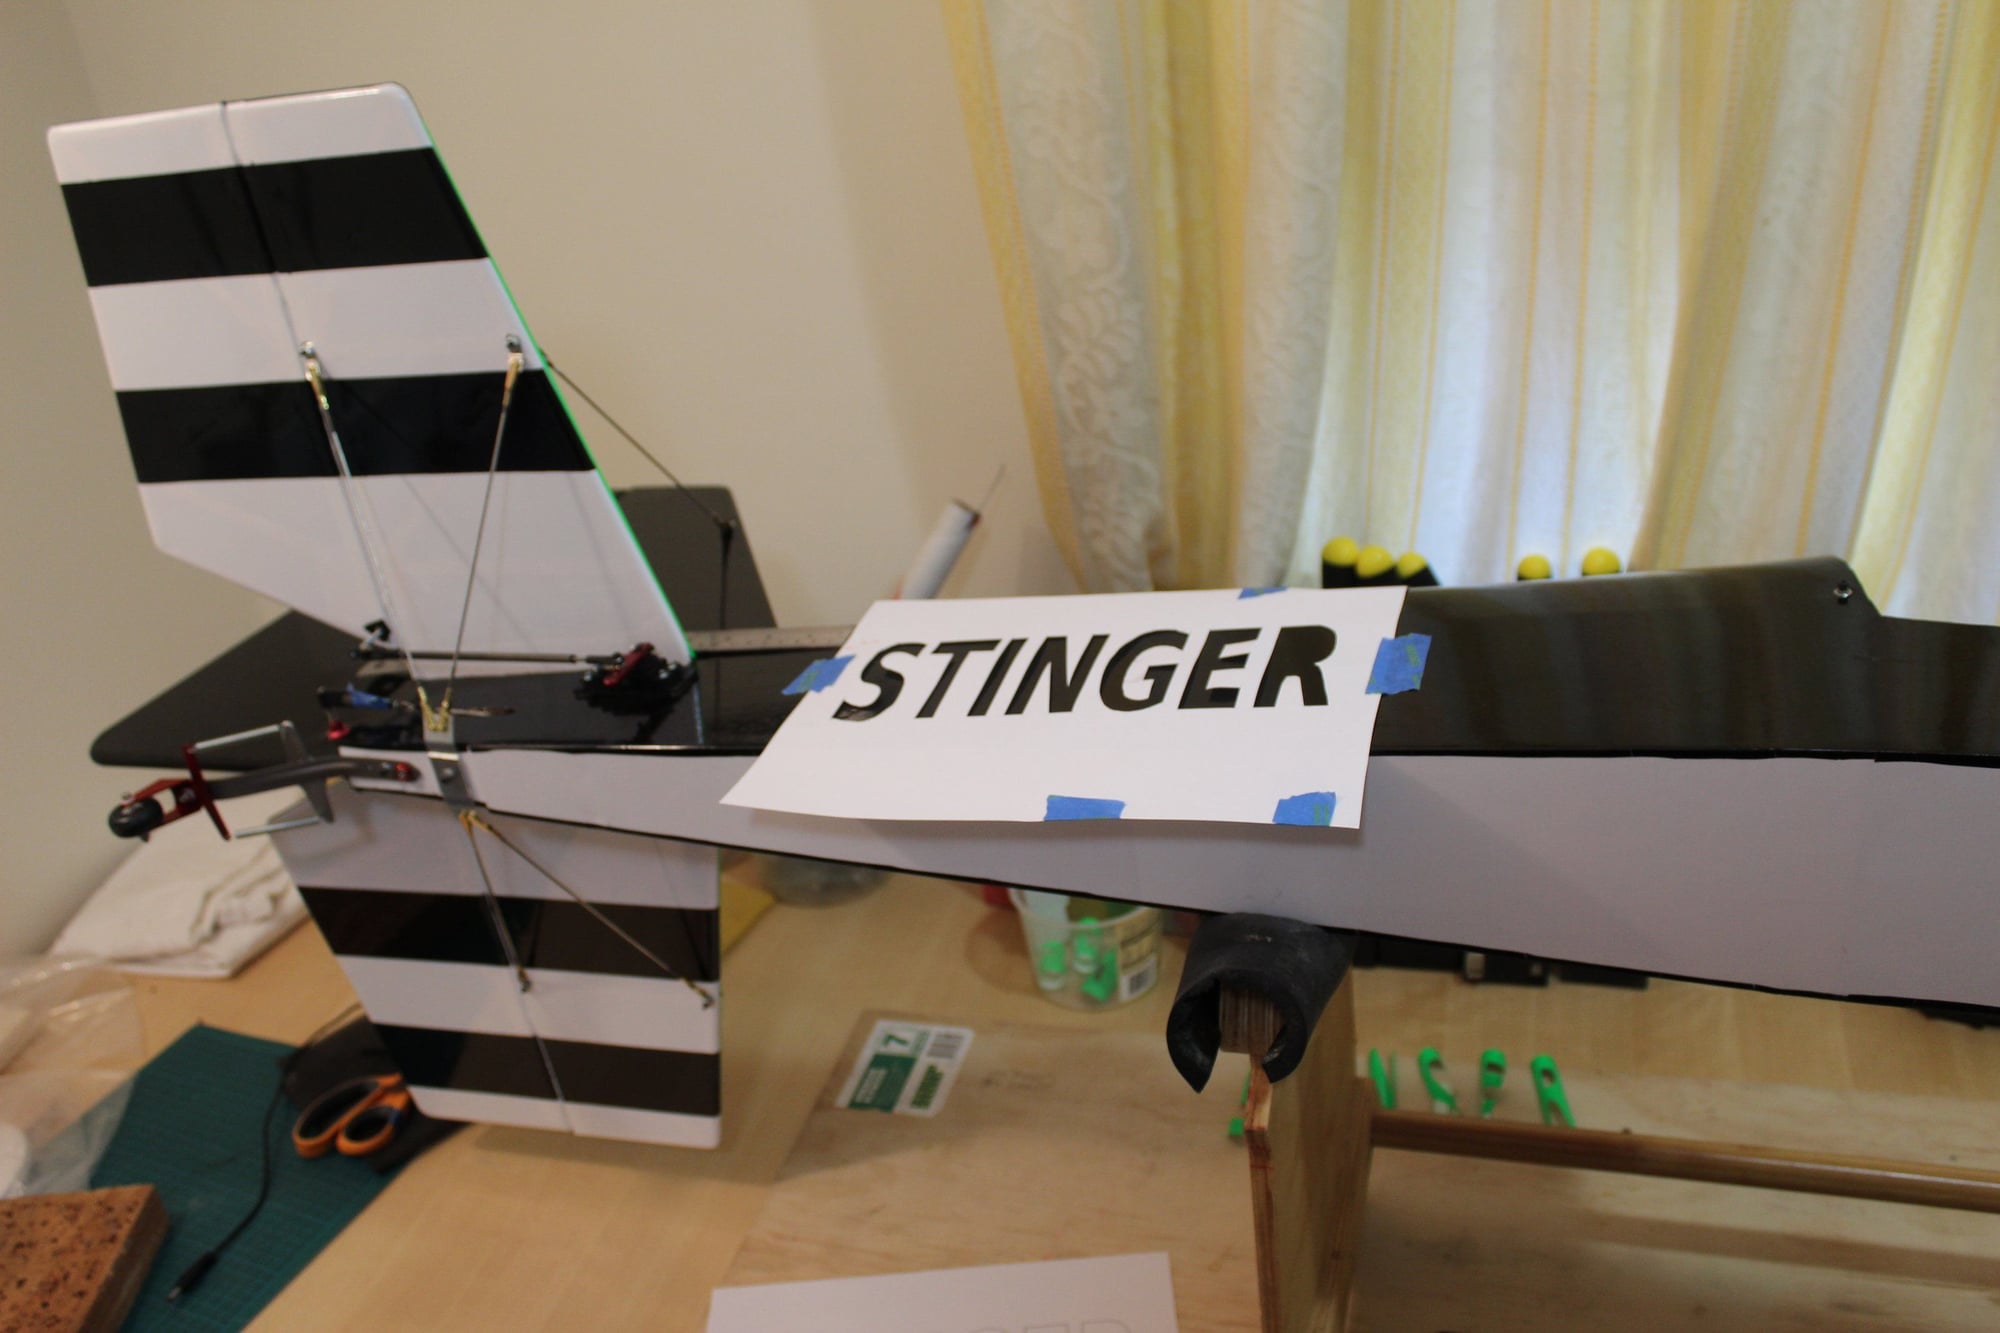
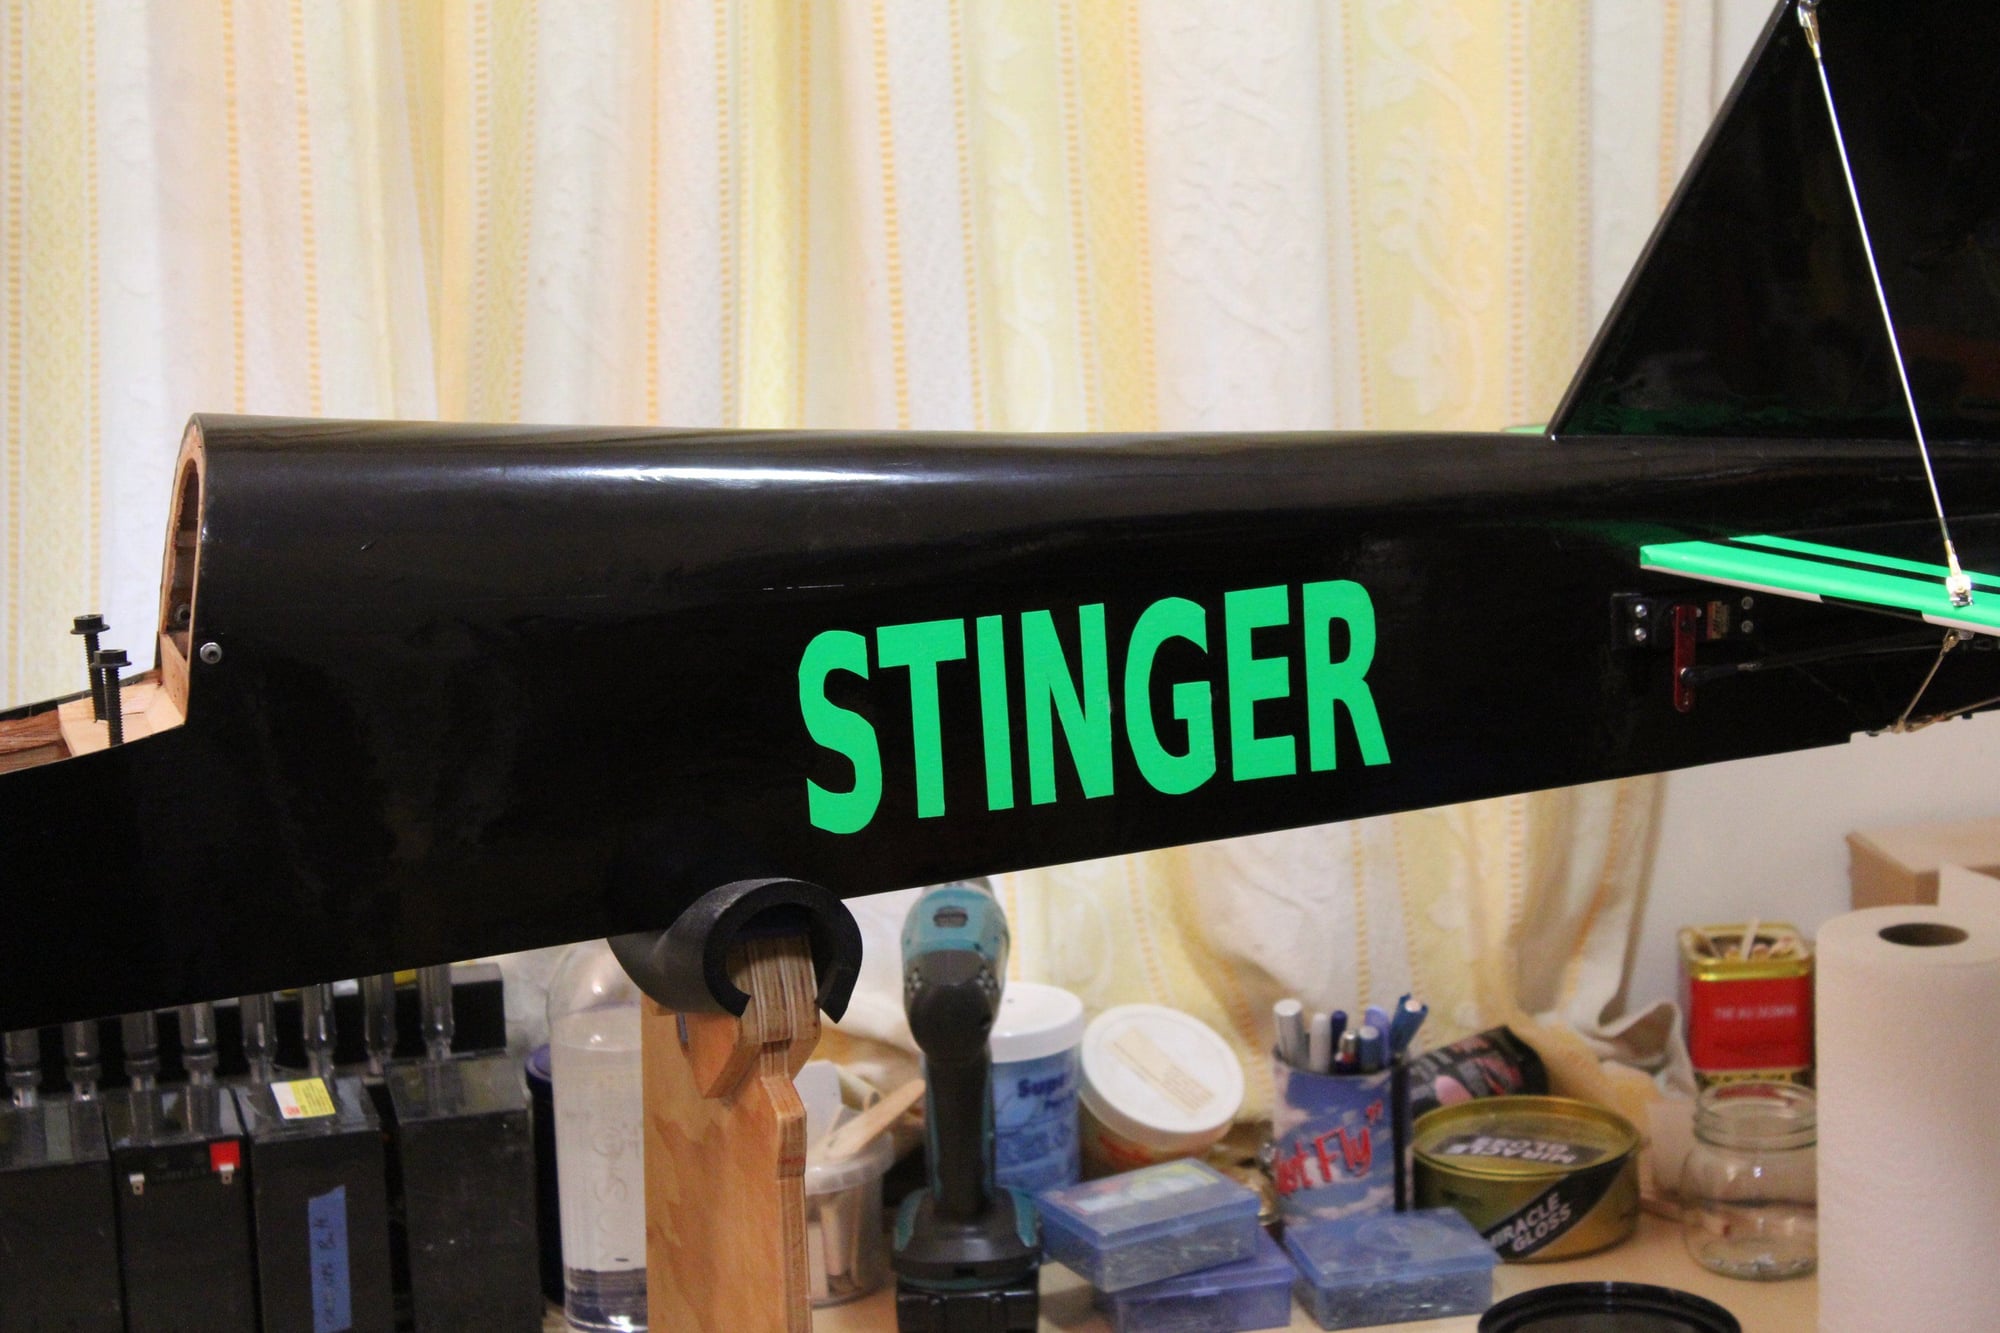
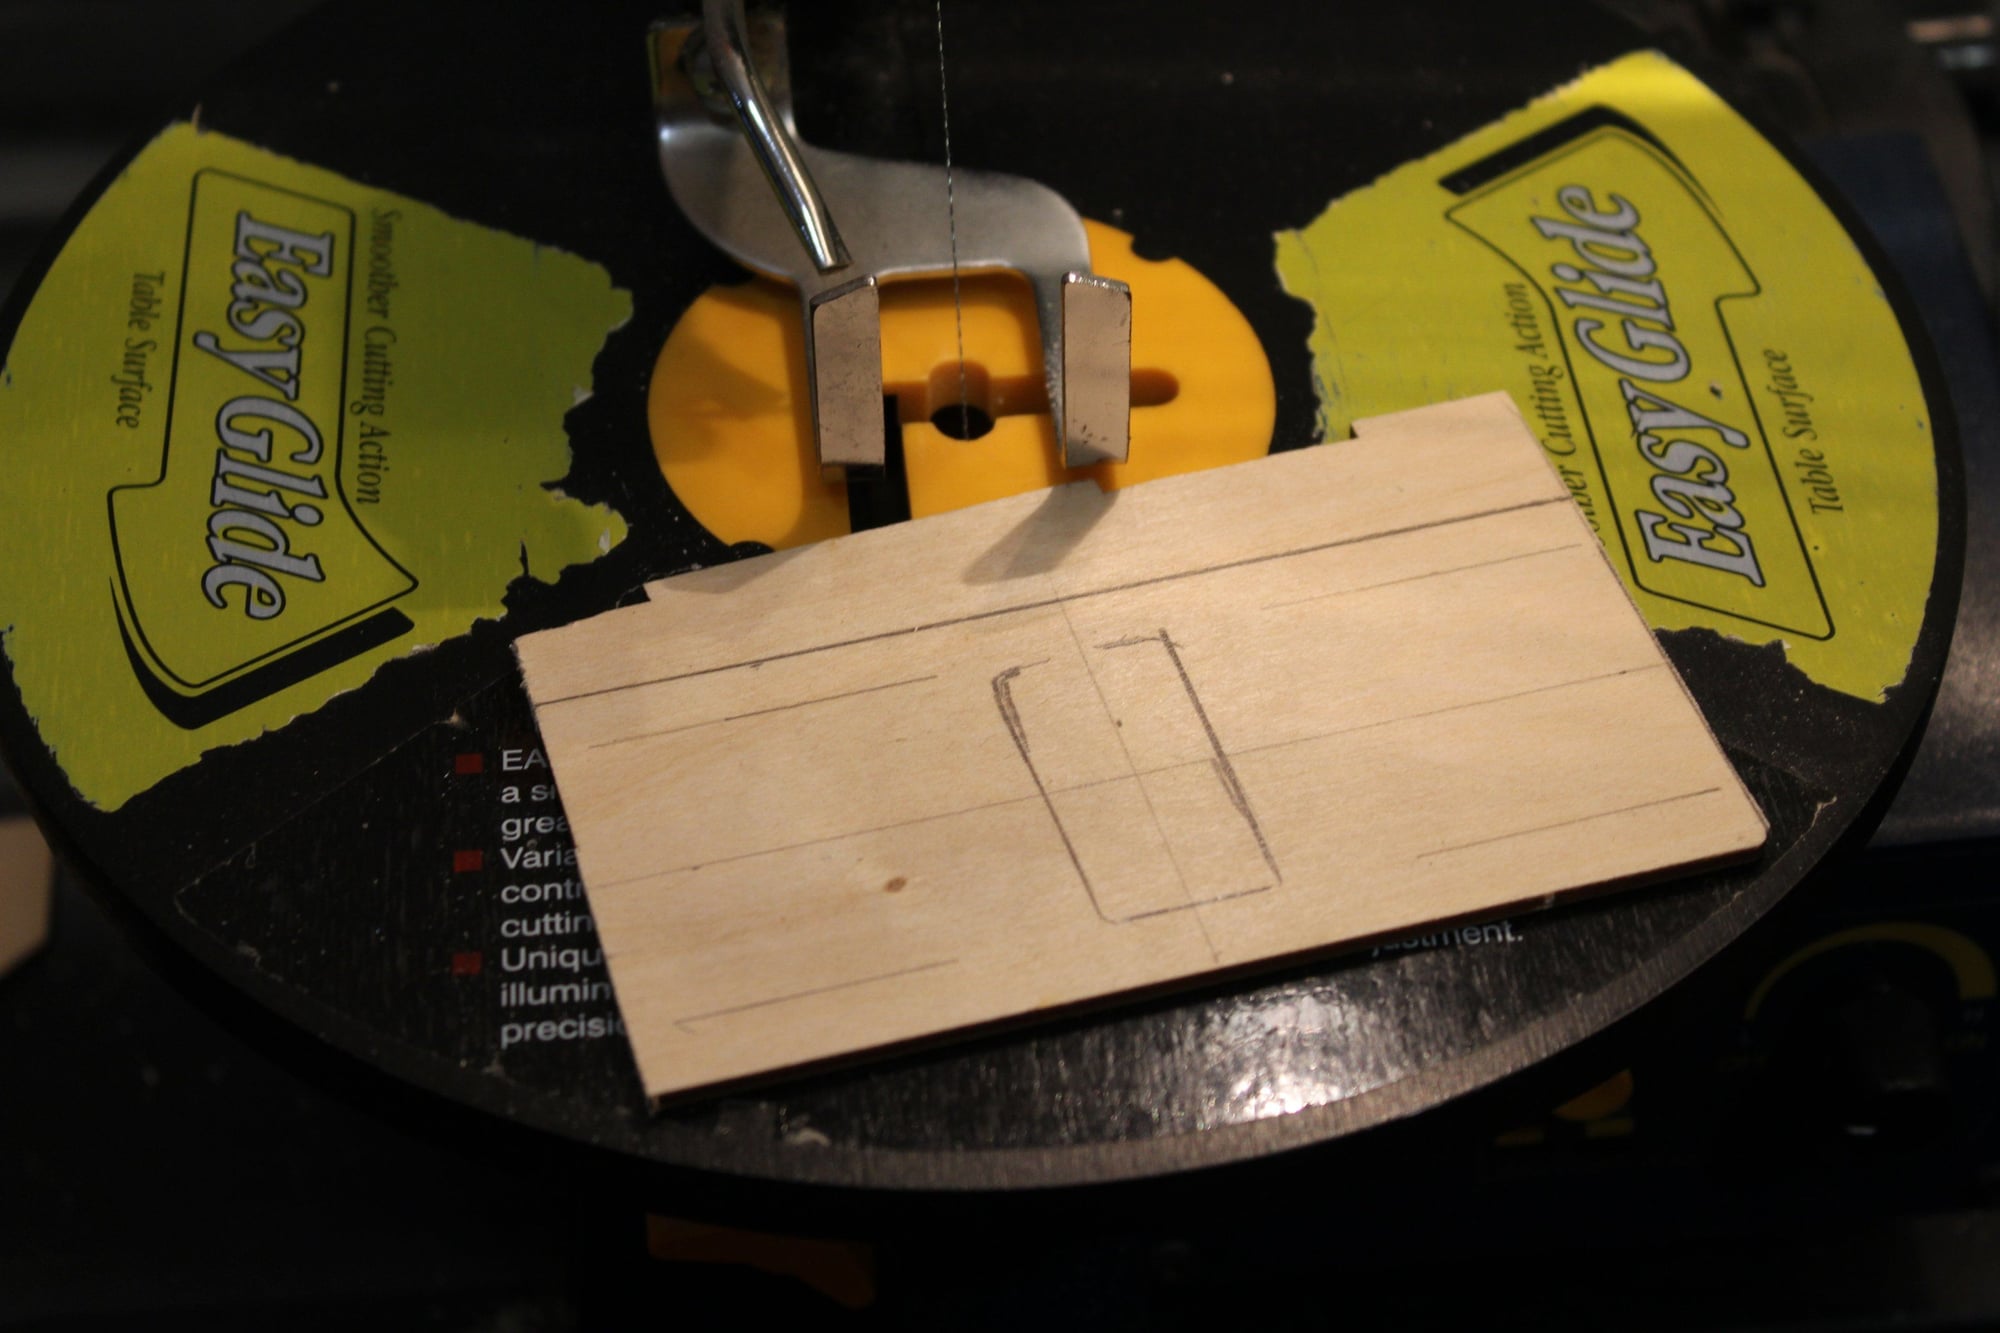
Second item was hand cutting lettering to complete the colour scheme for the Stinger.
Cheers,
Eran
The first was fitting a 4" spinner. The spinner I ordered on ebay had a defect on arrival. Another identical spinner that I had in stock made a complete set, however, I failed all attempts to balance it. In this spinner the prop cutting was way to small to accommodate the 22 x 8 prop. My additional cutting was obviously not identical and to make things more difficult, it was very difficult to secure this spinner to the balance machine. Time for plan B...
Second item was hand cutting lettering to complete the colour scheme for the Stinger.
Cheers,
Eran
04-08-2024, 07:02 PM
#114
Thread Starter
Join Date: Jun 2008
Location: Perth WA, AUSTRALIA
Posts: 1,208
Likes: 0
Received 11 Likes
on
11 Posts
A bit of a setback. I went through setting the control throws and placed the Stinger on the CG machine... I need 1.8kg at the nose to balance in the current configuration.
Time to re-think how to reduce this amount as much as possible.
Cheers,
Eran
Time to re-think how to reduce this amount as much as possible.
Cheers,
Eran
04-10-2024, 03:02 PM
#115
Thread Starter
Join Date: Jun 2008
Location: Perth WA, AUSTRALIA
Posts: 1,208
Likes: 0
Received 11 Likes
on
11 Posts
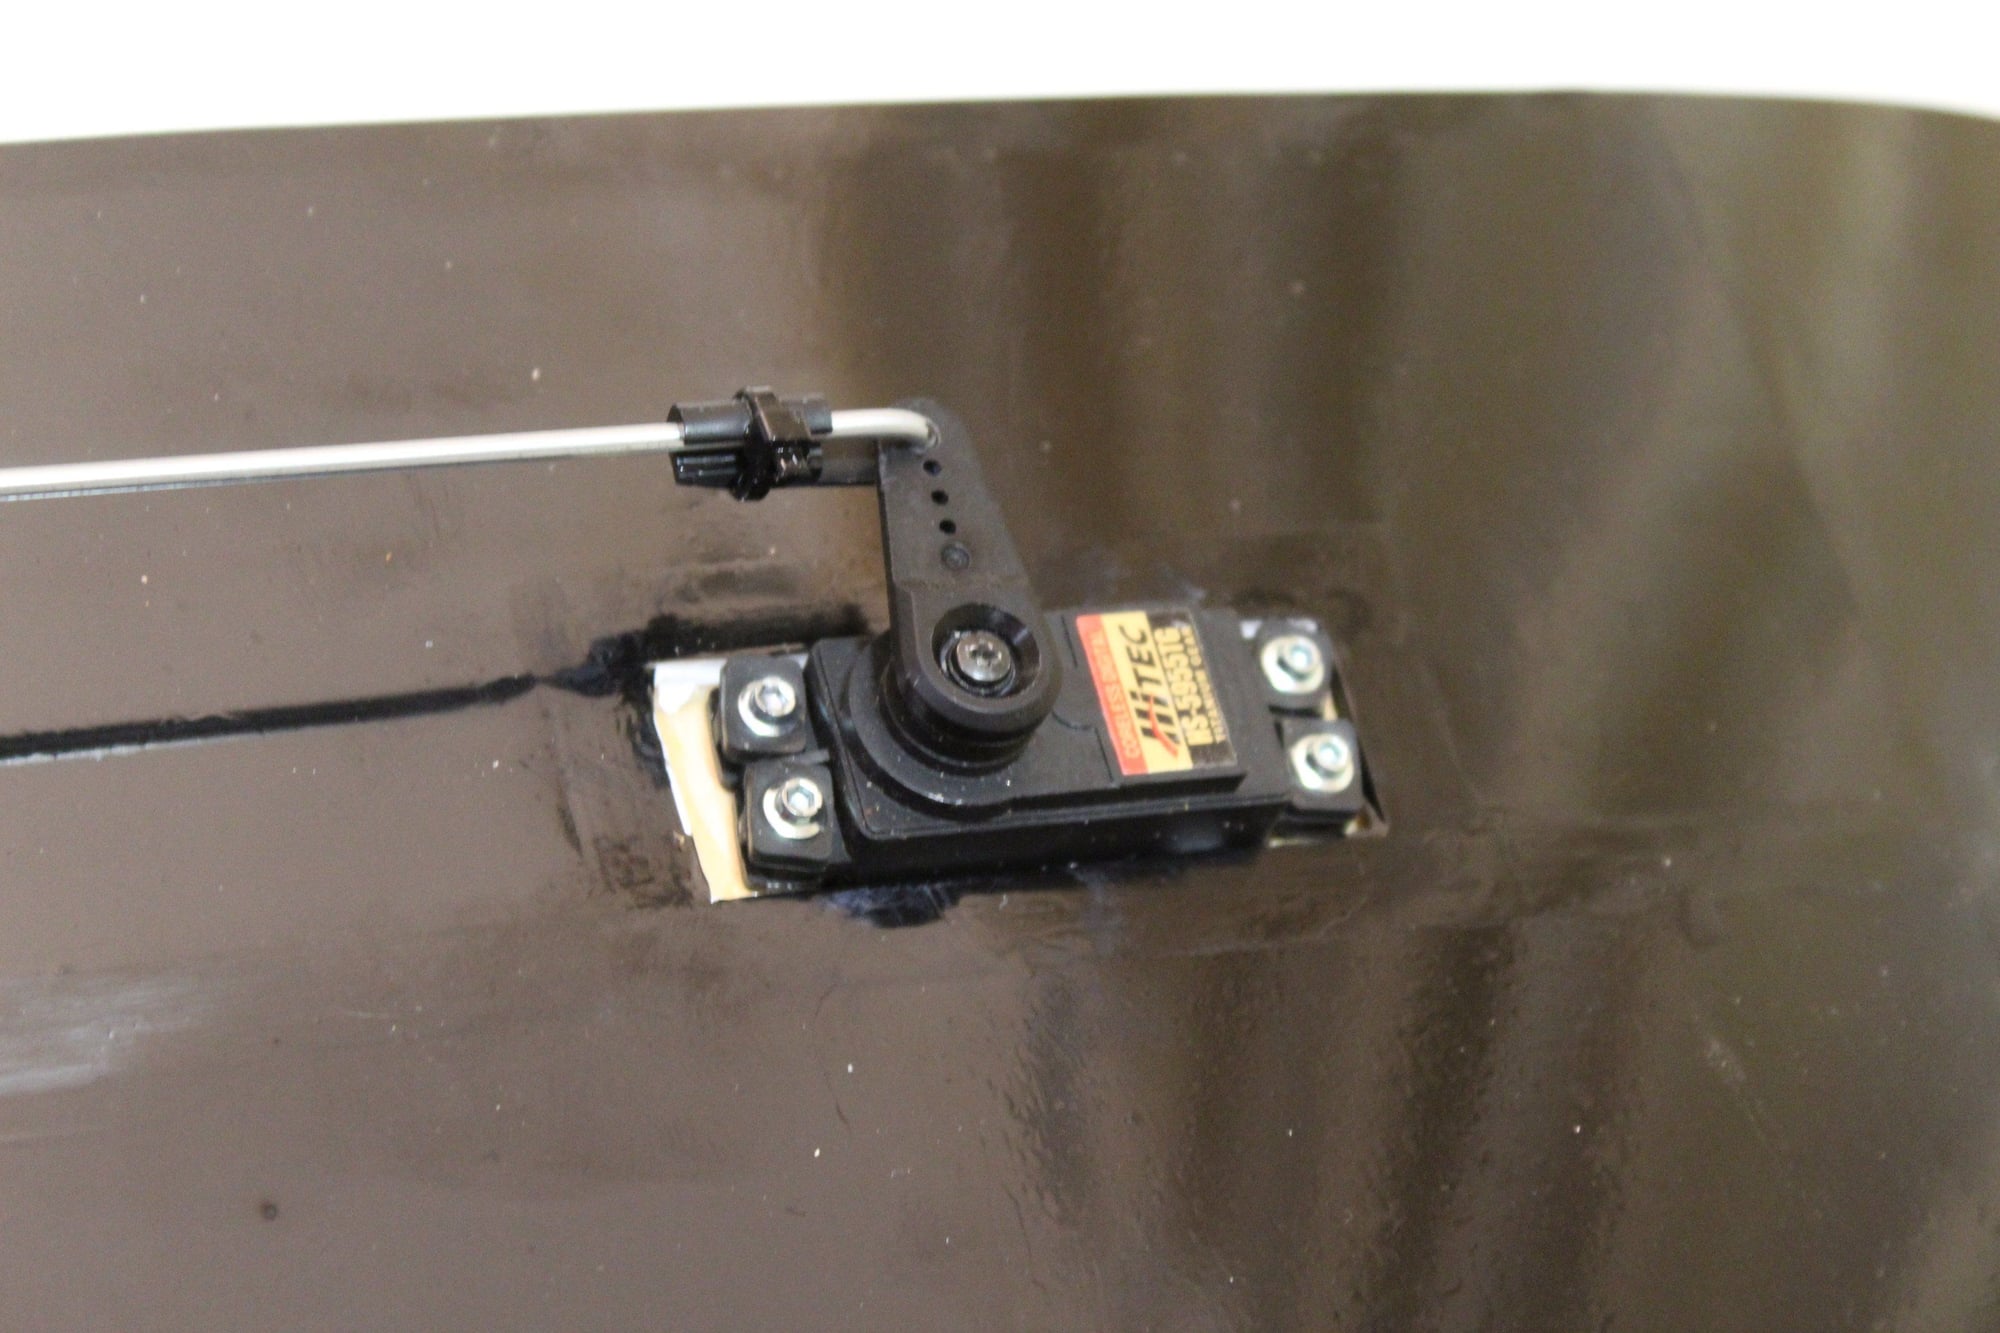
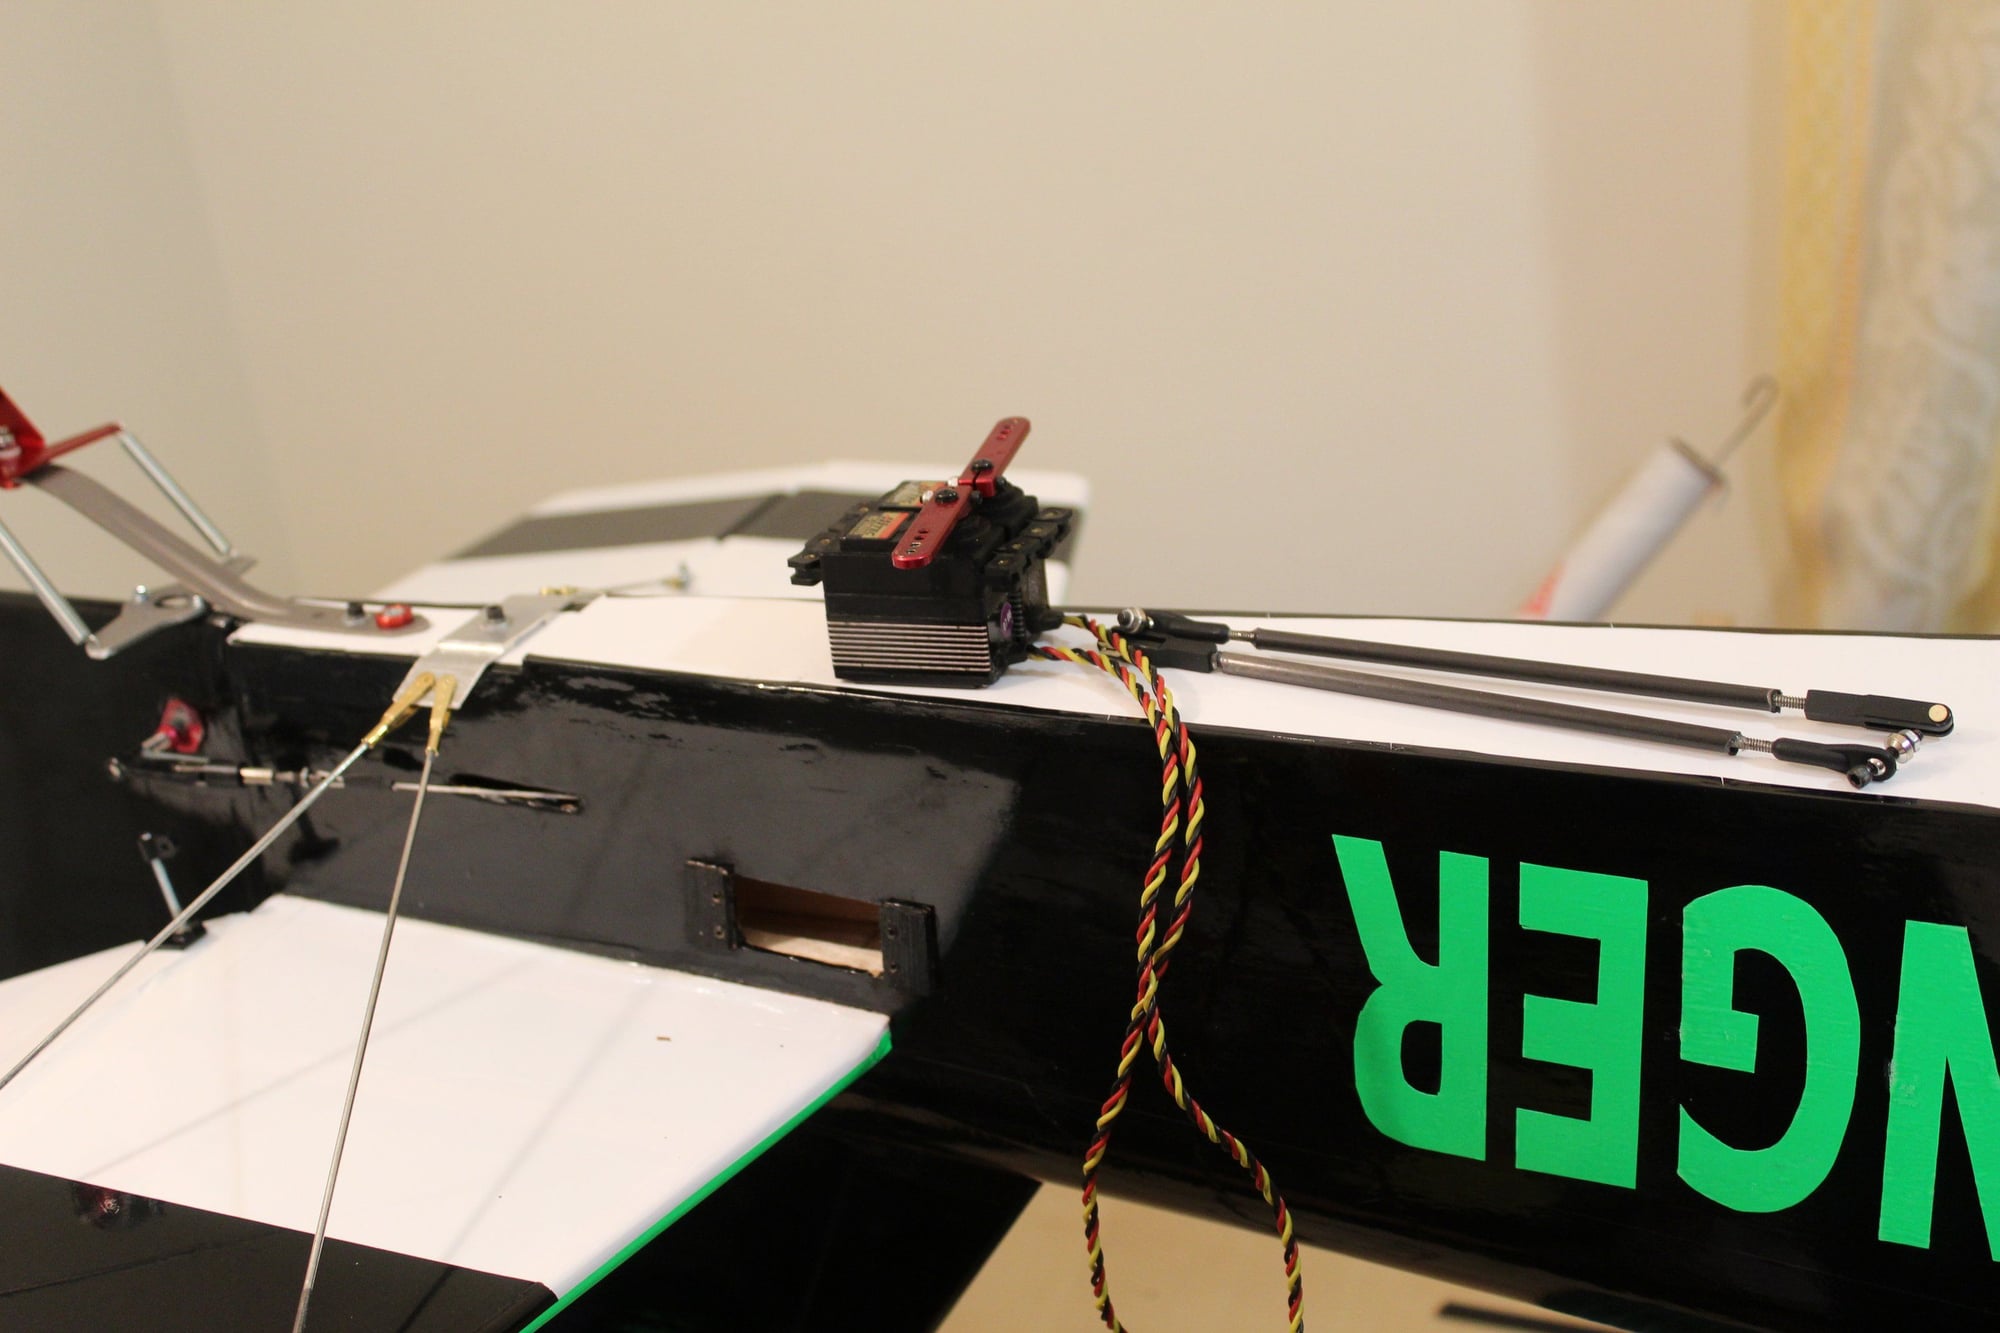
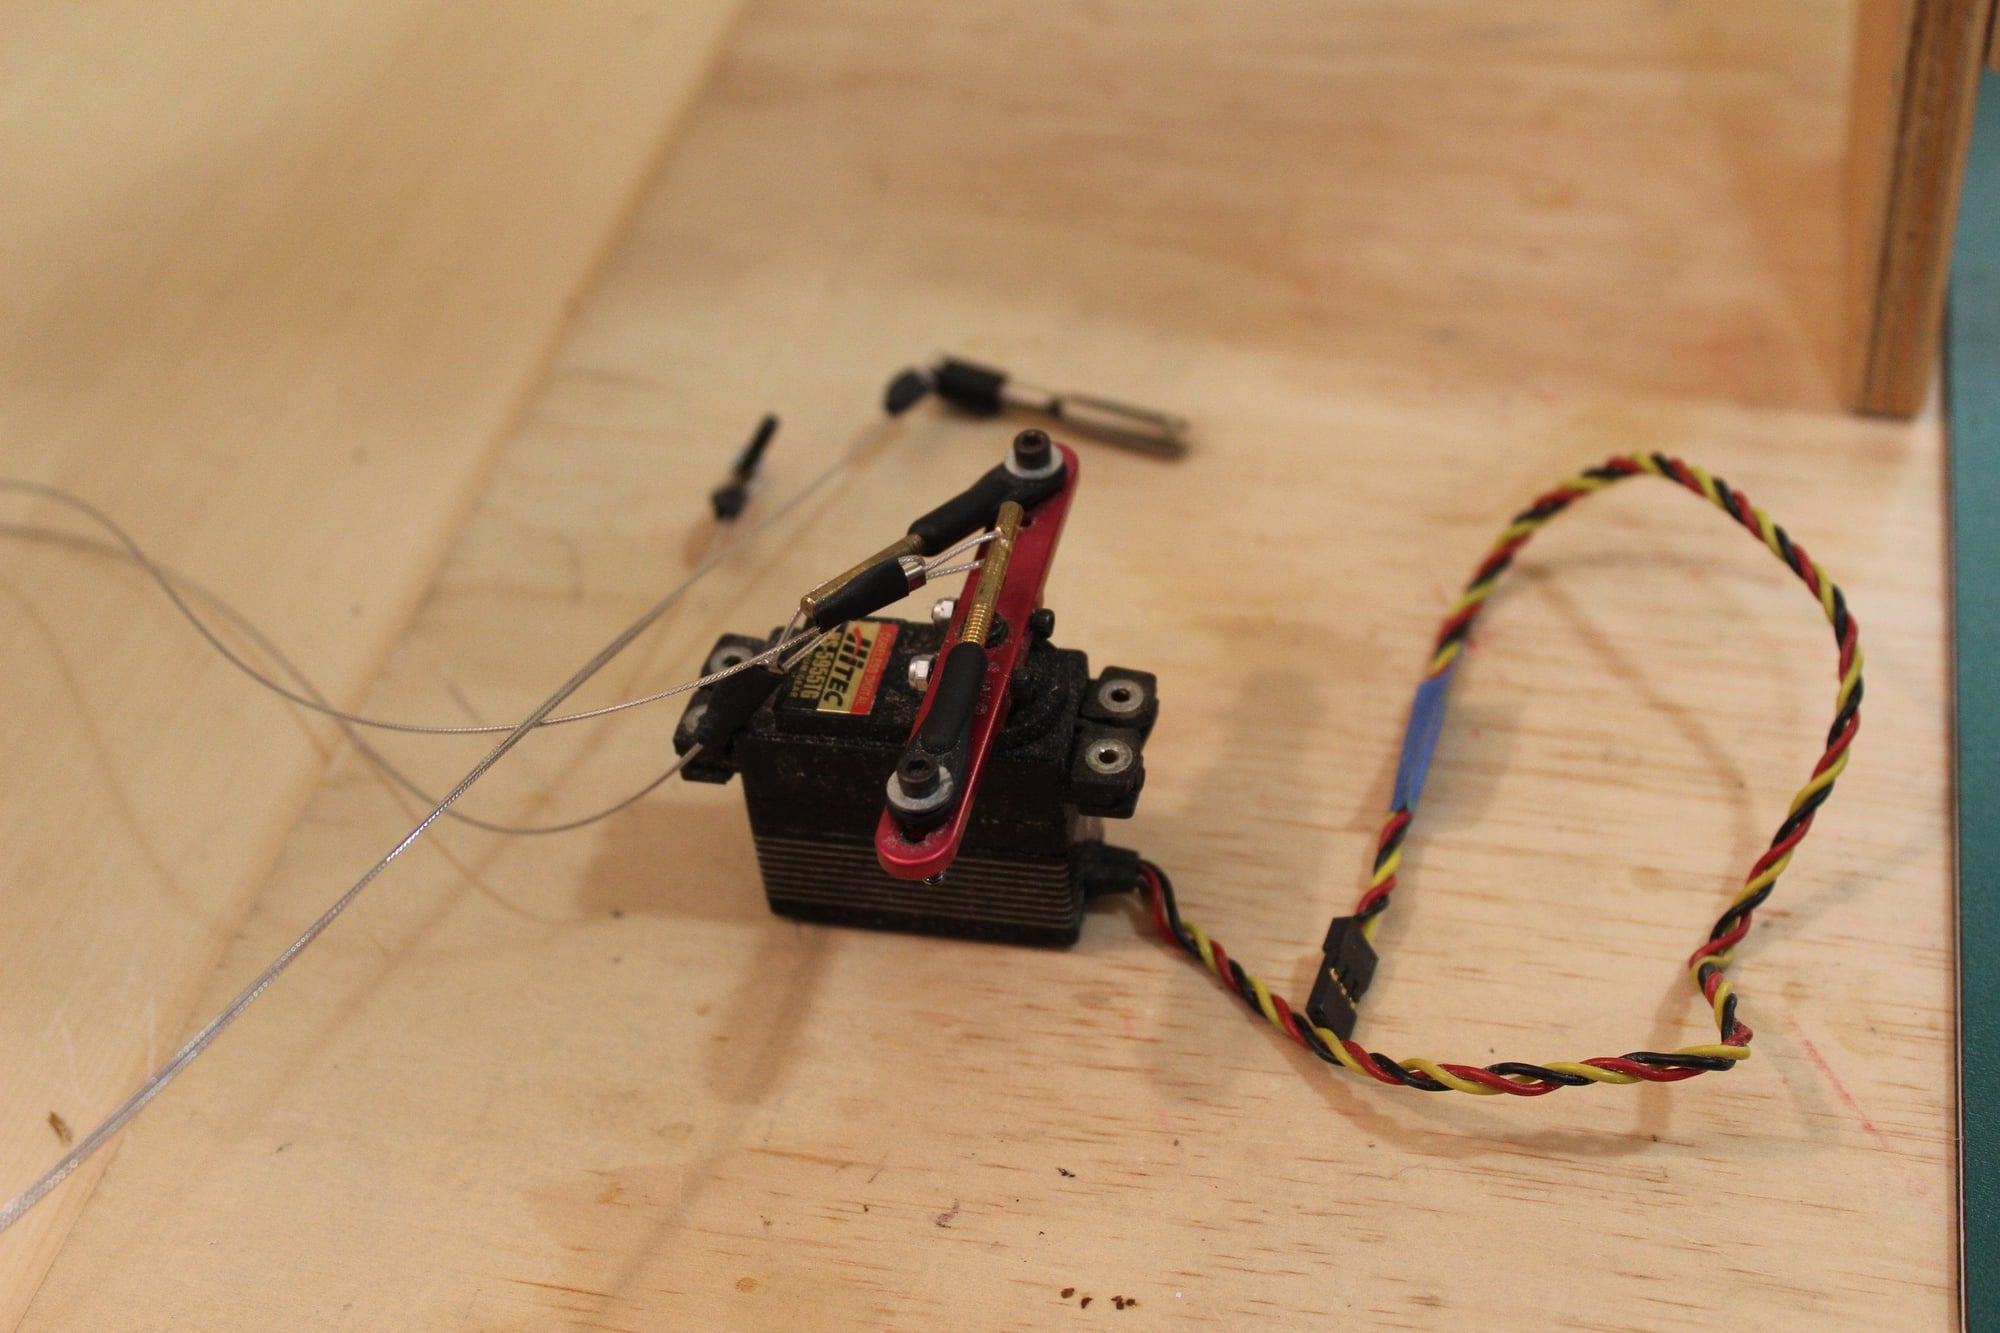
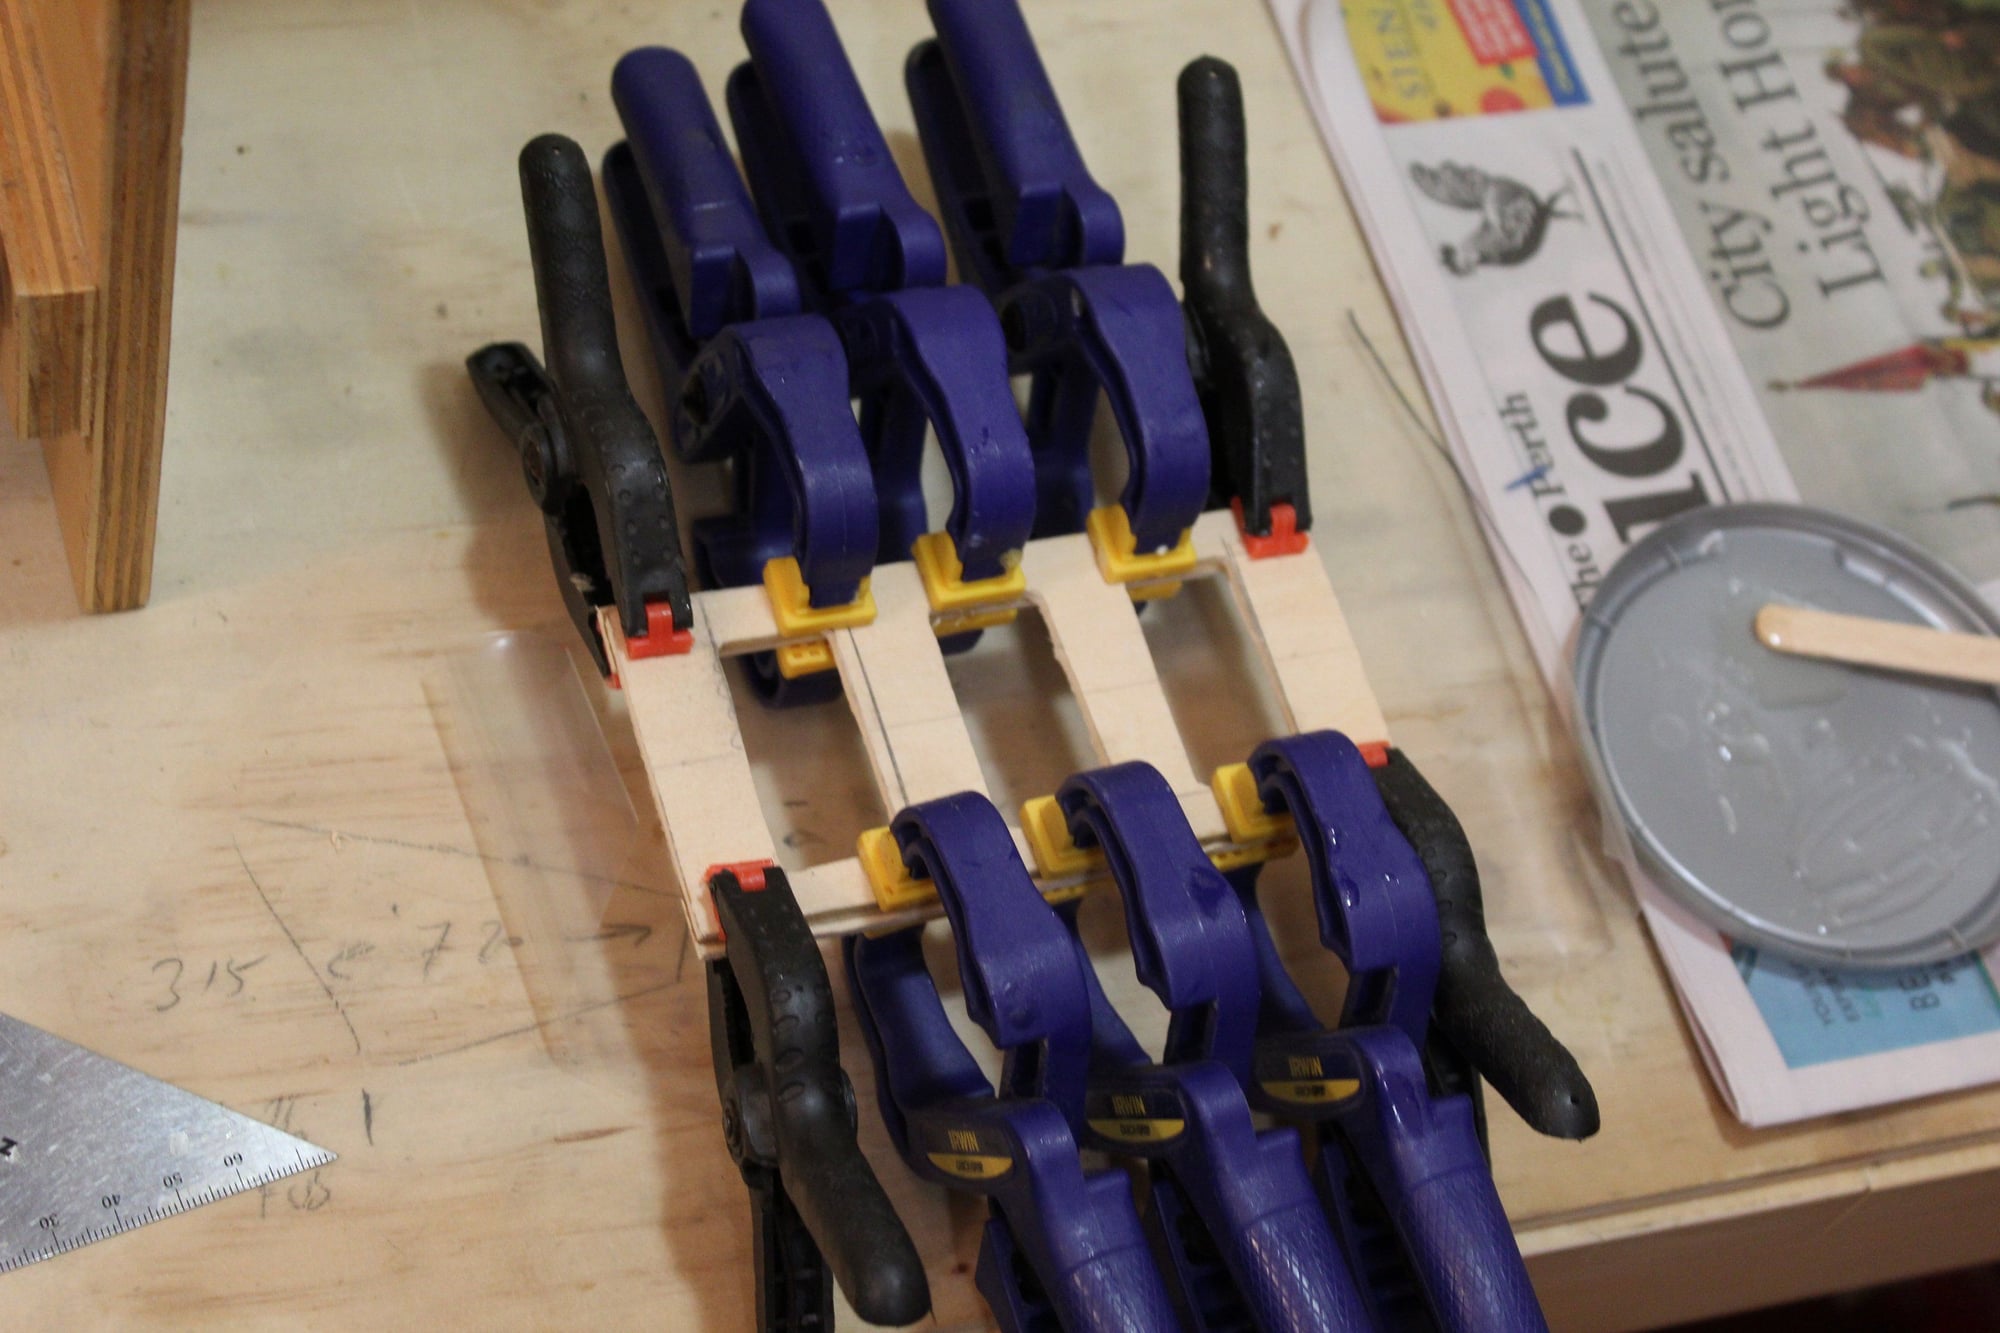
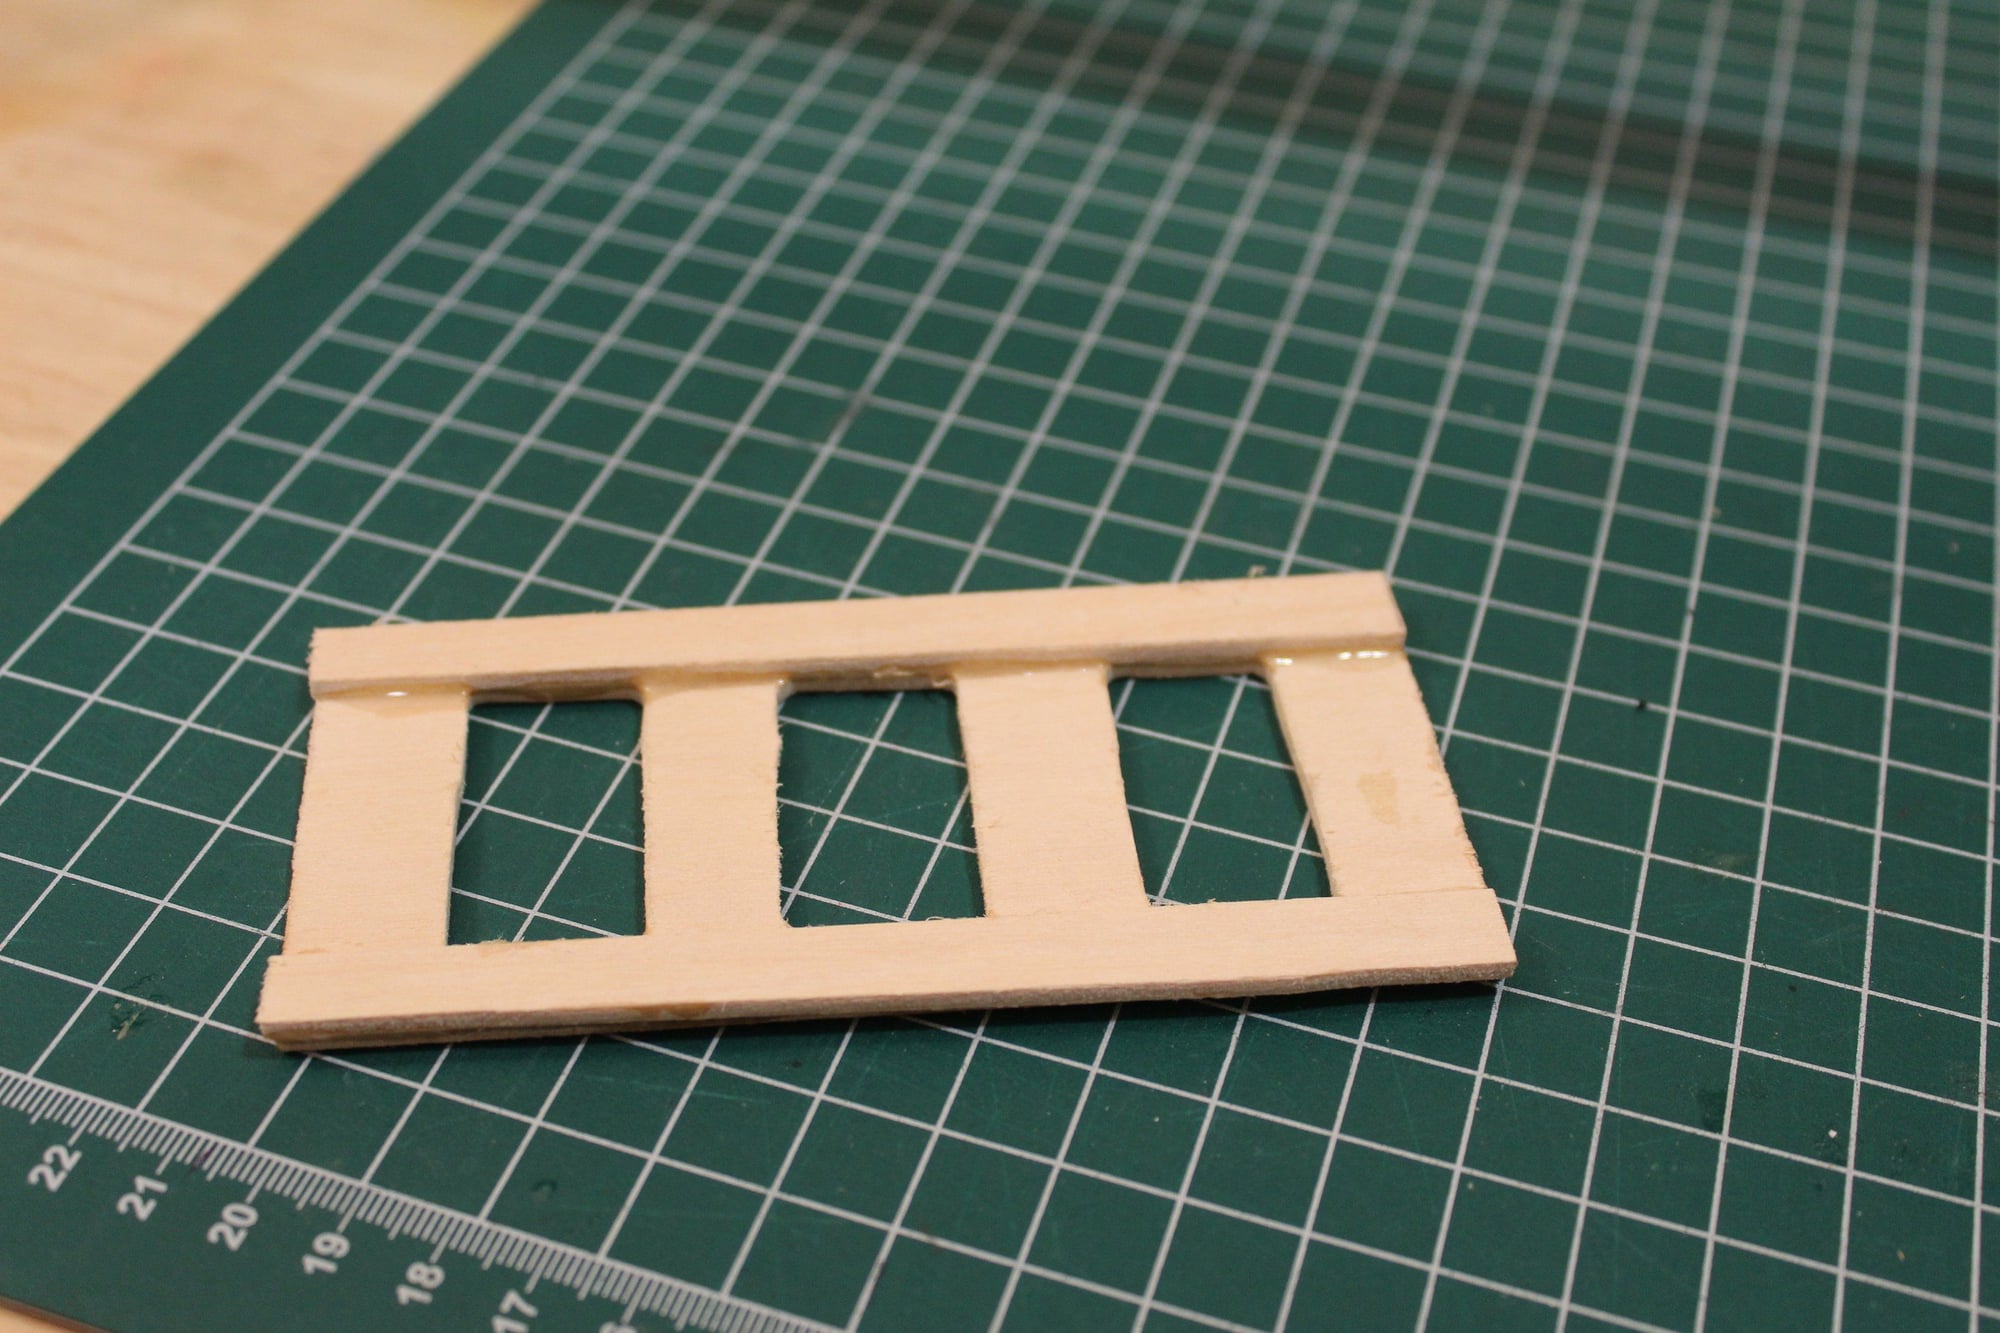
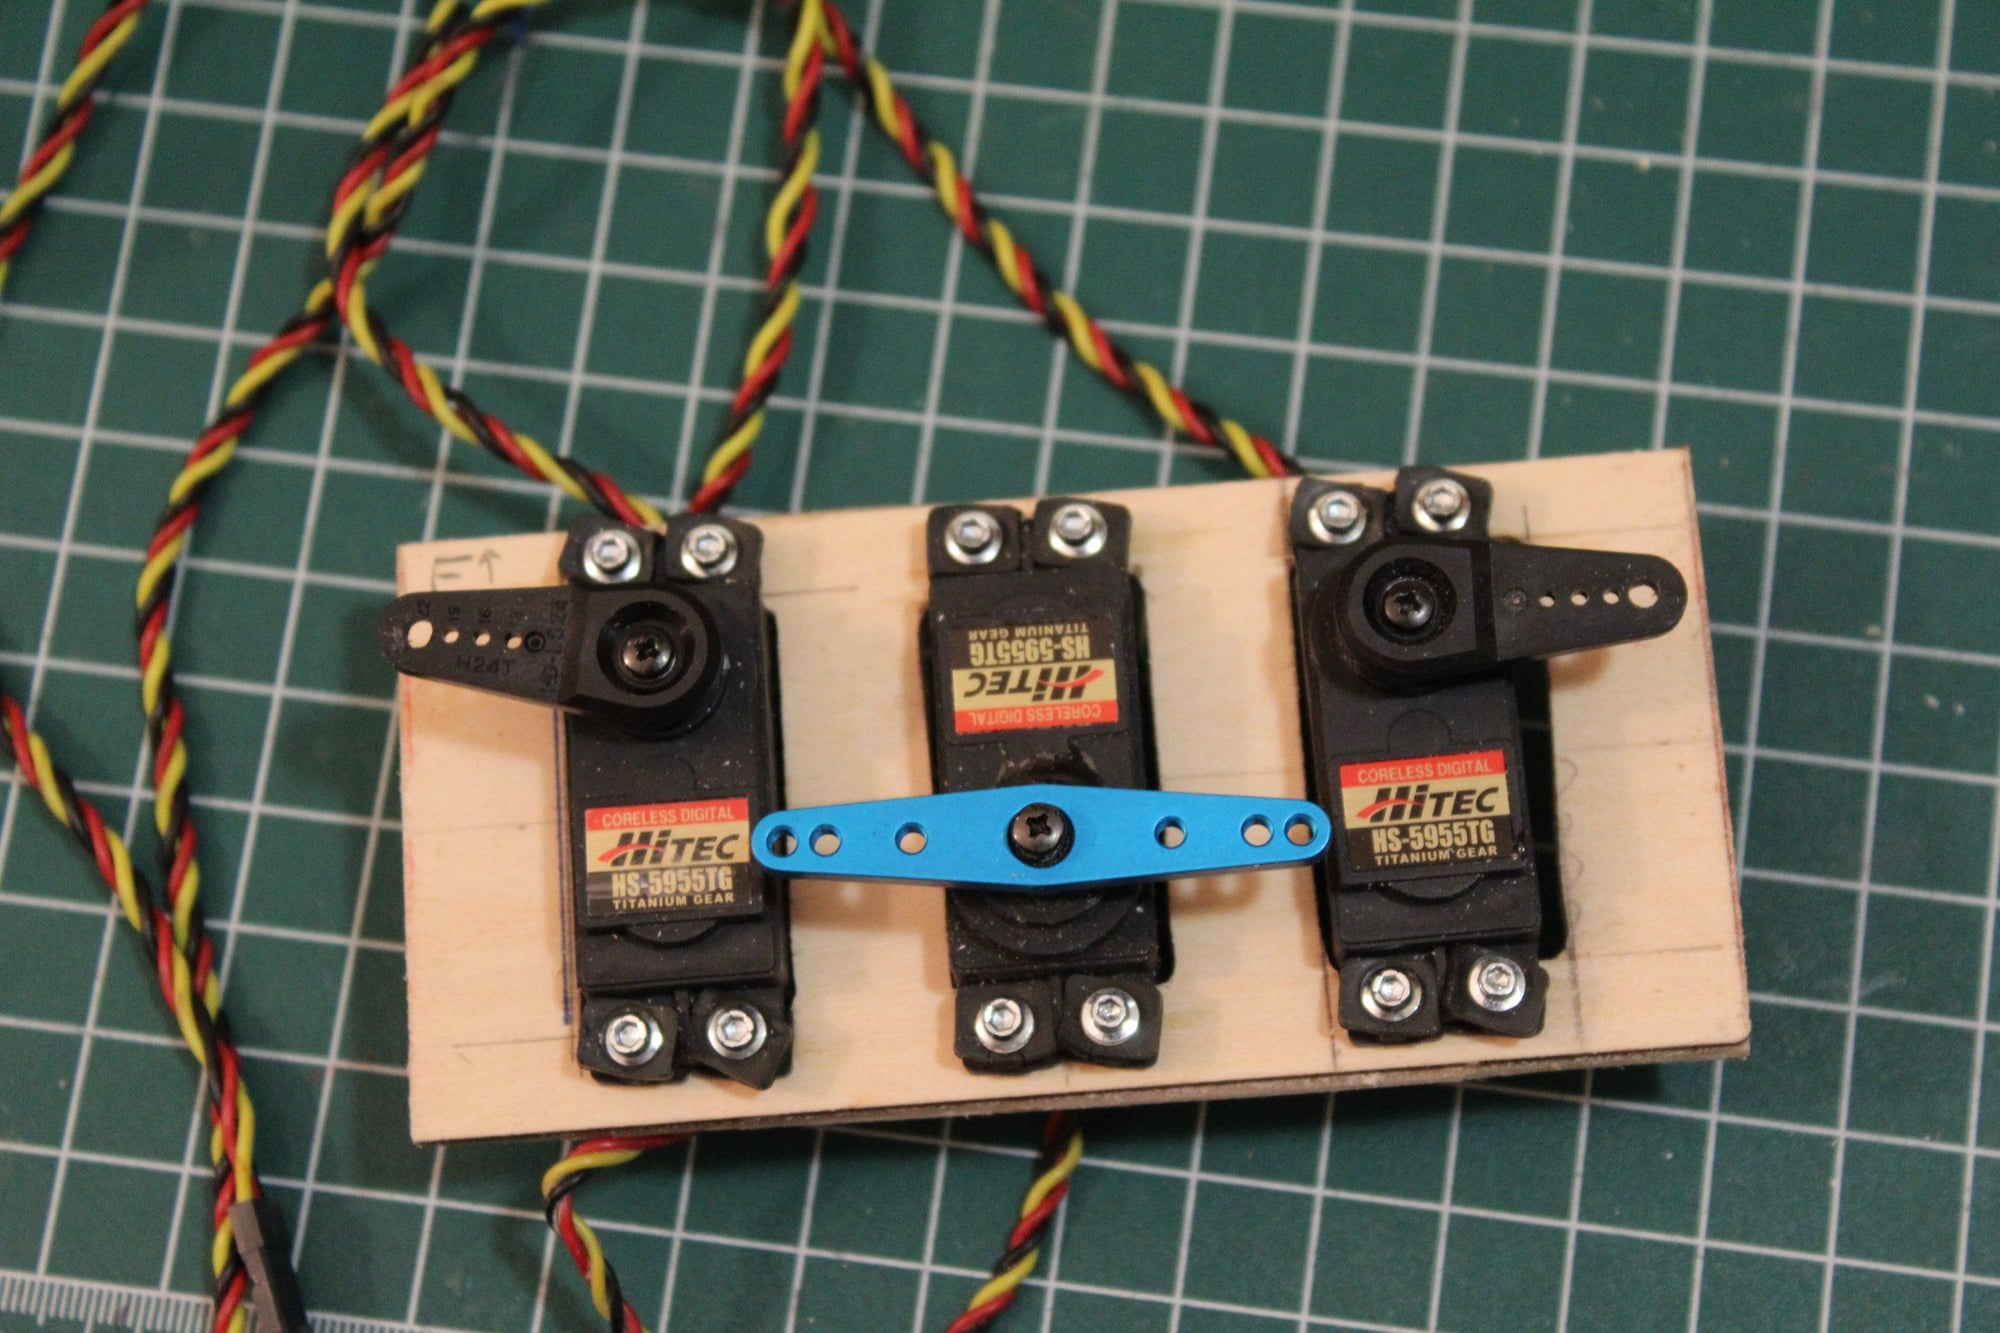
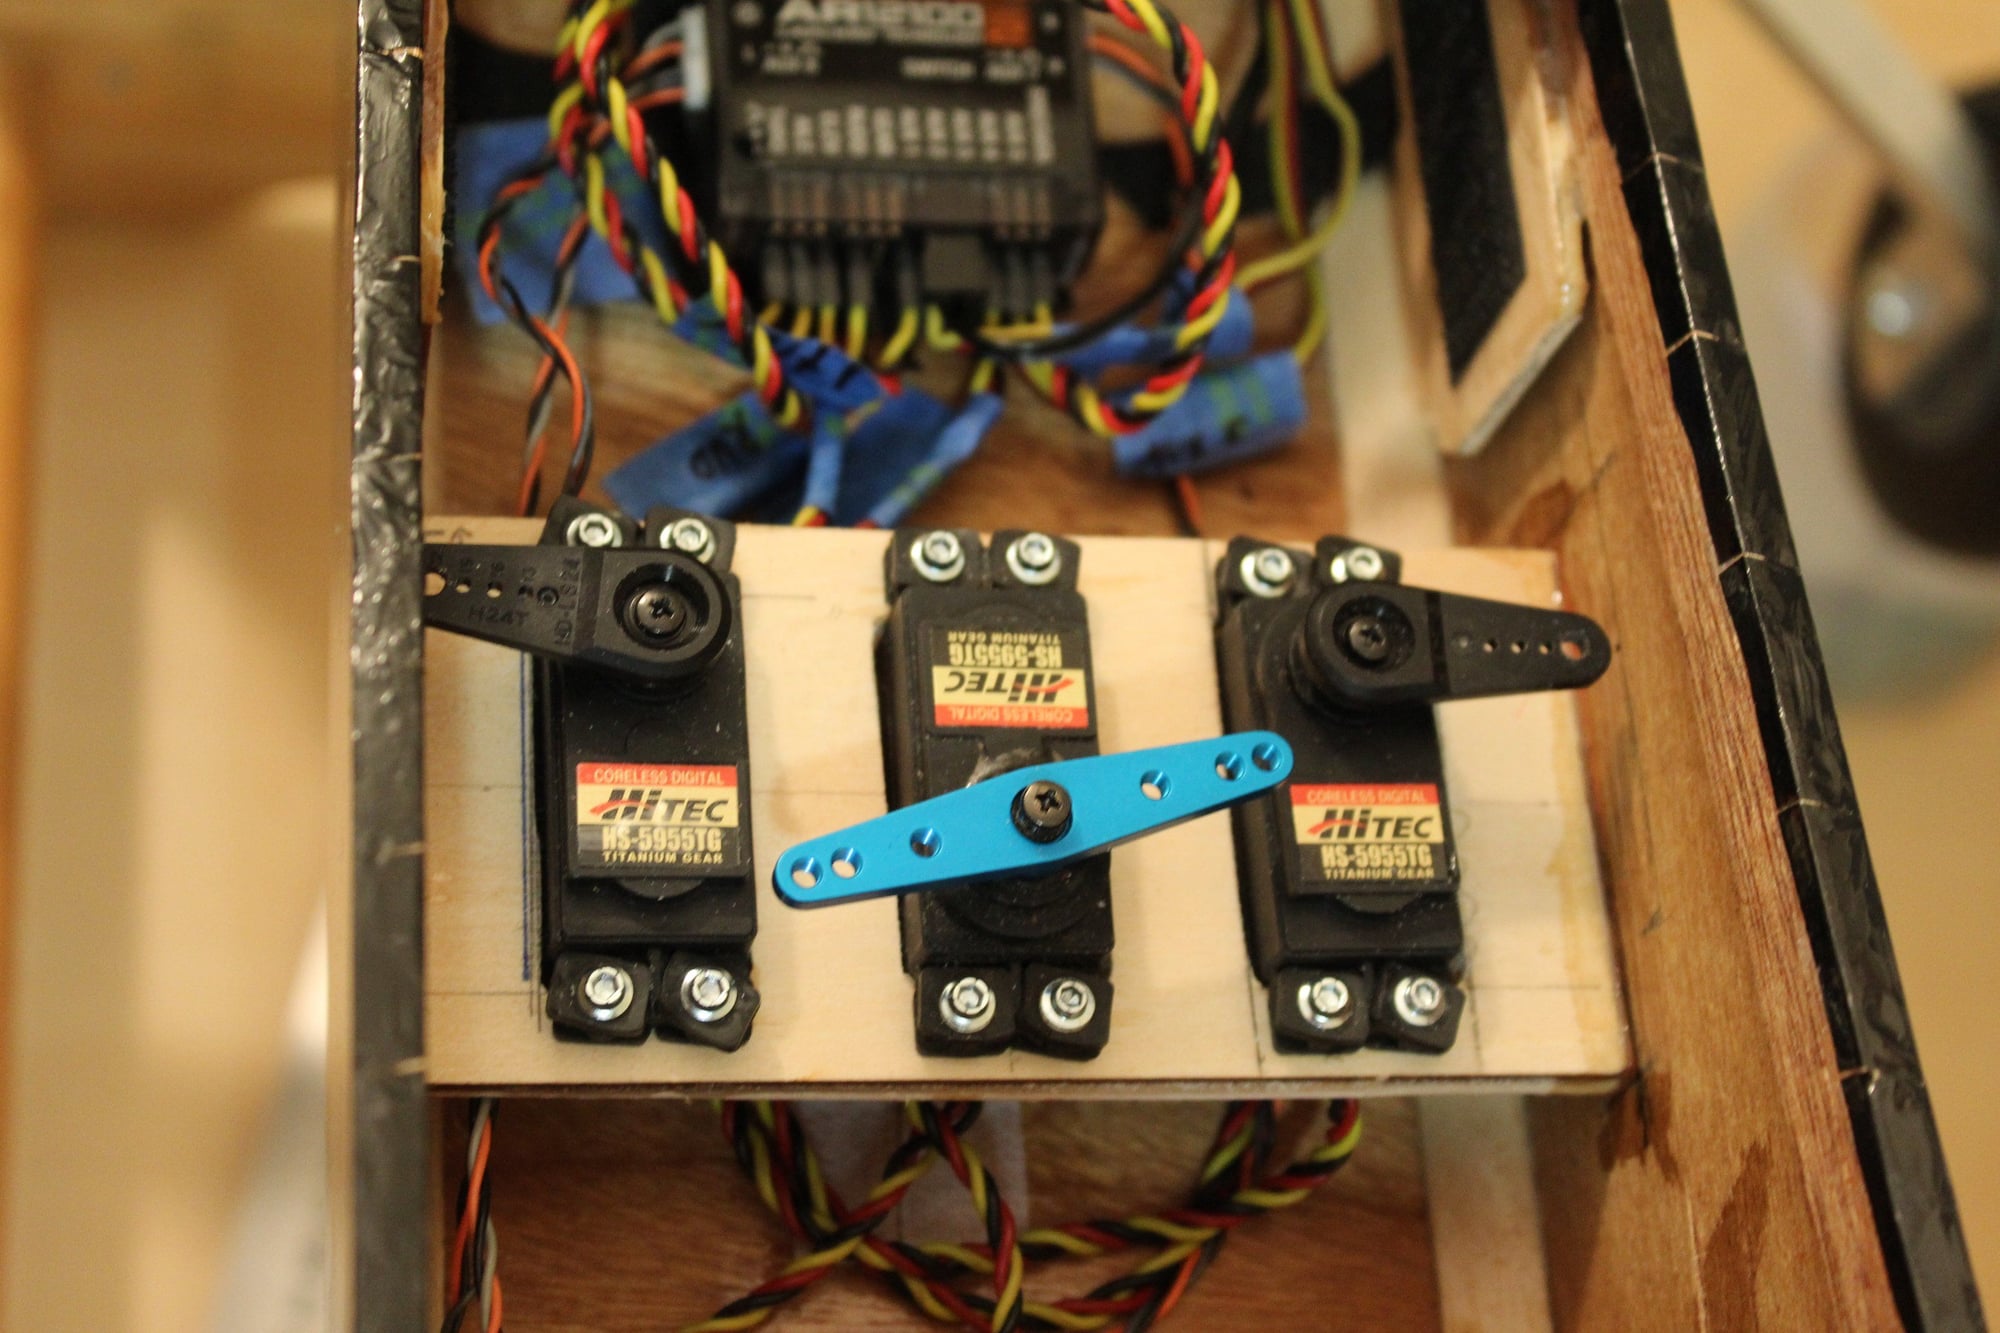
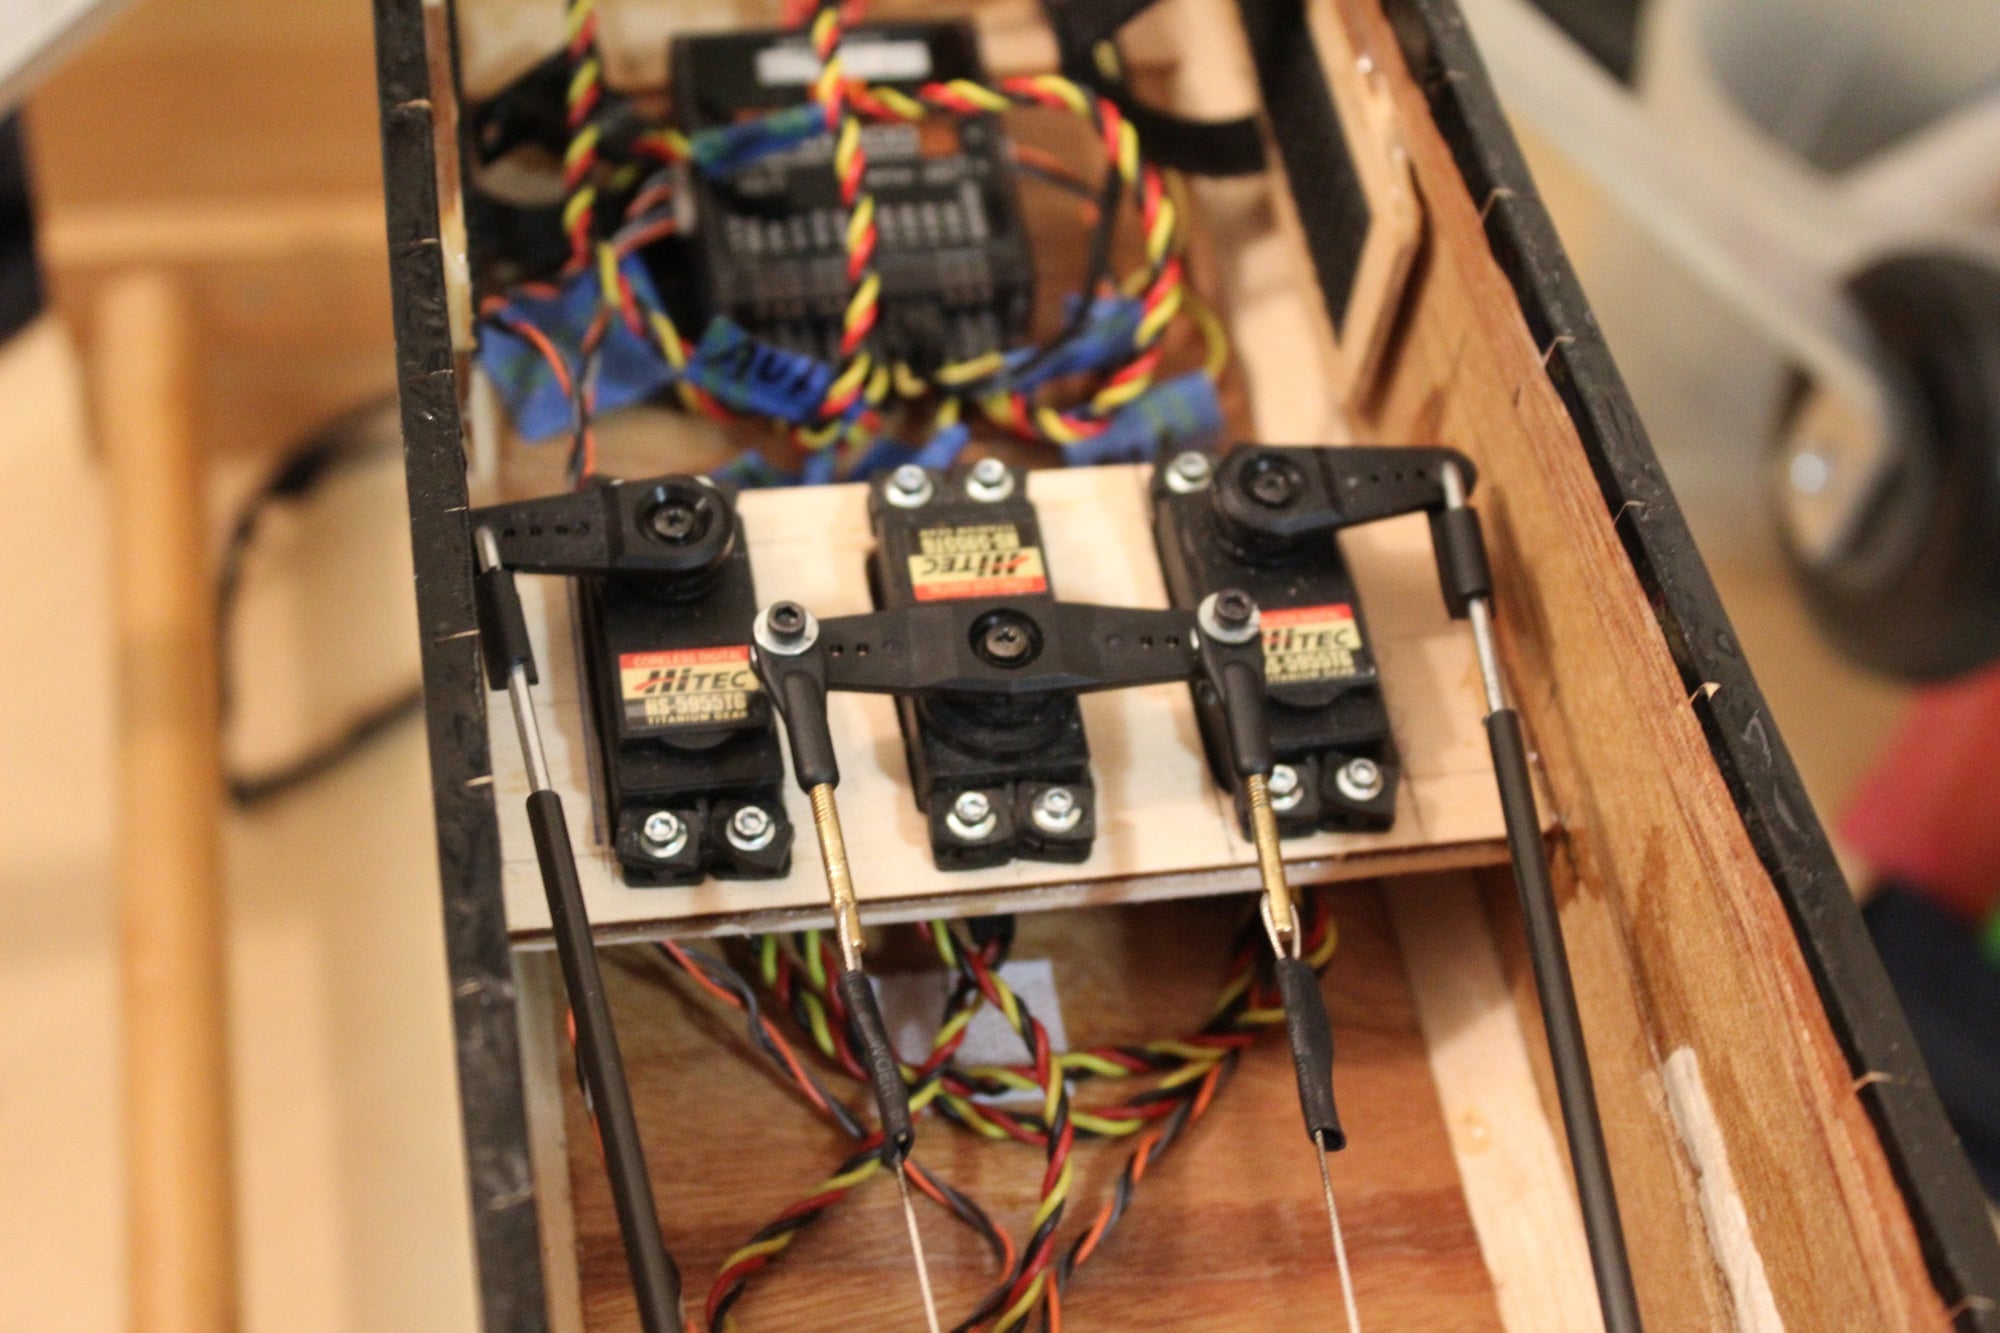
I relocated the elevator servos from the tail and the rudder servo from its previous servo tray (at the back of the under wing area as per the plan) to a new servo tray, further forward. I sanded the servo mounts doublers in the tail.
Cheers,
Eran
Cheers,
Eran
The following users liked this post:
G.F. Reid (04-11-2024)
04-12-2024, 01:50 AM
#116
Thread Starter
Join Date: Jun 2008
Location: Perth WA, AUSTRALIA
Posts: 1,208
Likes: 0
Received 11 Likes
on
11 Posts
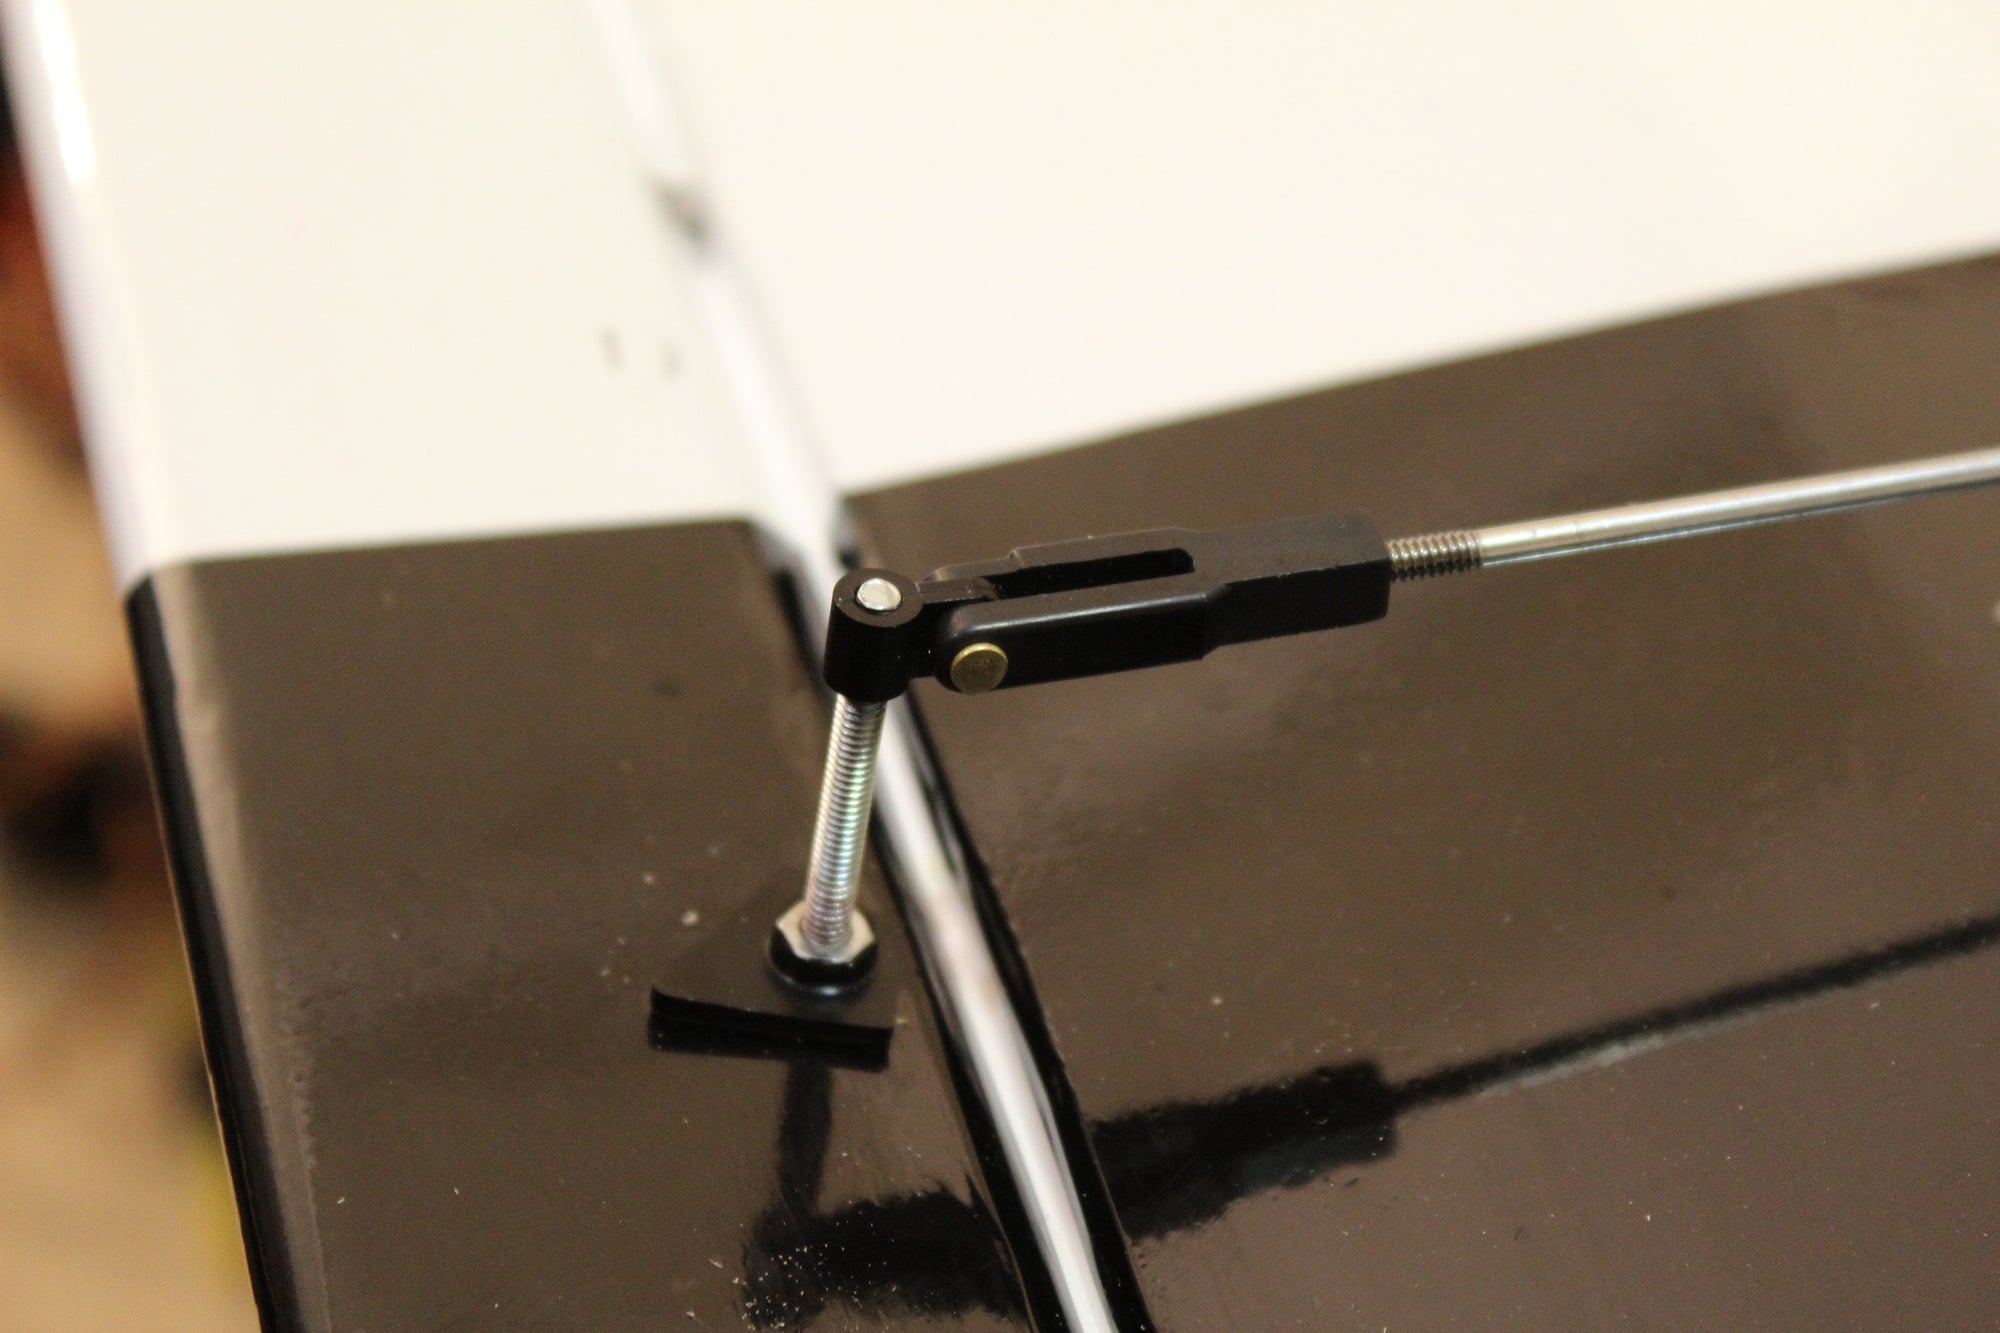
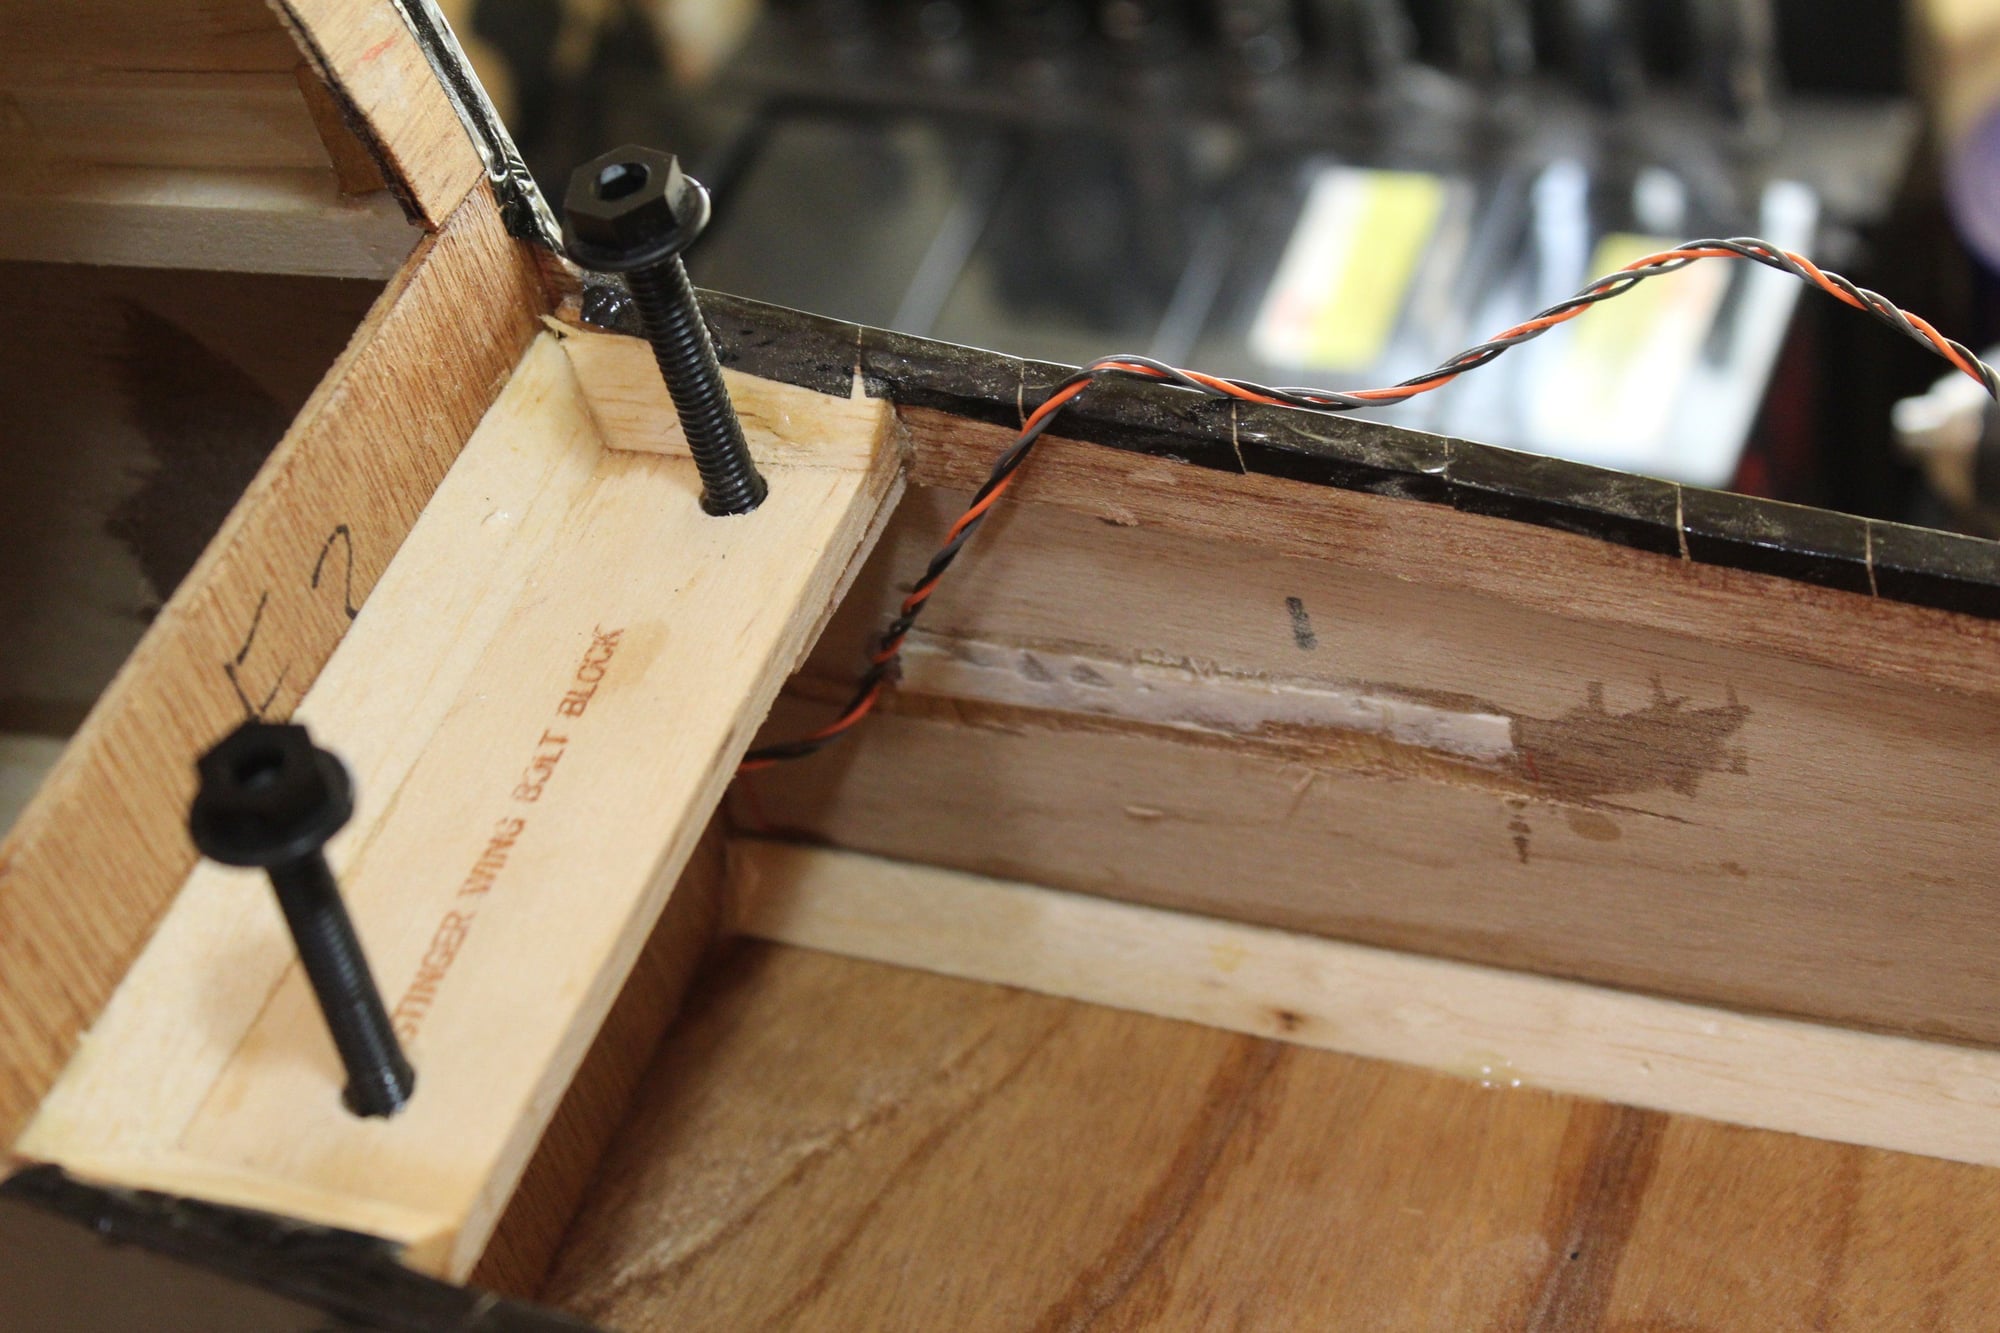
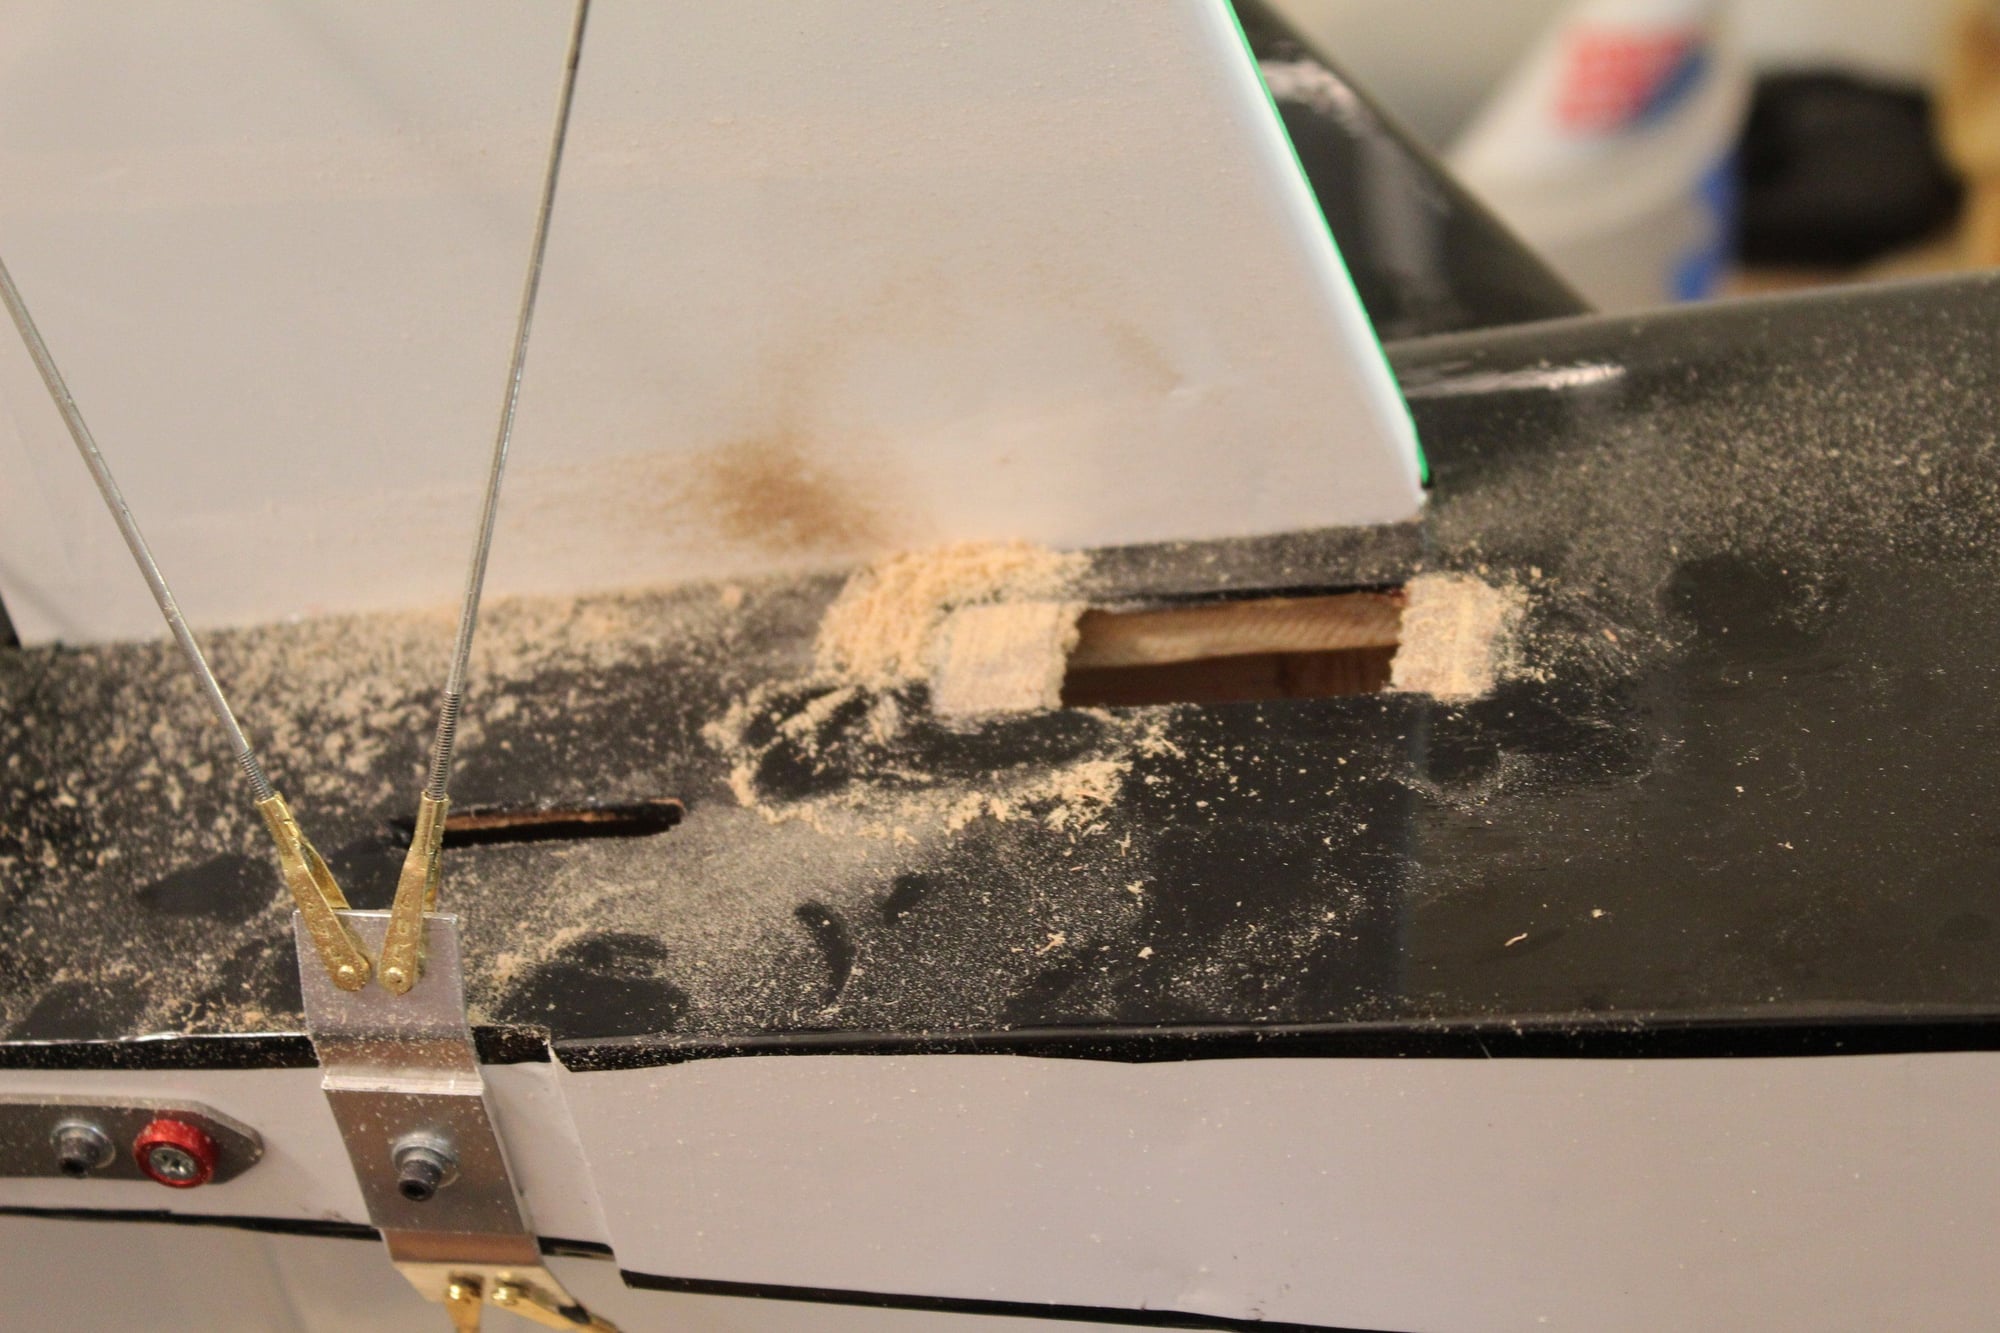
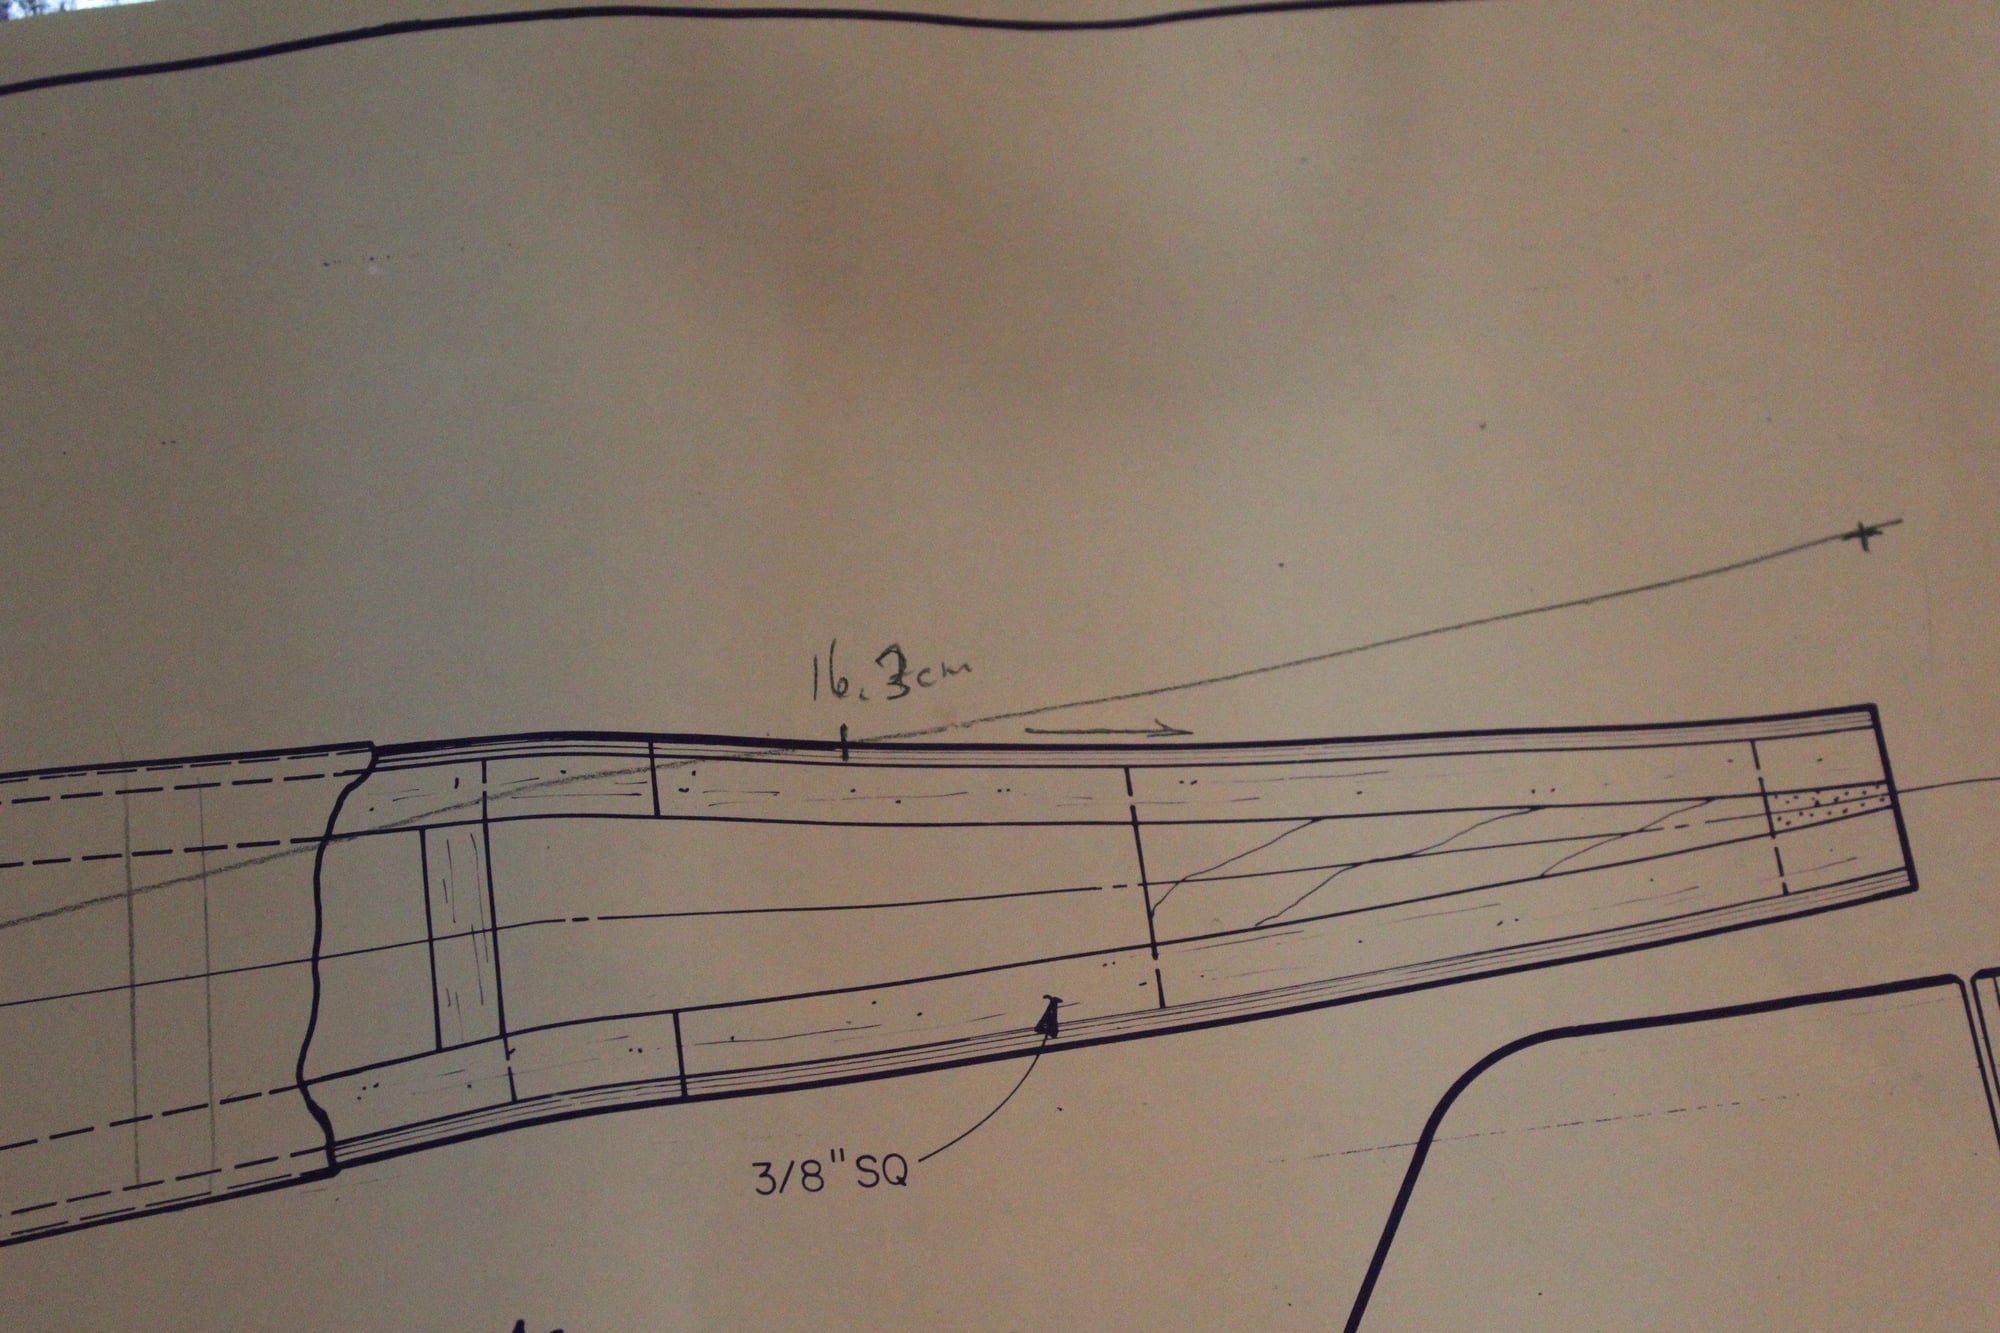
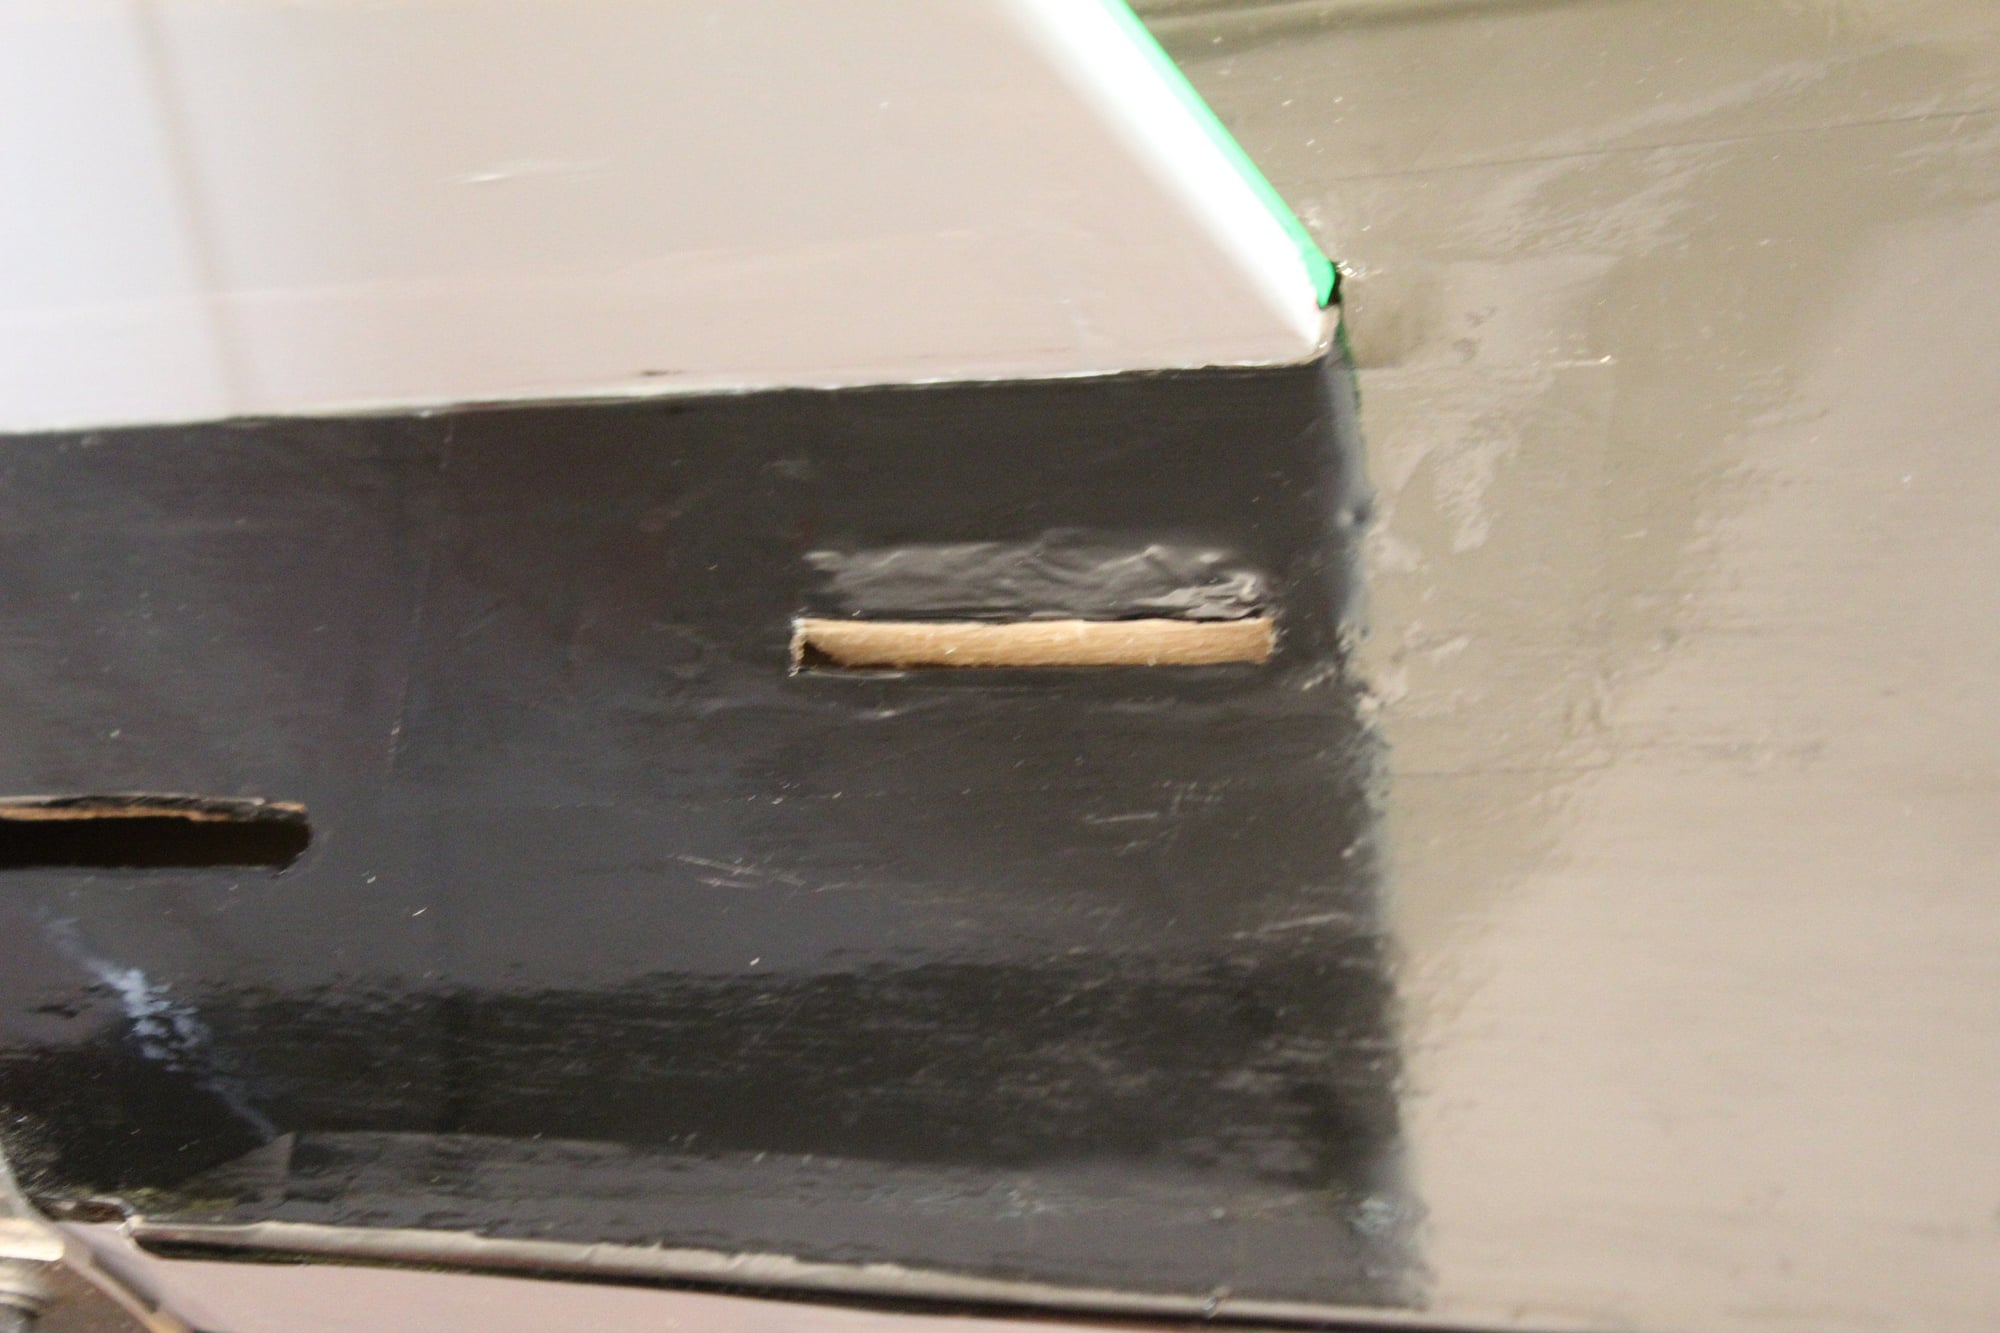
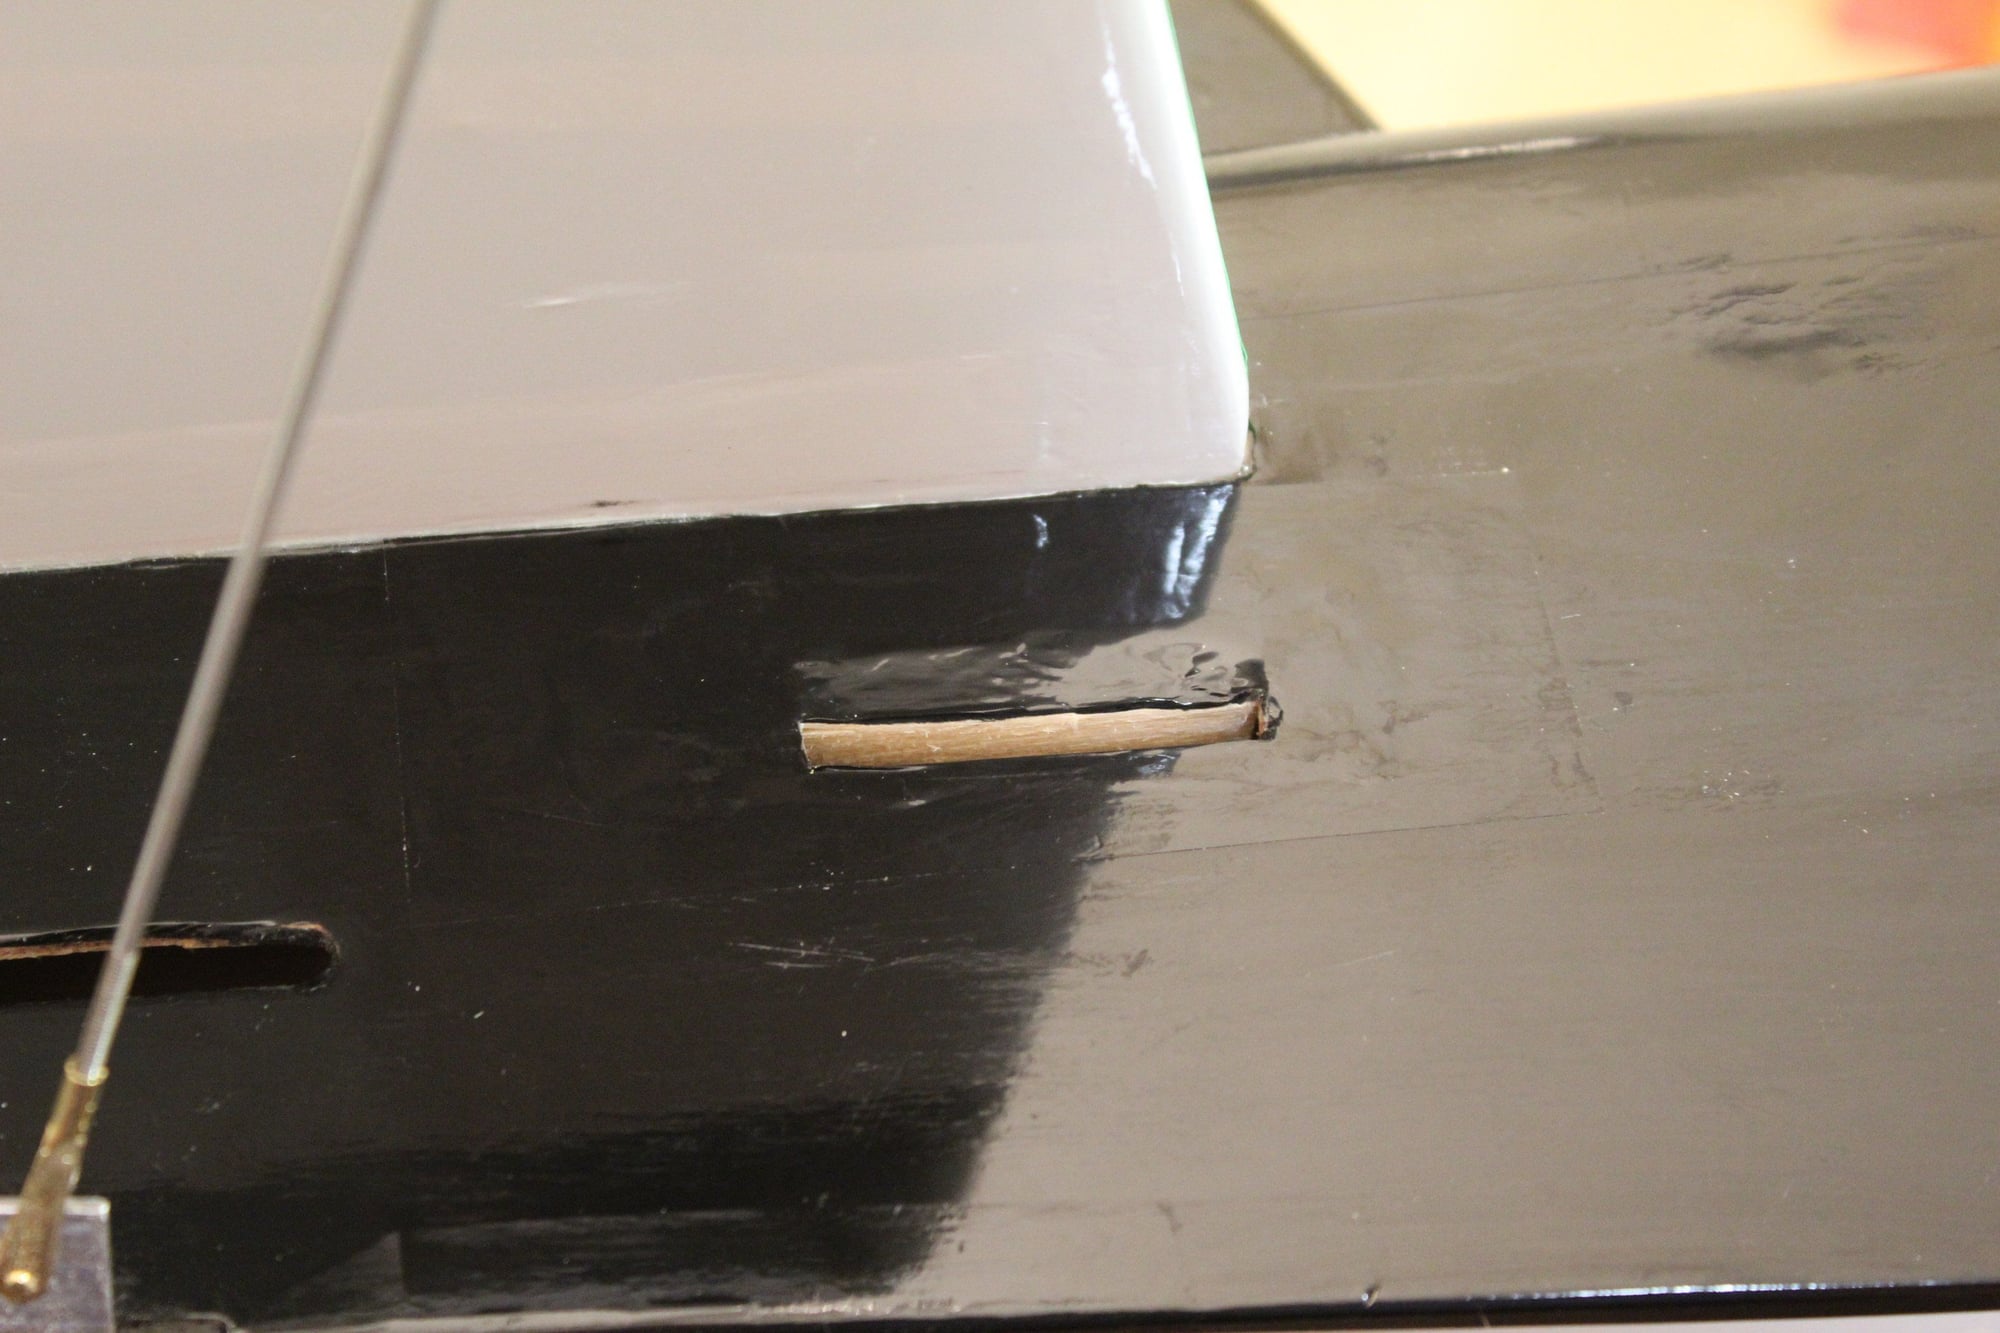
Measuring the path for the new elevator control rods on the plans, indicated that they will exit the fuselage exactly where the servo openings were. I decided to use 4-40 long rods encased in carbon fibre rods. Even with the carbon fibre encasing, the rods flexed a bit, however, the flex was eliminated once the holes were narrowed down to a slot.
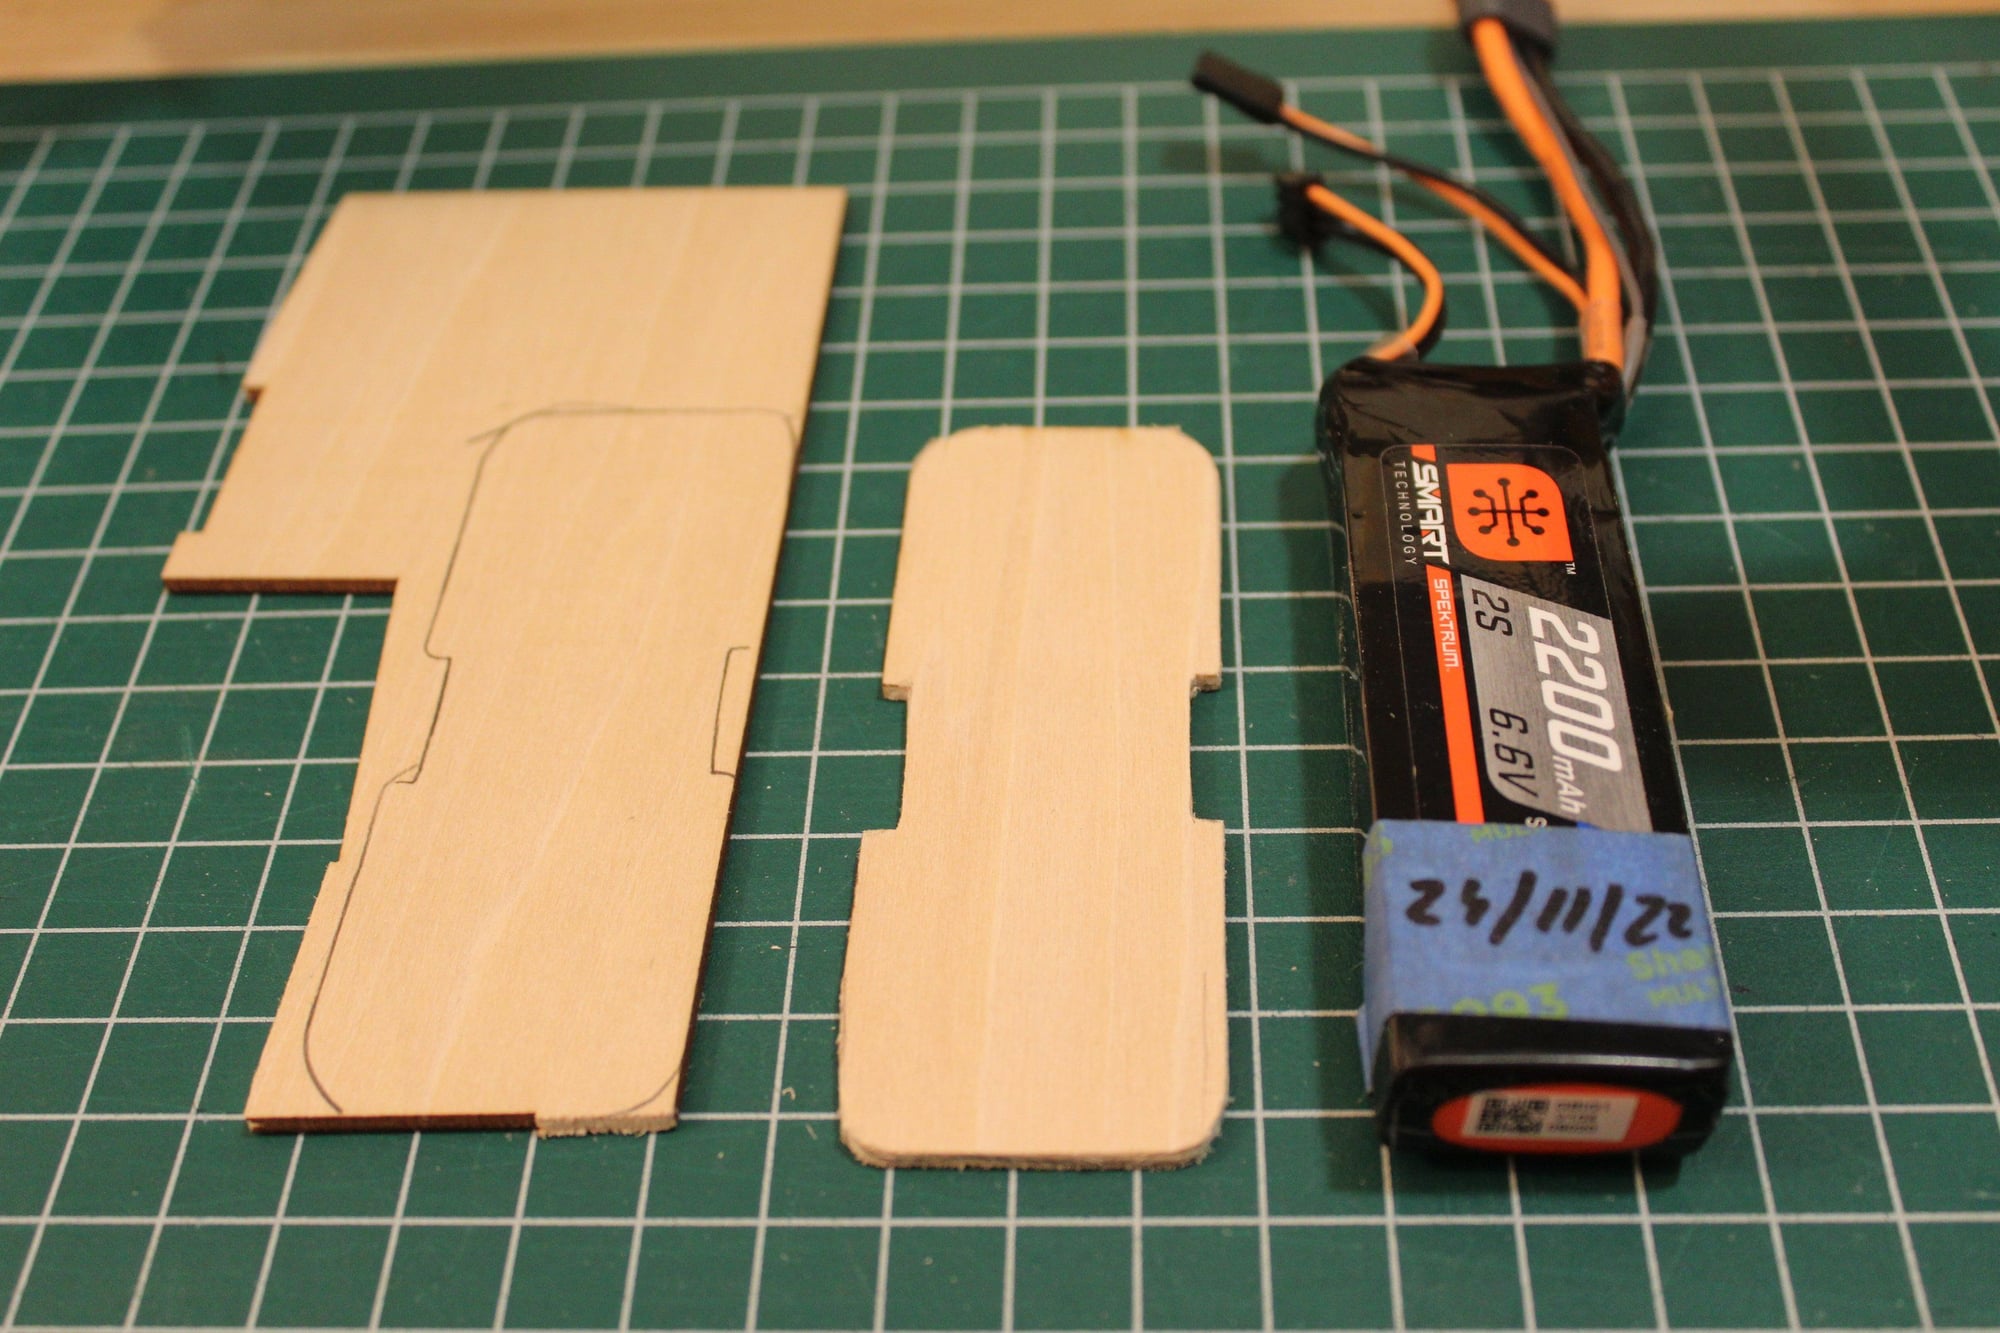
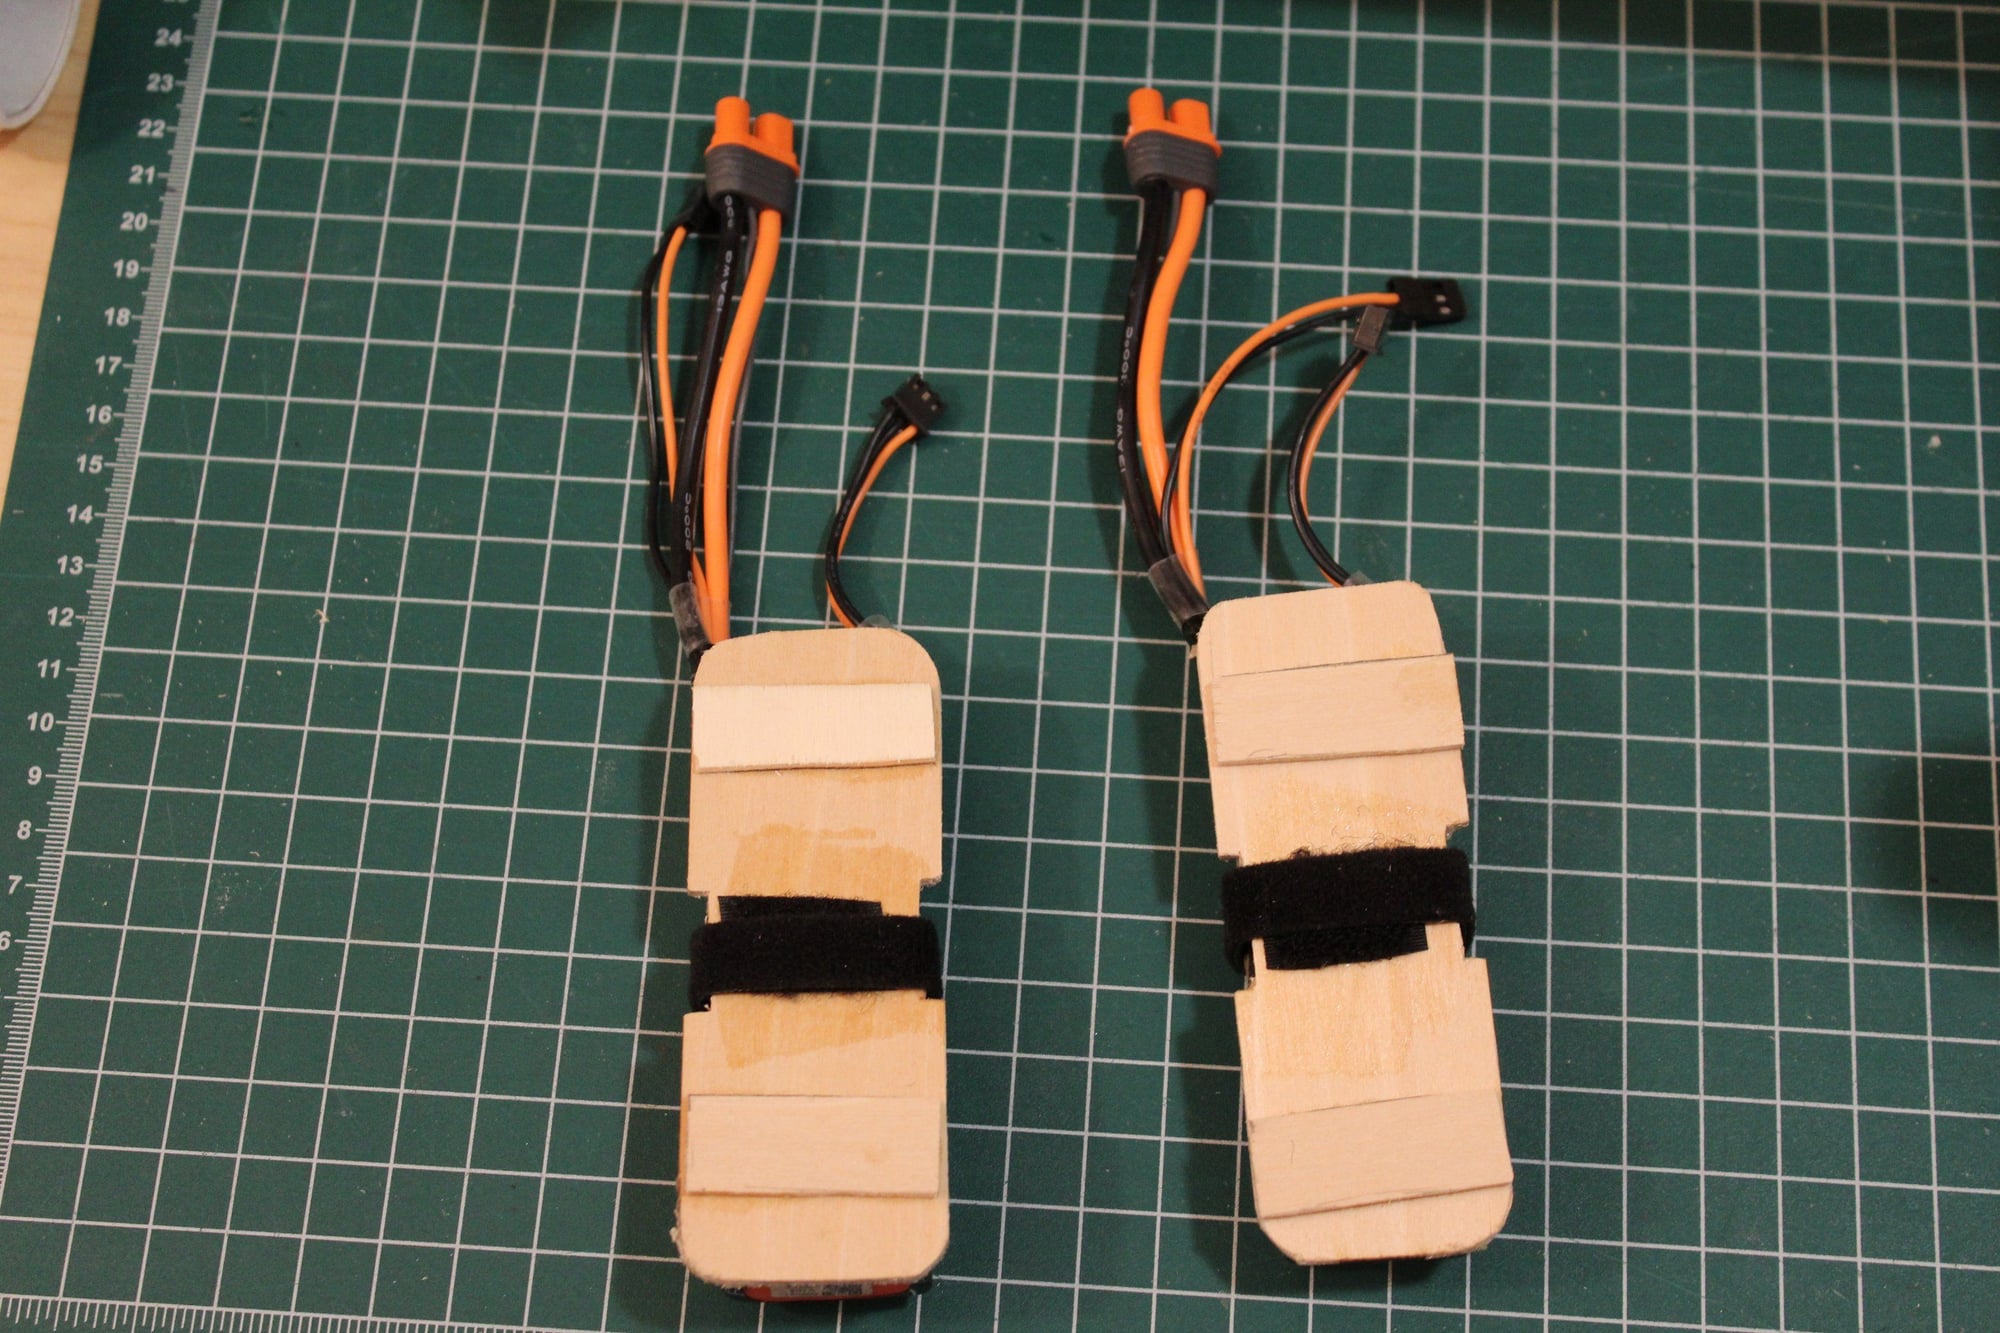
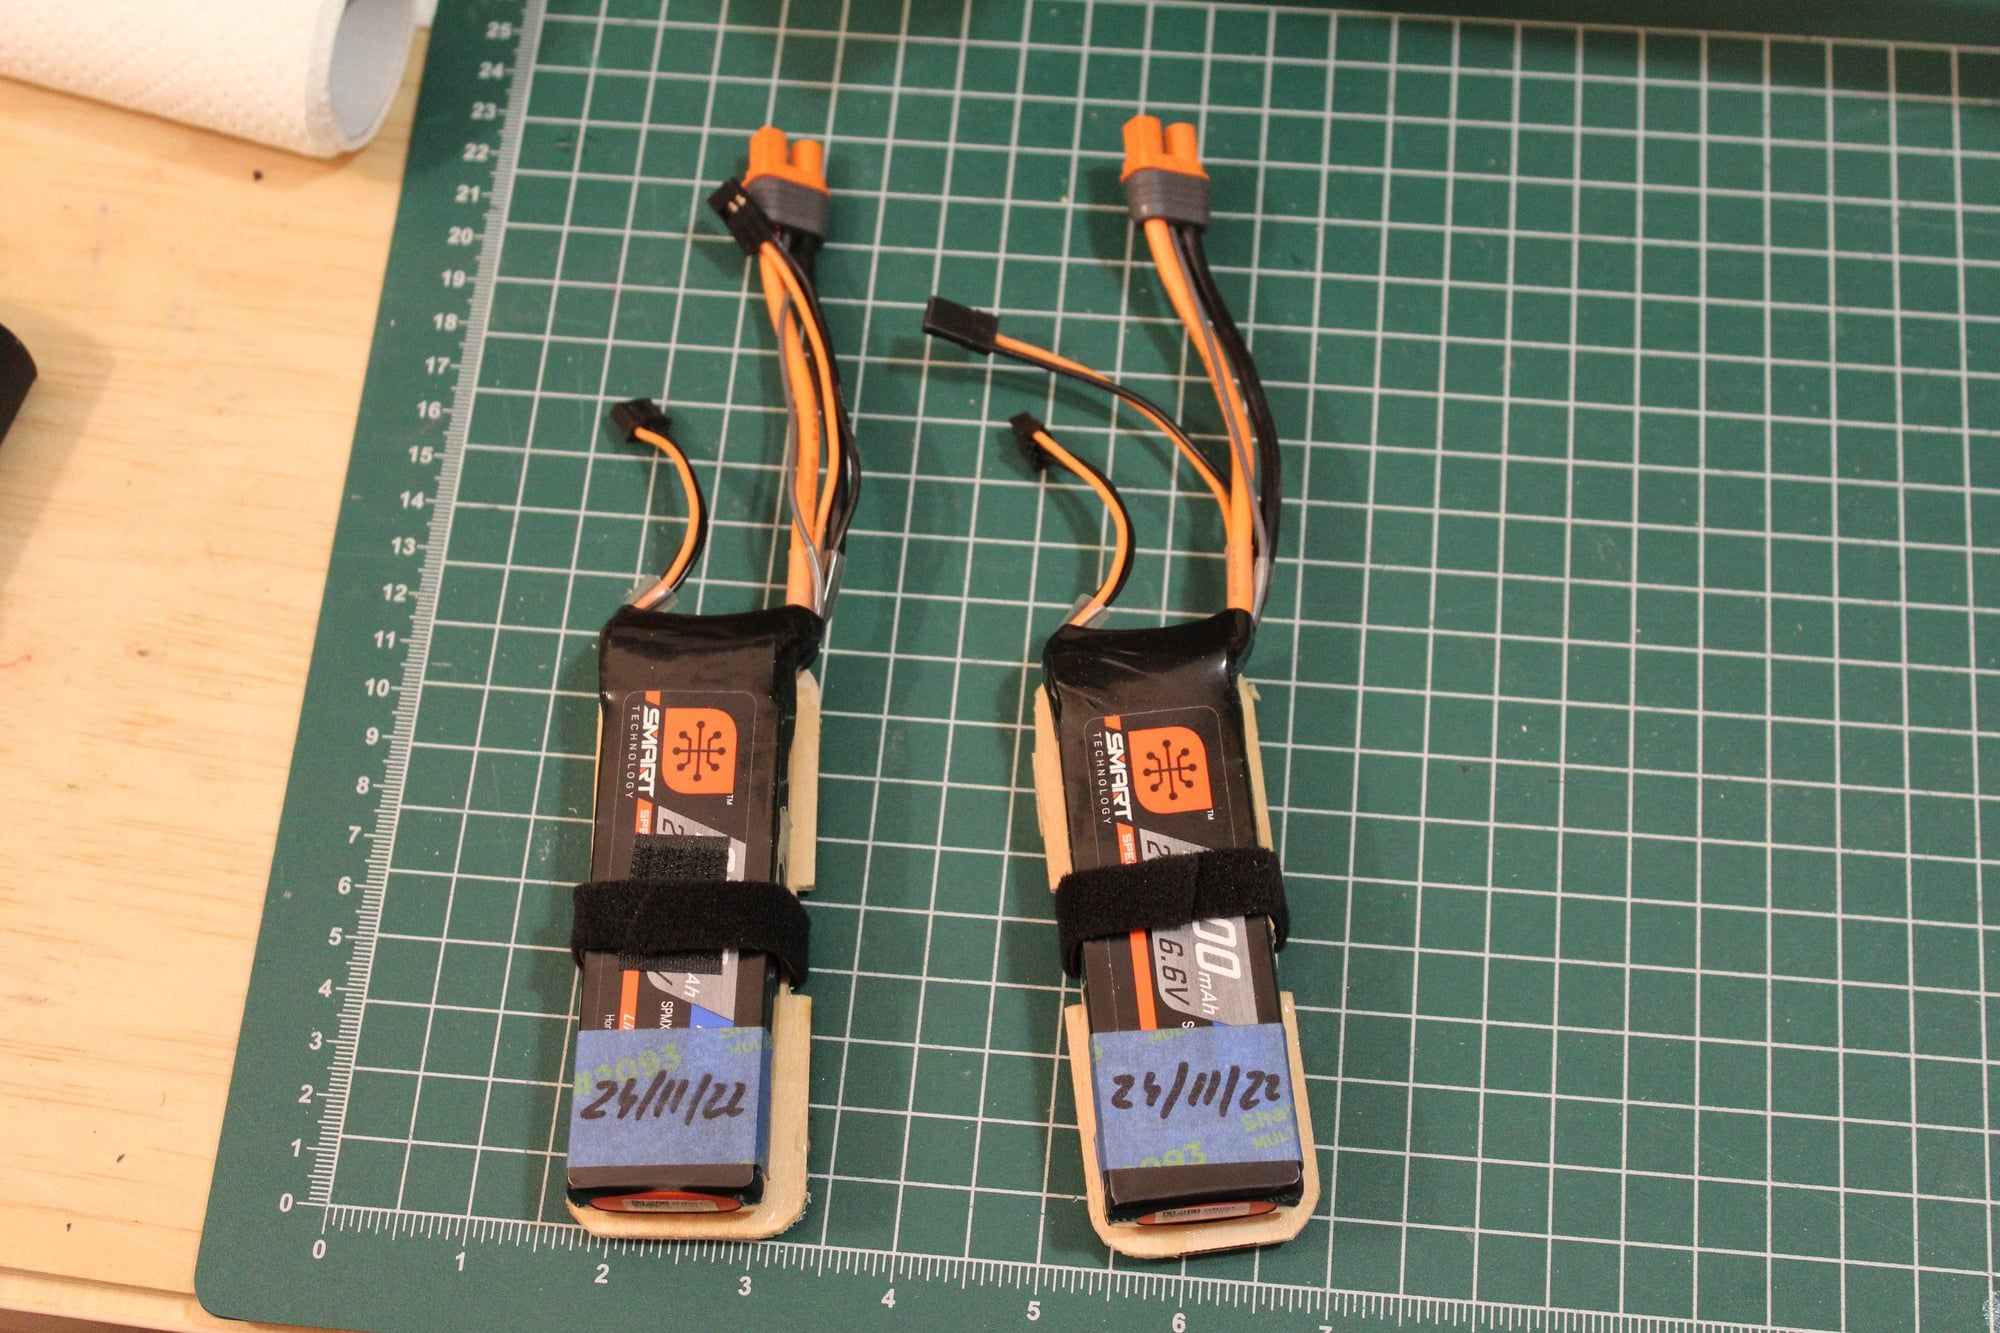
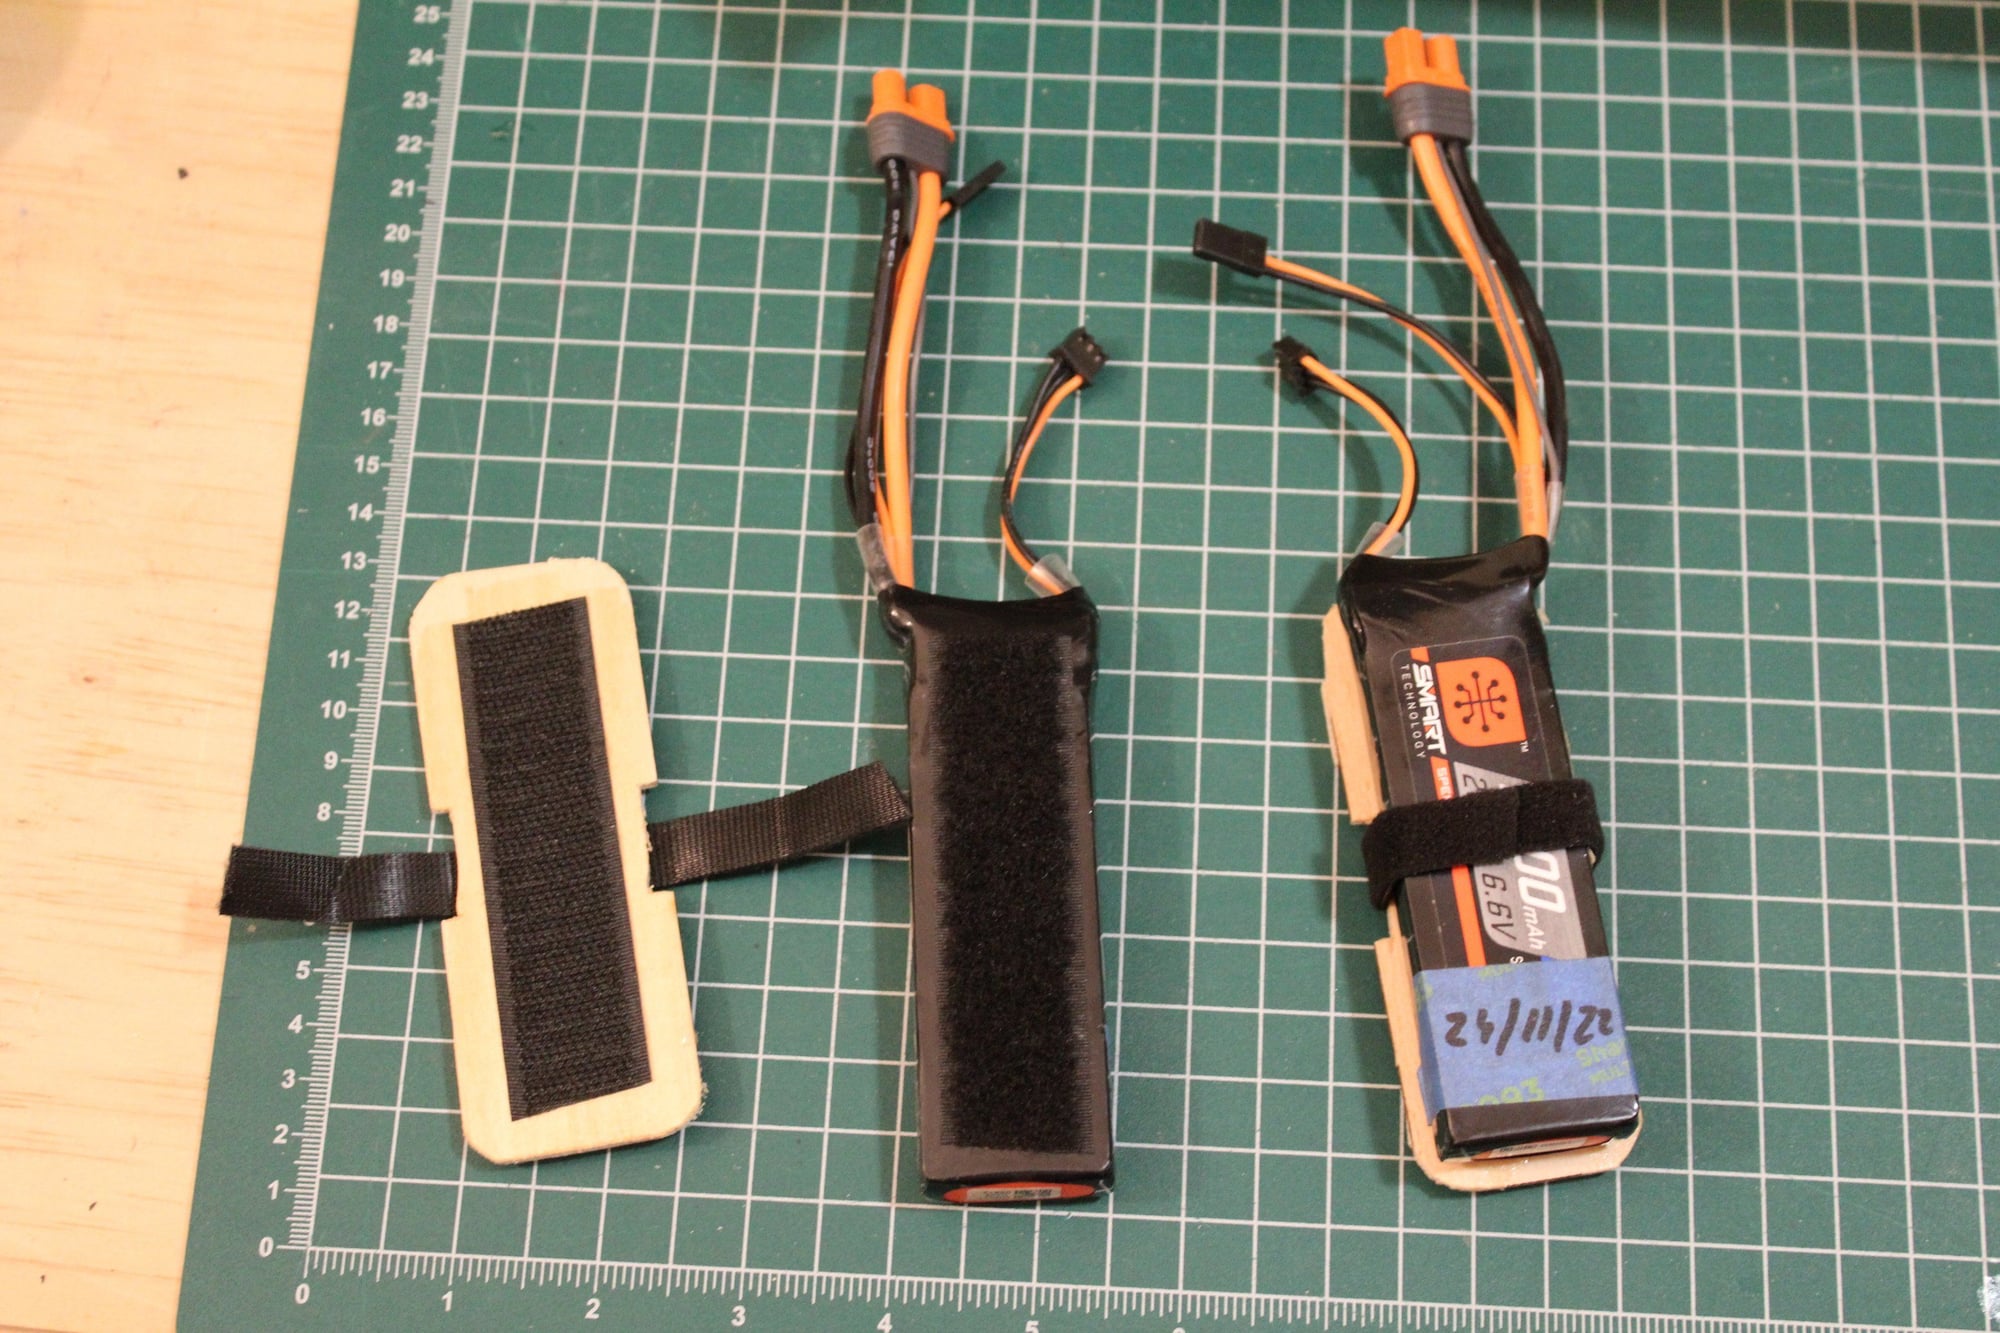
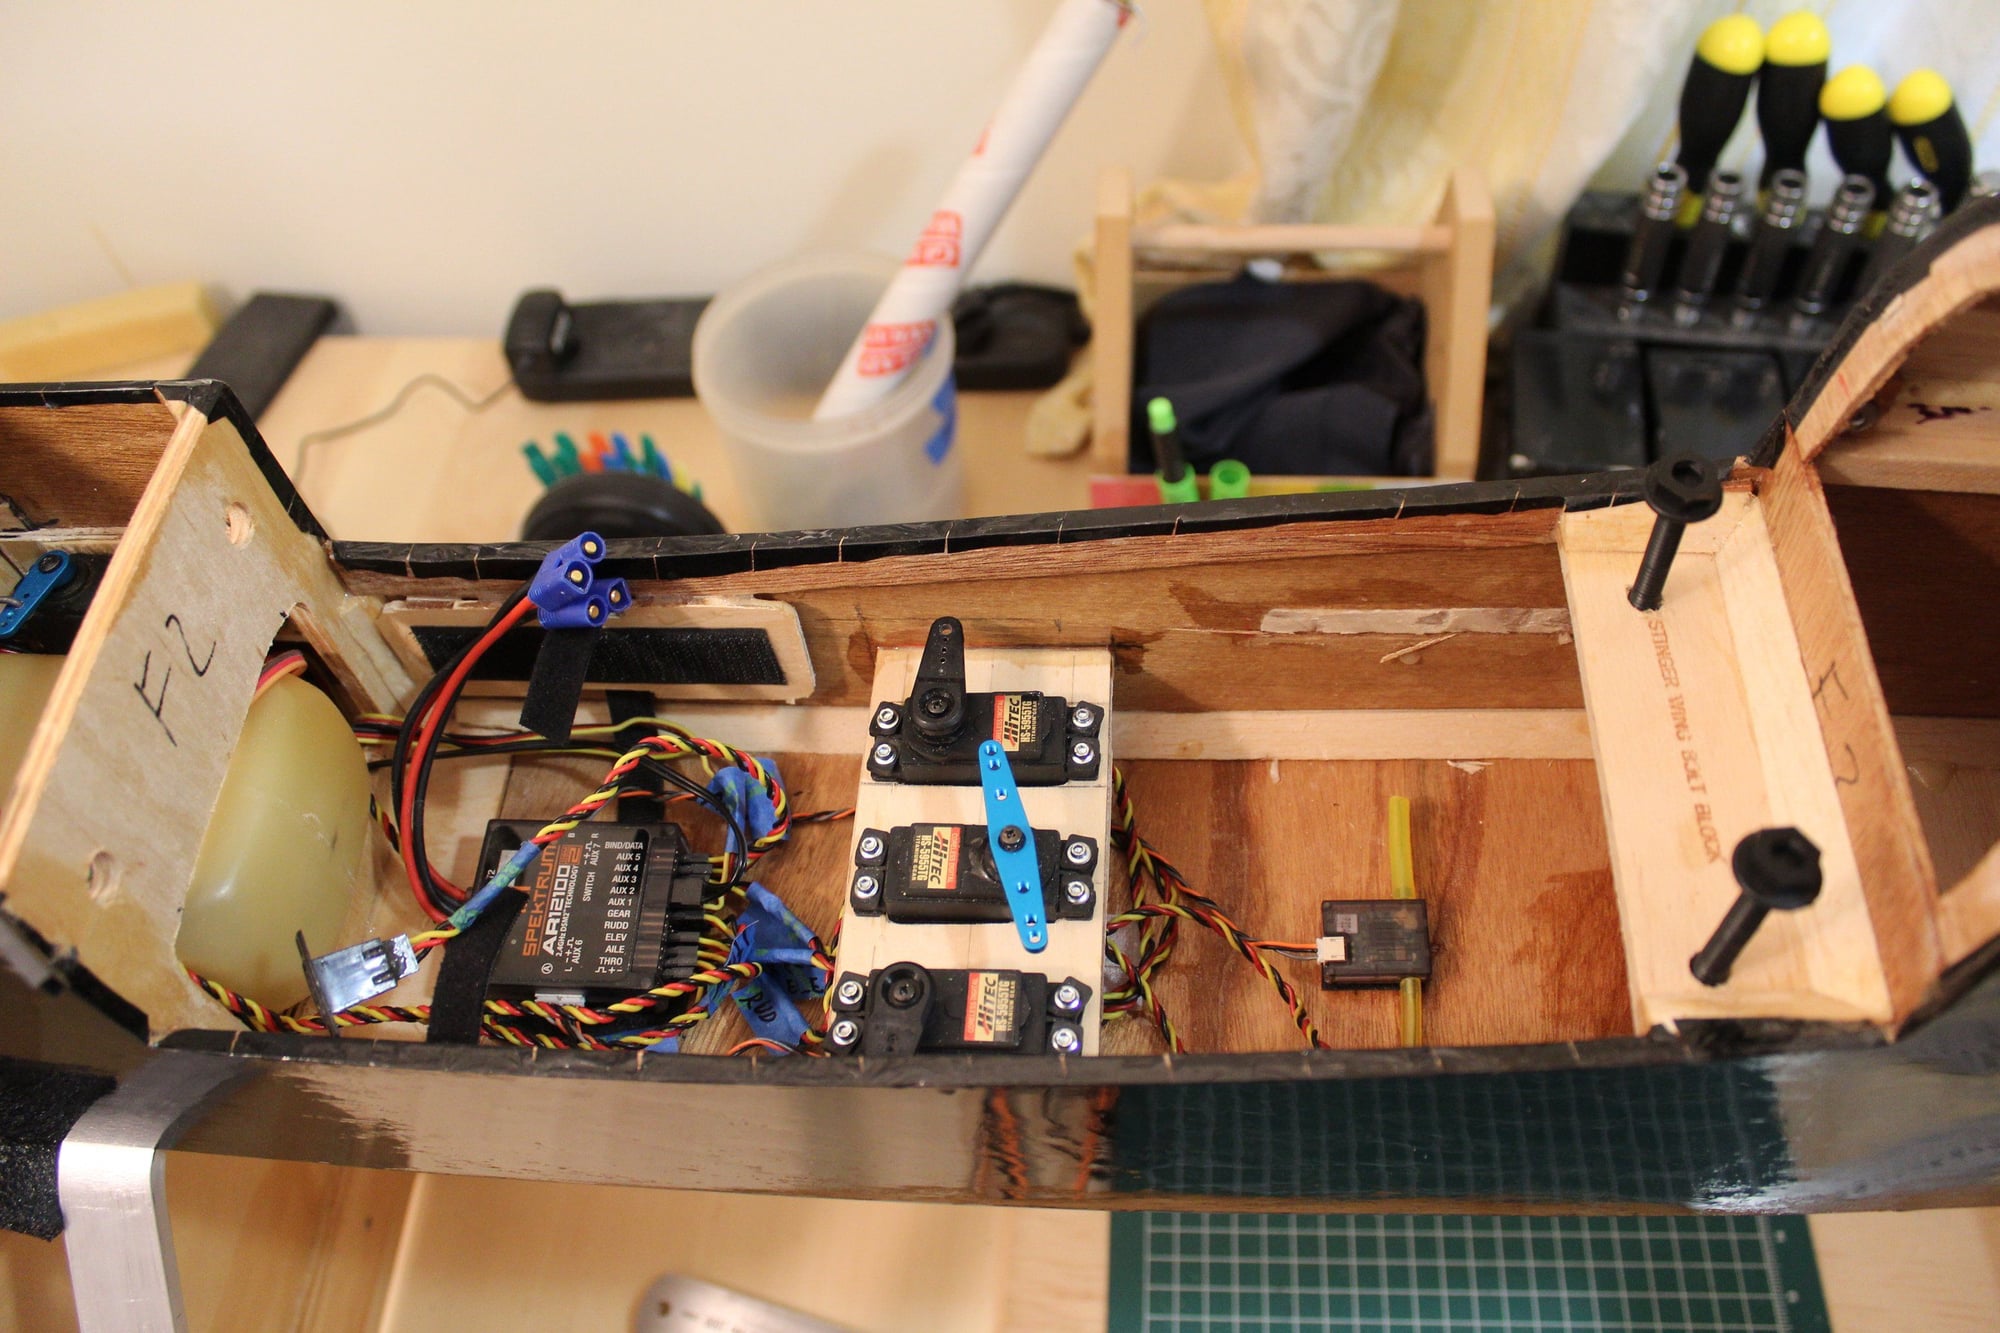
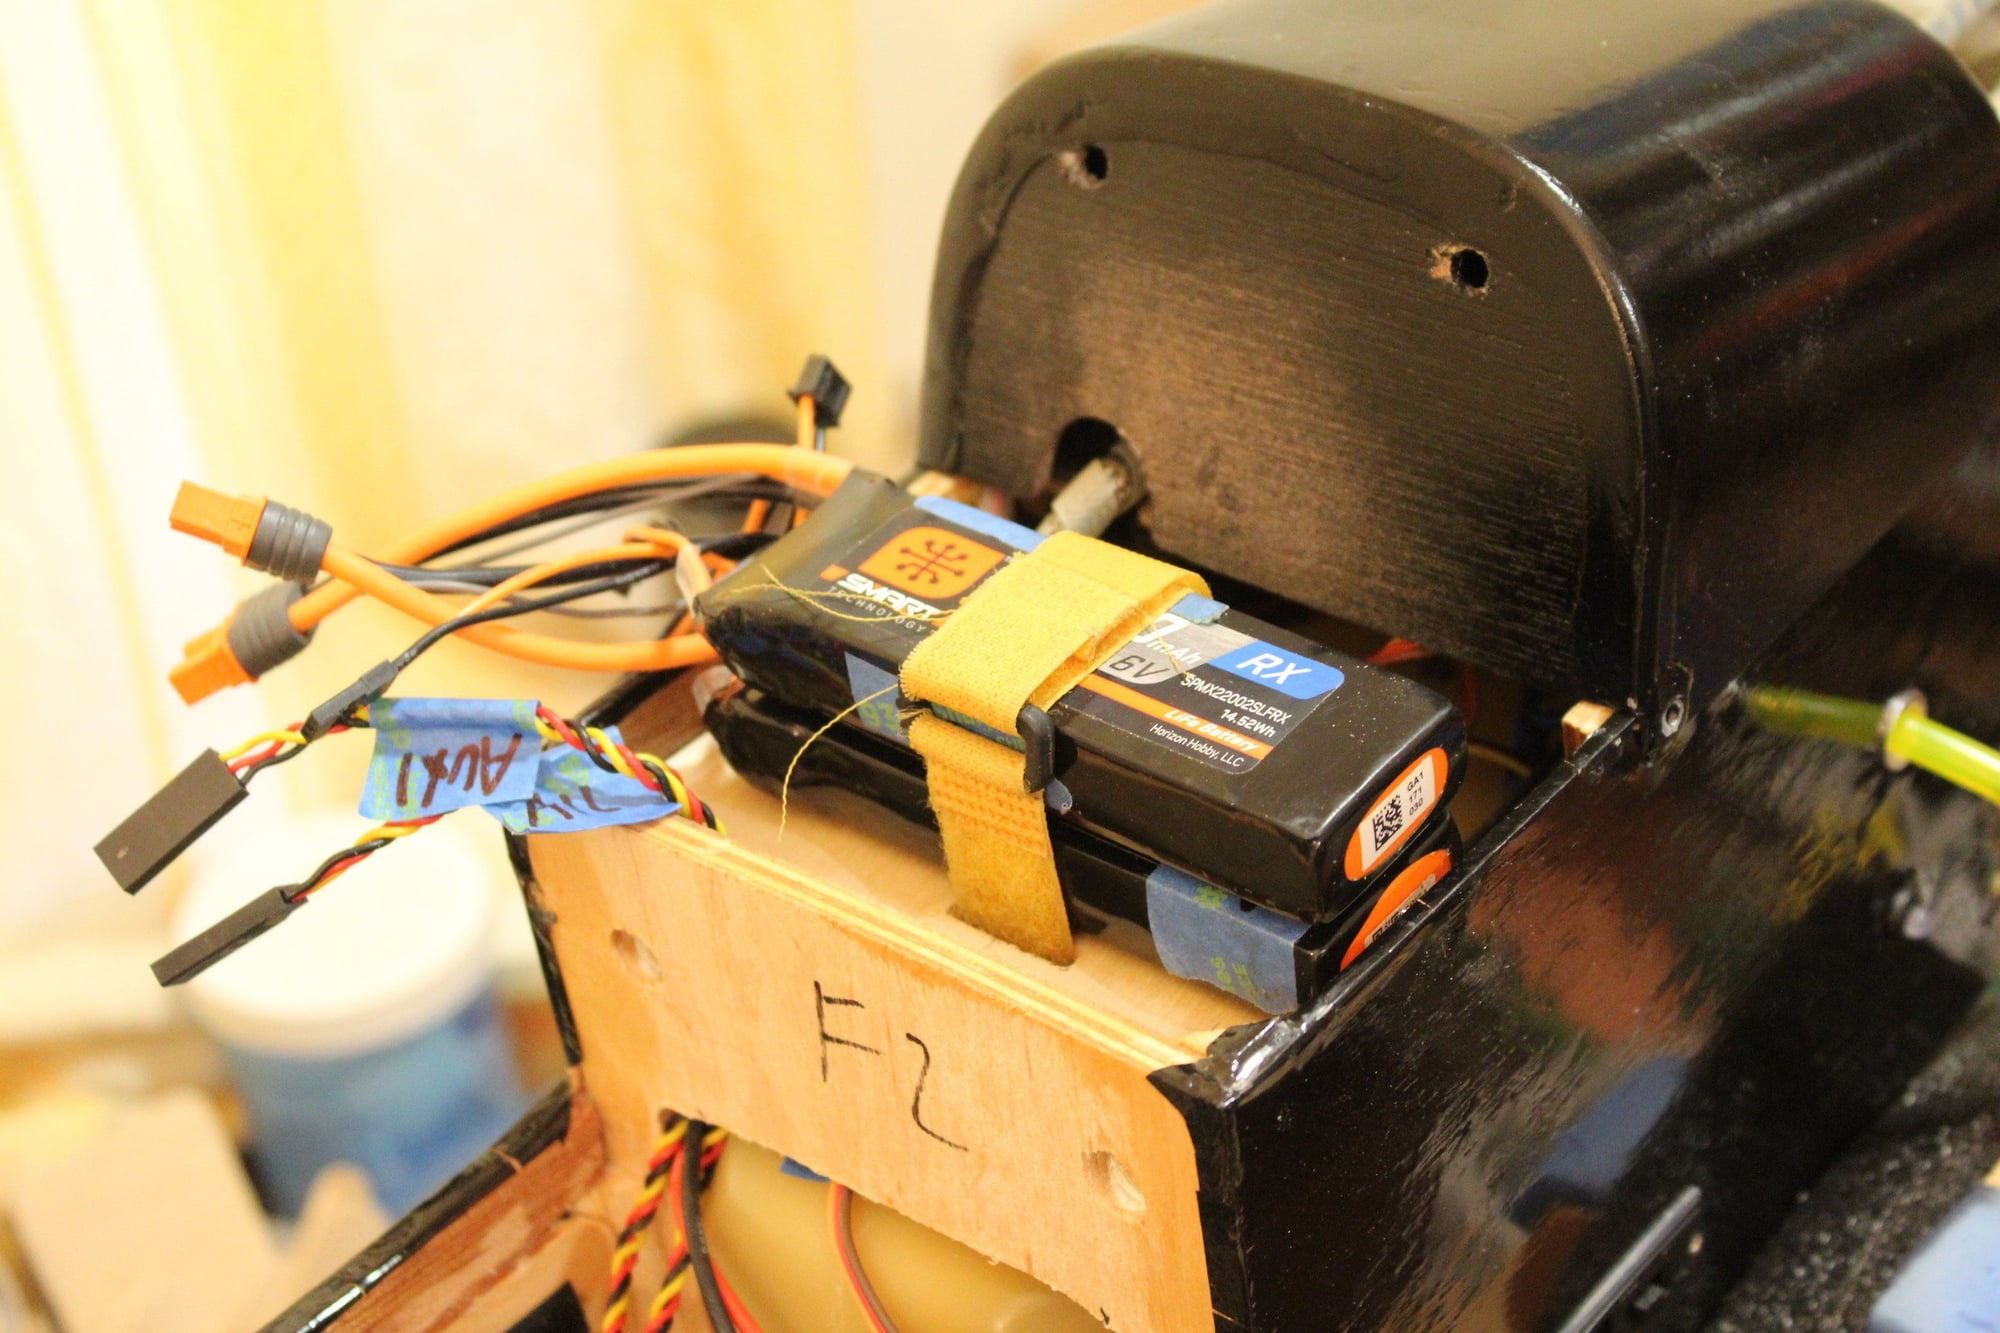
In addition, I made a new battery tray to relocate the receiver batteries further forward above the fuel tank.
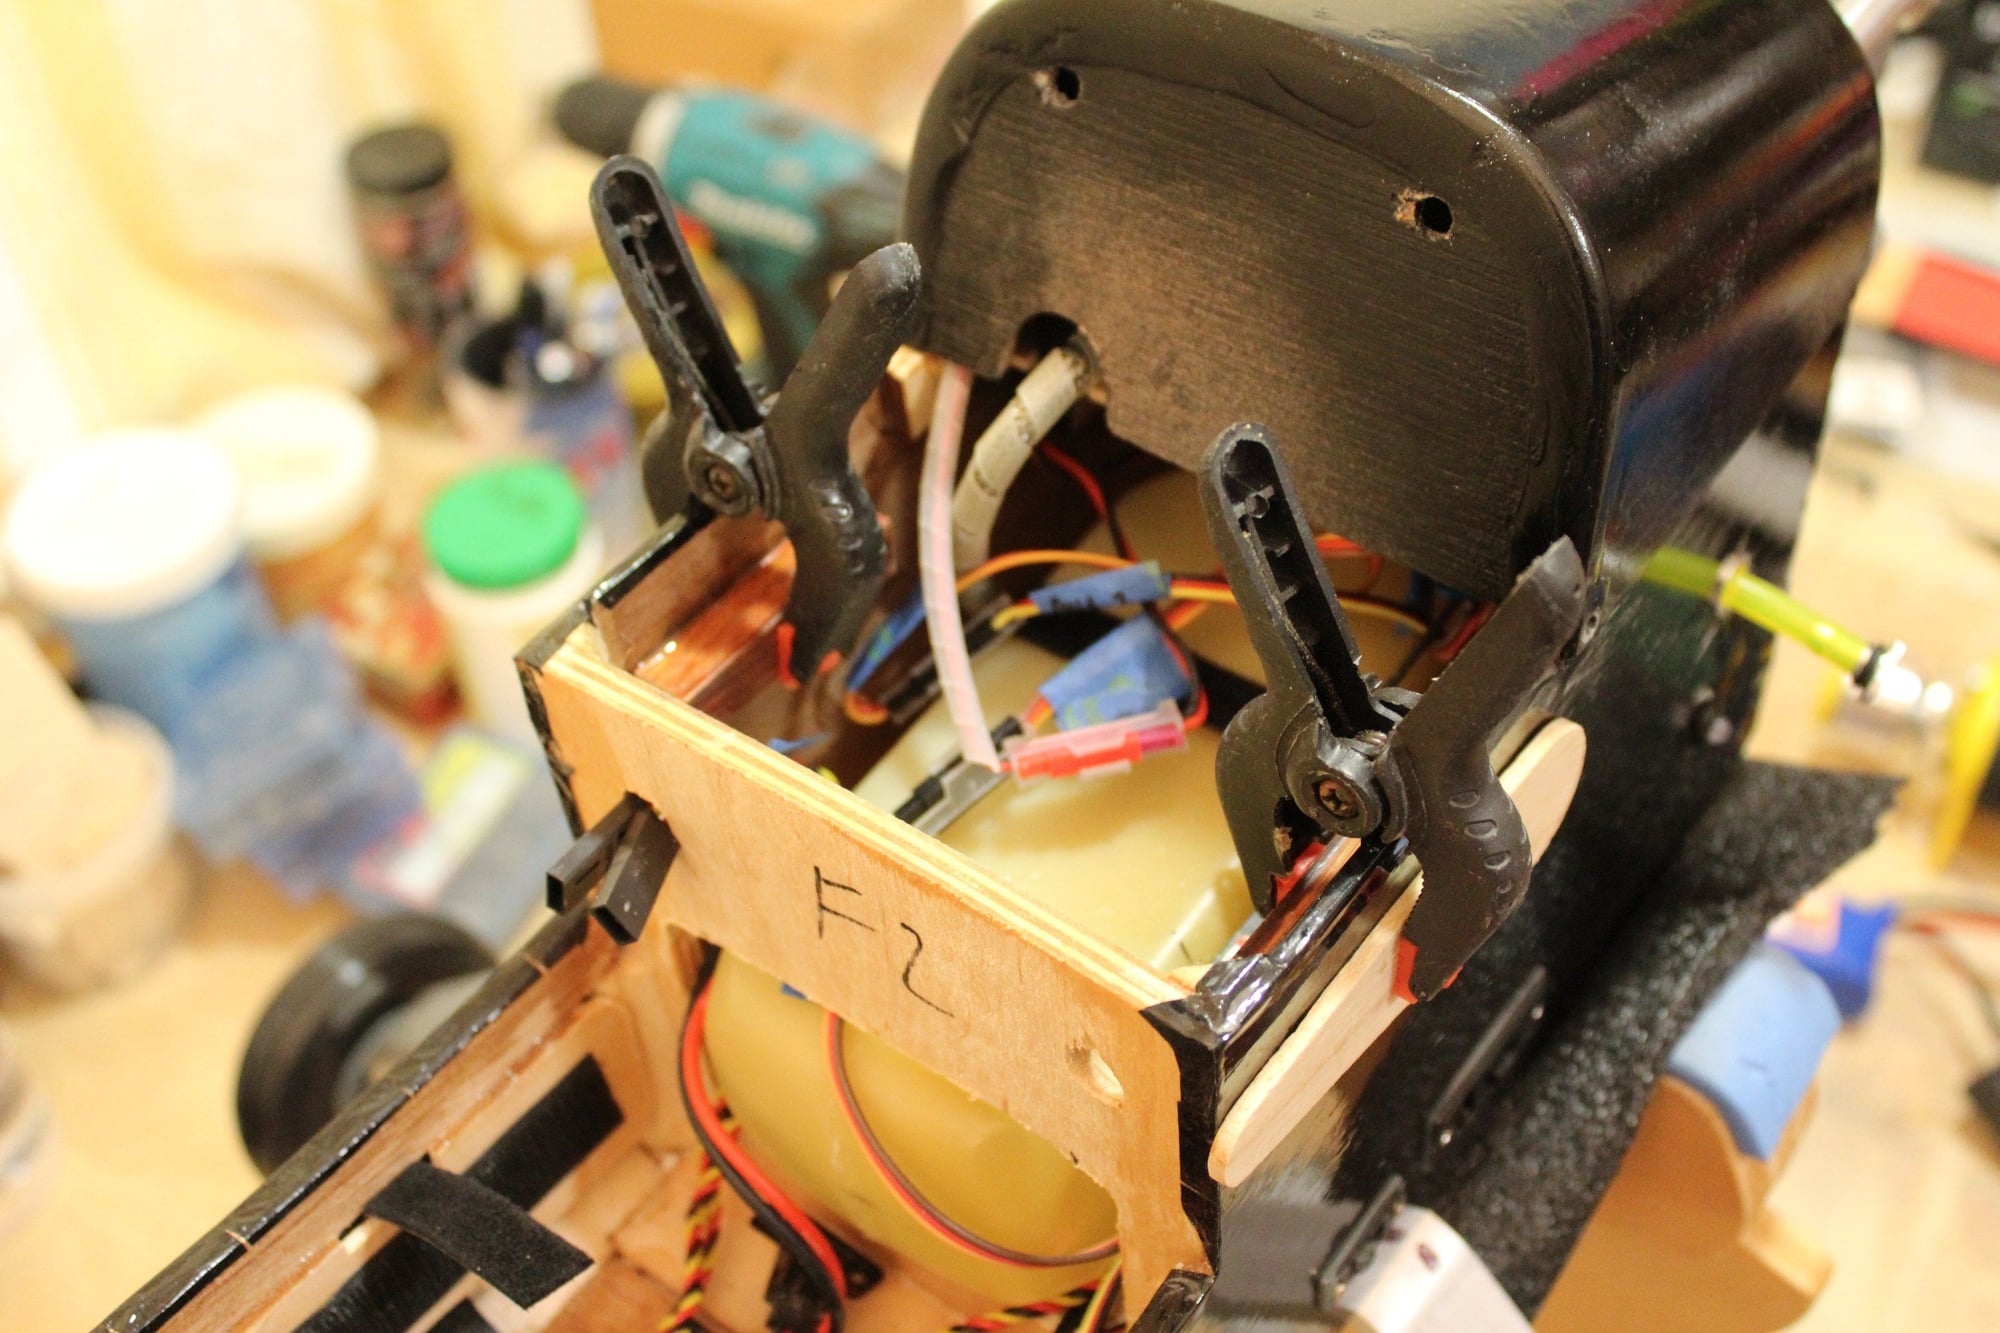
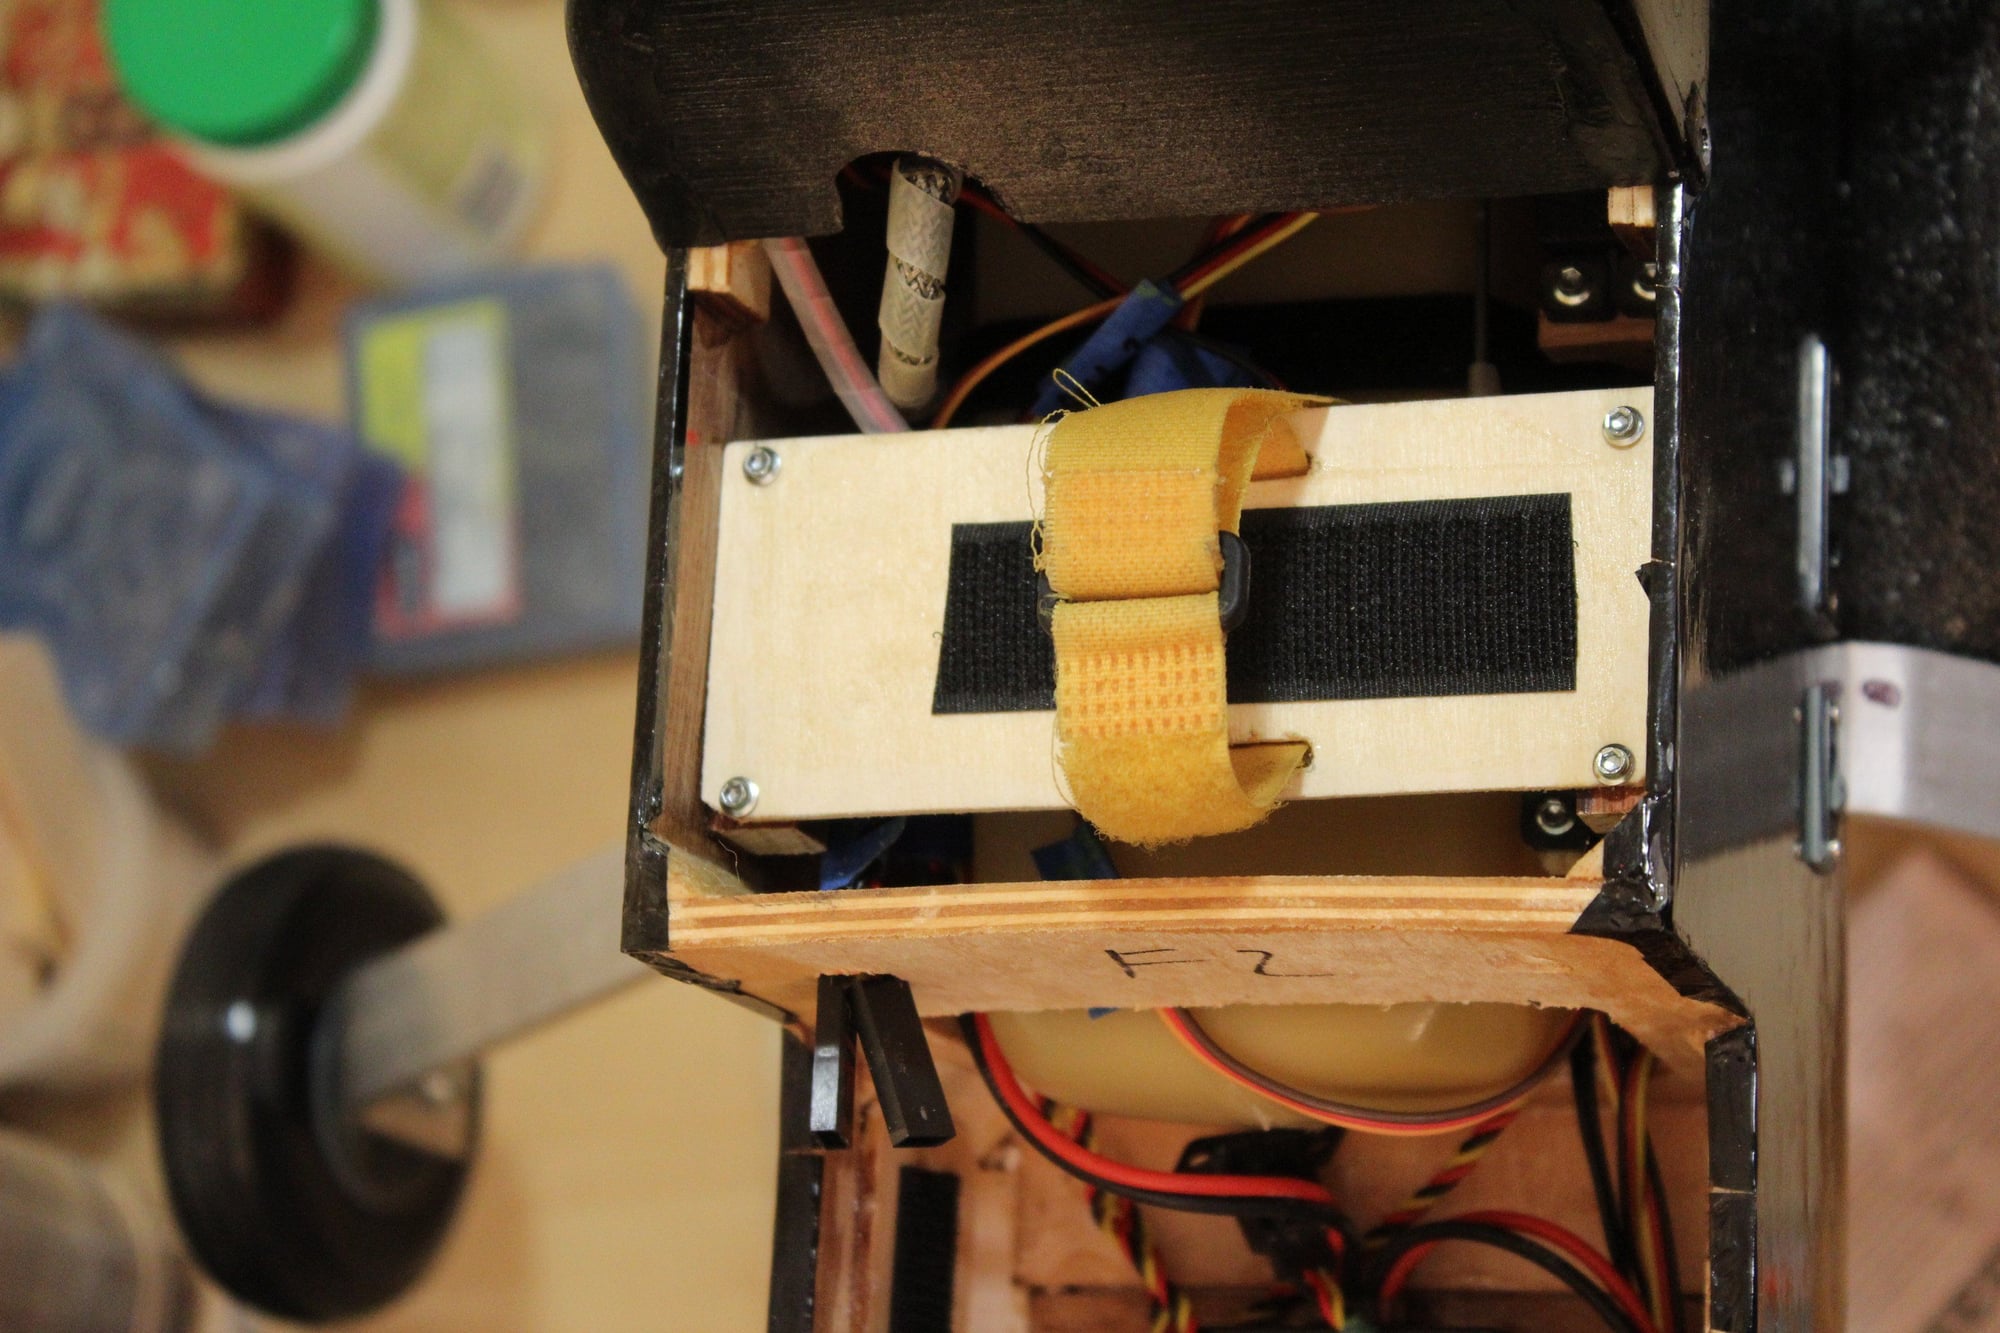
Cheers,
Eran
In addition, I made a new battery tray to relocate the receiver batteries further forward above the fuel tank.
Cheers,
Eran
04-15-2024, 12:11 AM
#117
Thread Starter
Join Date: Jun 2008
Location: Perth WA, AUSTRALIA
Posts: 1,208
Likes: 0
Received 11 Likes
on
11 Posts
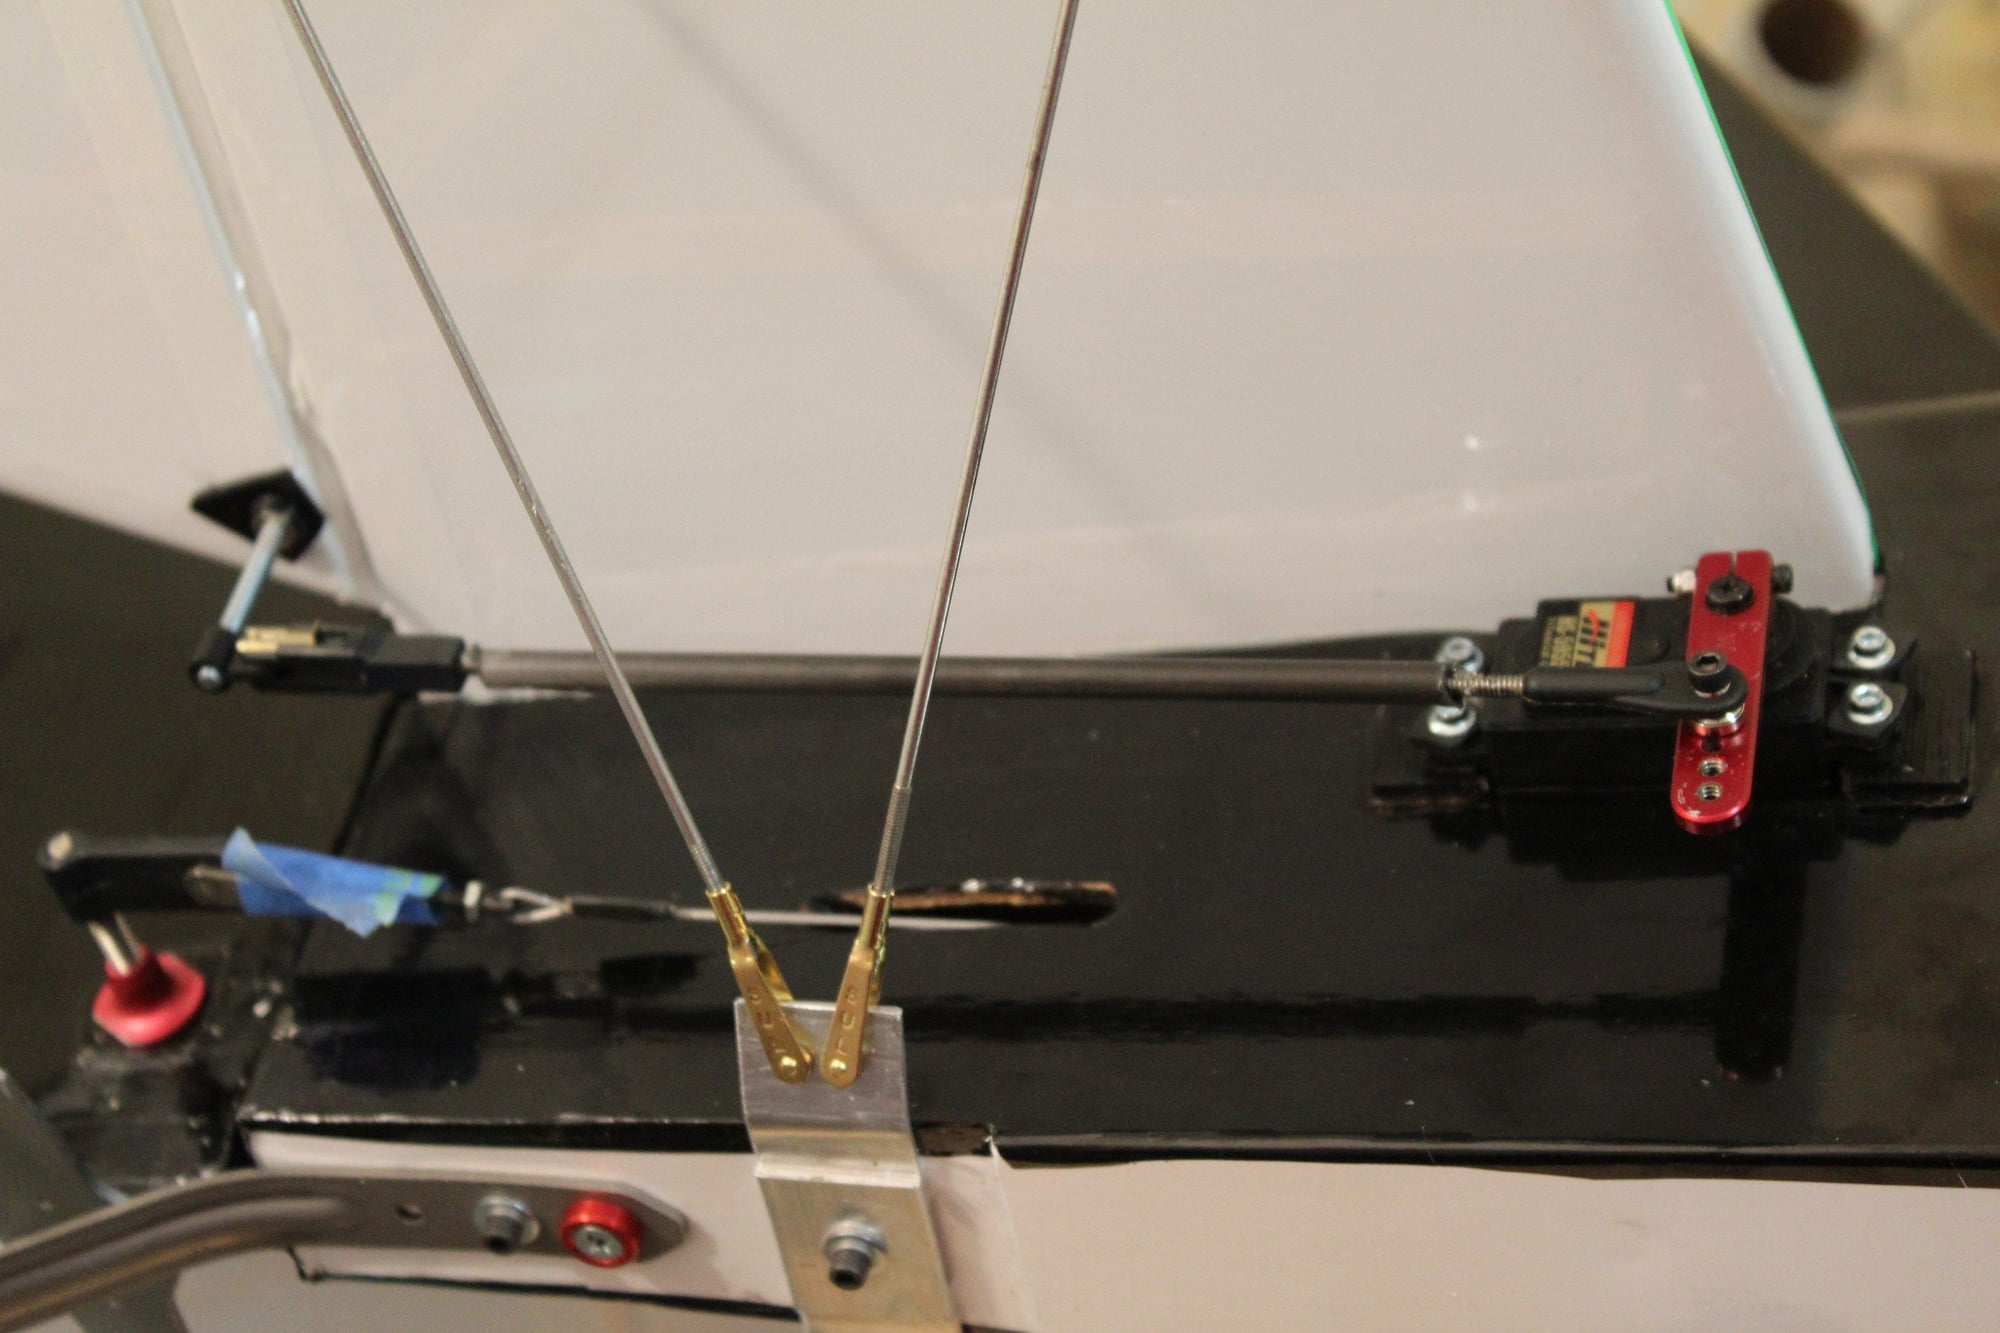
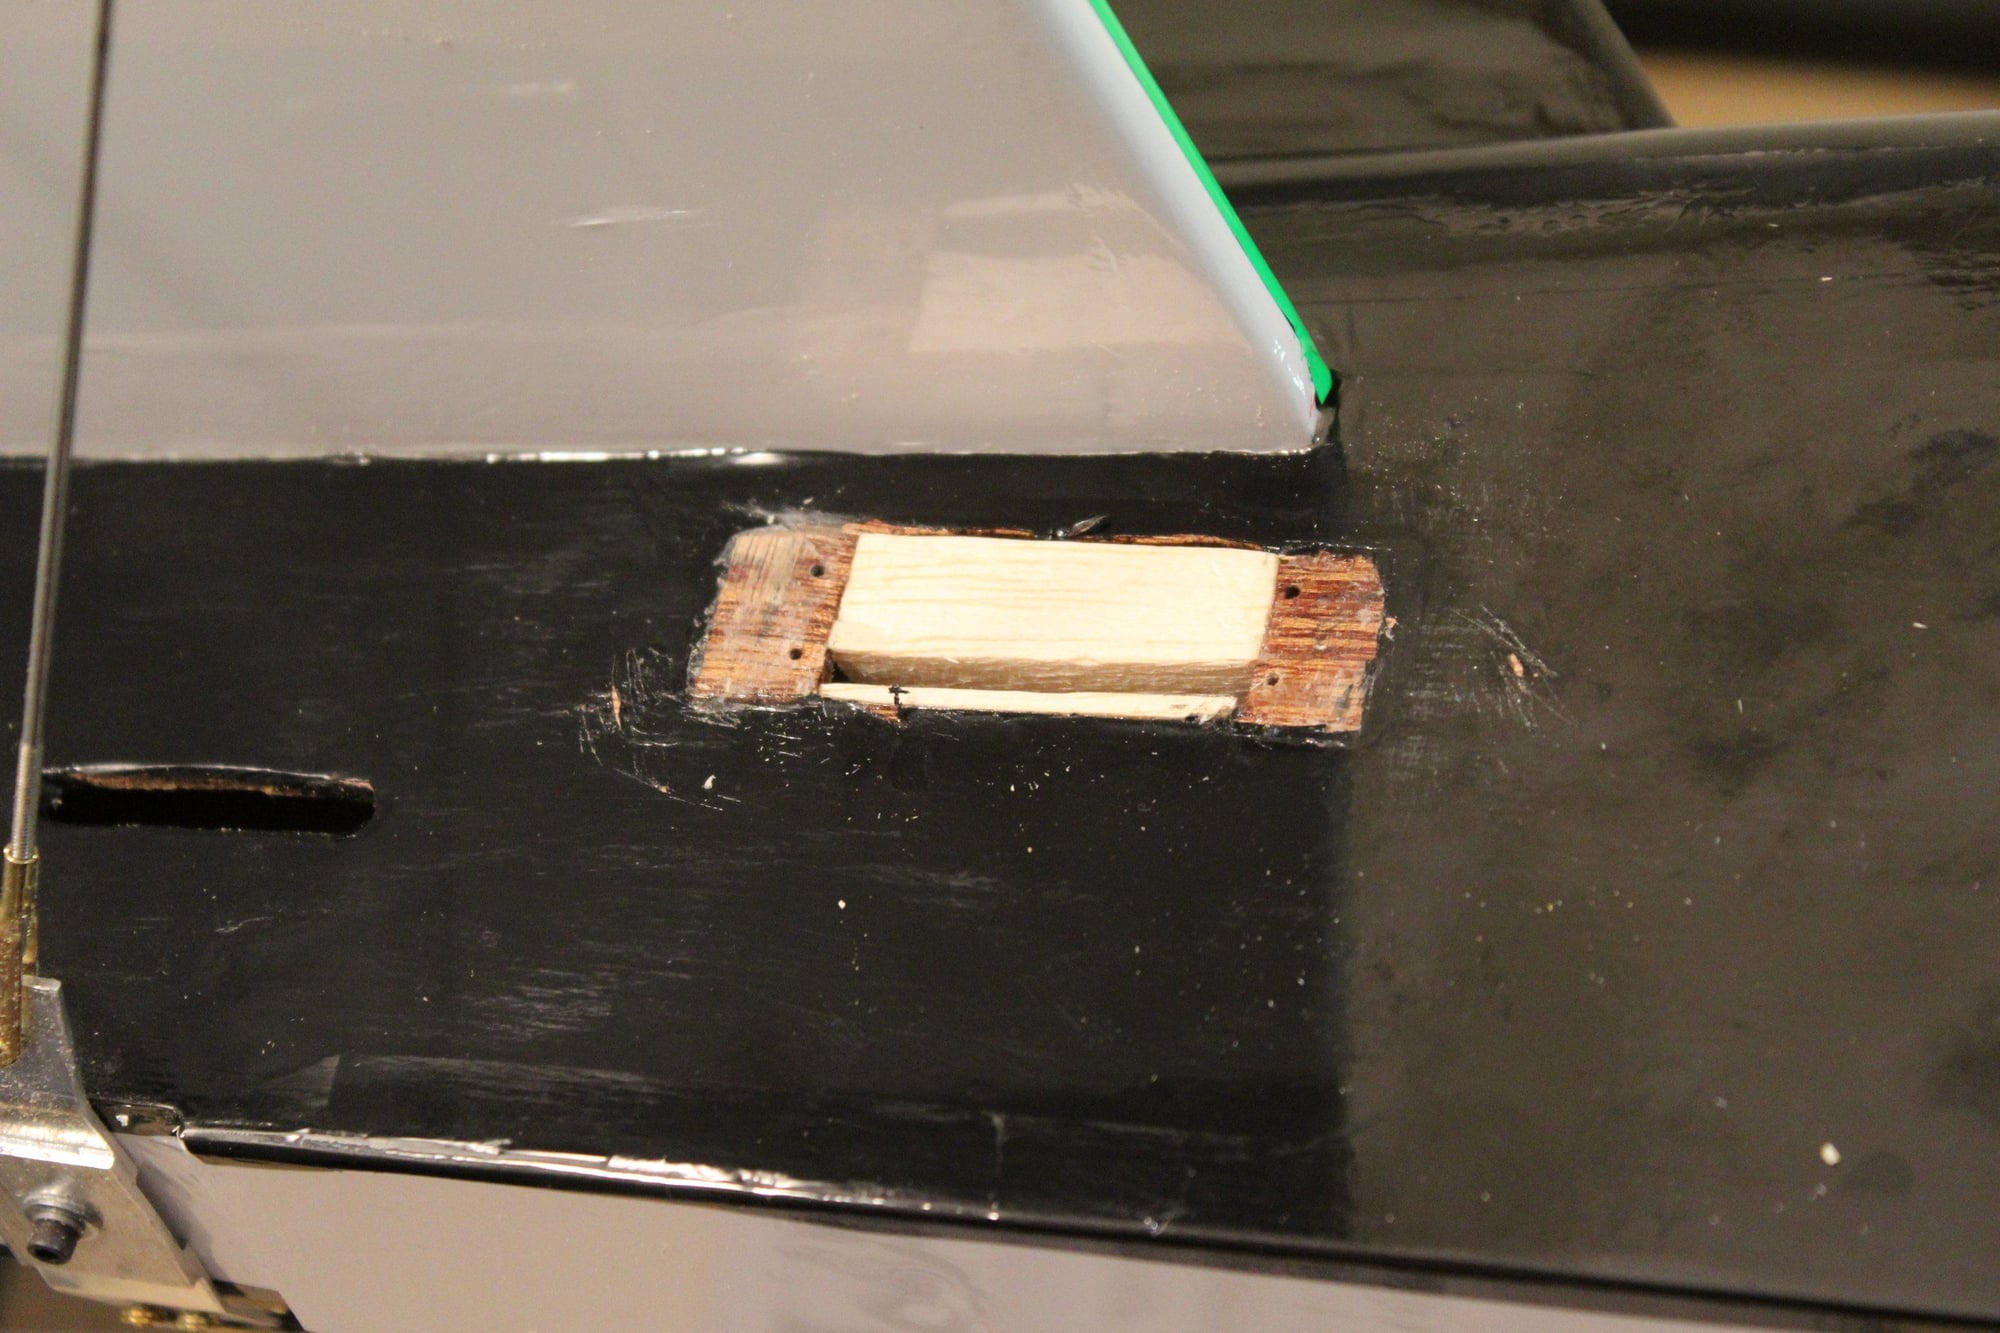
I installed a new pull-pull system from the new servo tray.
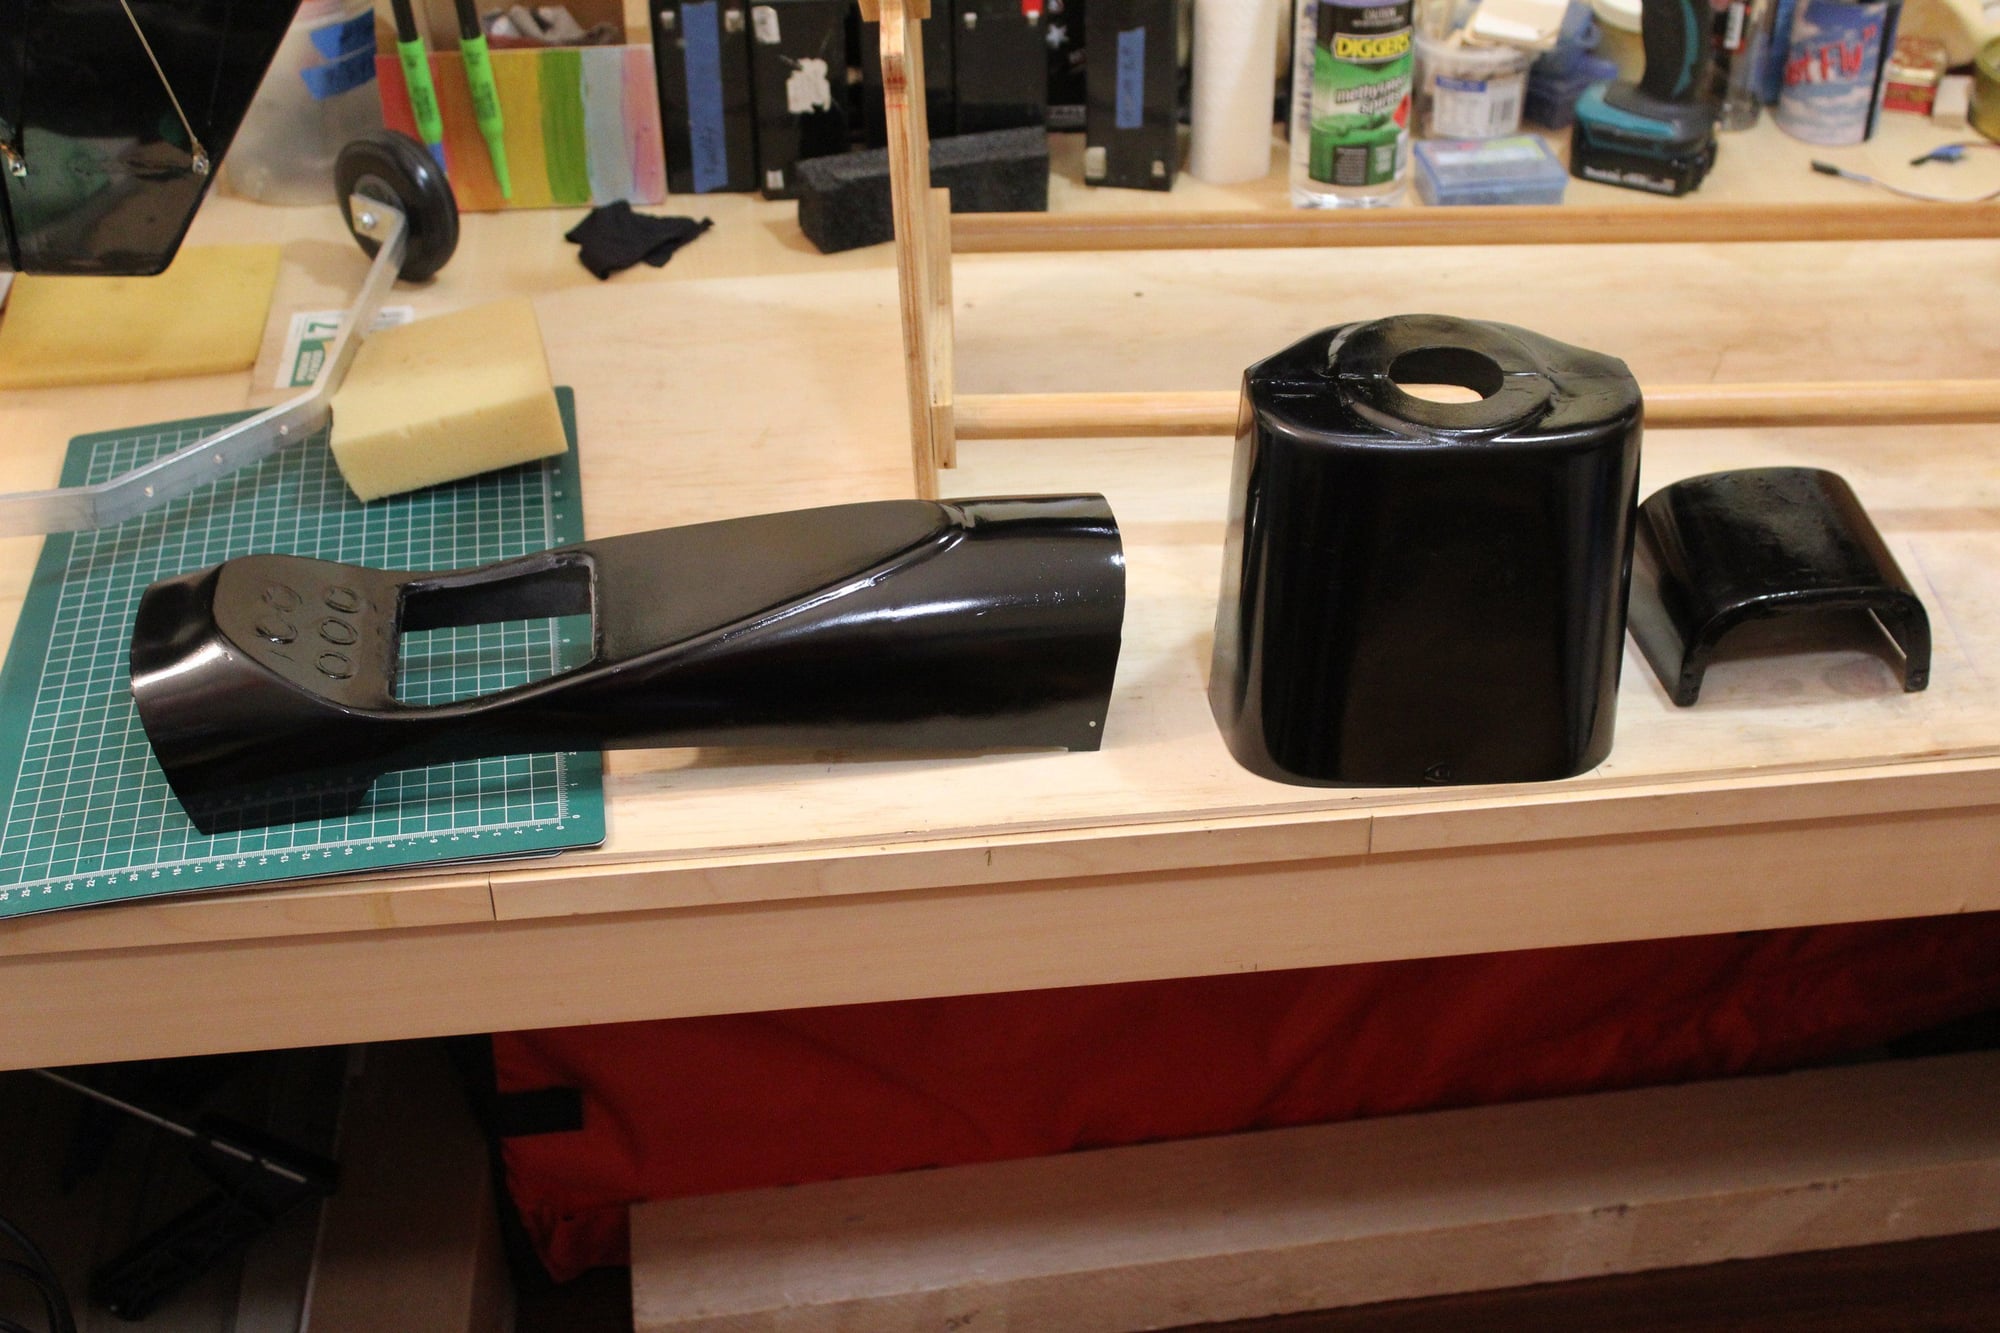
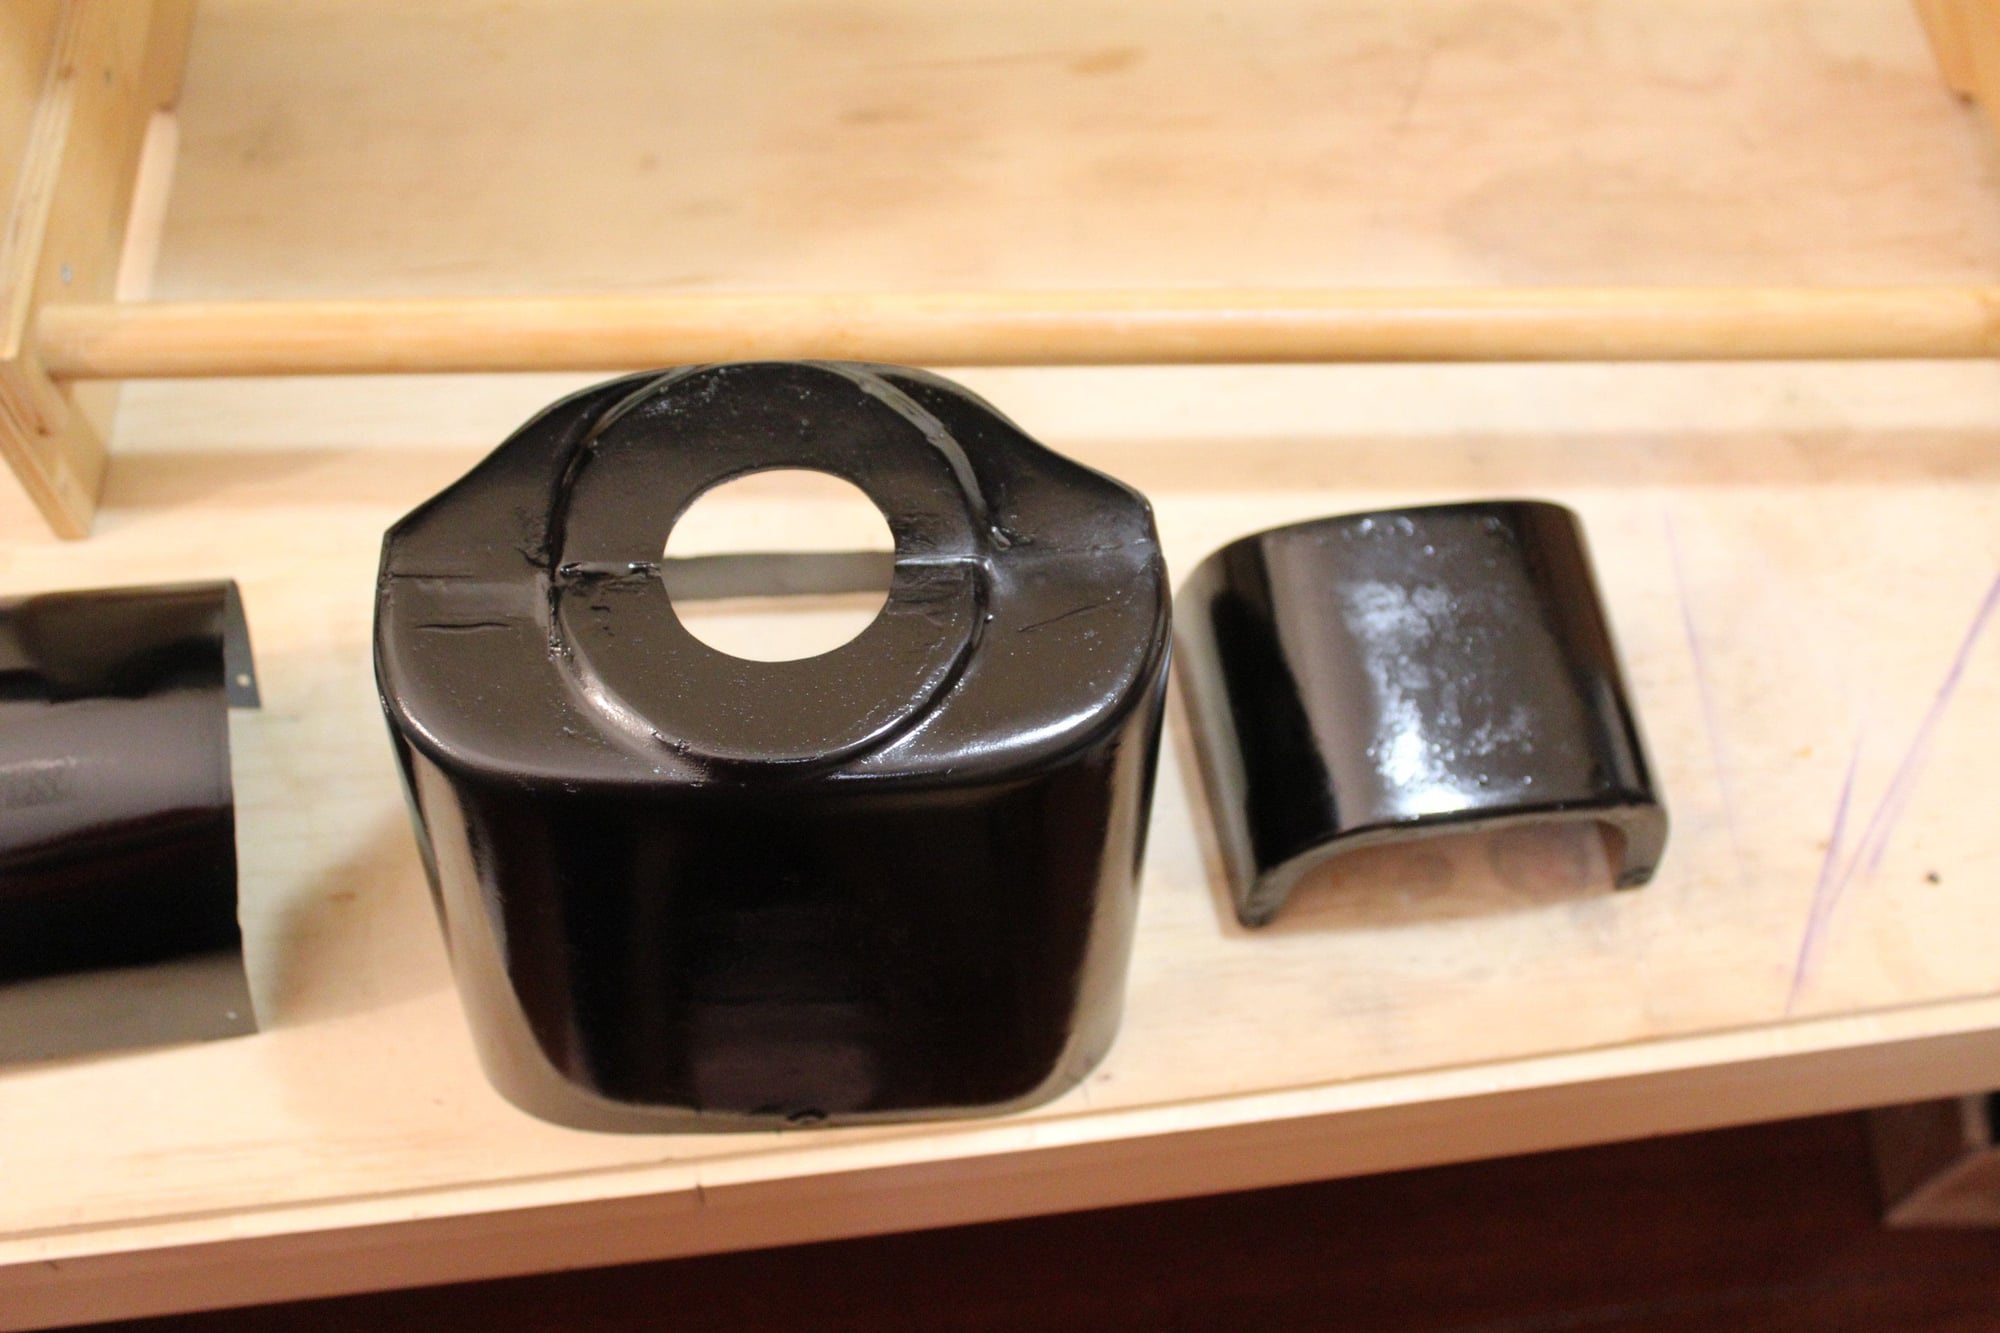
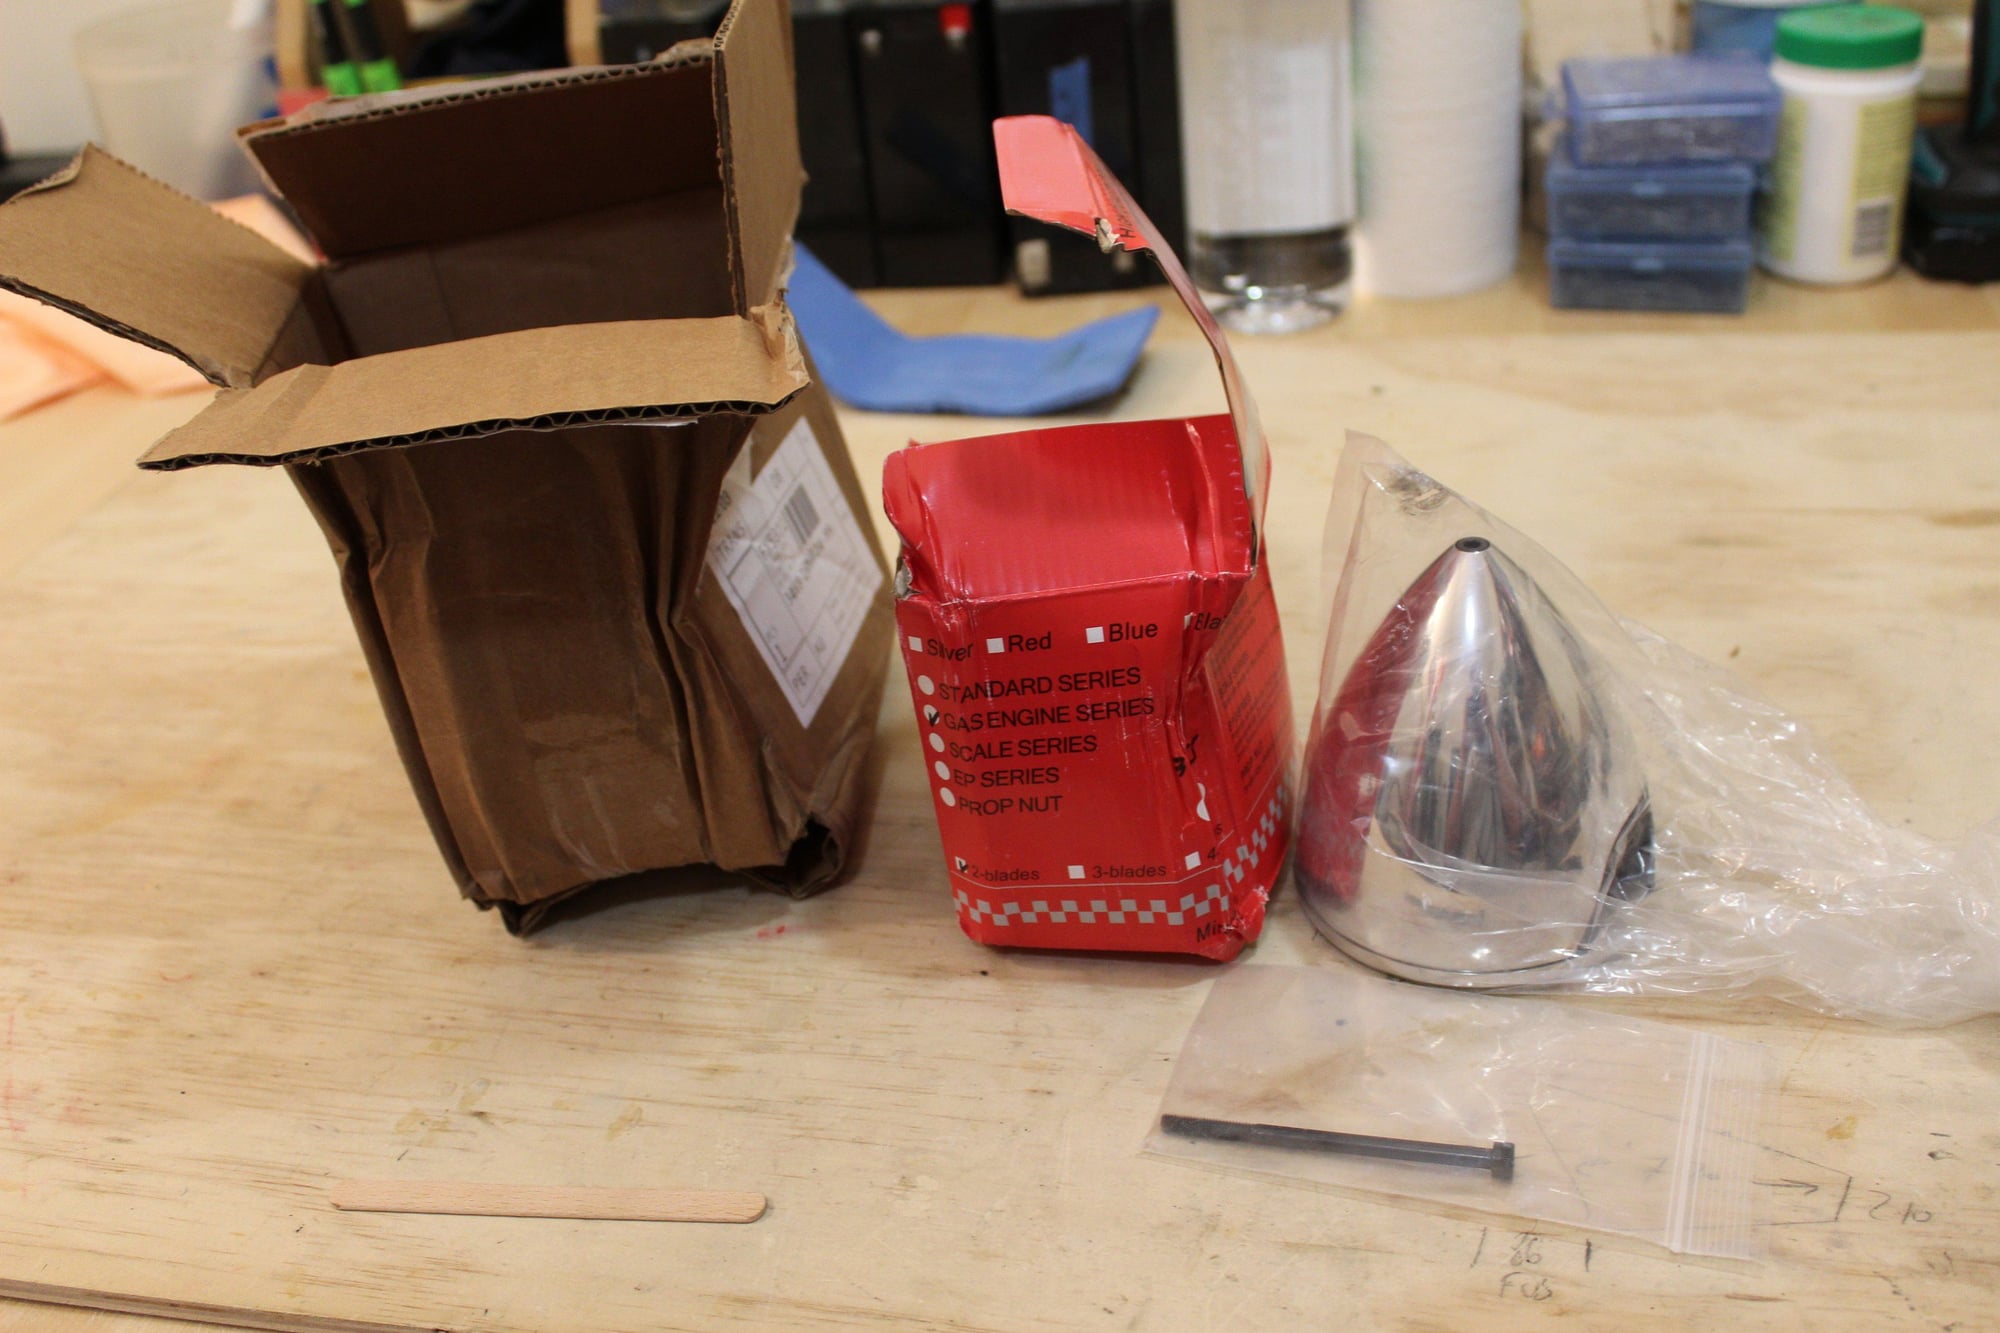
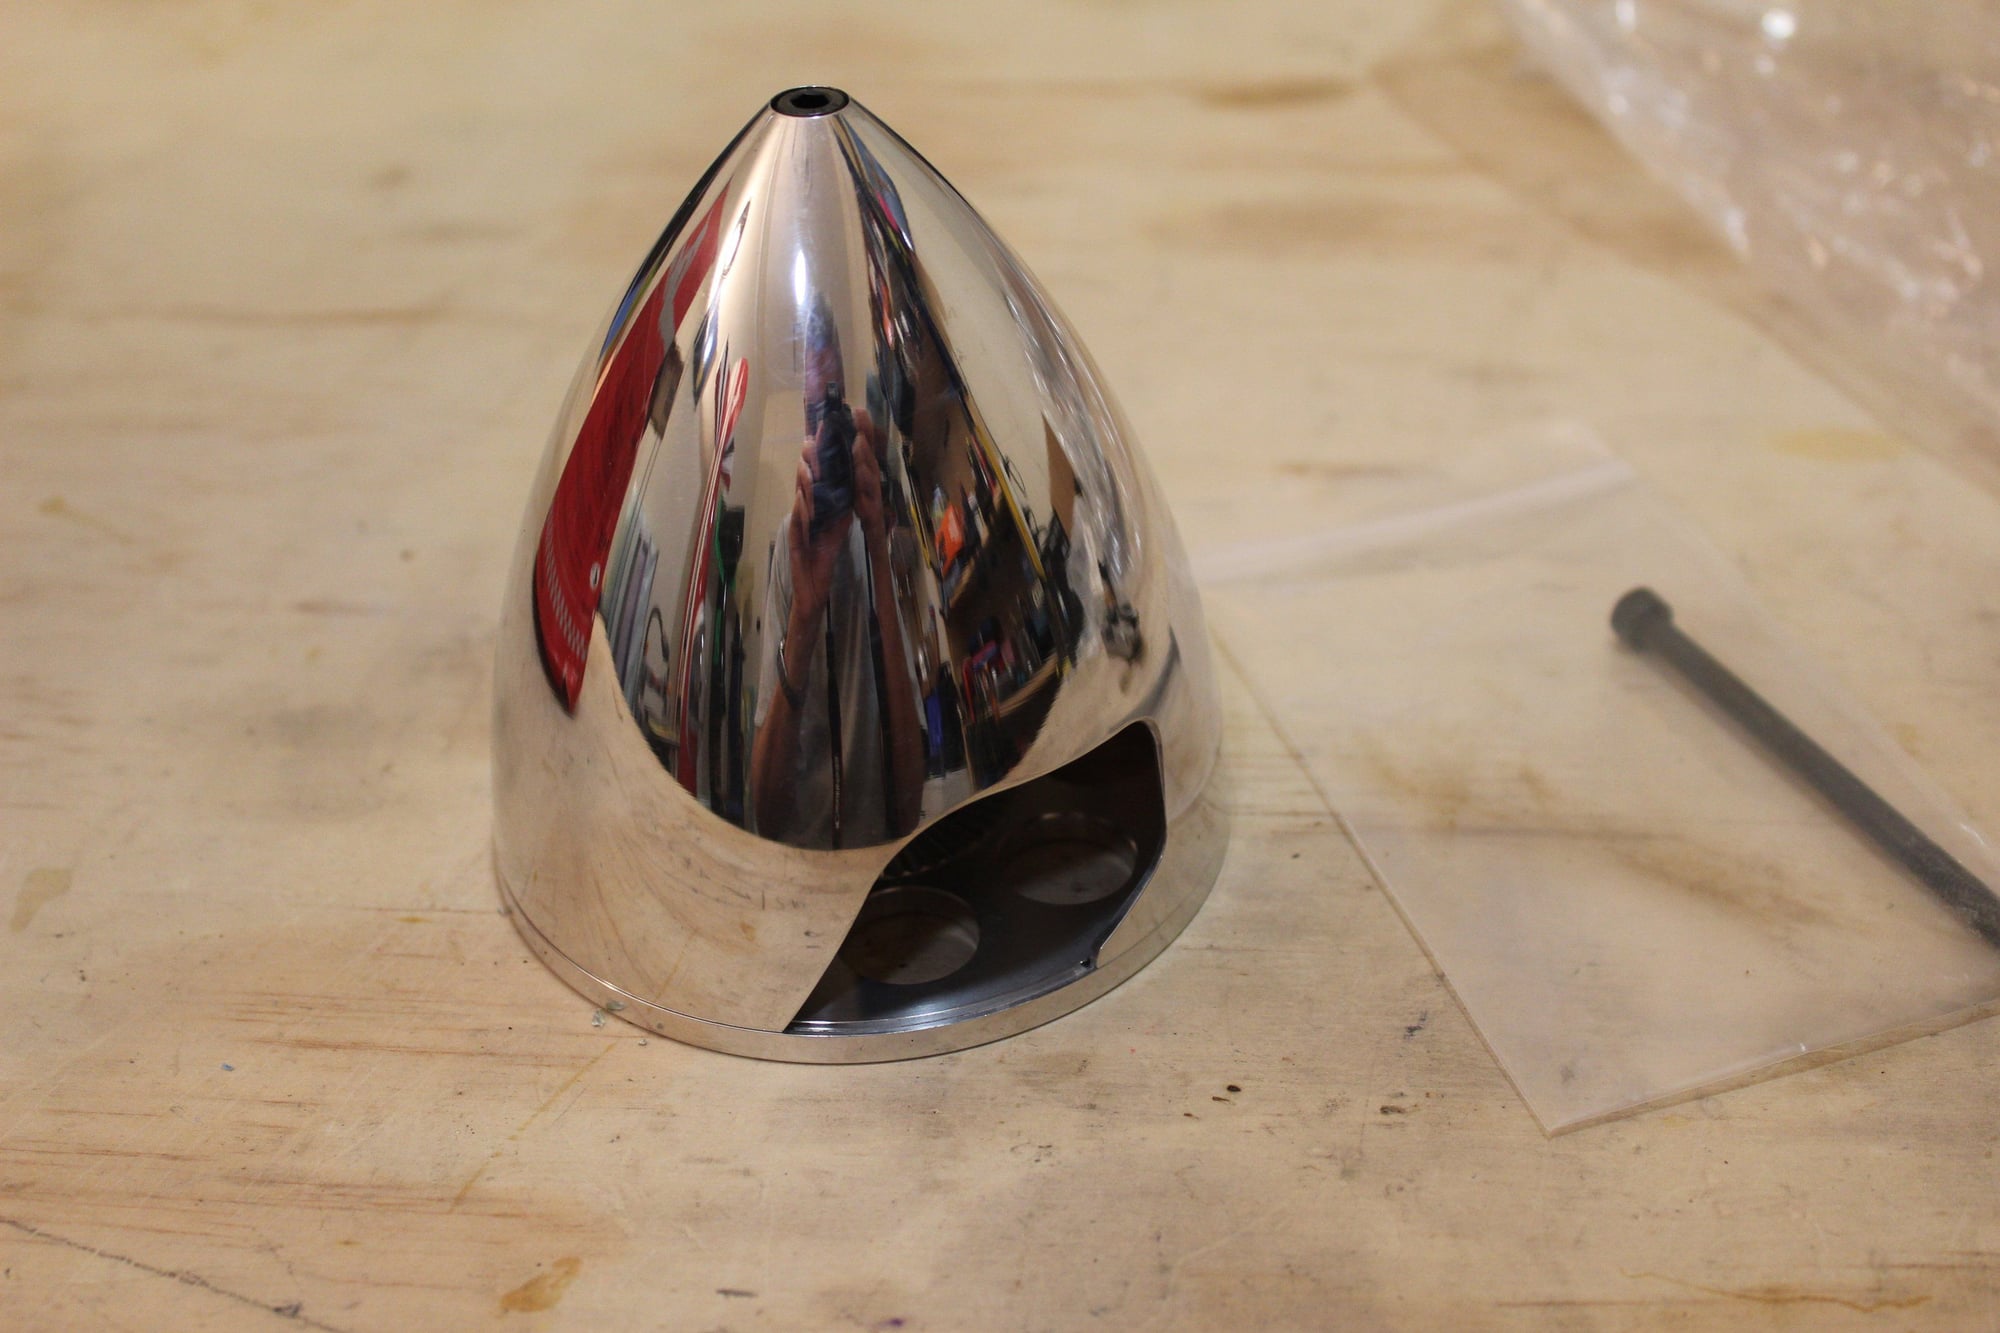
I also received my new 4" spinner, the only one that I could find anywhere on the internet with proper prop cut-outs. Even better, it was already drilled for the DLE-55 (which has the same hole pattern as the DL-50).
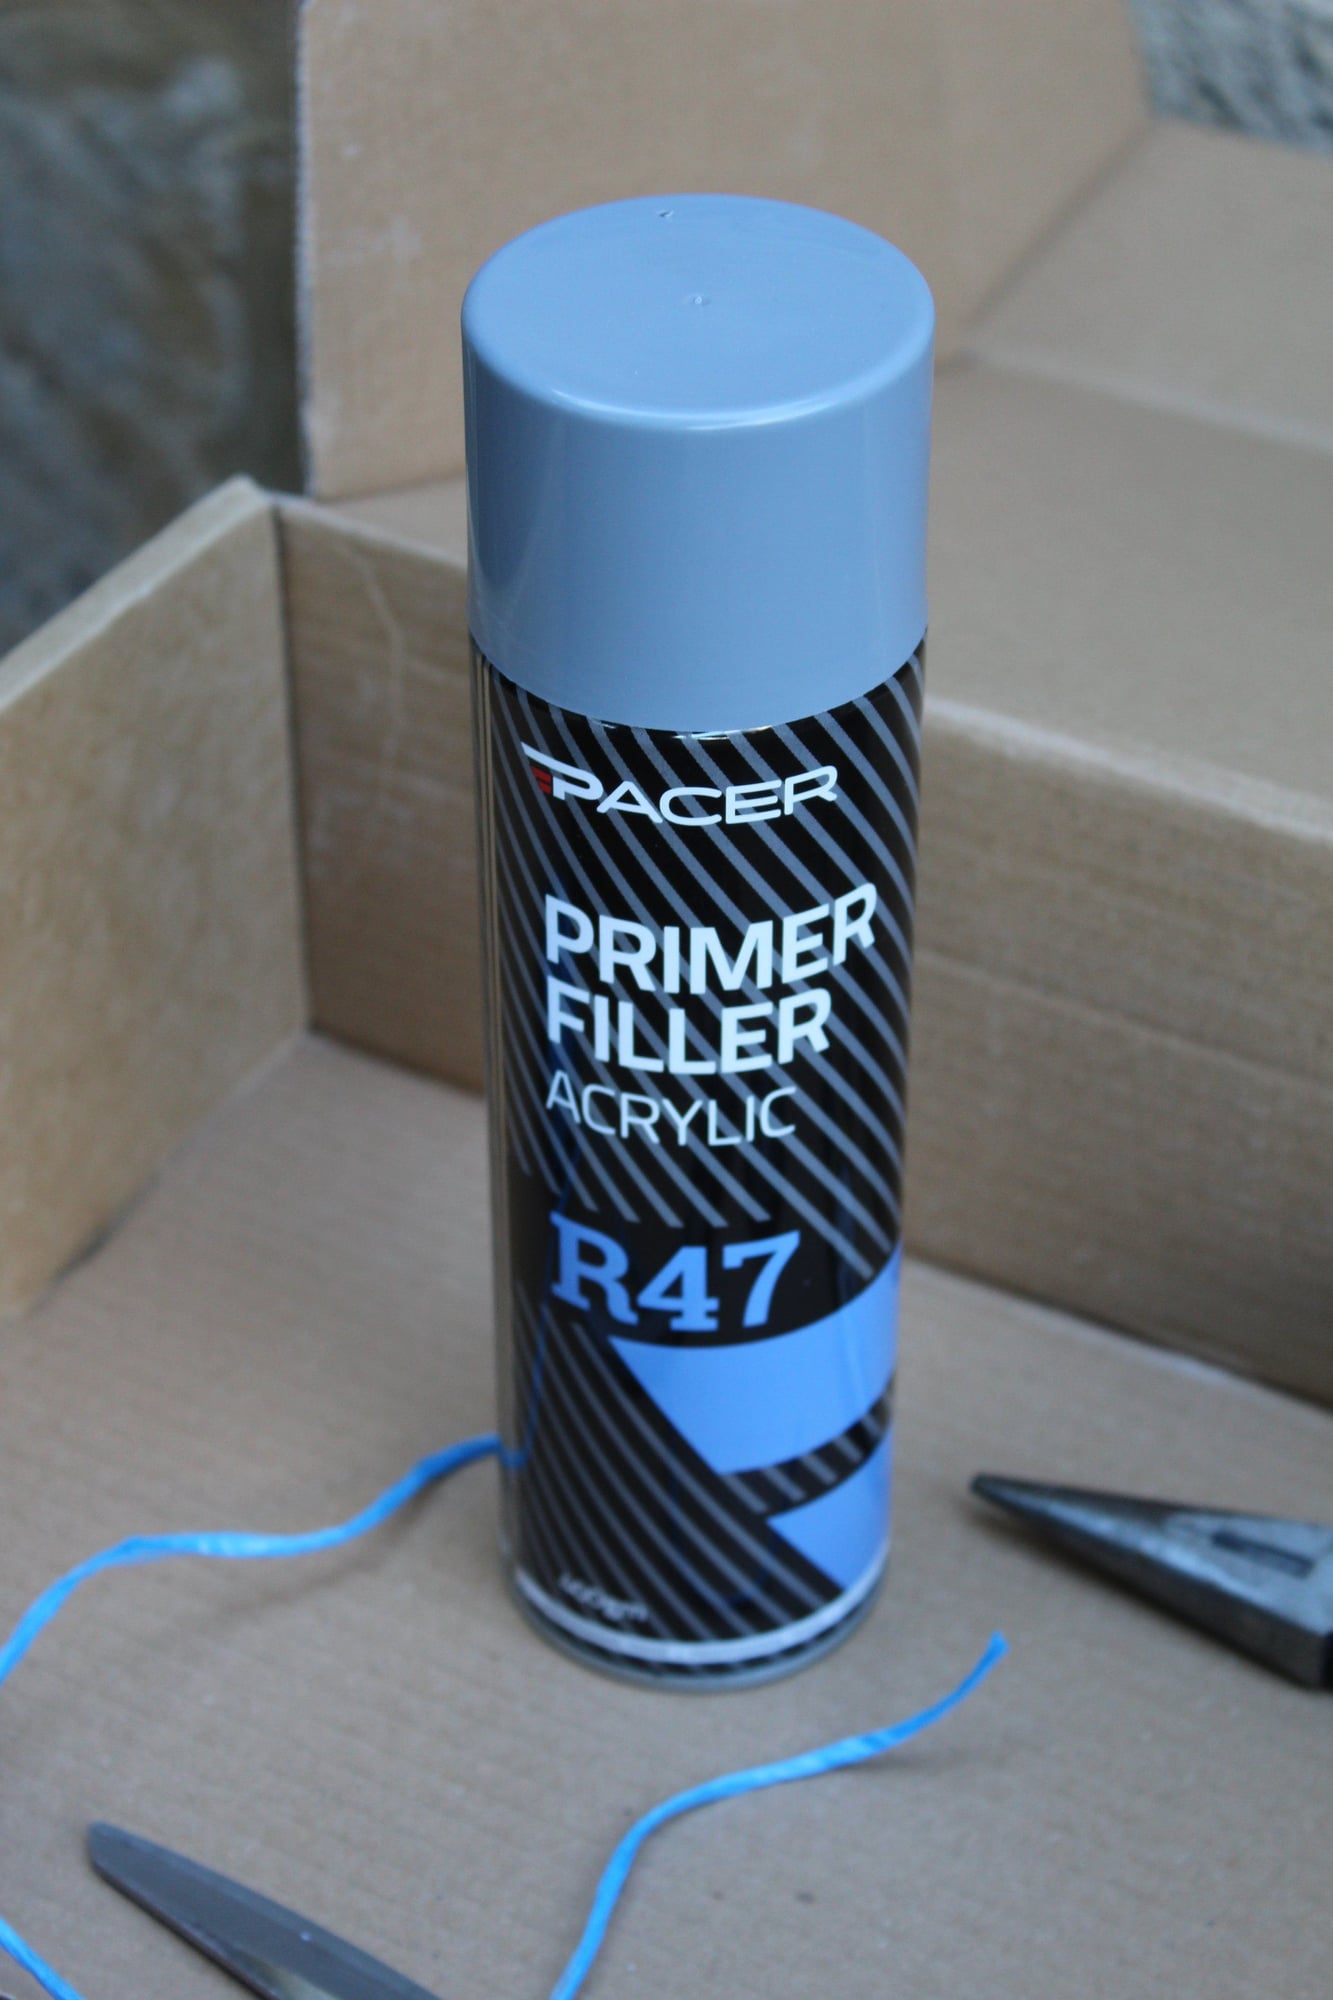
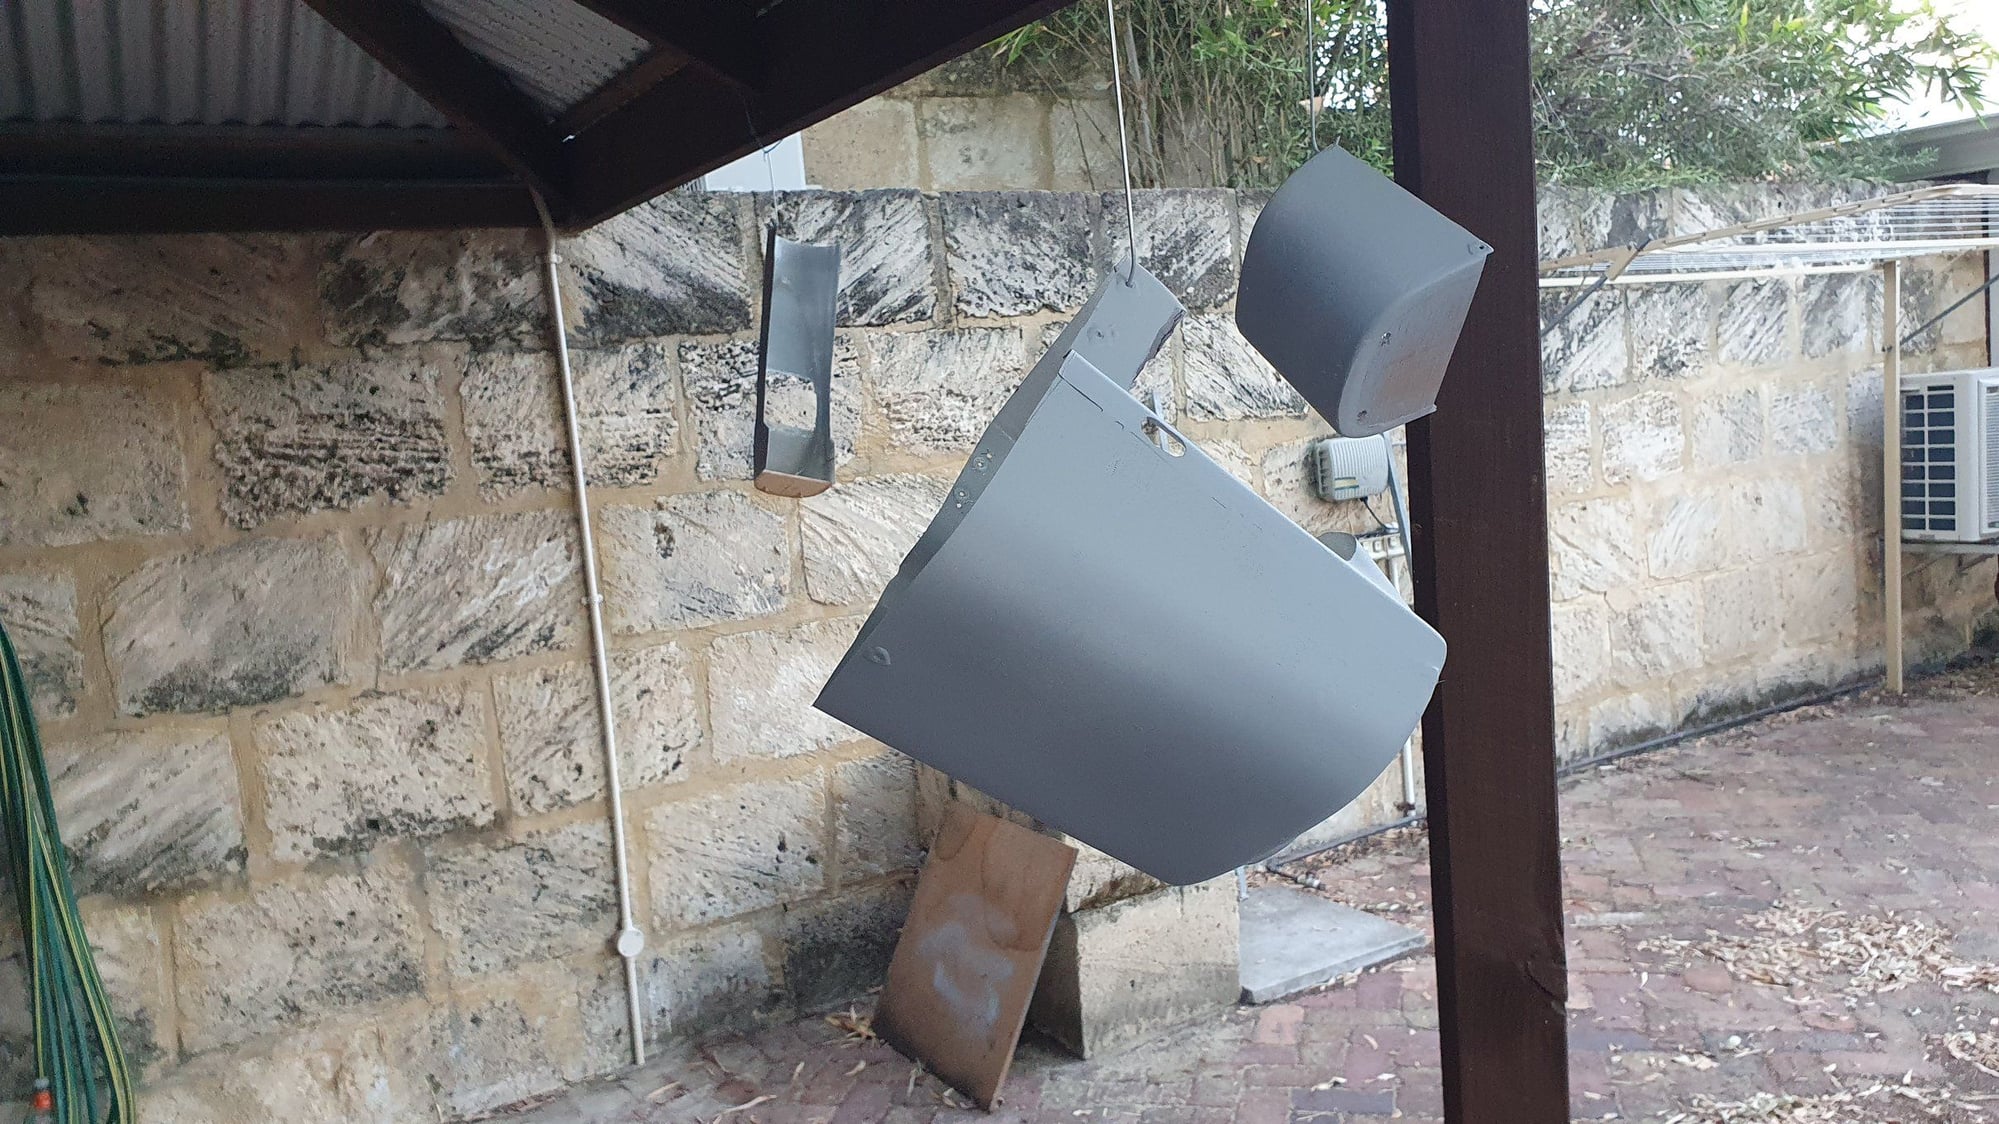
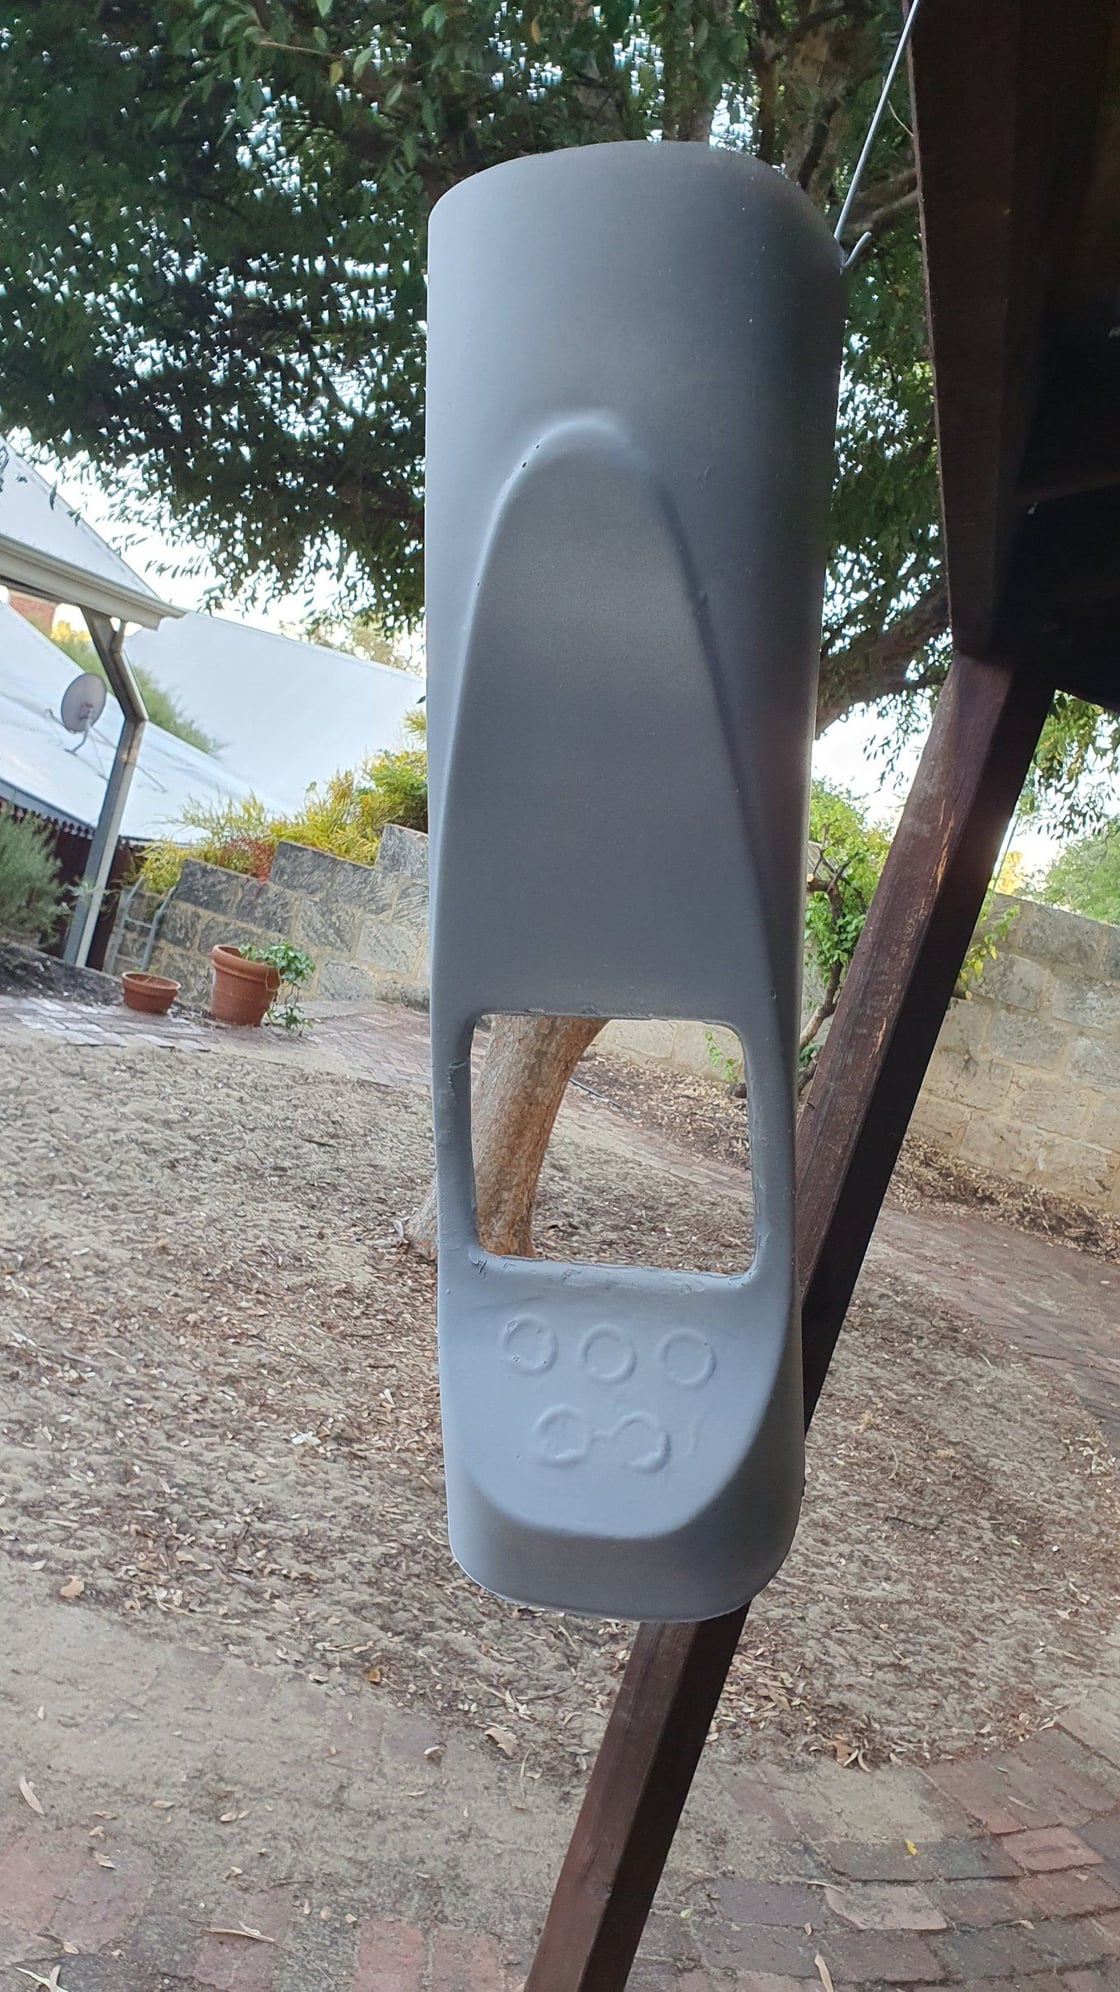
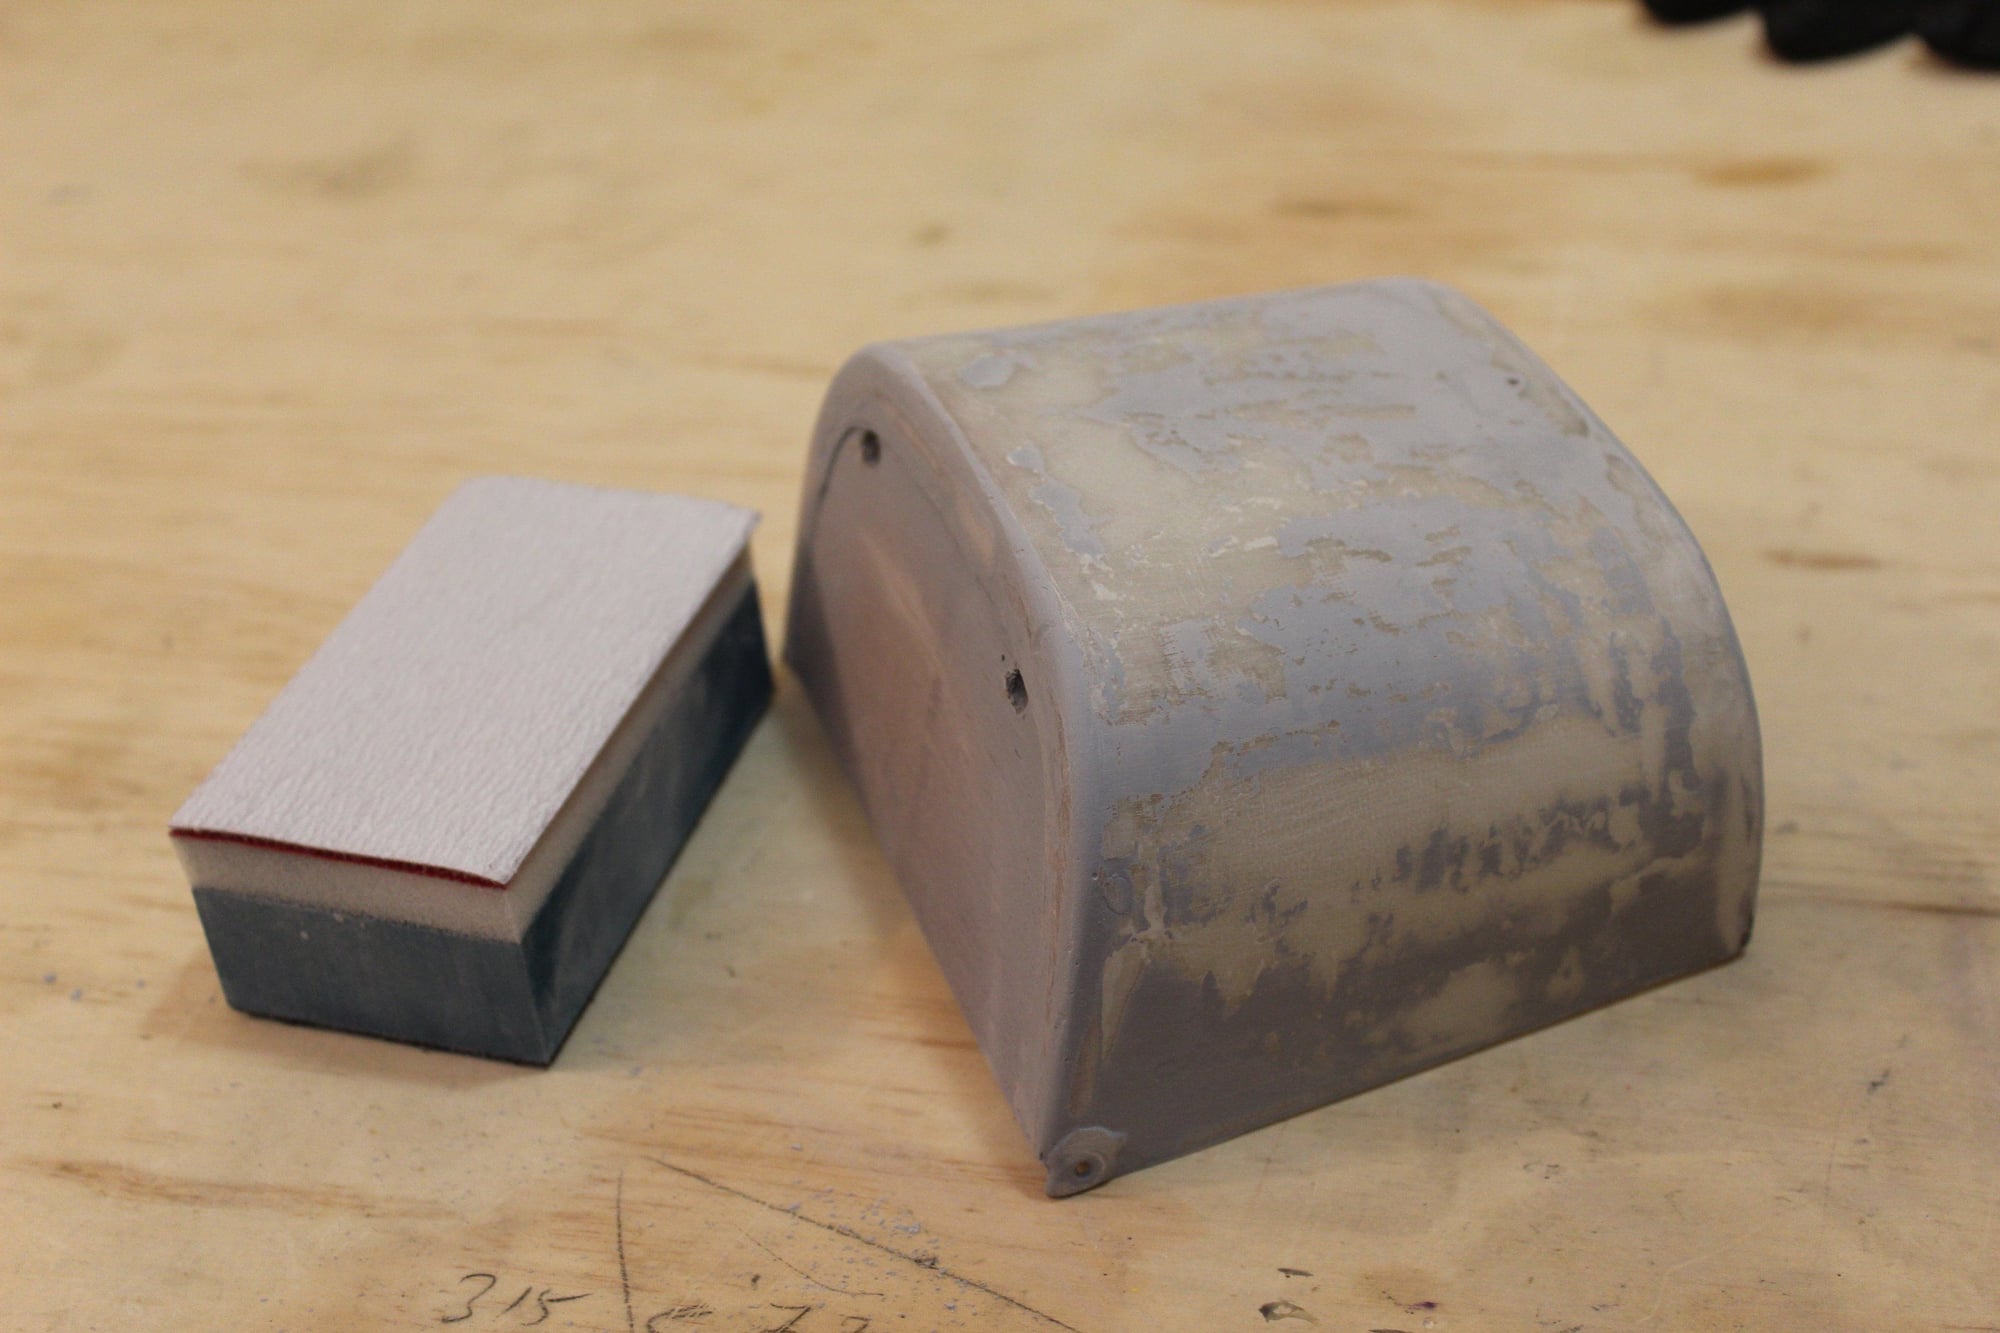
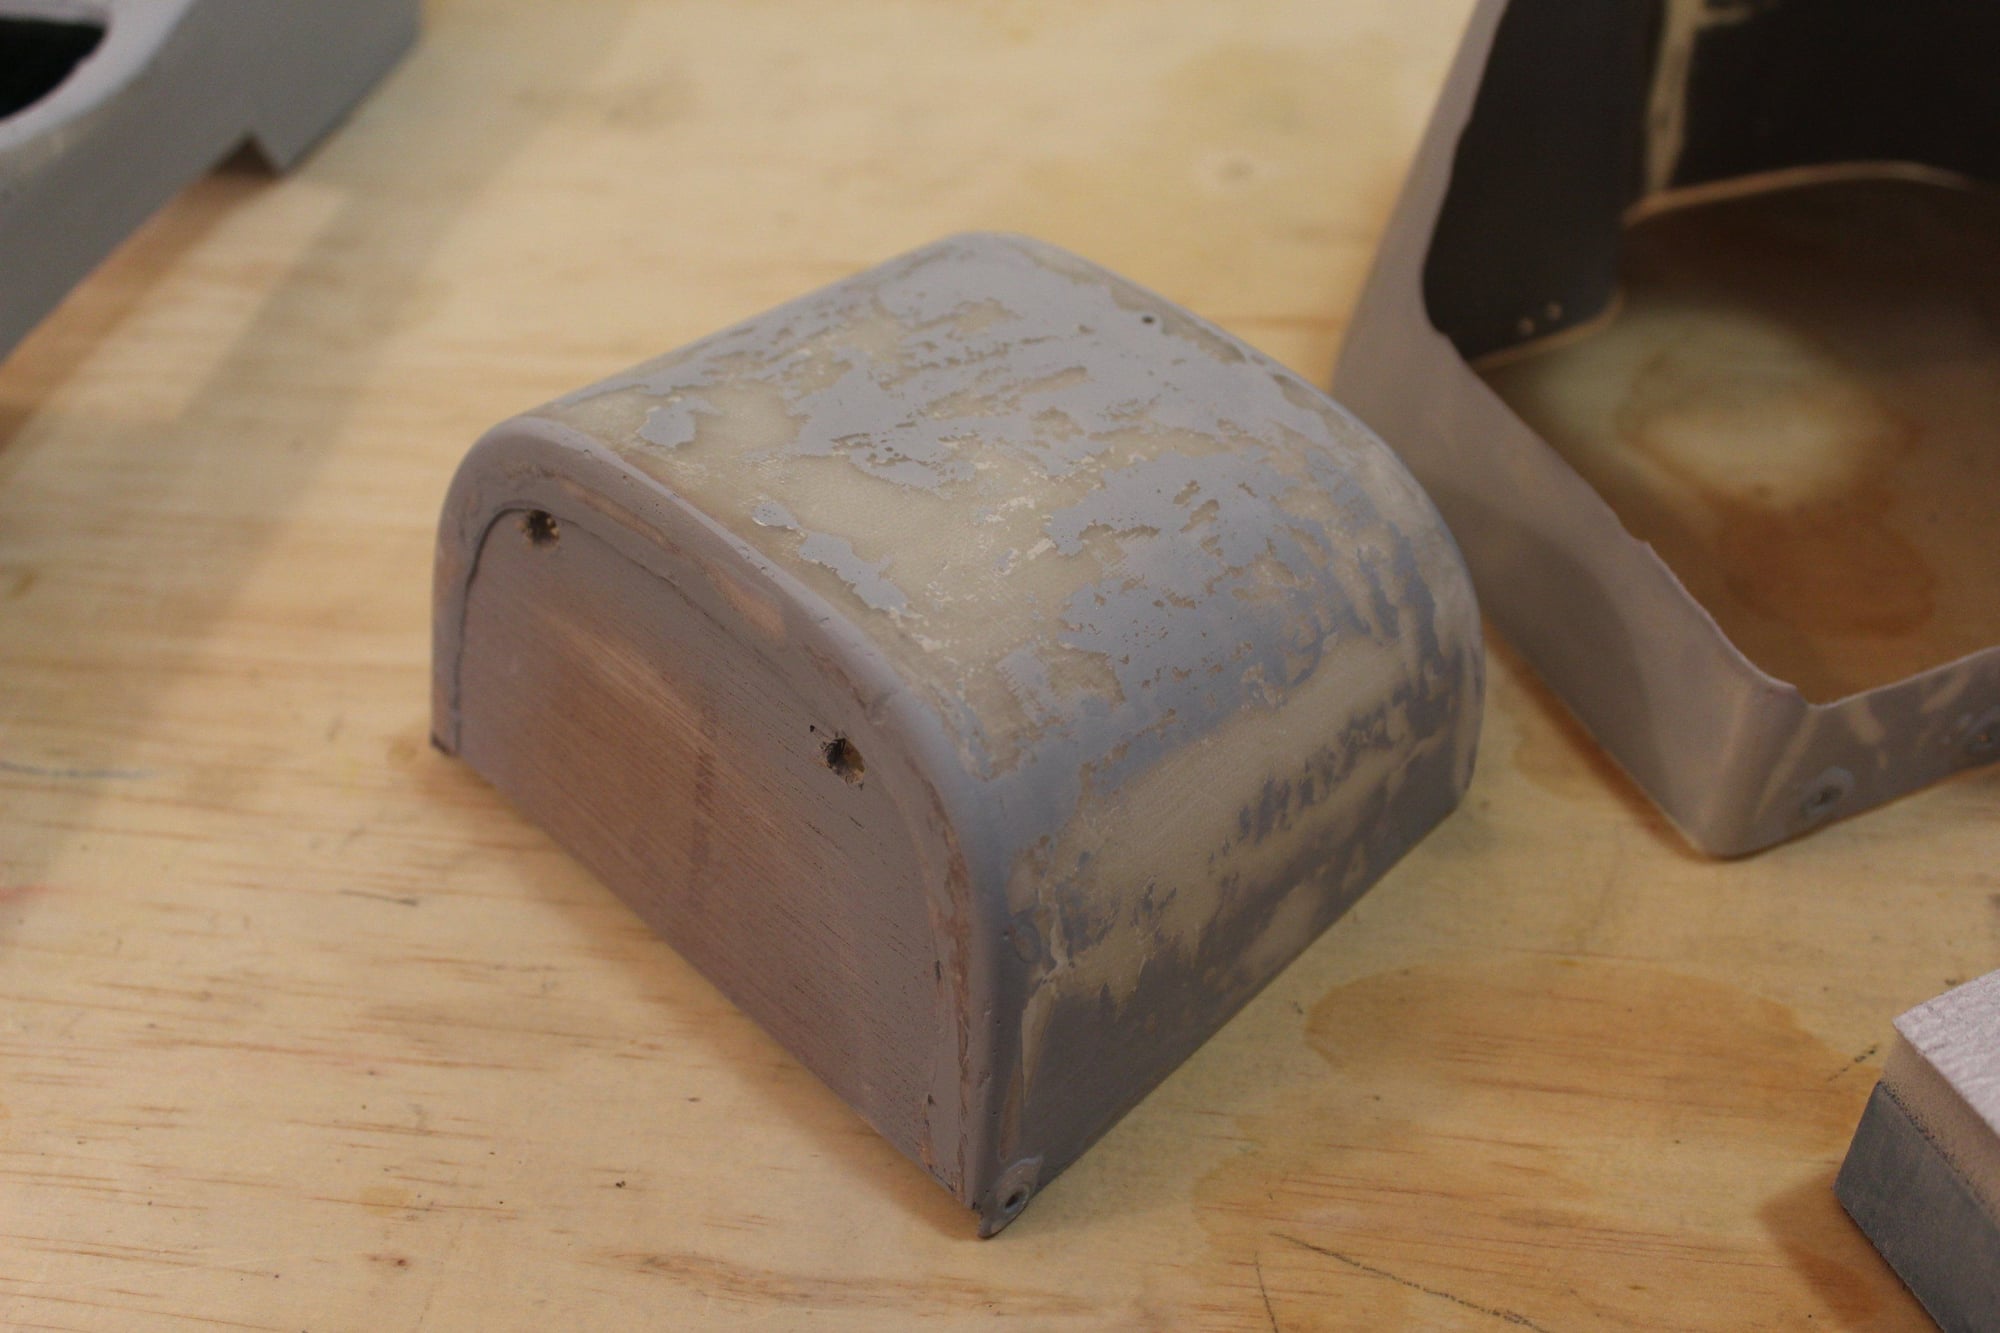
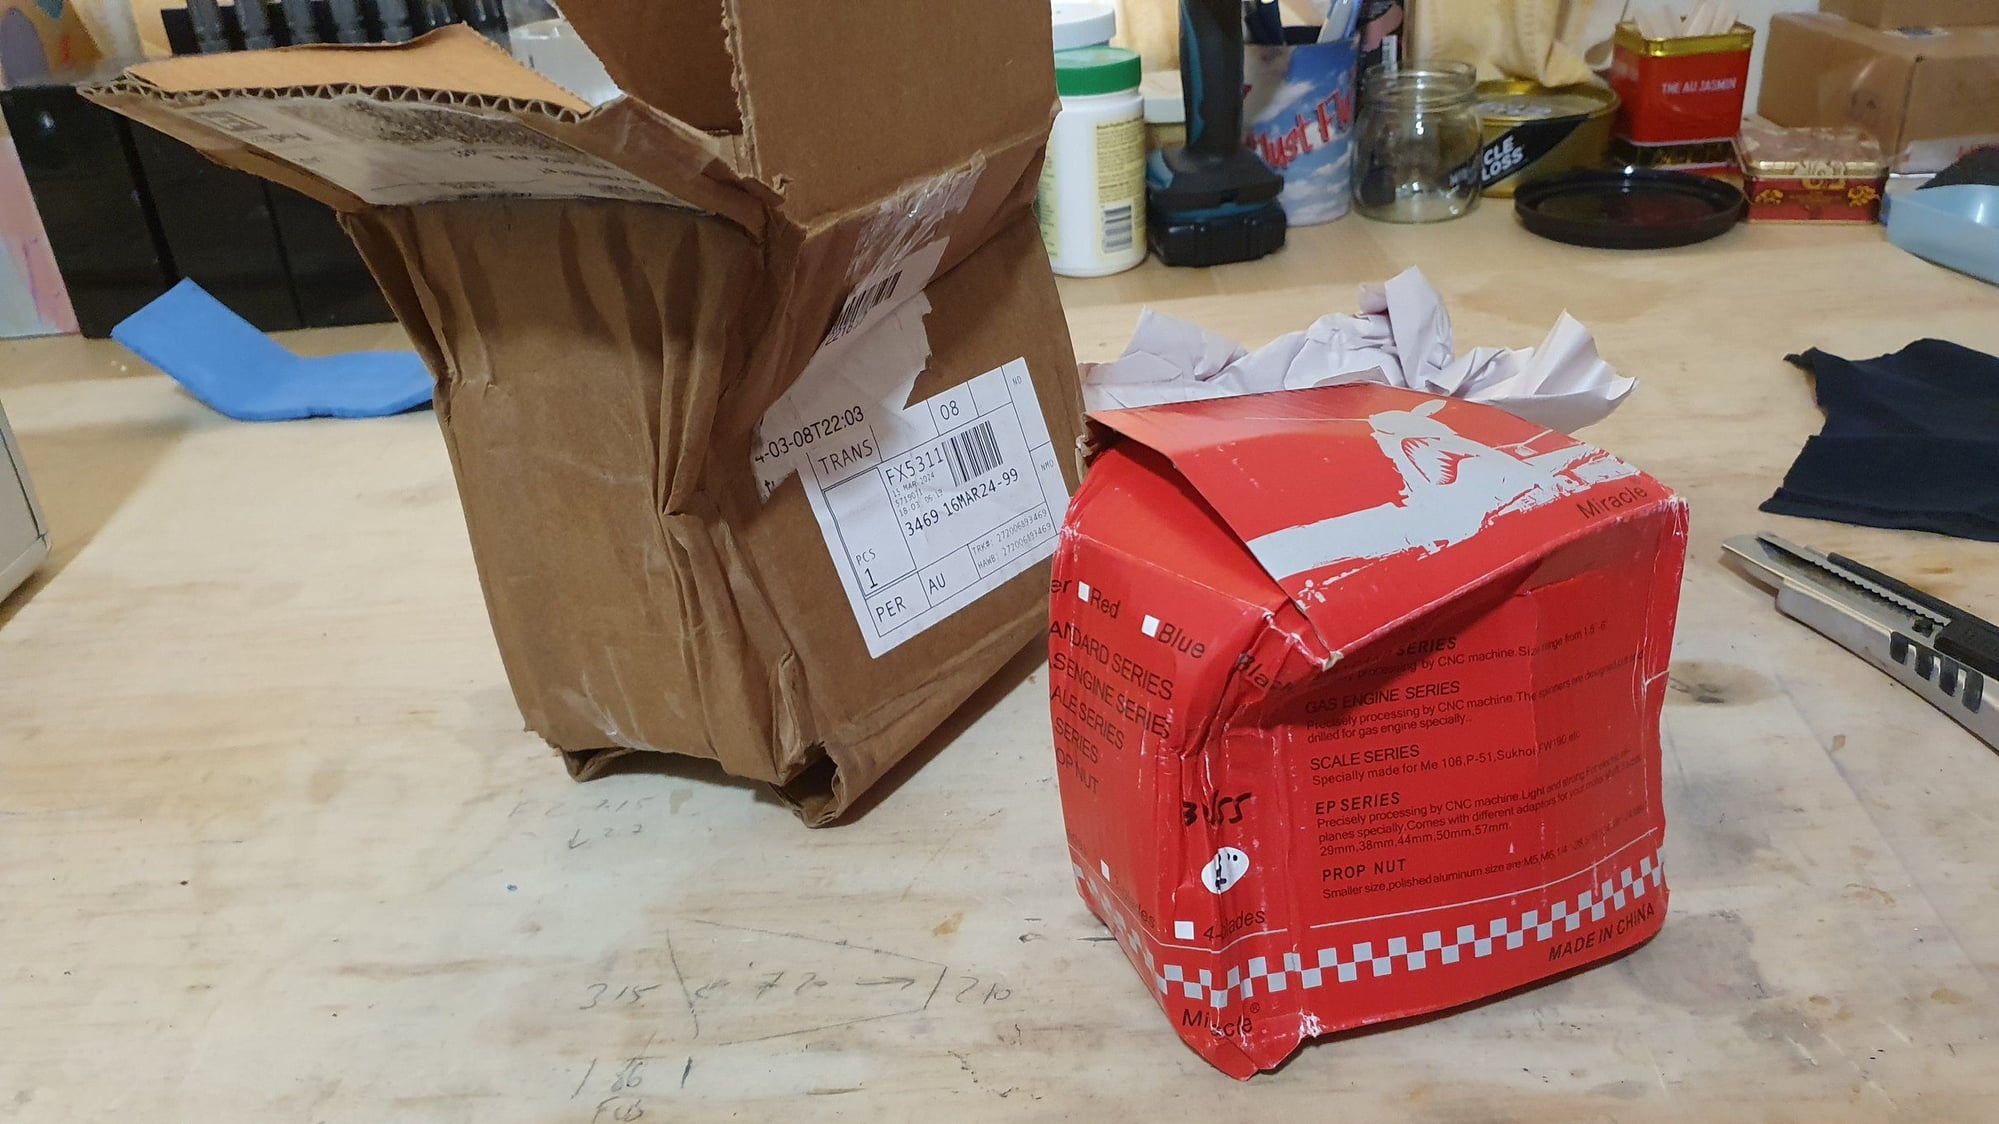
It was purchased from Valley View RC in the USA, which like many US based businesses will not ship internationally (they will ship to Canada I think) as businesses in the USA are funny about the rest of the world. I had to use a re-direct mail service in the USA to mail the spinner it to Australia. When received, the double boxed item was in poor shape as seen in the photos. Lucky, the spinner is intact.
Cheers,
Eran
I also received my new 4" spinner, the only one that I could find anywhere on the internet with proper prop cut-outs. Even better, it was already drilled for the DLE-55 (which has the same hole pattern as the DL-50).
It was purchased from Valley View RC in the USA, which like many US based businesses will not ship internationally (they will ship to Canada I think) as businesses in the USA are funny about the rest of the world. I had to use a re-direct mail service in the USA to mail the spinner it to Australia. When received, the double boxed item was in poor shape as seen in the photos. Lucky, the spinner is intact.
Cheers,
Eran

 04-18-2024, 03:28 AM
#119
Thread Starter
Join Date: Jun 2008
Location: Perth WA, AUSTRALIA
Posts: 1,208
Likes: 0
Received 11 Likes
on
11 Posts
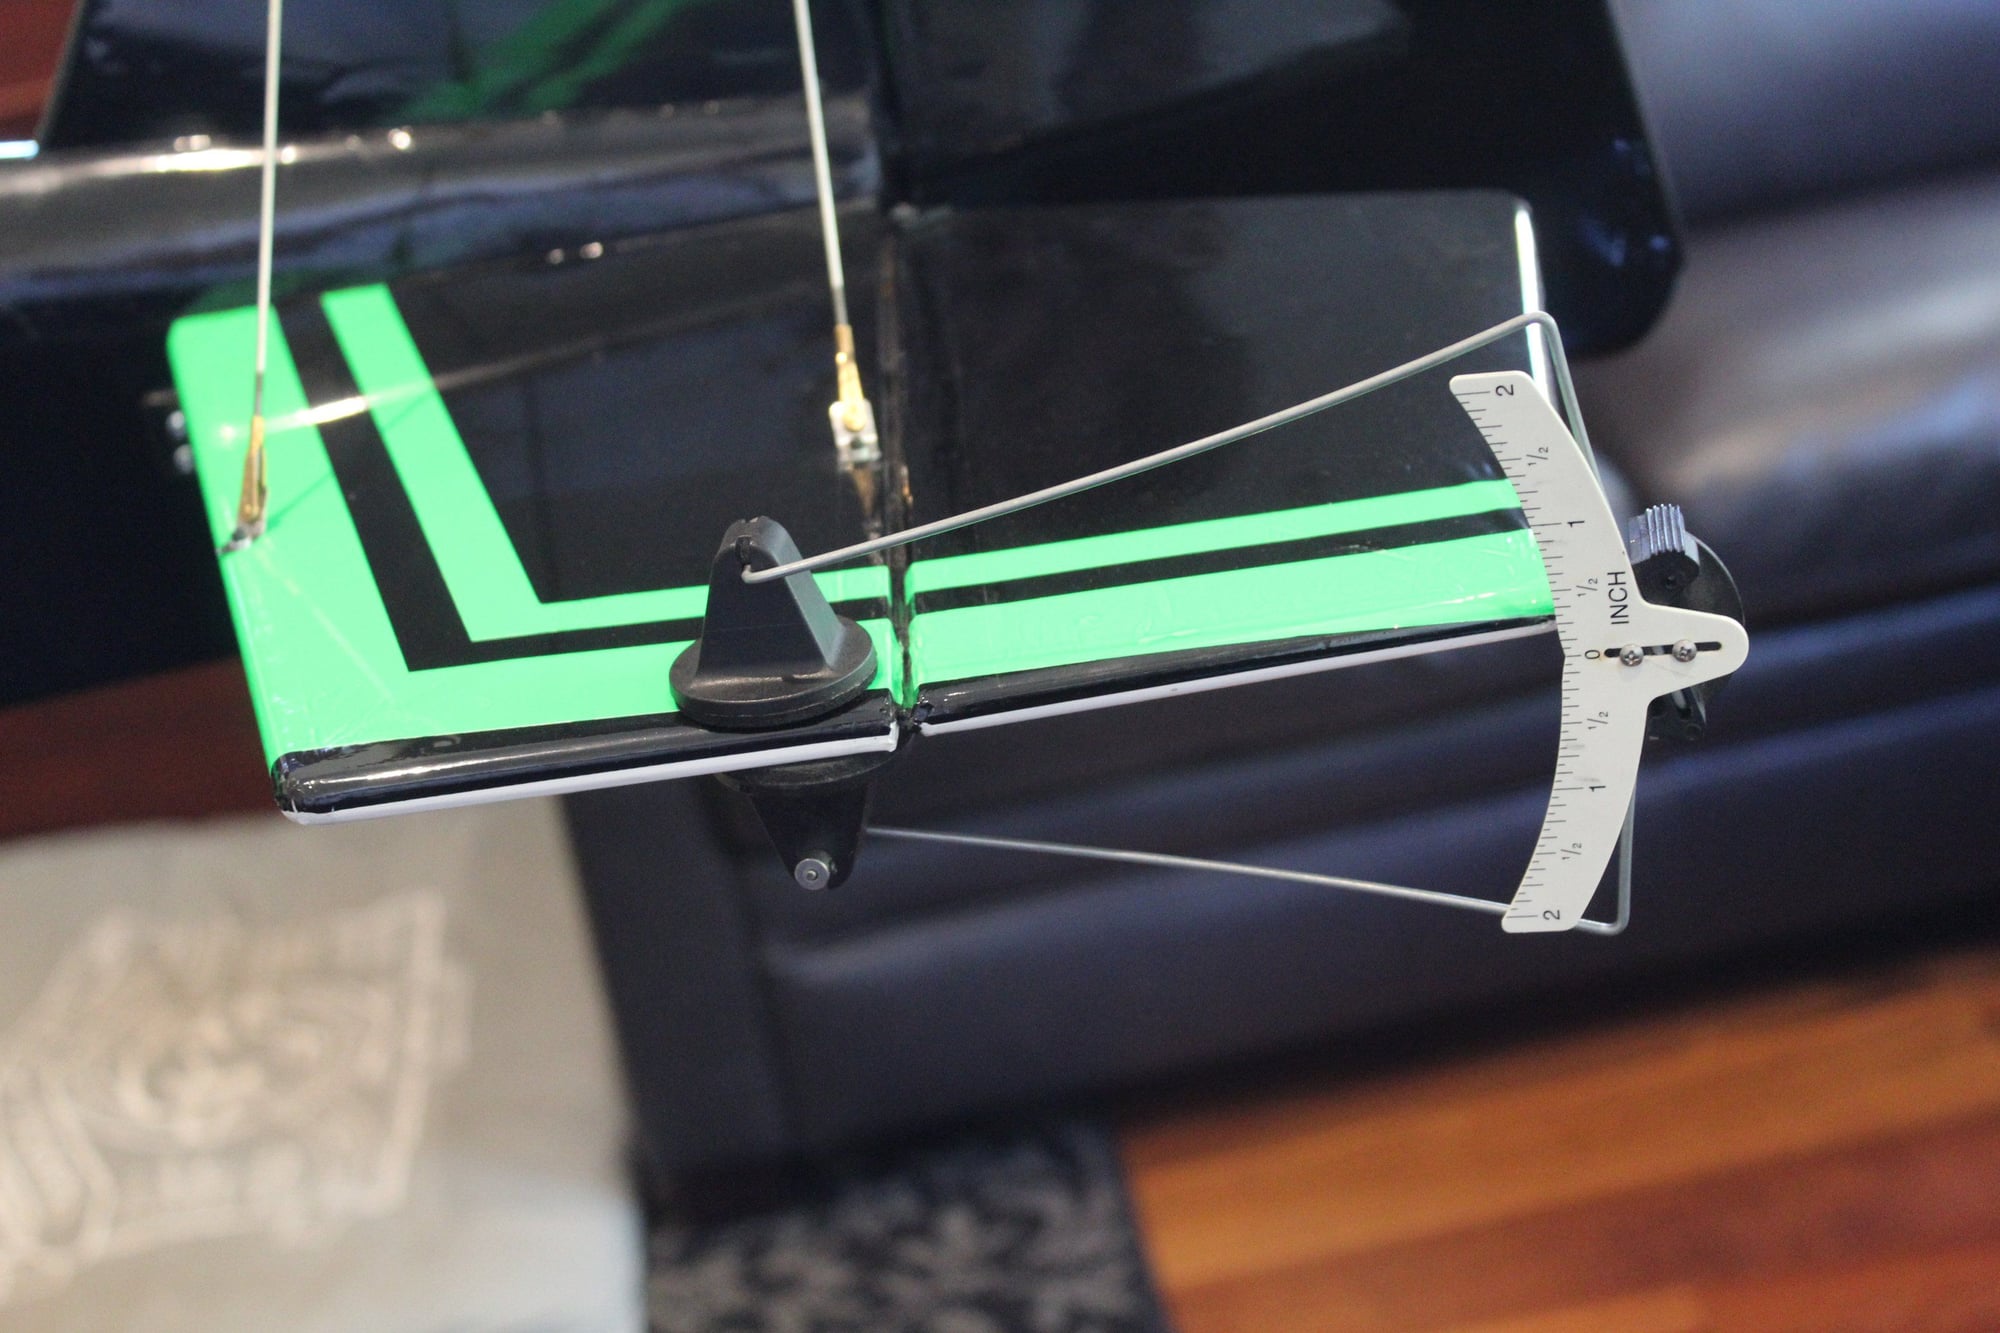
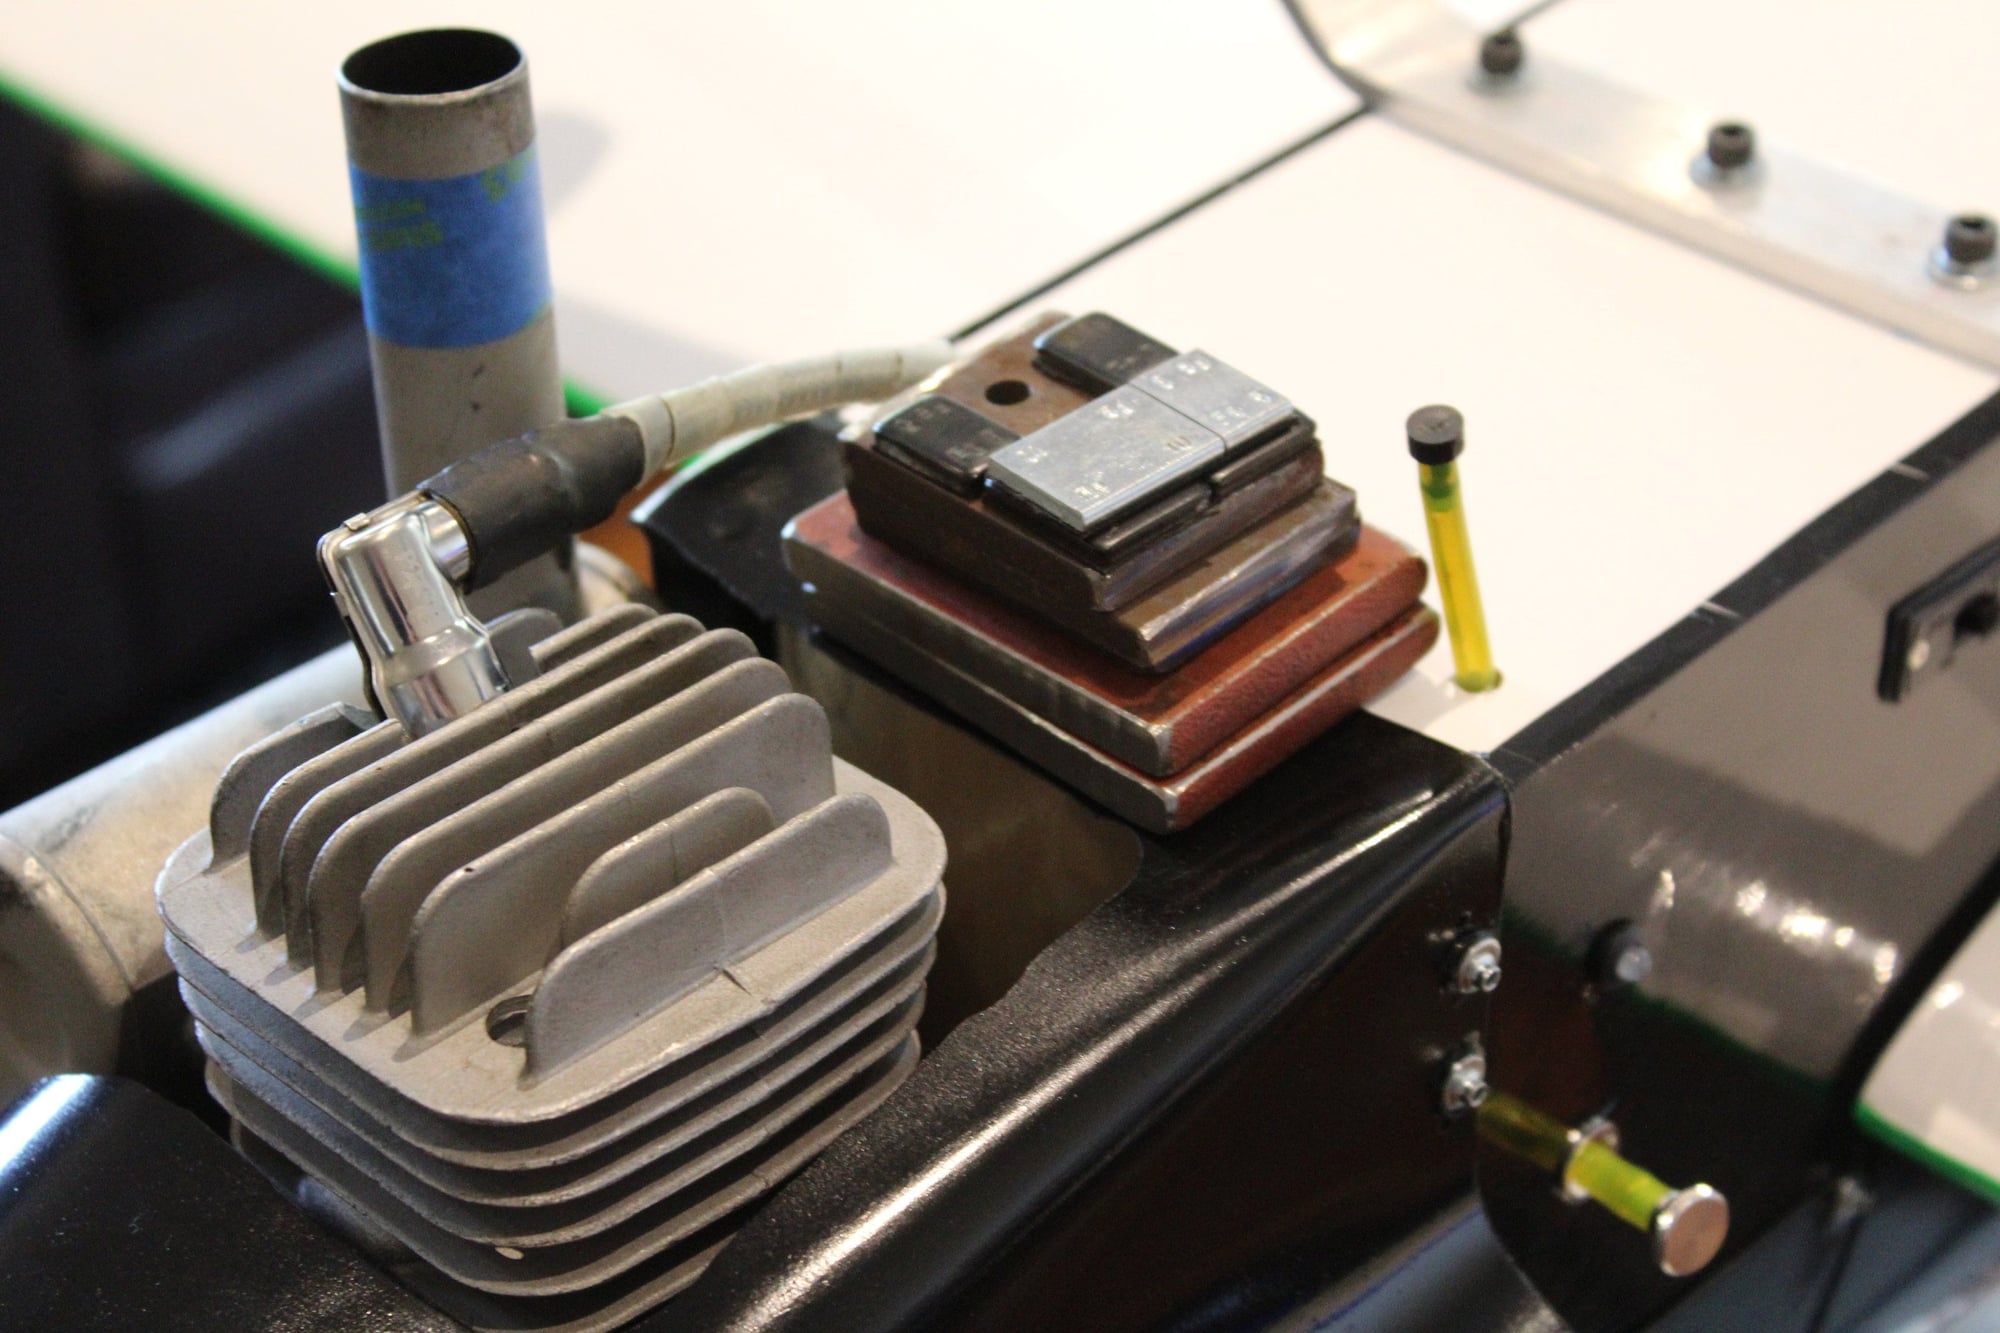
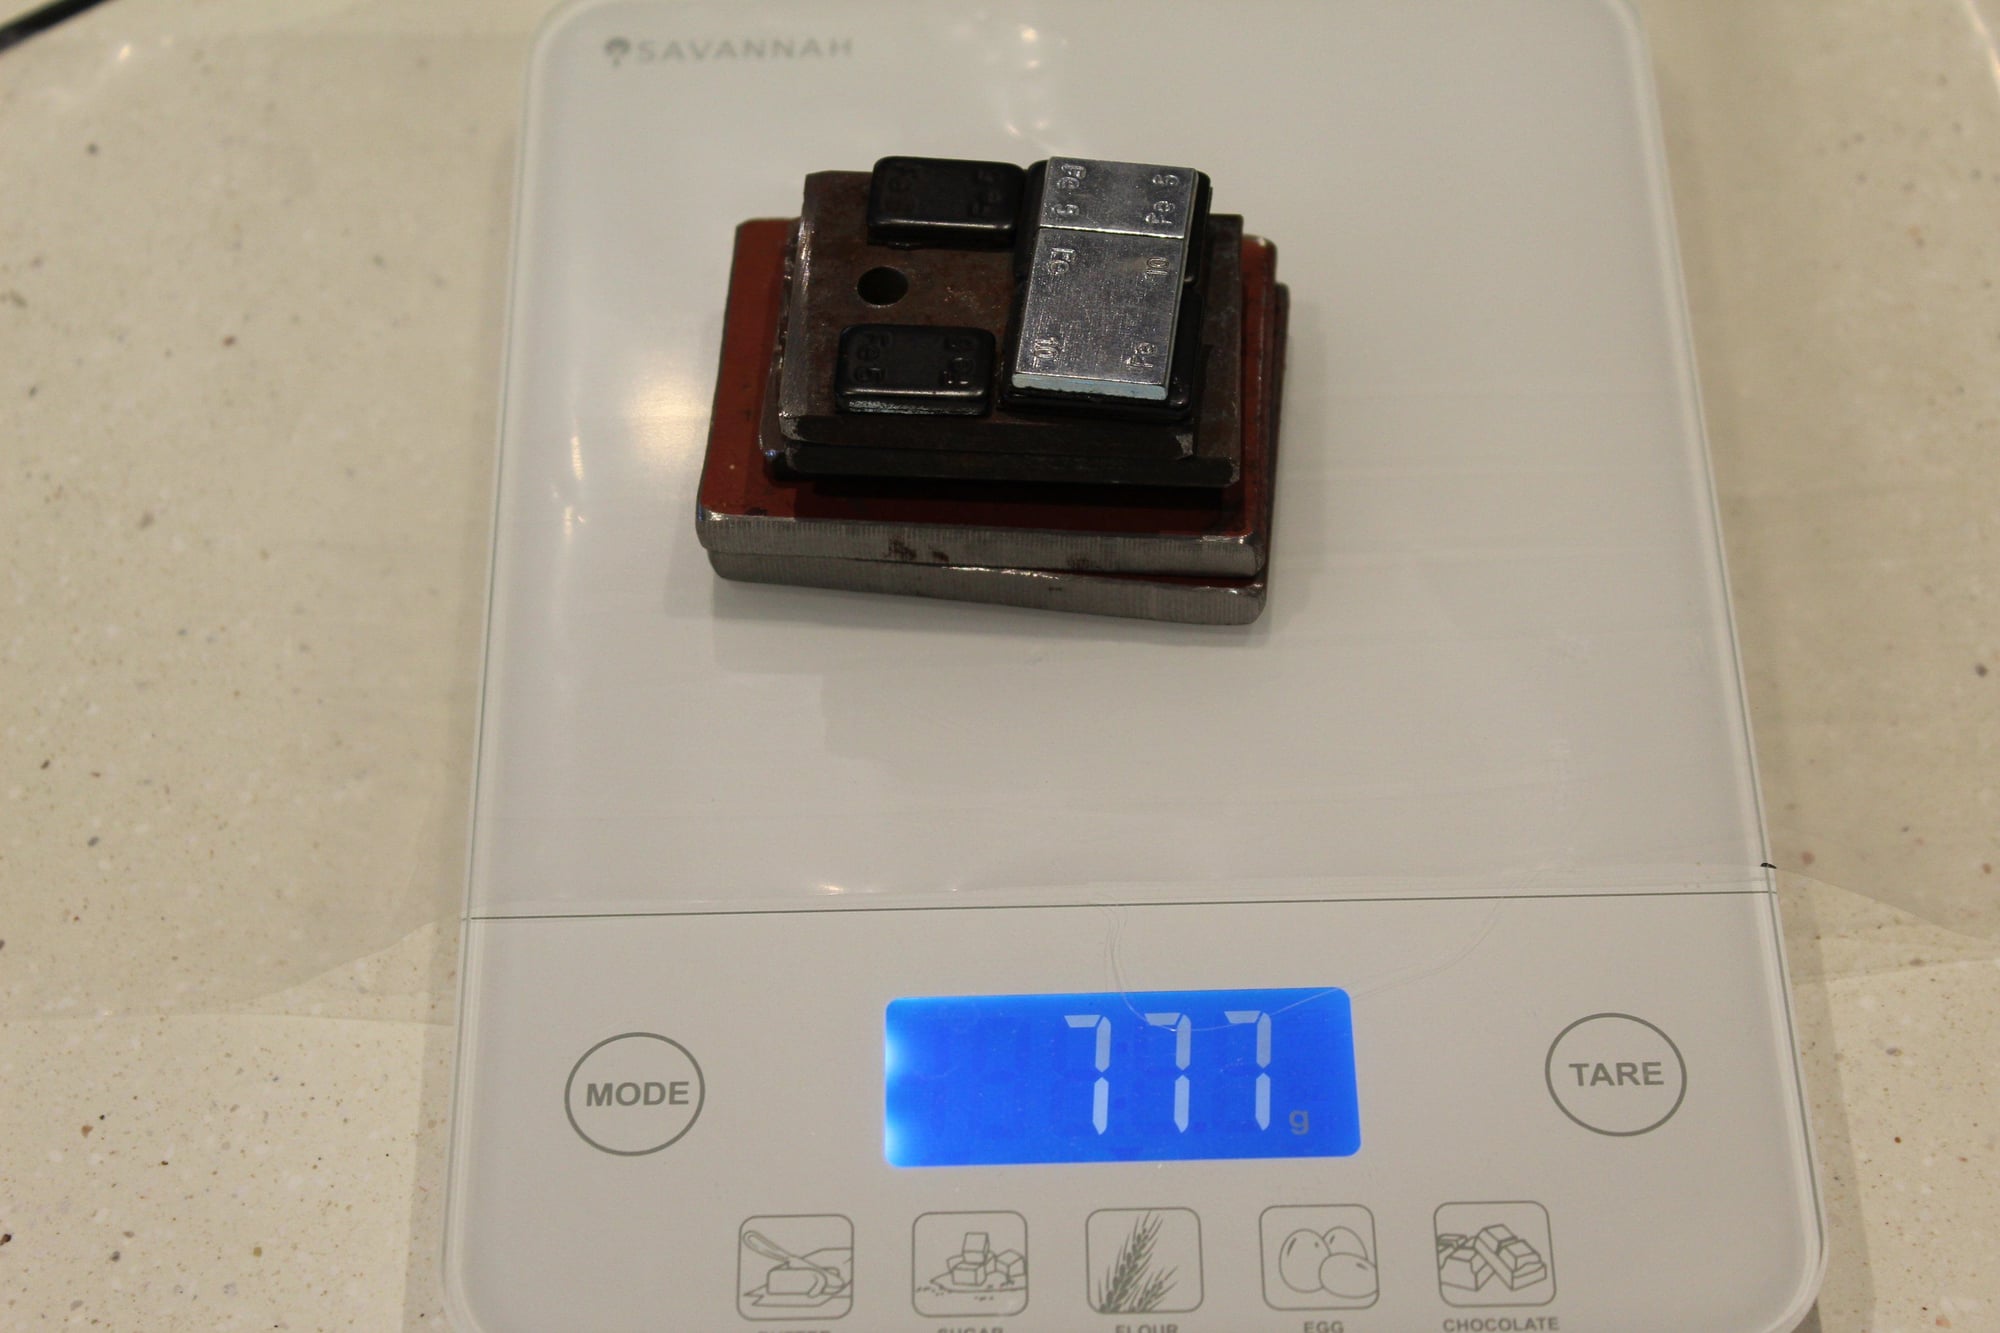
I checked the CG again and a pile of steel plates and weights on the firewall indicated that additional ~780gr will be required.
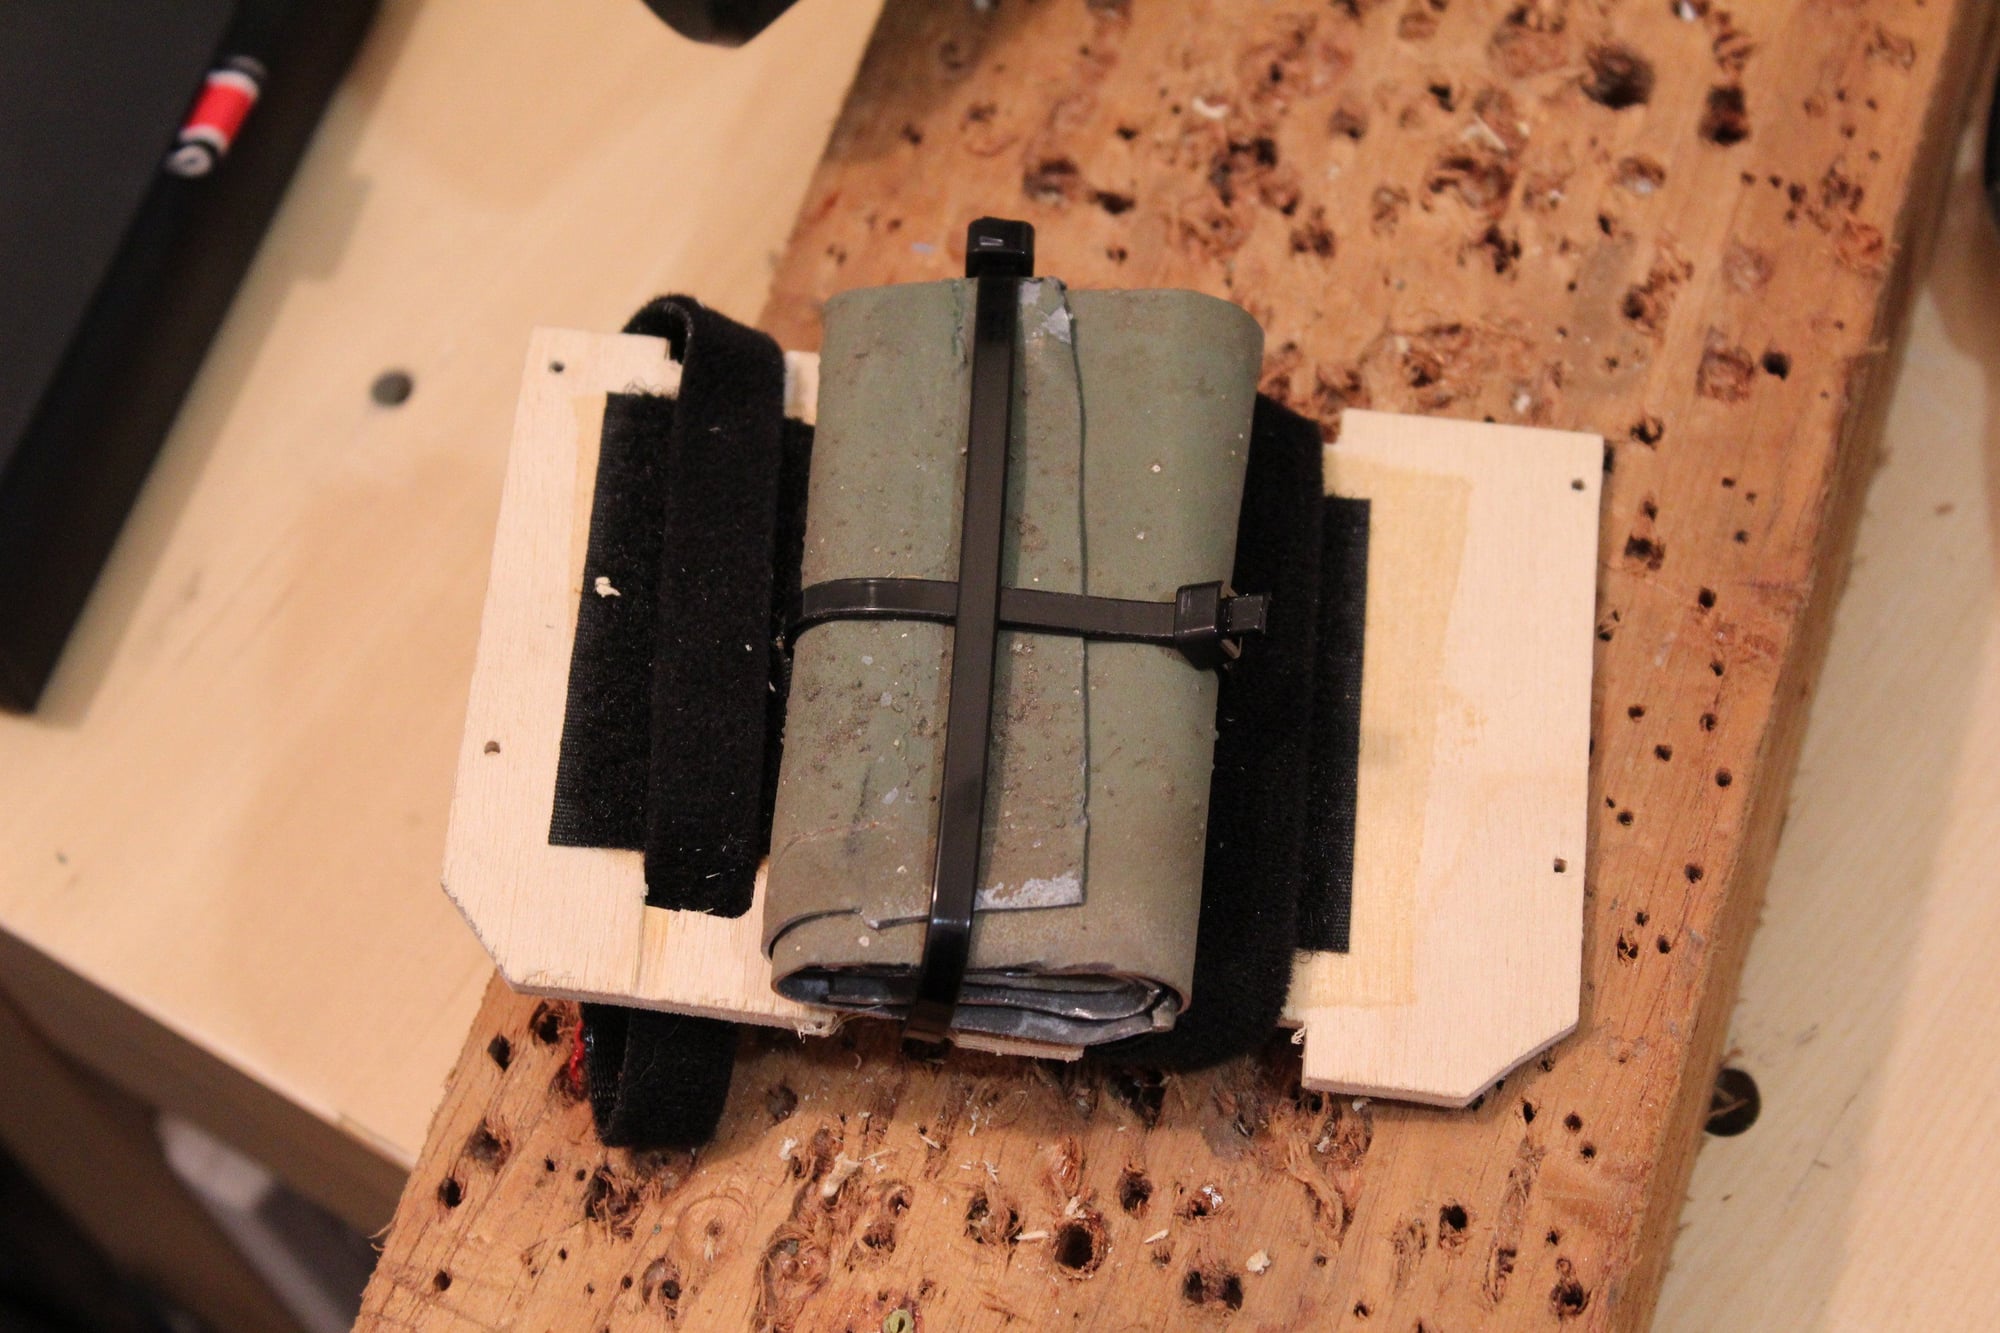
I placed 680gr in the fuel tank compartment near the firewall (under the location of the already placed lead sheets). What is not showing in the photos is that I wrapped a thin rubber (from bicycle tire) on the steel weights to avoid the sharp corners damaging other components if they rub against them.
I then added 85gr of weights on the other side of the firewall. The aeroplane is now balanced perfectly. Total weight is 9.1Kg.
The next step is to arrange a Heavy Model Inspection (as required in Australia for all models over 7kg). With the weather here at the moment not being the best, it is a waiting game now until inspection (which includes the test flight).
Cheers,
Eran
05-04-2024, 10:42 PM
#121
Thread Starter
Join Date: Jun 2008
Location: Perth WA, AUSTRALIA
Posts: 1,208
Likes: 0
Received 11 Likes
on
11 Posts
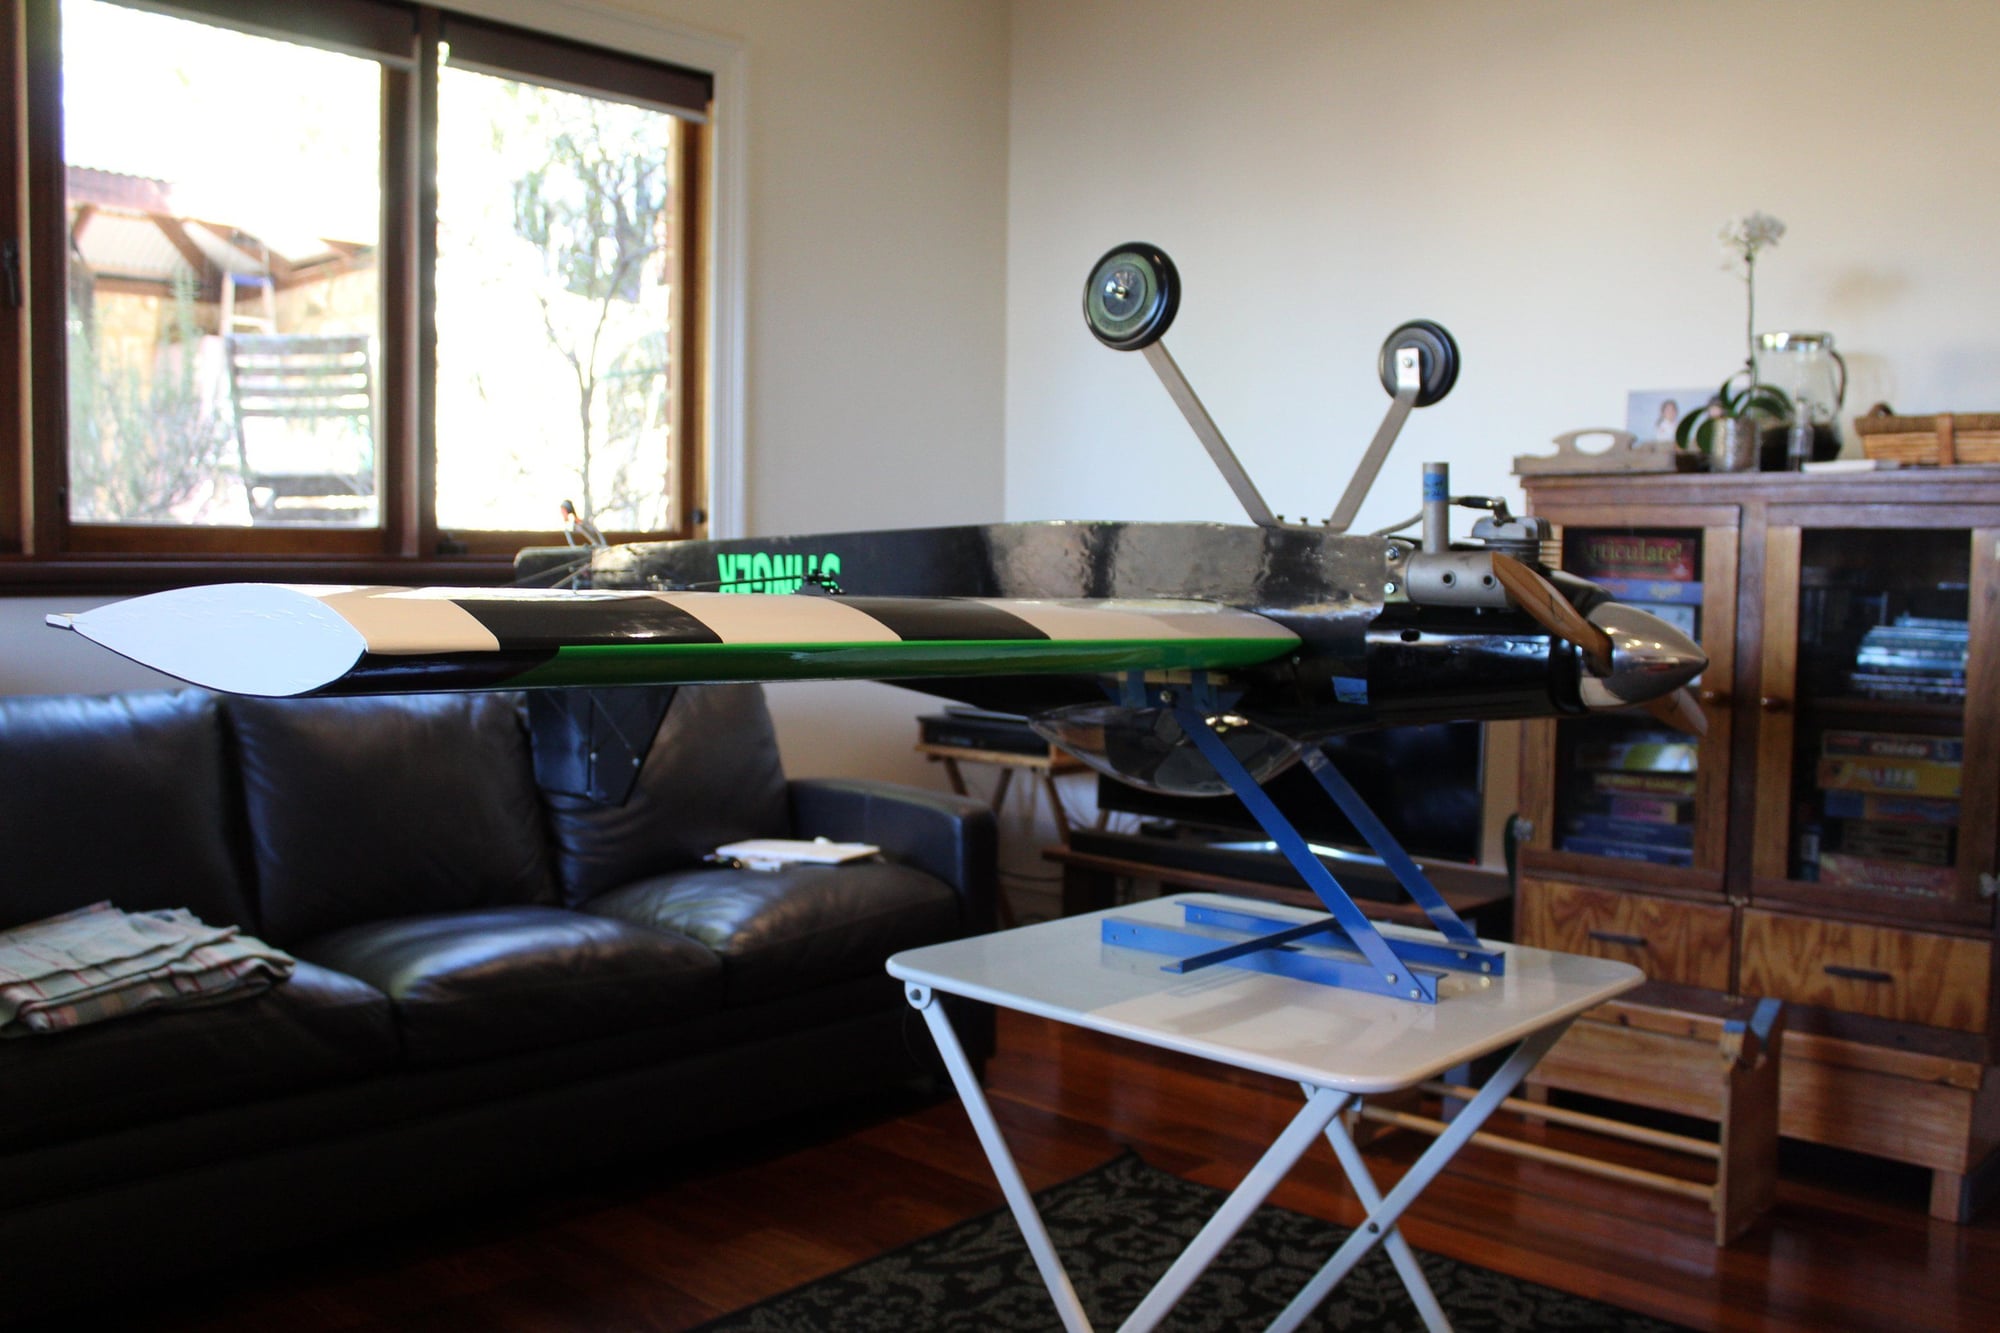
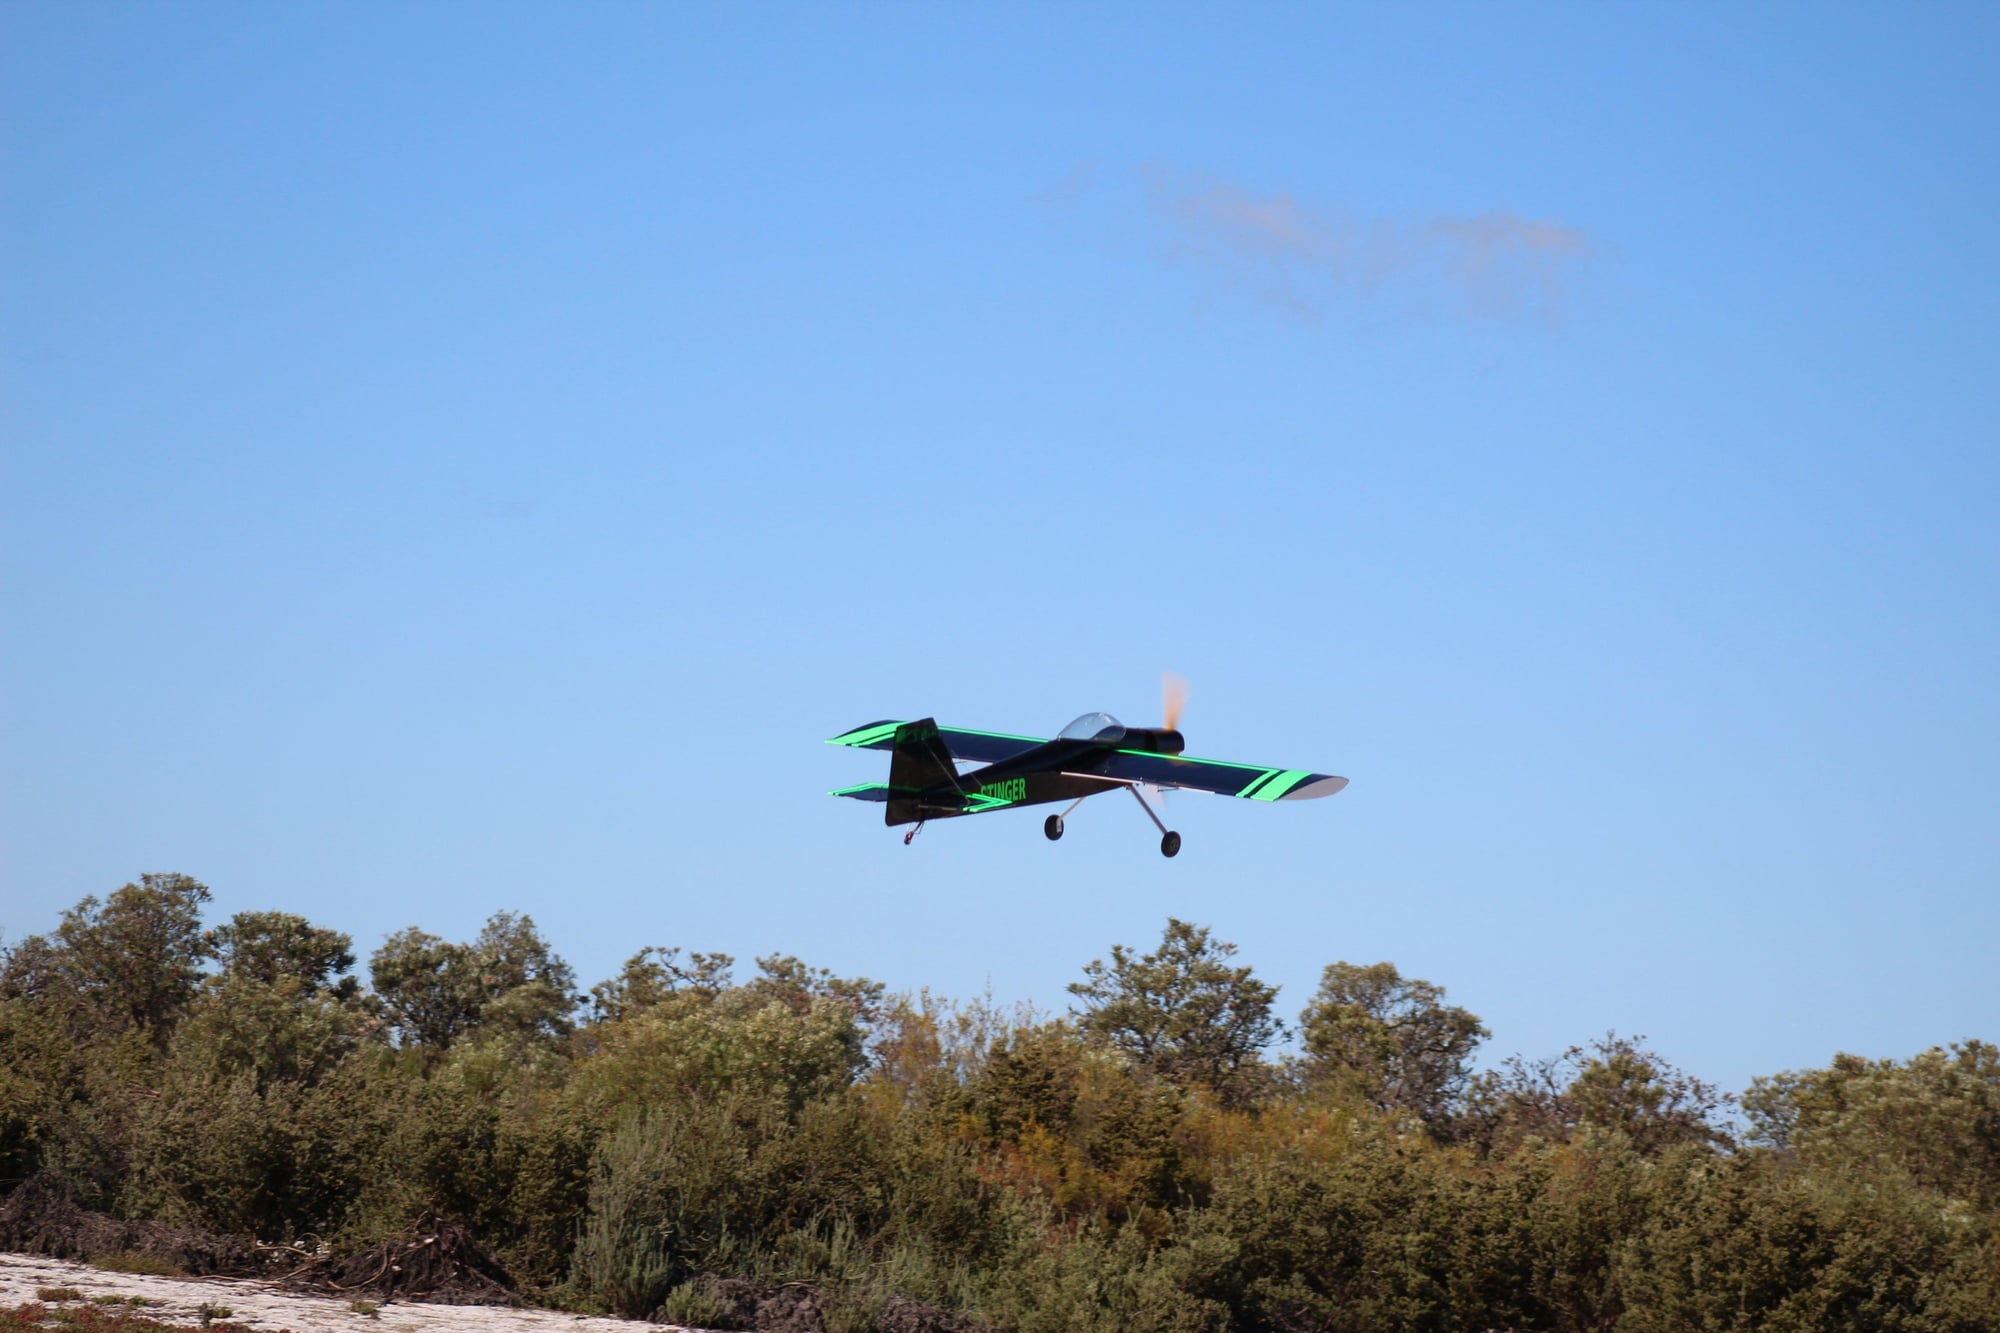
Finally today I got the Stinger certified and had a great maiden flight.
The Stinger fly great, exactly what you would expect, performing graceful Pattern style maneuvers. The engine was sounding a bit skittish at times and will require further tuning. The springs for the tail wheel do not provide positive steering, I will have to figure out a different solution. Overall I am very happy with today's results.
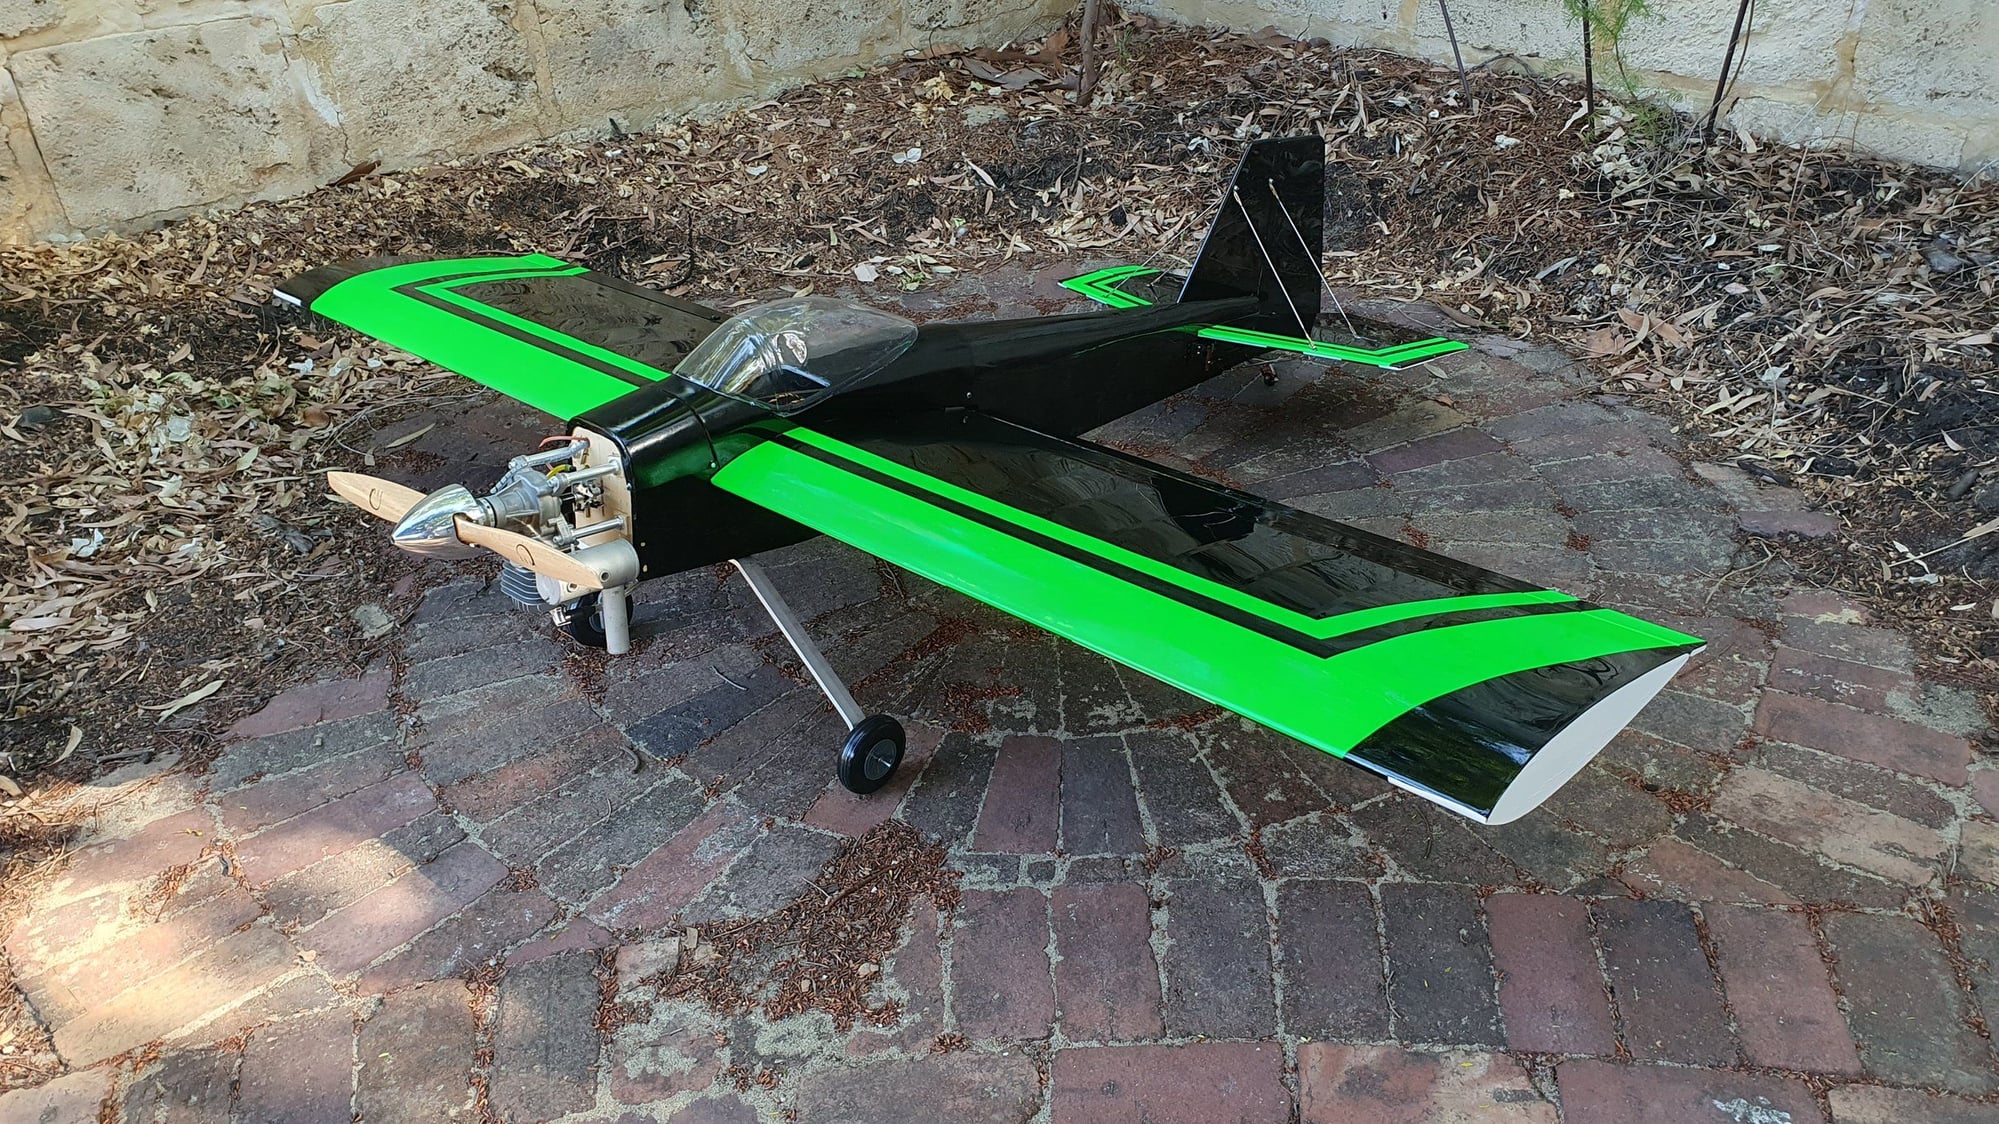
As to the photos below, once the obligatory ground photos were taken and the wildlife was cleared off the taxi way, it was time to fly...


Cheers,
Eran
The Stinger fly great, exactly what you would expect, performing graceful Pattern style maneuvers. The engine was sounding a bit skittish at times and will require further tuning. The springs for the tail wheel do not provide positive steering, I will have to figure out a different solution. Overall I am very happy with today's results.
As to the photos below, once the obligatory ground photos were taken and the wildlife was cleared off the taxi way, it was time to fly...
Cheers,
Eran
The following users liked this post:
G.F. Reid (05-06-2024)
05-05-2024, 07:42 AM
#122
Eran,
Congratulations on your successful build and maiden flight. I'm glad that the Stinger satisfied your expectations. Don't you find that most of the older designs and kits seldom let one down? They may be heavy and unsophisticated by modern standards, but they mostly perform as advertised.
Again, job well done.
Take care,
Bren
05-05-2024, 03:31 PM
#123
Thread Starter
Join Date: Jun 2008
Location: Perth WA, AUSTRALIA
Posts: 1,208
Likes: 0
Received 11 Likes
on
11 Posts
Bren,
Thank you for your kind comment.
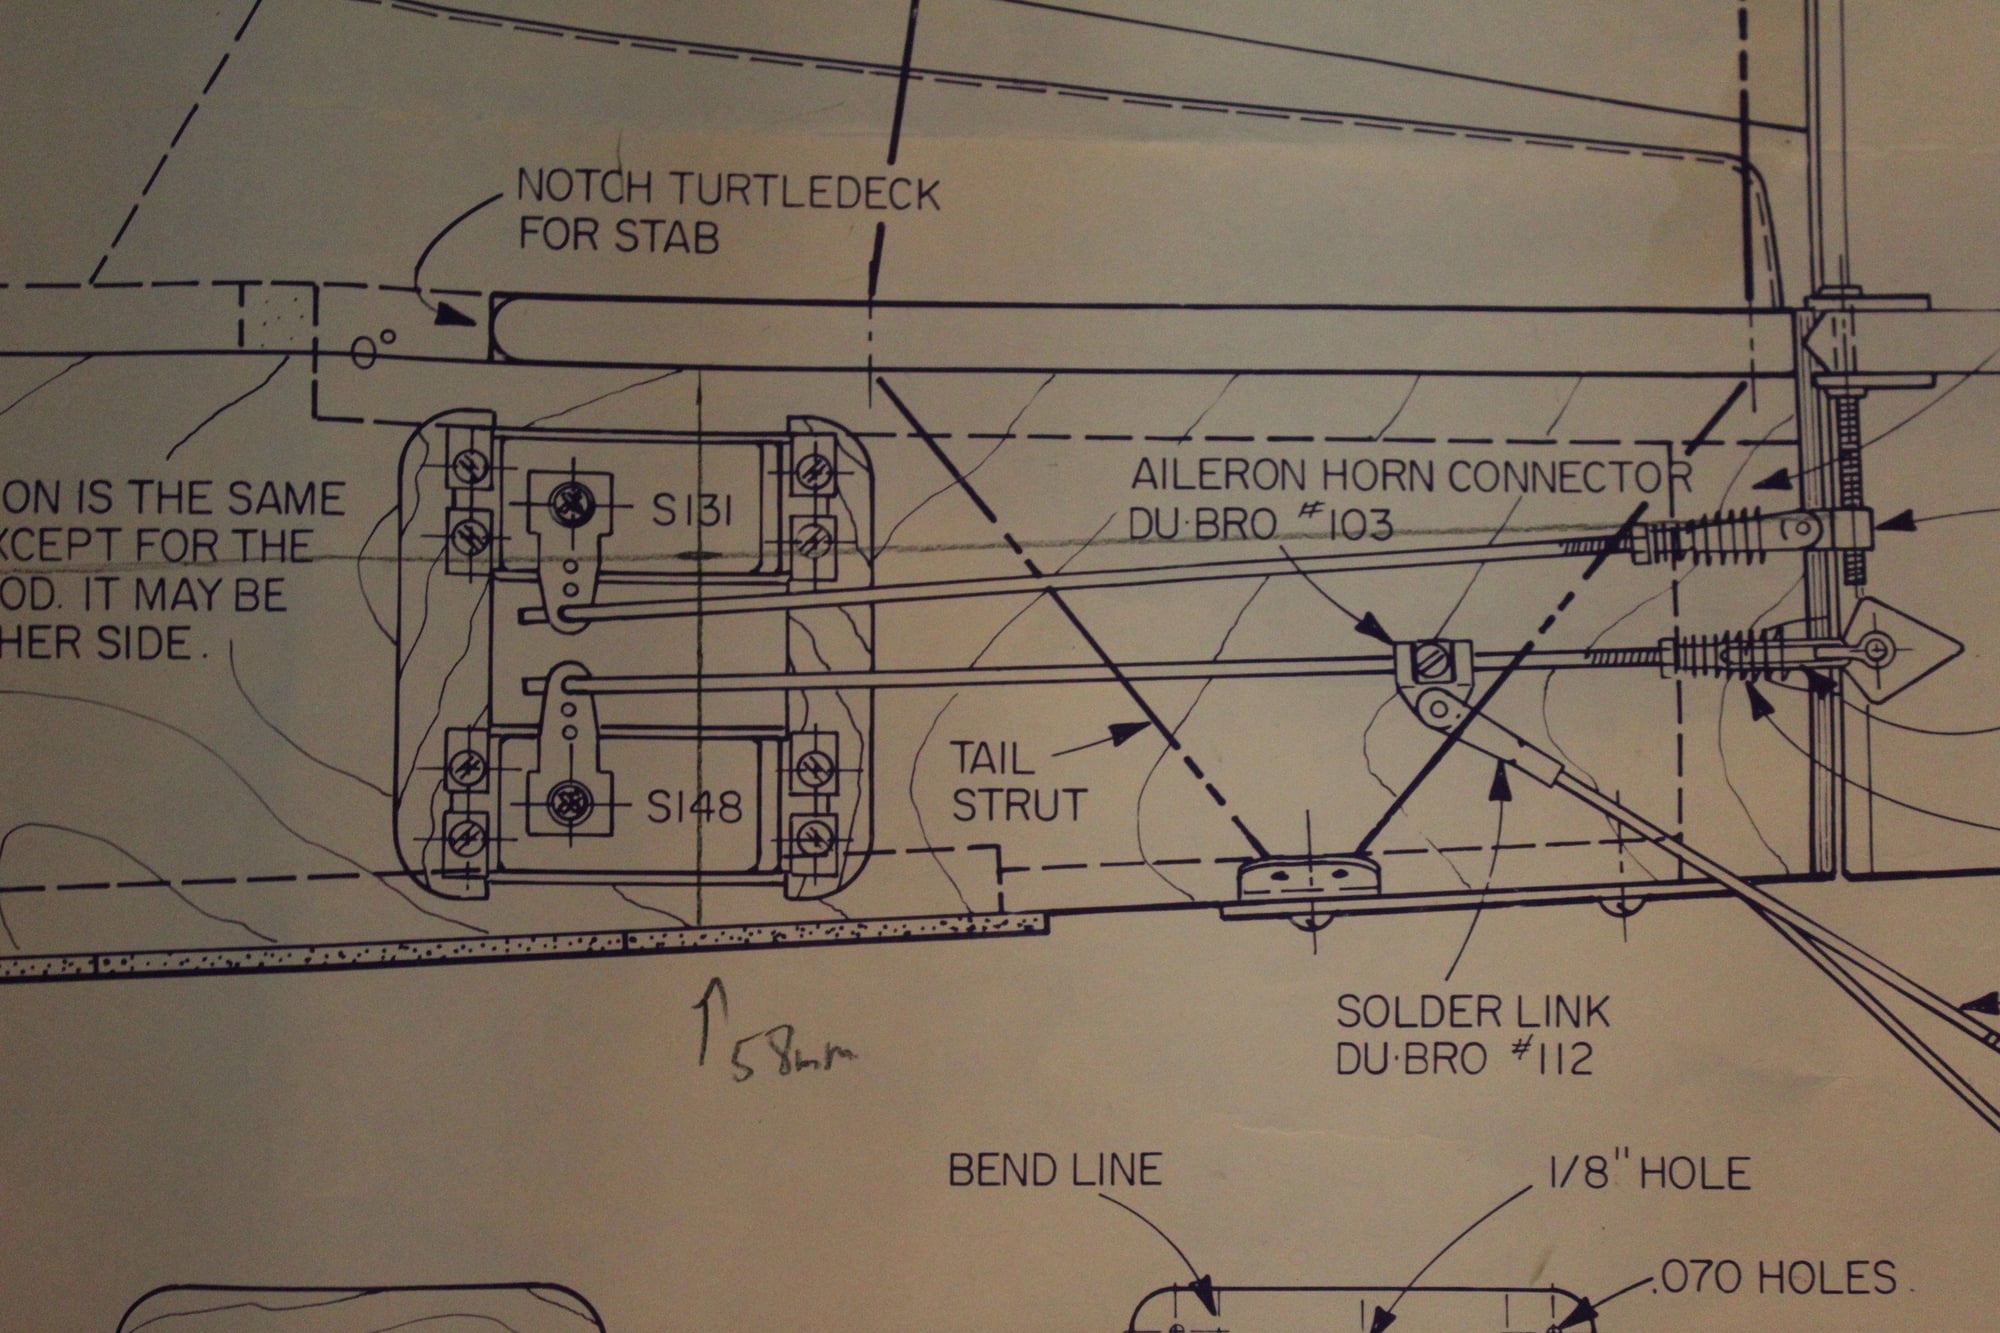
As to weather I find the old designs and kits superior to current ones, yes, I am. First of all, they were designed by builders for builders. The best feature of these older designs is the quality of the plans. Many of the current CAD designed offerings are designed by computer operators whom never actually put an aeroplane together. The plans do not have grain direction, wood type symbols or logical assembly steps. The best example is the awful Beaver kit by Moustache Model Works (Moustache 20cc DHC-2 Beaver Build)... The other side of the coin are the excellent kits by Balsa USA (for example) which demonstrate that it is still possible to manufacture high quality kits.
I have a small collection of "vintage" kits waiting to be built, for some of them I was waiting years for the opportunity to purchase them as they became rare to find and these days very expensive to ship.
I am at a point in the next two weeks that I will have to make a decision which kit to build next. 1st world problems : )
Cheers,
Eran
Thank you for your kind comment.
As to weather I find the old designs and kits superior to current ones, yes, I am. First of all, they were designed by builders for builders. The best feature of these older designs is the quality of the plans. Many of the current CAD designed offerings are designed by computer operators whom never actually put an aeroplane together. The plans do not have grain direction, wood type symbols or logical assembly steps. The best example is the awful Beaver kit by Moustache Model Works (Moustache 20cc DHC-2 Beaver Build)... The other side of the coin are the excellent kits by Balsa USA (for example) which demonstrate that it is still possible to manufacture high quality kits.
I have a small collection of "vintage" kits waiting to be built, for some of them I was waiting years for the opportunity to purchase them as they became rare to find and these days very expensive to ship.
I am at a point in the next two weeks that I will have to make a decision which kit to build next. 1st world problems : )
Cheers,
Eran
The following users liked this post:
G.F. Reid (05-06-2024)
05-12-2024, 02:27 PM
#124
Thread Starter
Join Date: Jun 2008
Location: Perth WA, AUSTRALIA
Posts: 1,208
Likes: 0
Received 11 Likes
on
11 Posts
A club member took some videos on his phone when I was going through the maiden / heavy model certification flight.
Below is a link to a short YouTube video with the collection of these video clips
Cheers,
Eran
Below is a link to a short YouTube video with the collection of these video clips
Cheers,
Eran