New 1/4 scale build starting


 02-21-2021, 02:19 PM
#77

I laid up some cloth and resin to make a sheet, I am using it to make the landing gear cover and door I will also use it for servo hatch covers

It is easy to work with, I can cut it with scissors Till Next Time! Jerry B
02-22-2021, 07:30 AM
#78


Hi Jerry,
Just caught sight of your thread. I like balsa builds. What a long lay-off though. Better get on with it now as when you retire you'll have no time.
I've been retired 16 years now and have little to show for it. So much for the plan of "5 builds a year in retirement".
I just built my first planked curvy fuselage, but I used aliphatic and wet each strip before applying. Then lots of clamps and pins, and wait and wait. I had to cut each strip tapered, then trip away the big end and sand a curve into that side. It's a lot of work, isn't it? I tried cyano but it stuck to my fingers in preference to the wood.
Keep posting updates,
Alasdair

 03-29-2021, 04:29 PM
#80
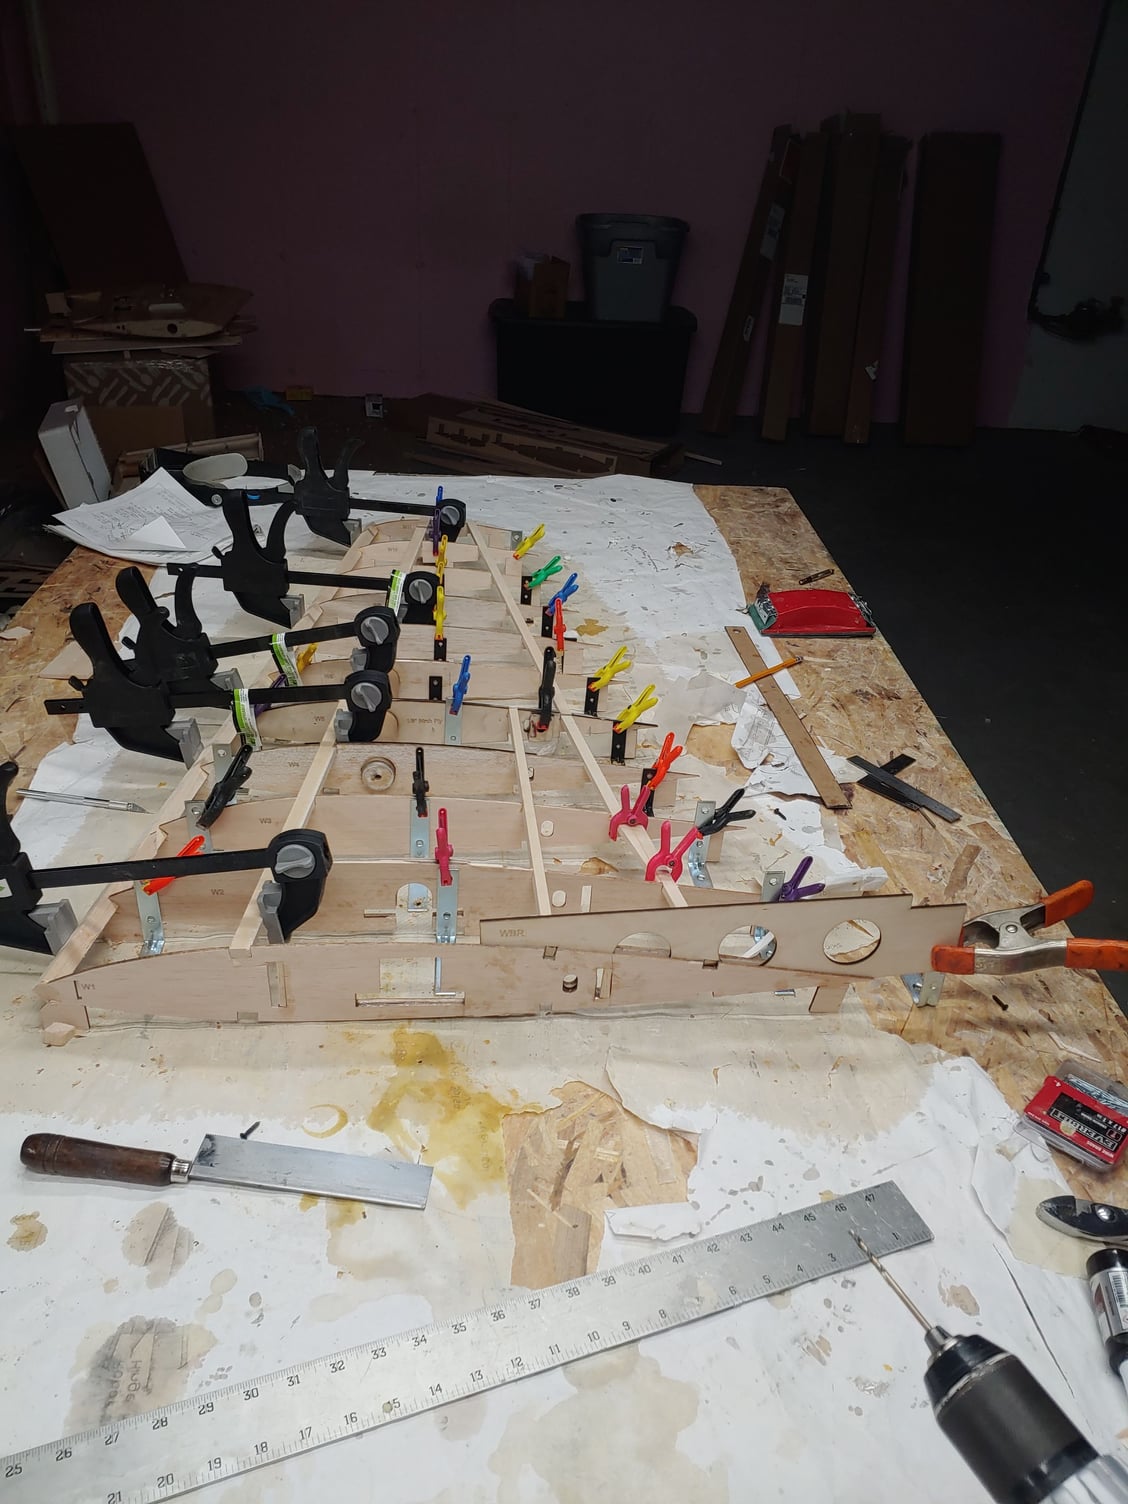

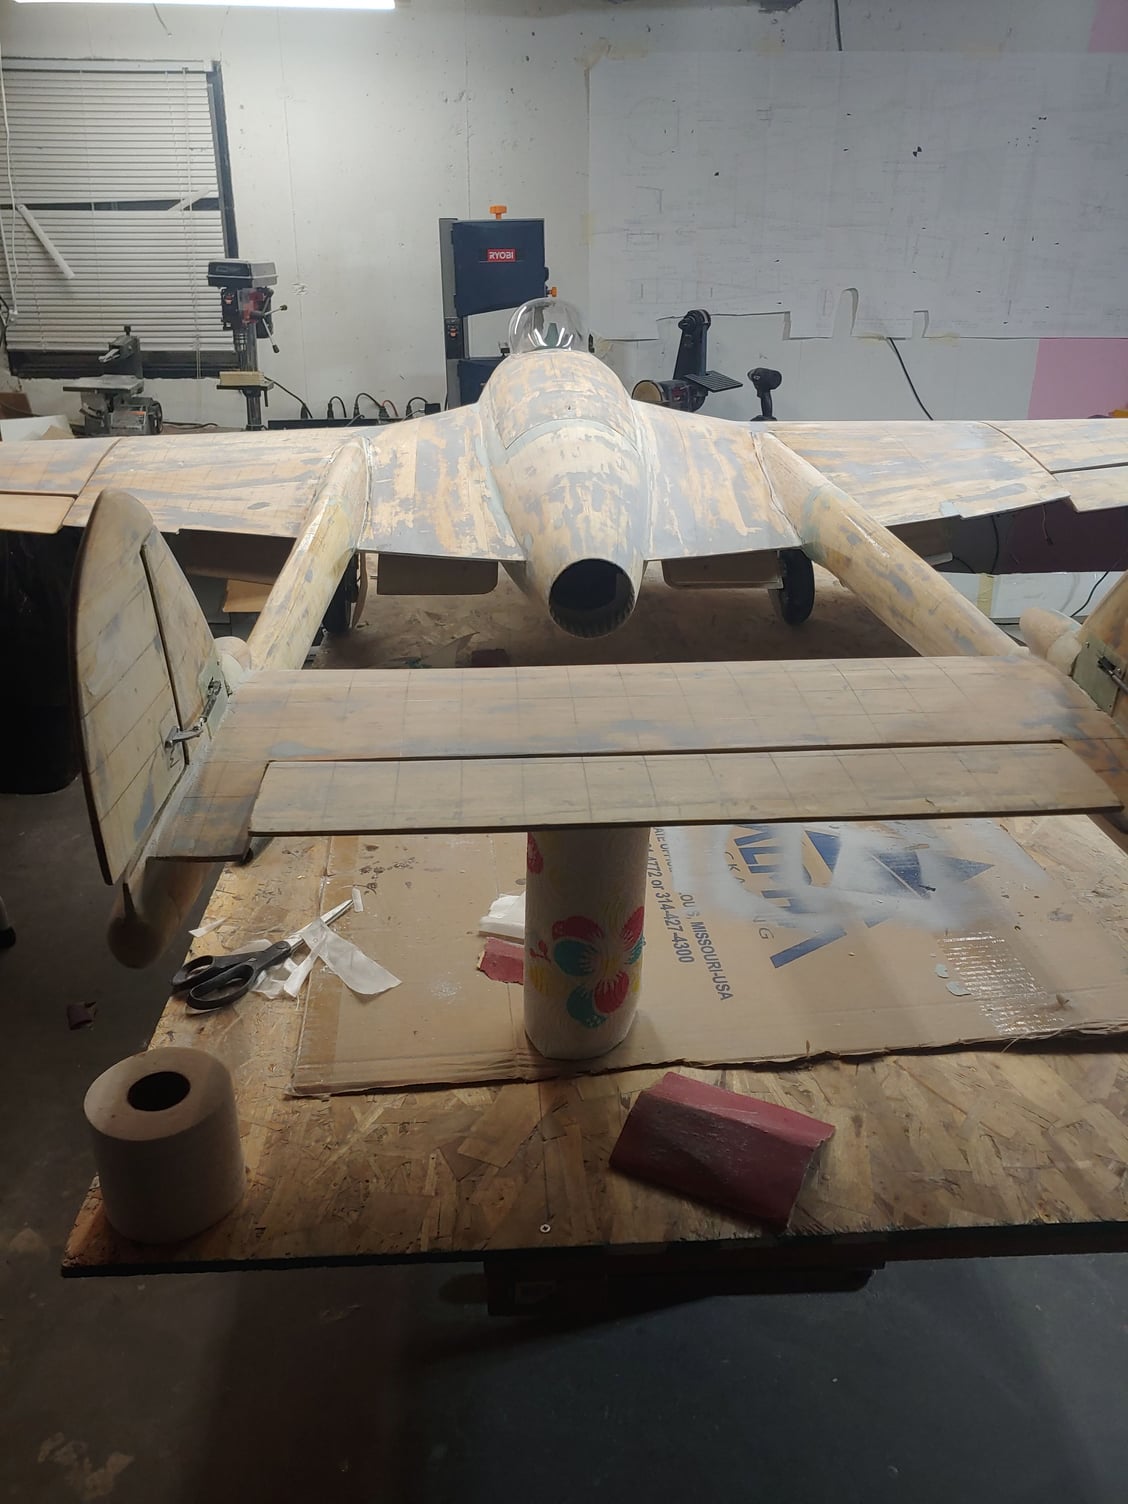
Had a little set back, When I built the right wing it some how got warped in the root were it attaches to the main fusalage, I tried to repair it to no avail, so I ordered new laser cut ribs and spars from National Balsa. Till next Time ! Jerry B Jerry B
03-31-2021, 02:44 AM
#81

That looks like a very strong spruce LE. I never force the longitudinal members straight while the glue drys. Just choose the straightest piece you have and lightly hold it in place as the glue dries. Then sand it straight with a very long sanding board. At least that's what I do...
RP
RP
05-19-2021, 10:22 AM
#82
Well I haven't been posting lately,but I have been working on it.I have reached a milestone ( in my eyes)I have all the parts
glassed and sanded.The next stop will be taking to my friends auto body shop to have the epoxy primer sprayed.There is just too much surface area for me to do it.


glassed and sanded.The next stop will be taking to my friends auto body shop to have the epoxy primer sprayed.There is just too much surface area for me to do it.

The following users liked this post:
jerrybern (03-01-2022)
09-26-2021, 03:06 PM
#85

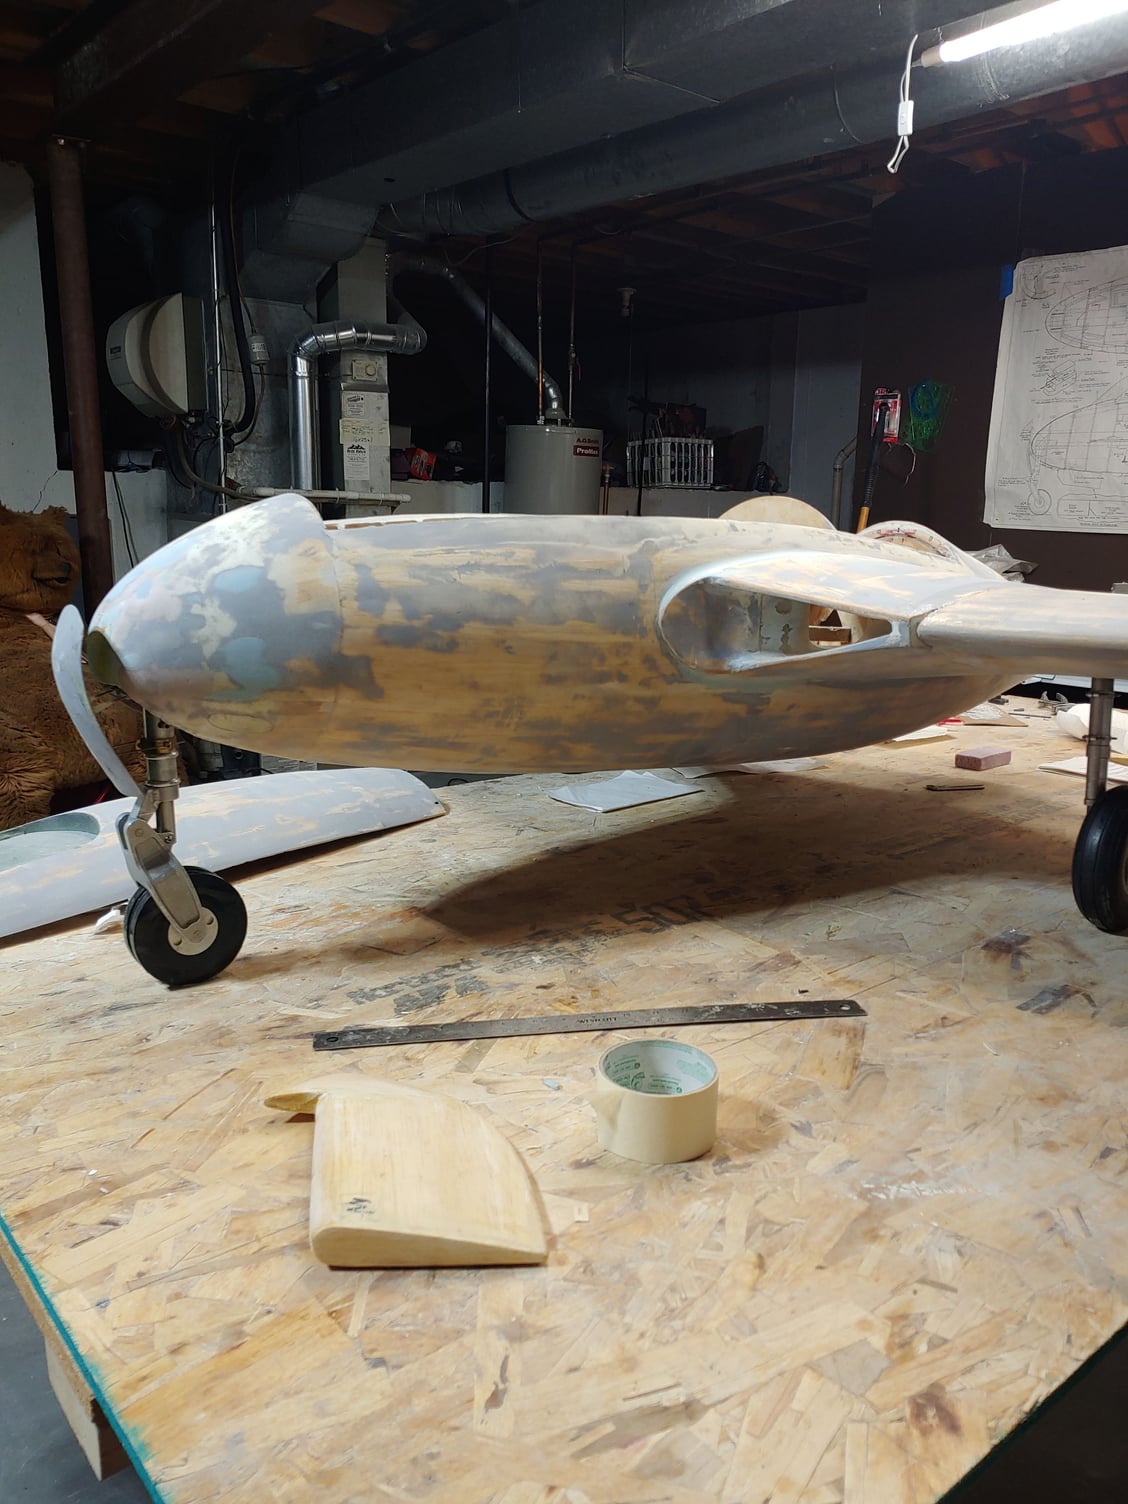

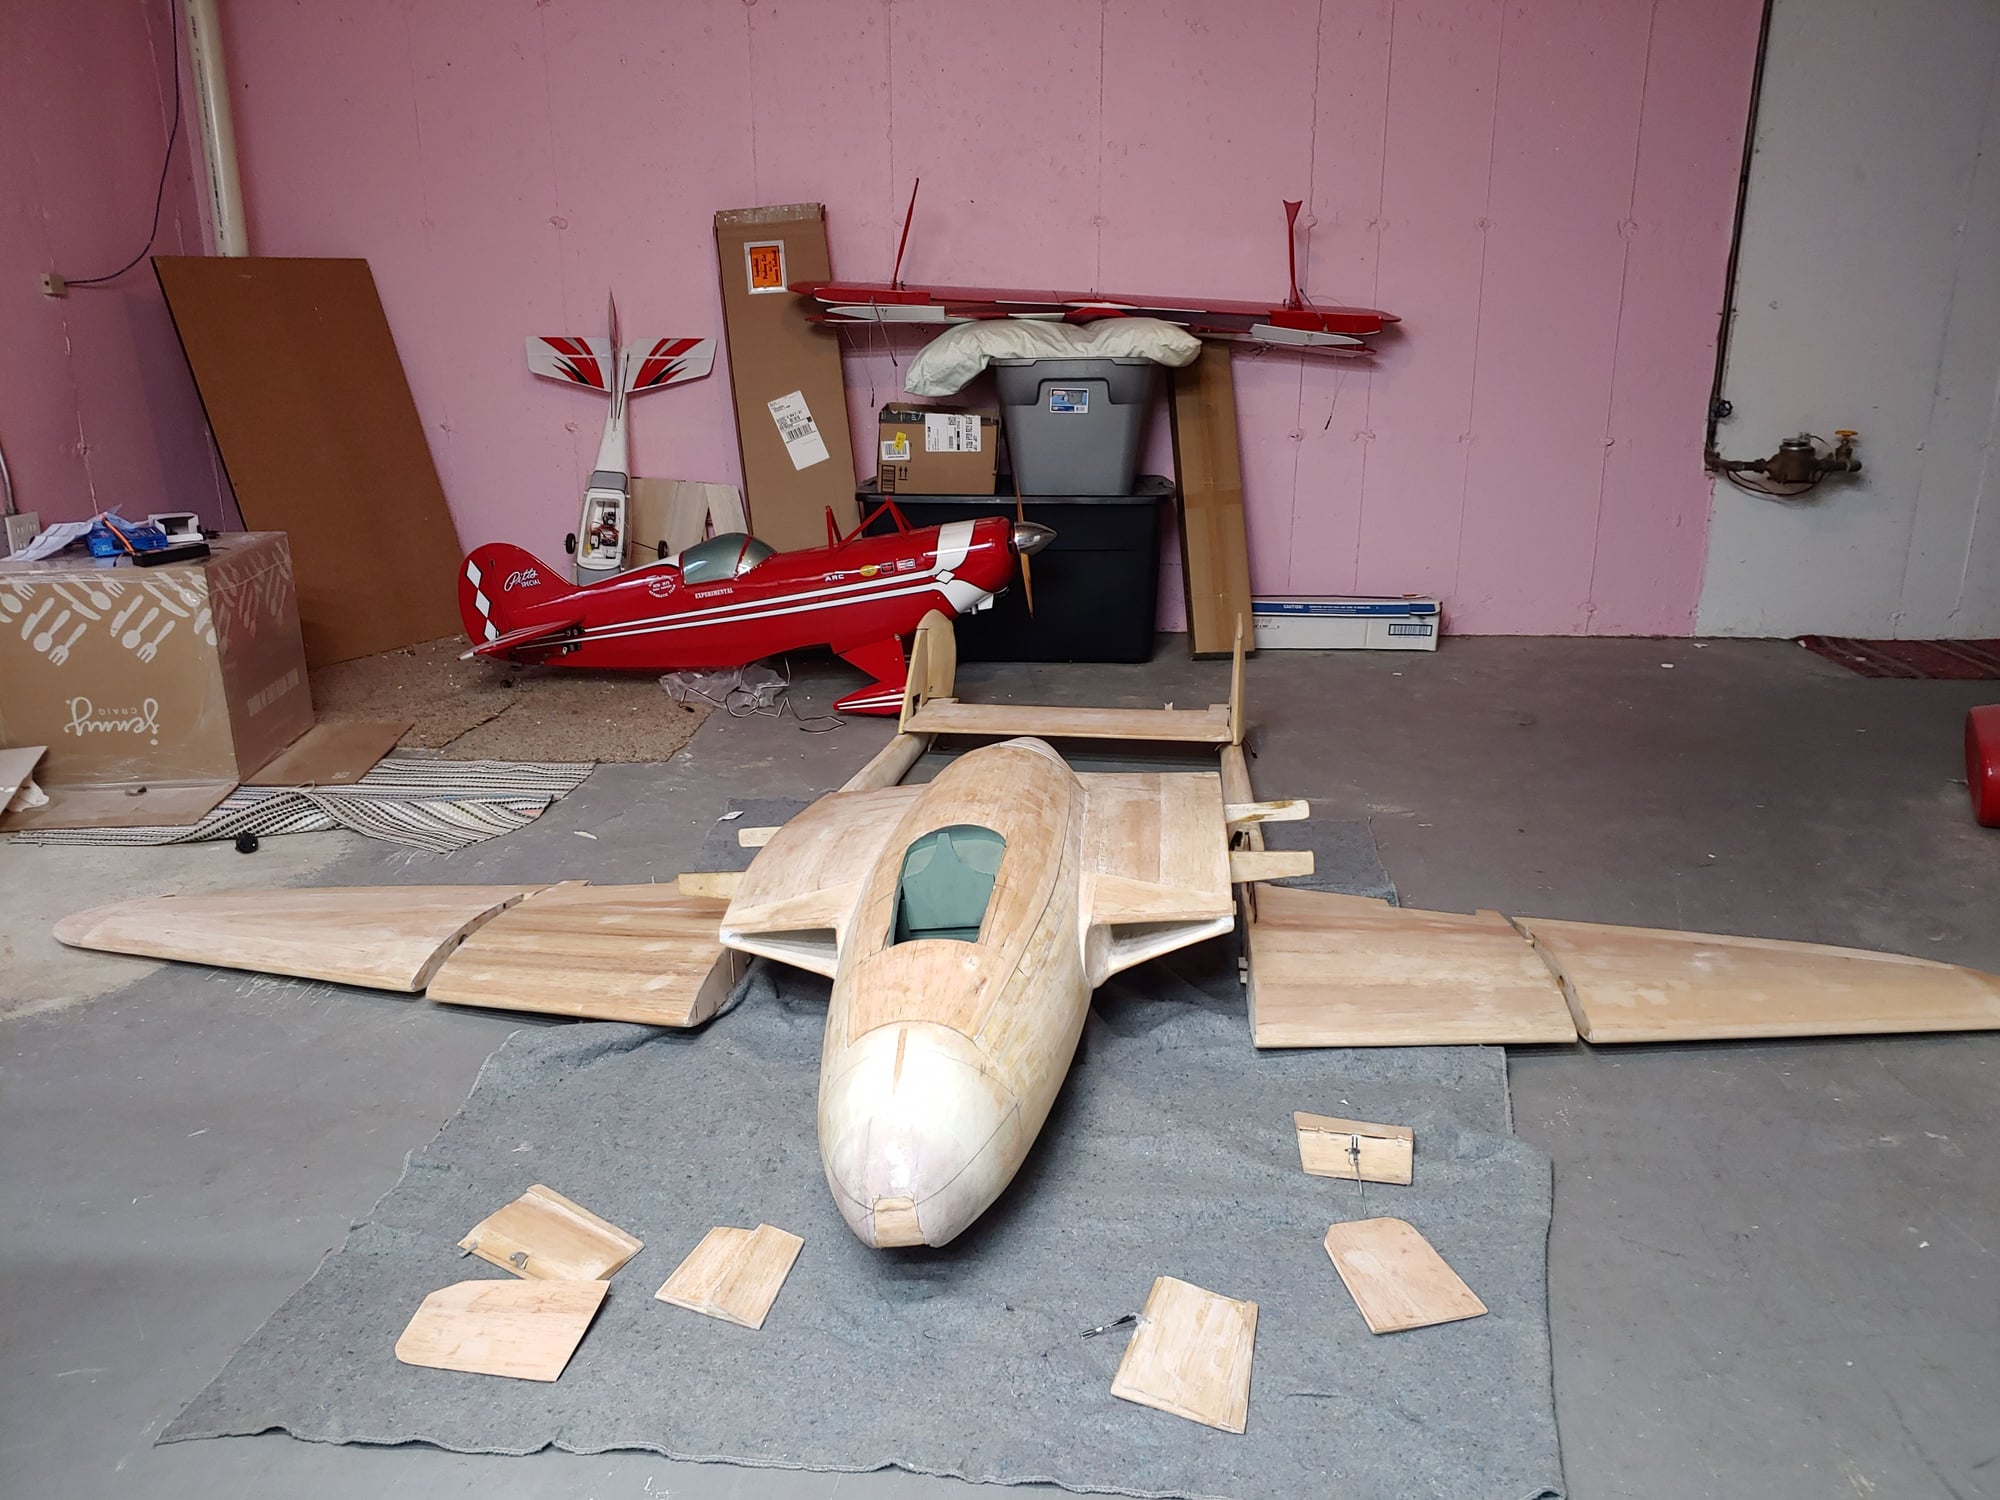
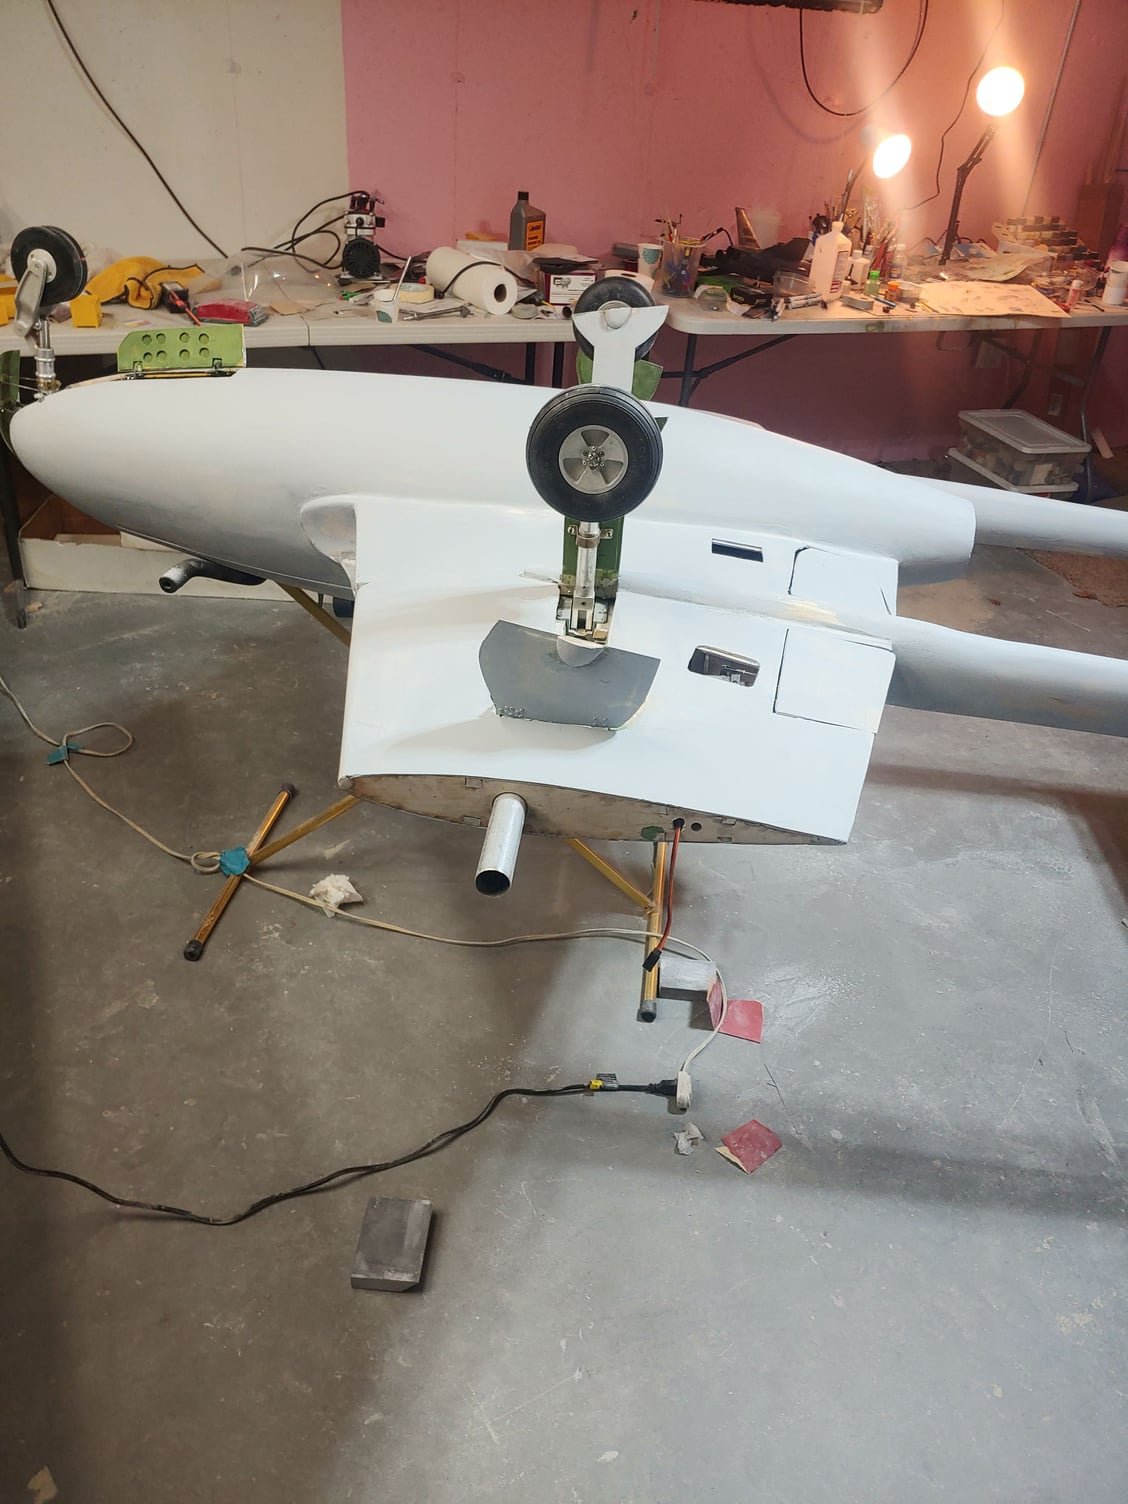
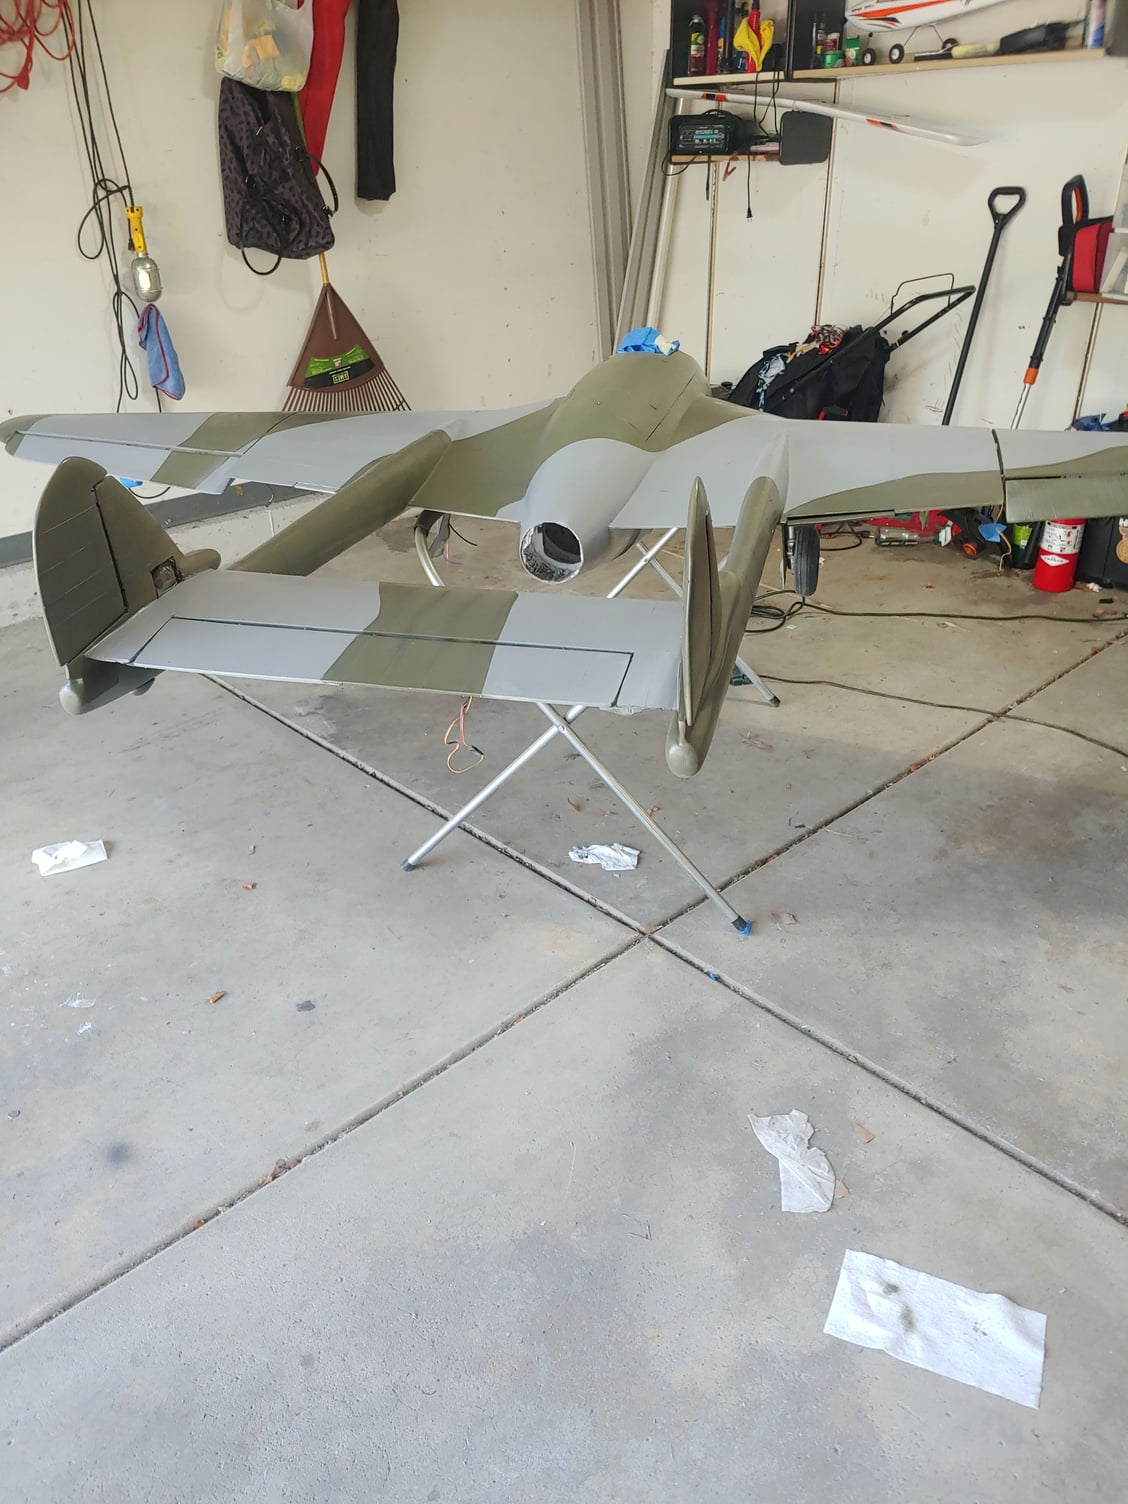
I Haven't posted much lately, however I have been working on it. I have most of the body work done, I found some places that I missed that need some work.I got it up on its gear today for the first time.That is always a important event to me.I should have it done by spring now that the cold weather is coming. Till Next Time! Jerry B
The following users liked this post:
RickP (09-27-2021)
01-29-2022, 04:05 PM
#86


Al
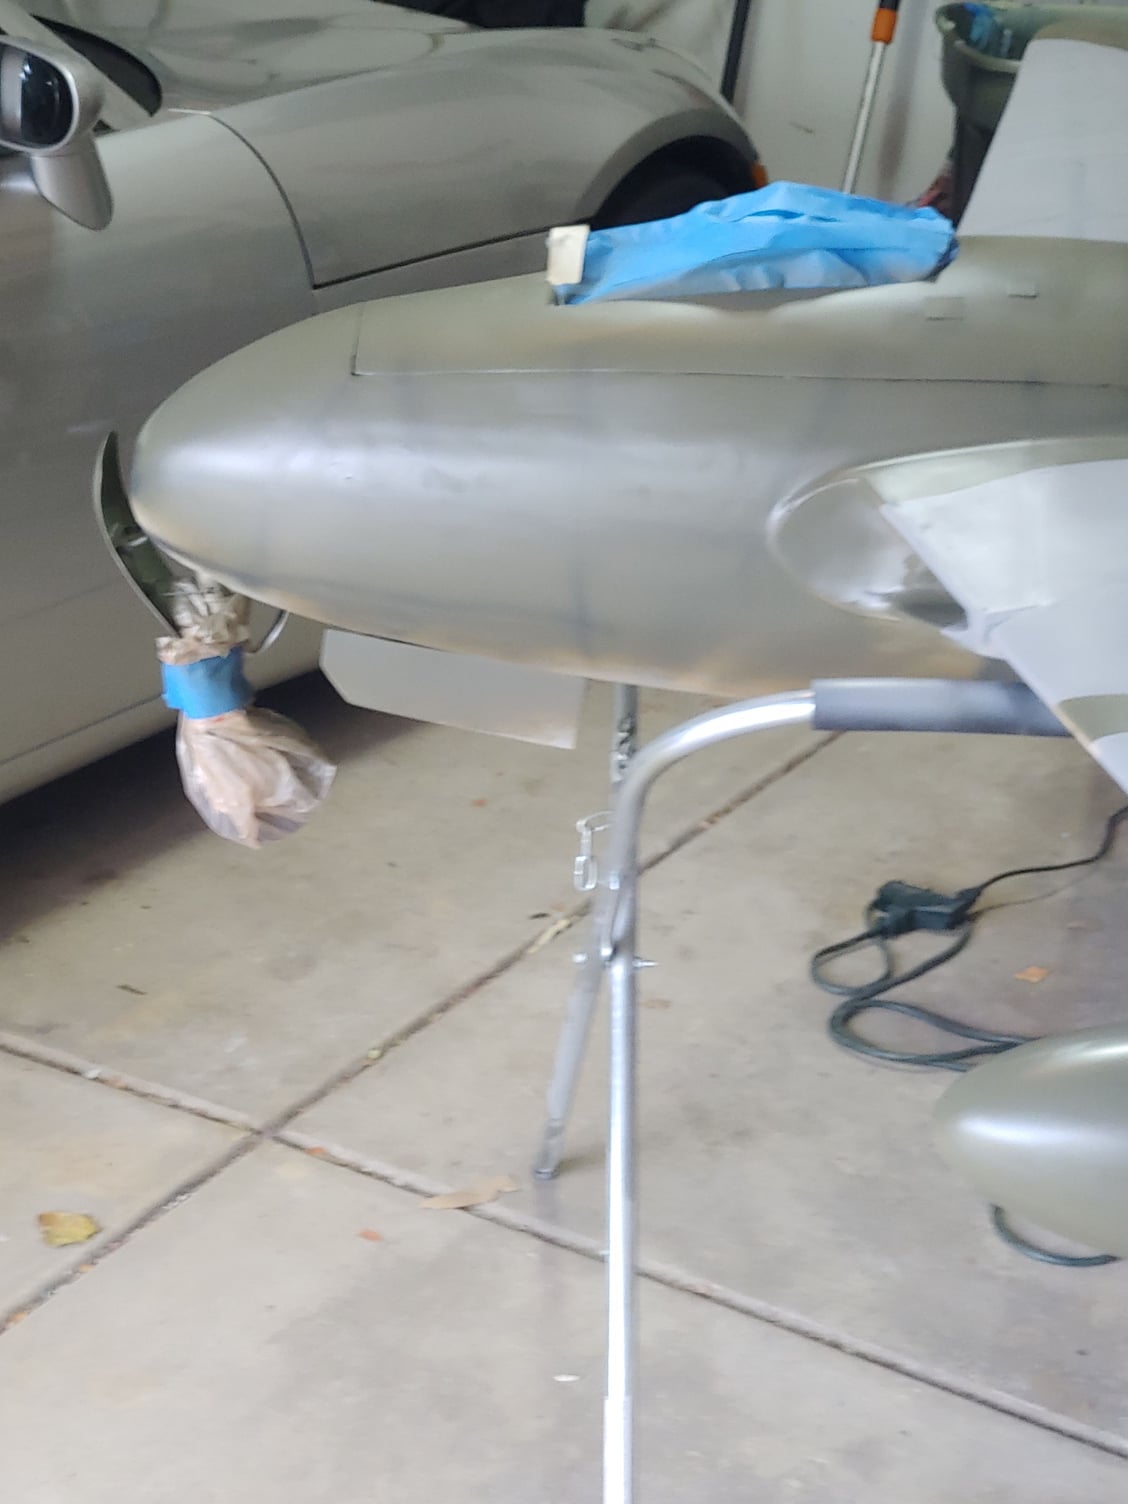
Almost done, I still need to give it another coat of primer, add the panel lines and rivets and paint.I got the strut covers to work properly, I hinged them and added a slider horseshoe that bolts to the cover and slides when the gear is closed. very simple and it works! Joe Funk July 4th at 500 PM seams lIke a reality now LOL. Till next Time! Jerry B
The following users liked this post:
jcterrettaz (01-30-2022)
02-05-2022, 03:38 PM
#87
With all of the major build completed, I have started on the cockpit.
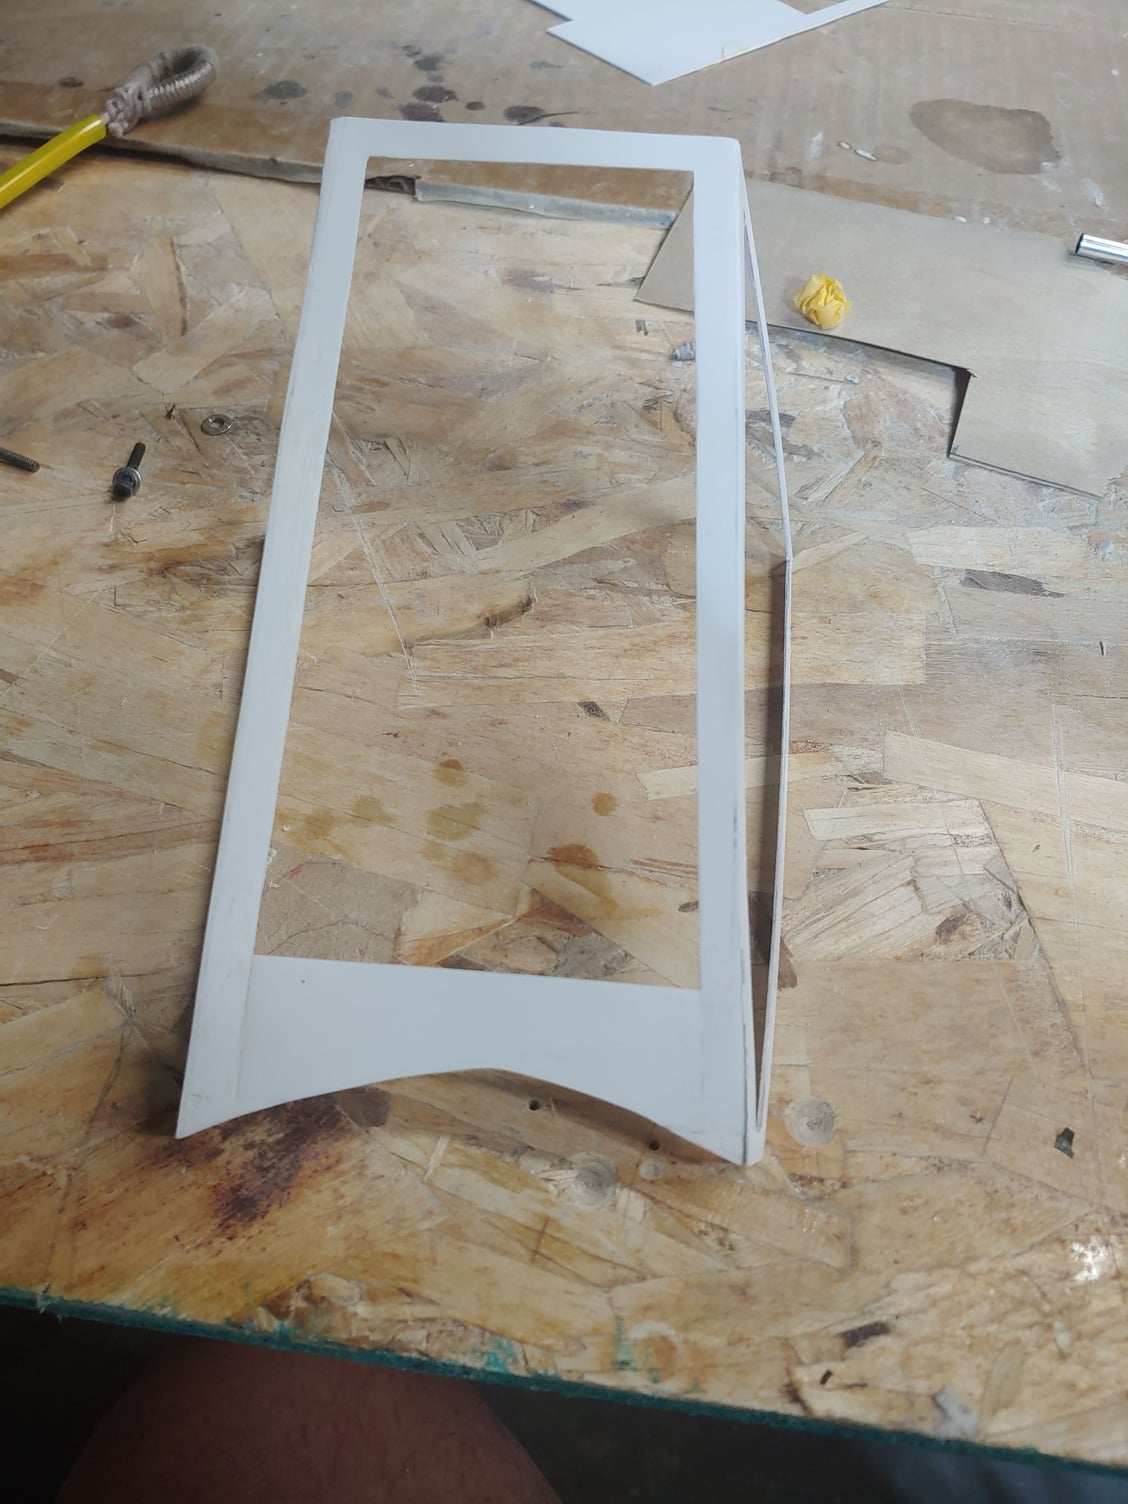
I built the windscreen from polystyrene sheets that I use in my static plastic model building.

Side view

Some buttons and lever from a vacuum generic cockpit kit I had laying around

Instrument panel, that I need to detail up some more.

Inside windscreen frame

Pilot inside cockpit
I built the windscreen from polystyrene sheets that I use in my static plastic model building.
Side view
Some buttons and lever from a vacuum generic cockpit kit I had laying around
Instrument panel, that I need to detail up some more.
Inside windscreen frame
Pilot inside cockpit
The following 2 users liked this post by jerrybern:
jcterrettaz (02-05-2022),
stuart_80 (02-06-2022)


The following users liked this post:
grbaker (02-27-2022)
02-27-2022, 12:38 PM
#89


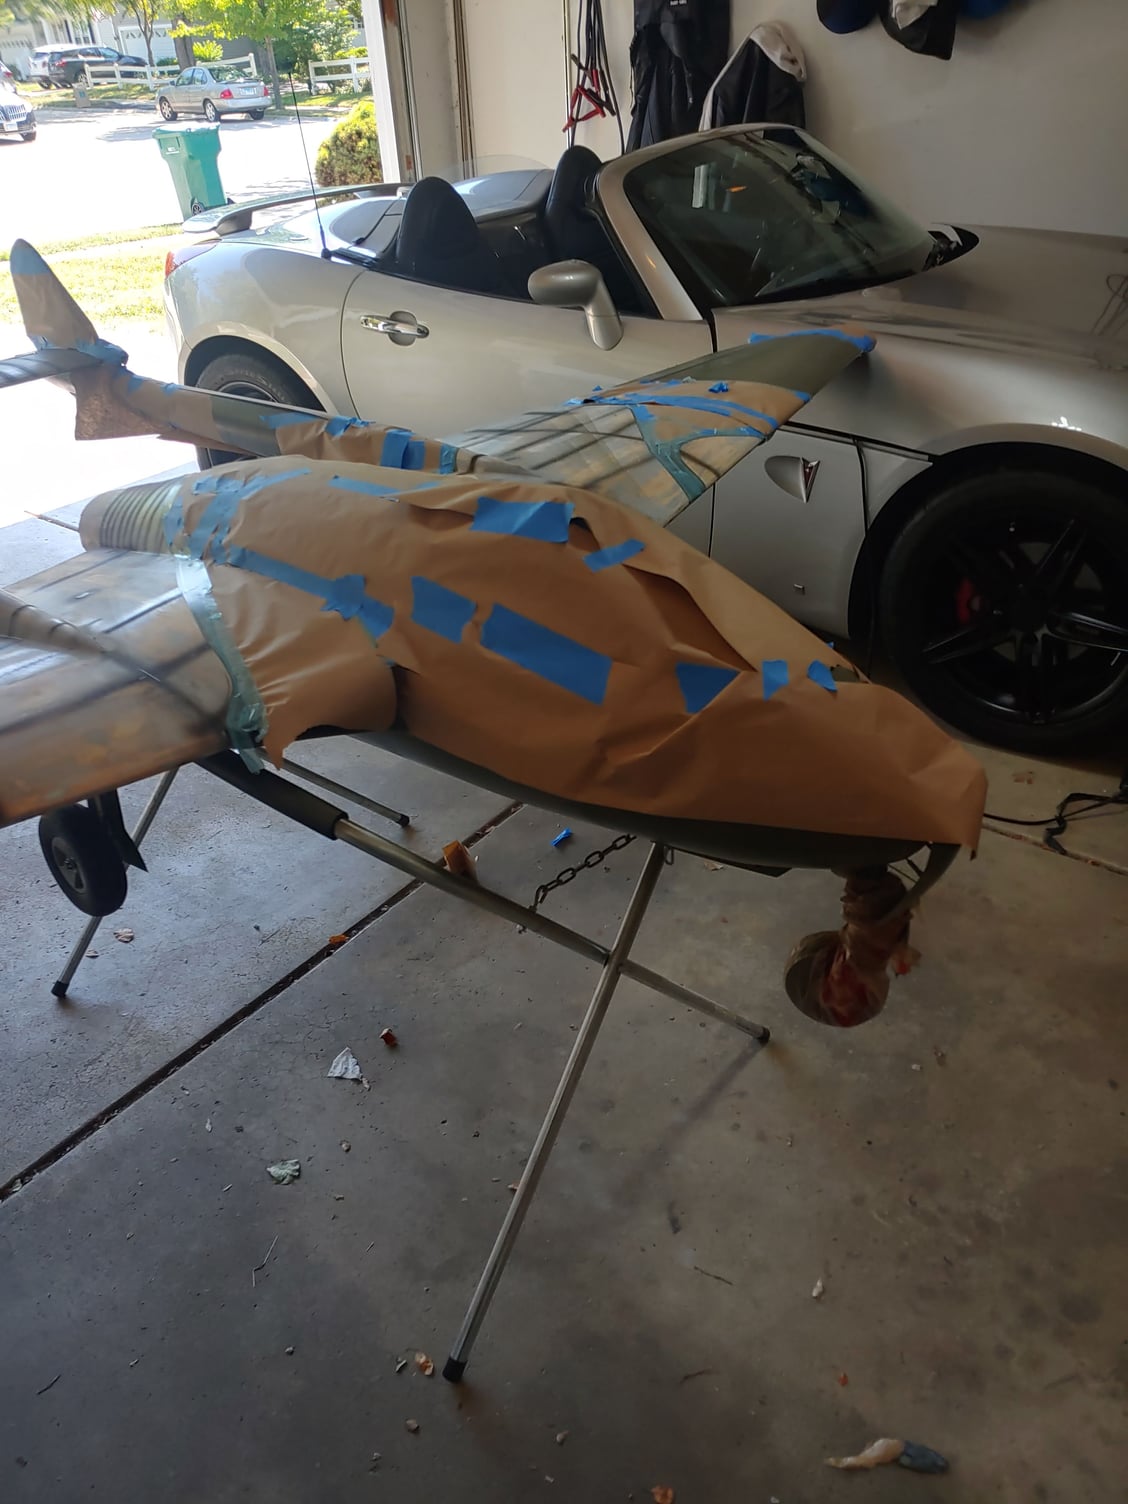
Well, I took advantage of my wife being gone for the day and primed the Vampire in the basement.I stunk out our house, hopefully it will be gone when she gets Home LoL I found put no matter how well you THINK you sanded it you will always find areas that needs more work.I found 4 or 5 spots so far..Next is a primer sanding party Till Next Time ! Jerry B
The following users liked this post:
grbaker (02-27-2022)


The following users liked this post:
jcterrettaz (03-26-2022)
05-26-2022, 09:18 PM
#91
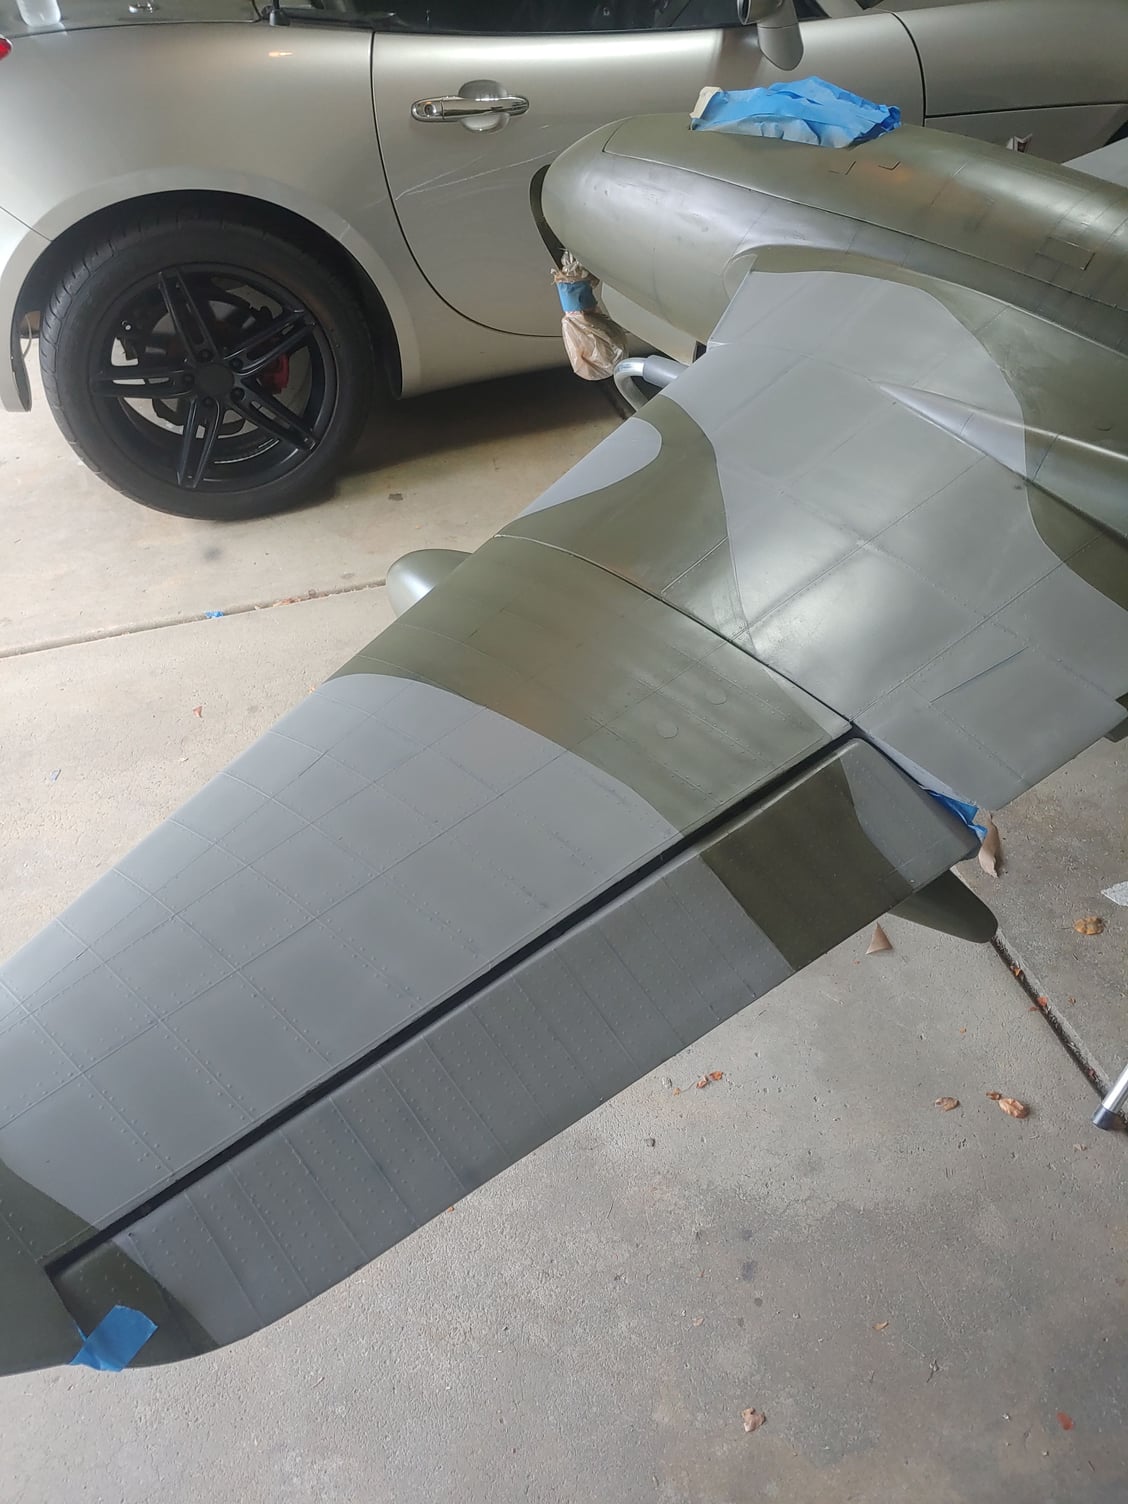
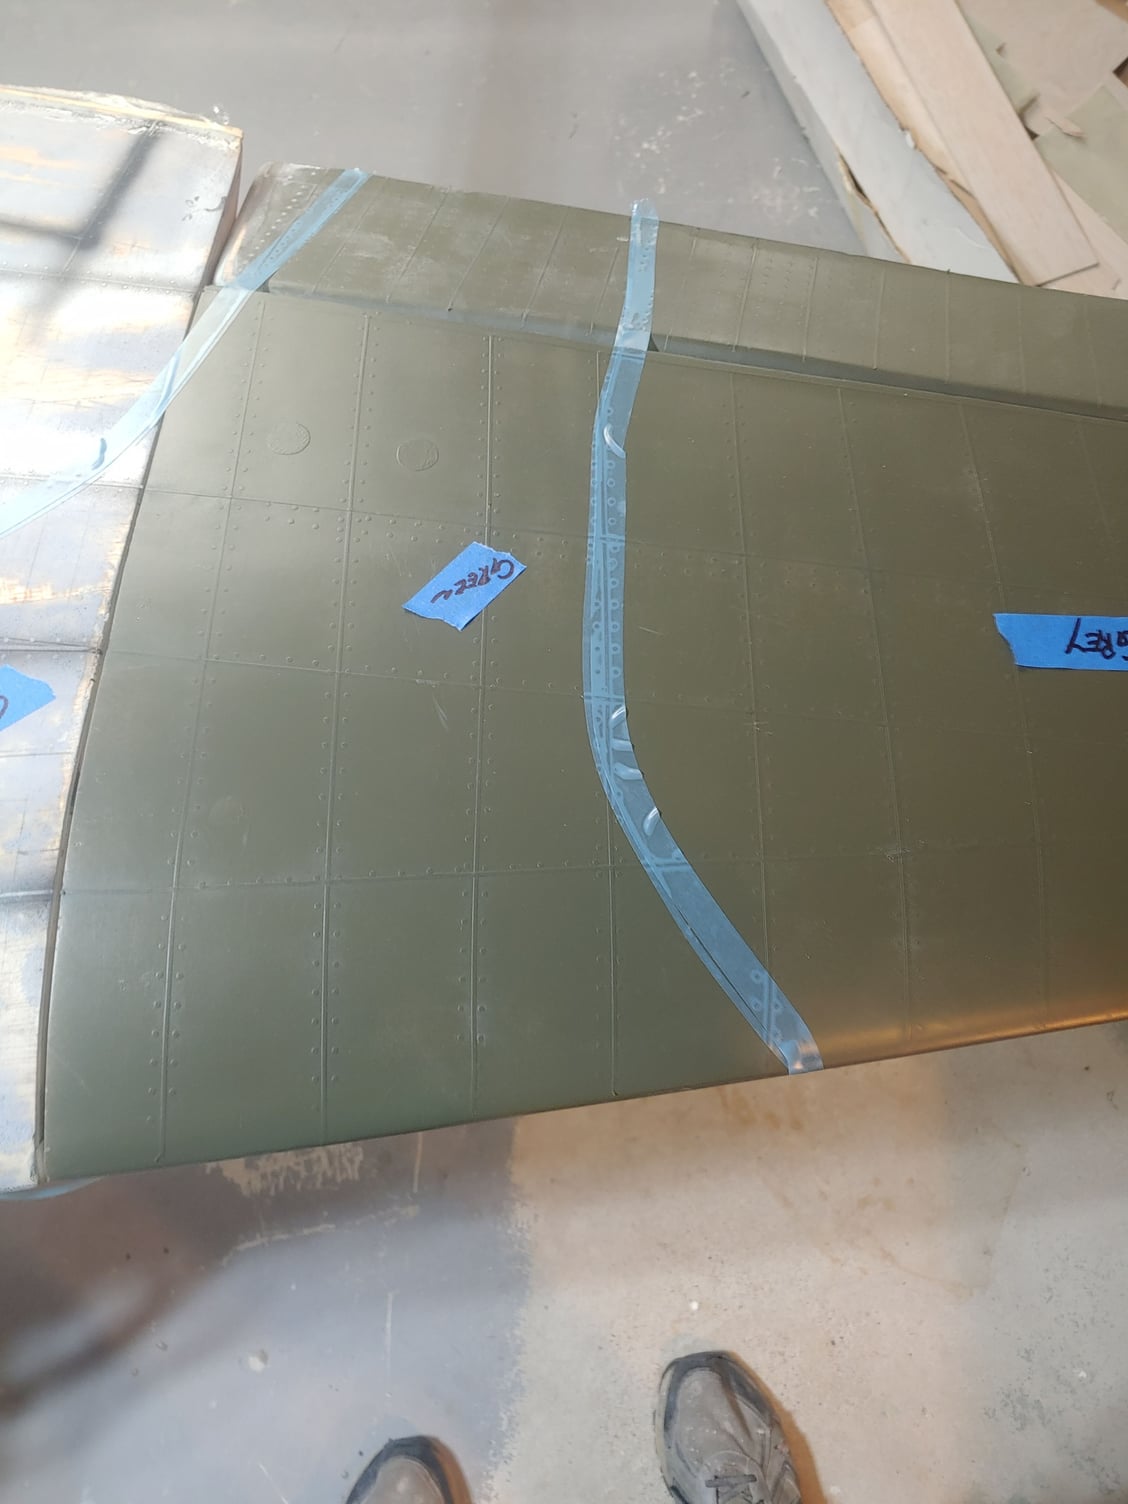
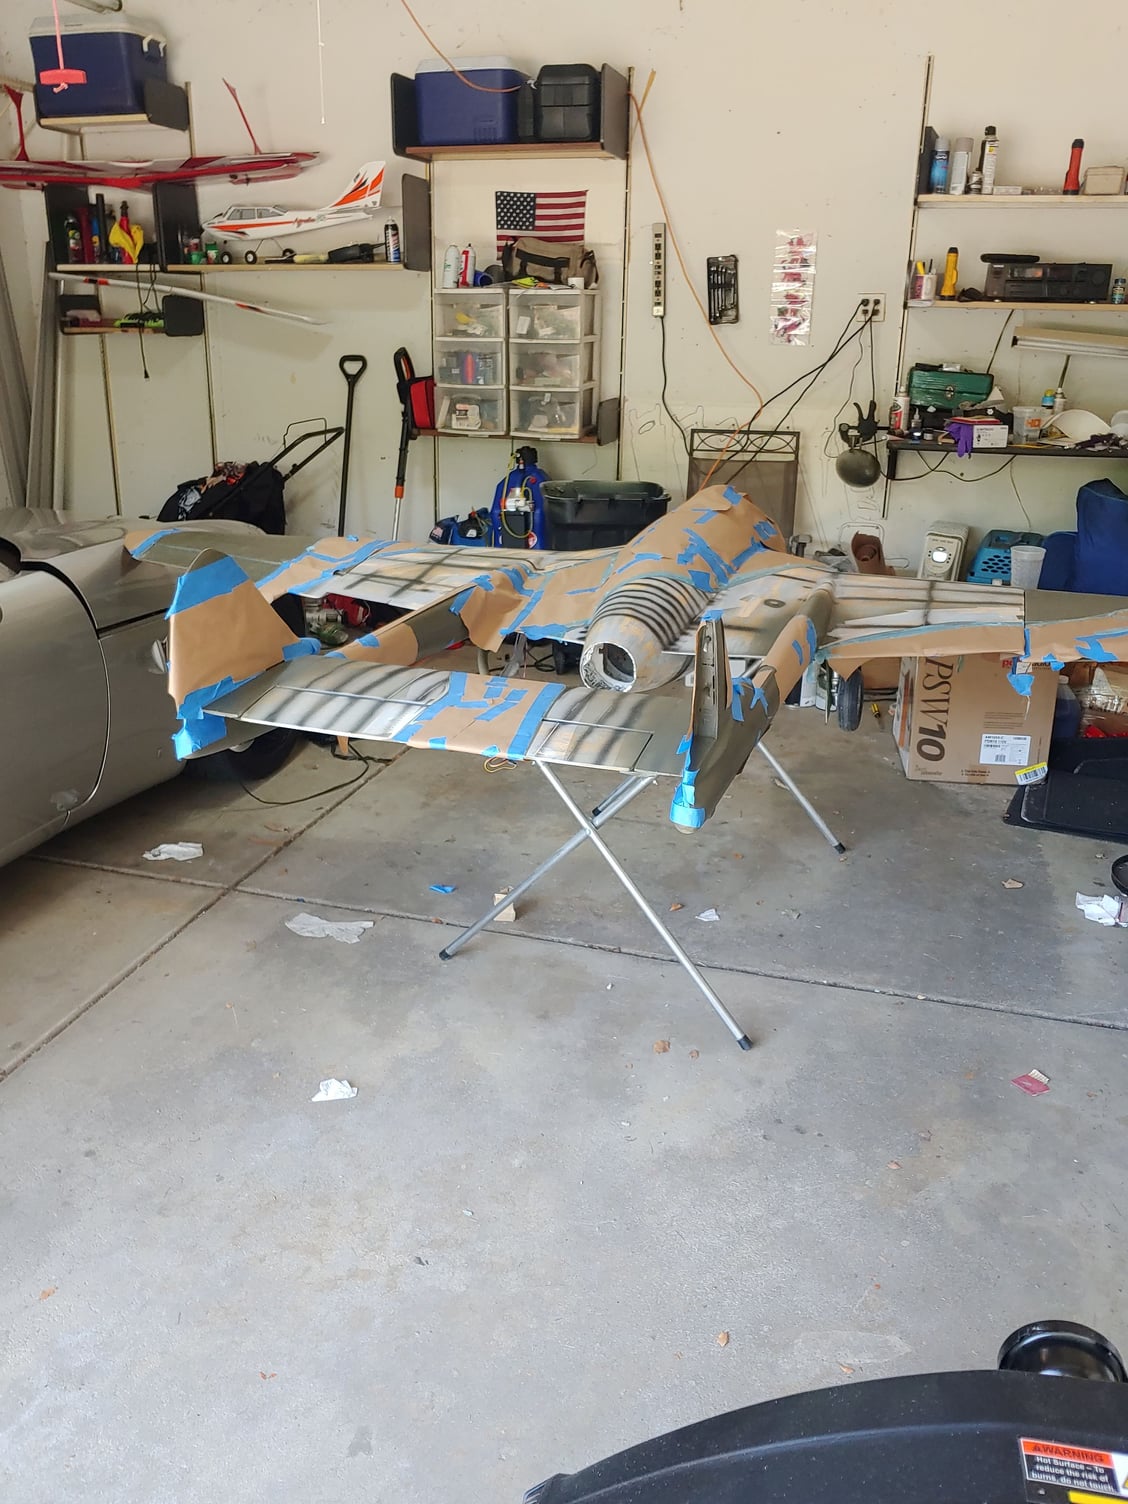
I just finished the panel lines and rivets , Next I need to give the
the fuselage a final coat of primer.
Till Next Time!
Jerry B


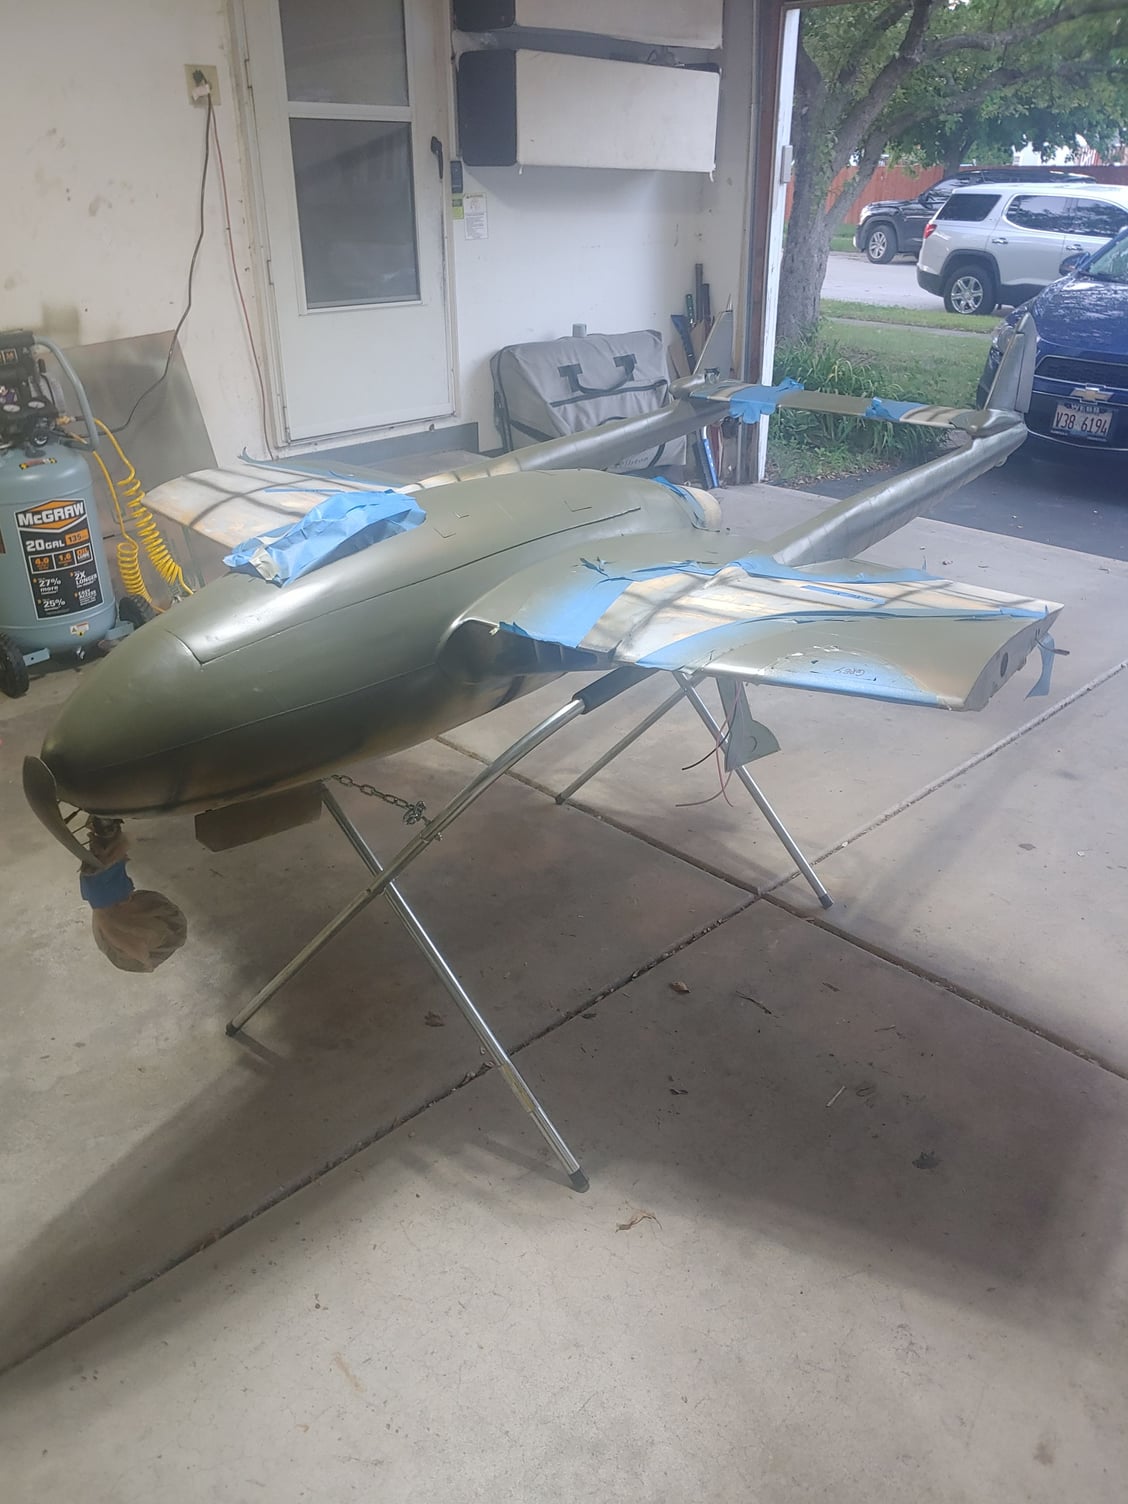
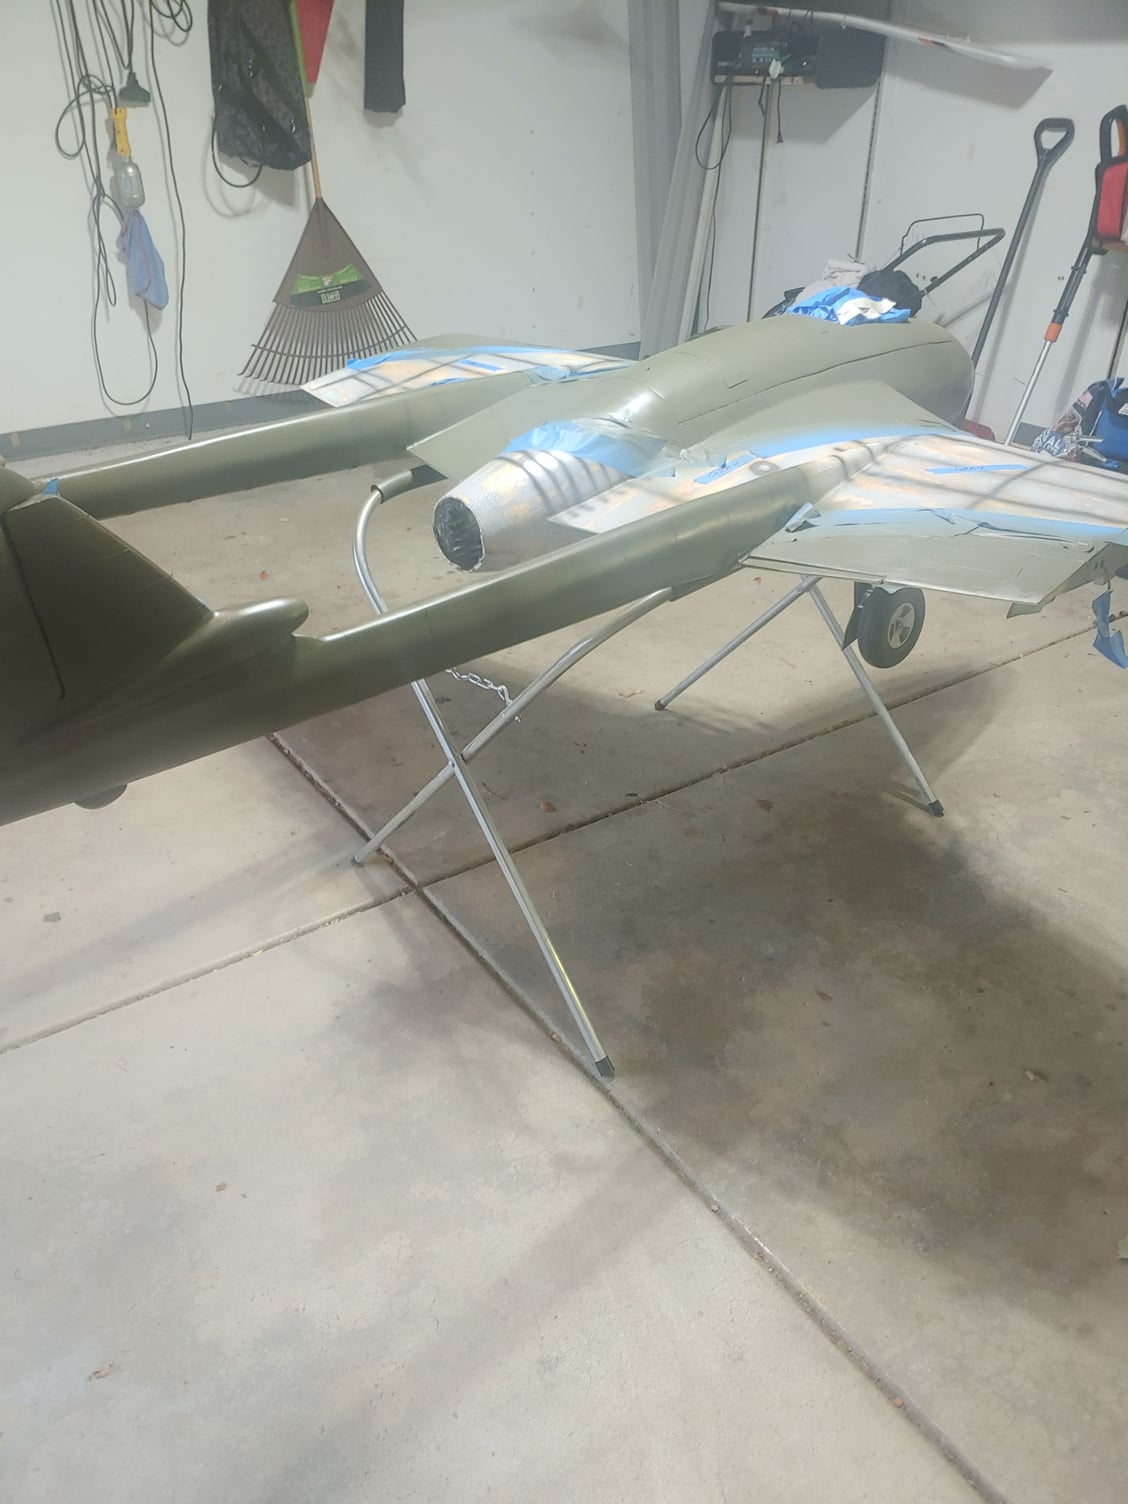
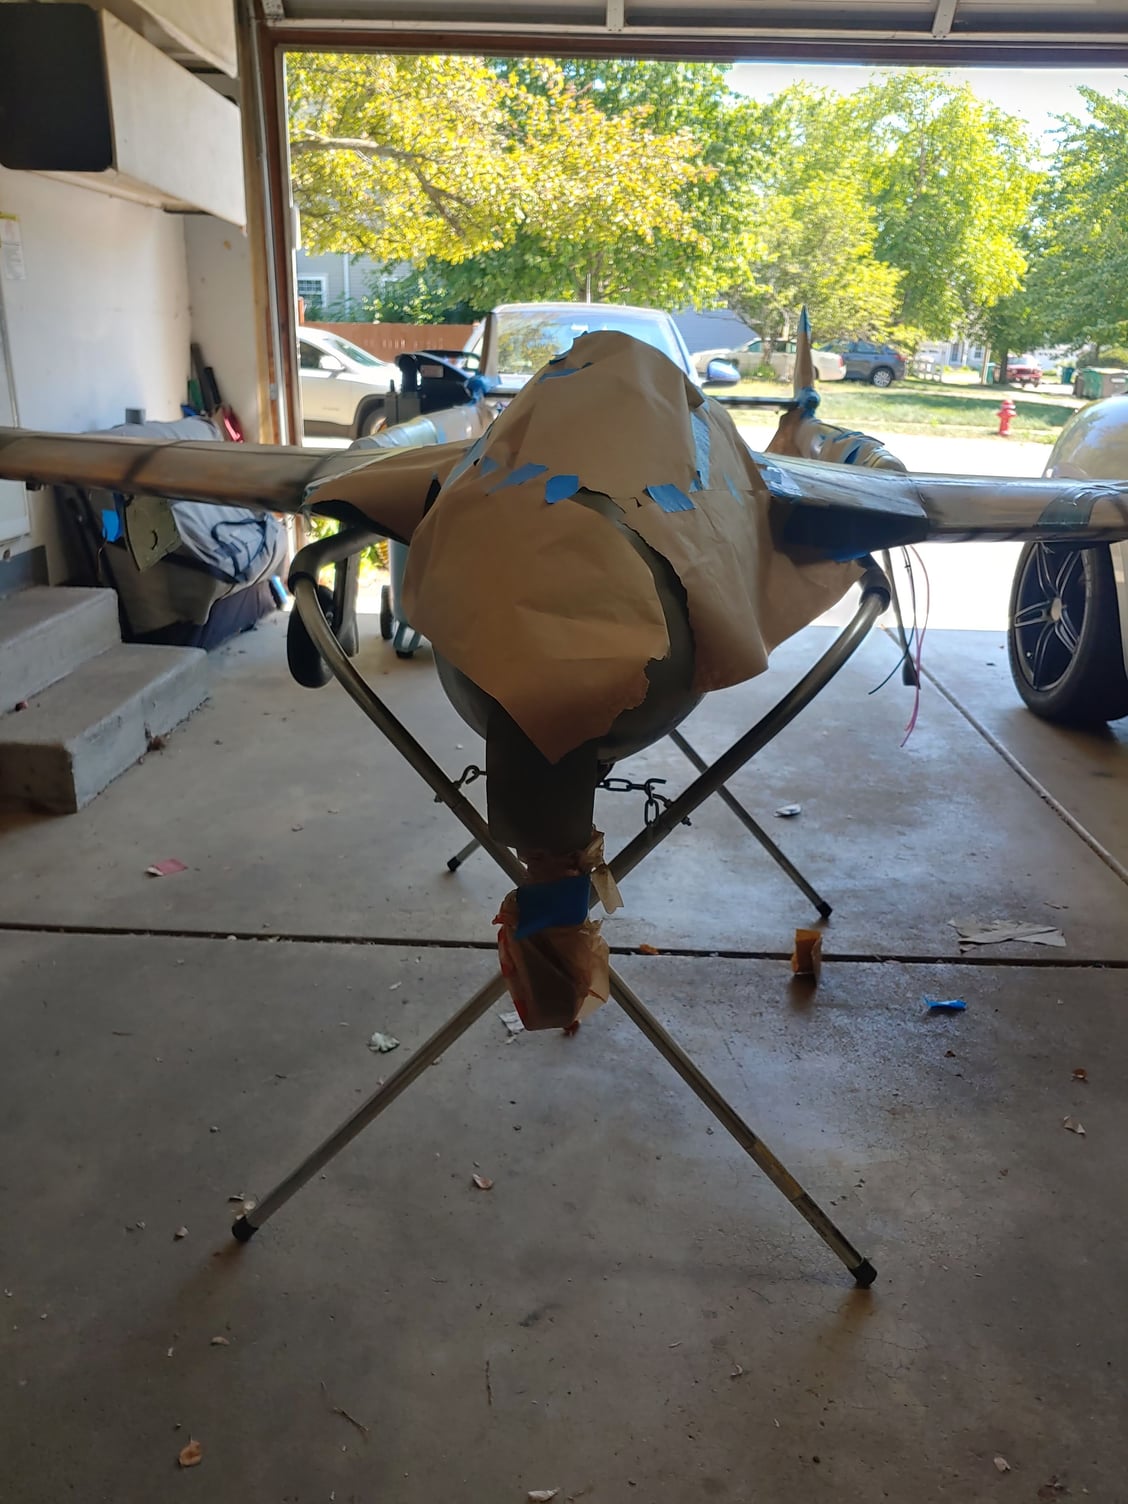
Started to do the Pre-Shading before I paint it.
the fuselage a final coat of primer.
Till Next Time!
Jerry B
Started to do the Pre-Shading before I paint it.


The following users liked this post:
grbaker (06-16-2022)


The following users liked this post:
jcterrettaz (06-22-2022)

 06-21-2022, 01:32 PM
#97
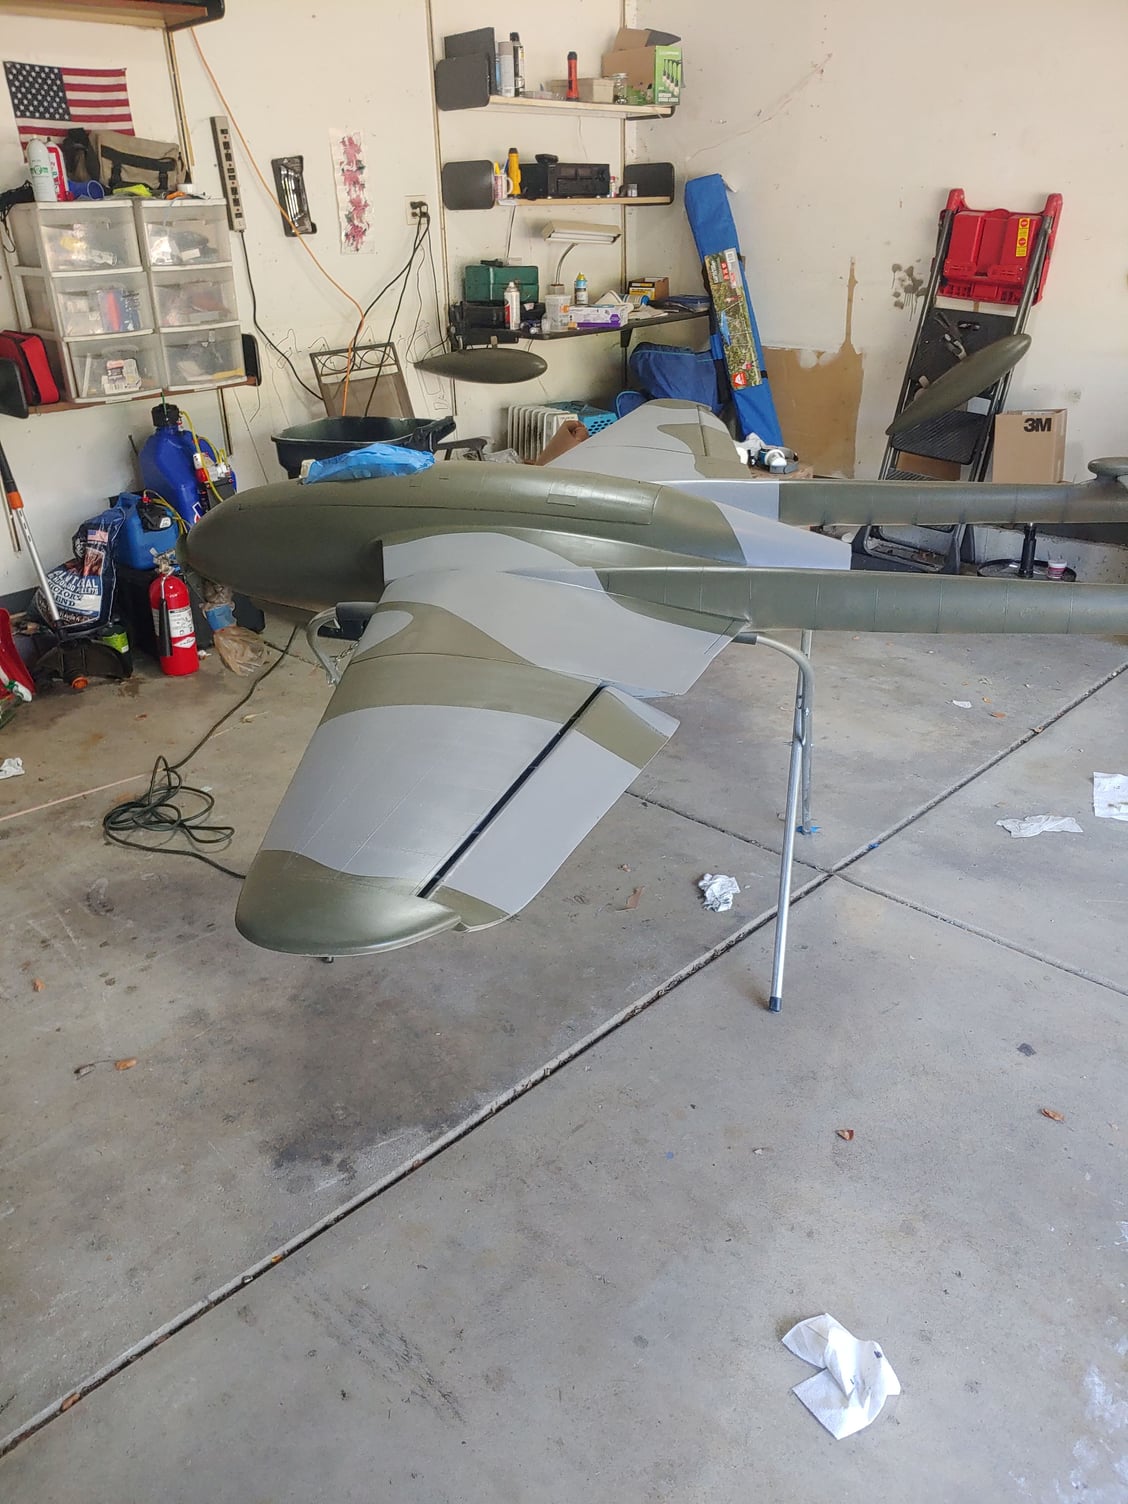

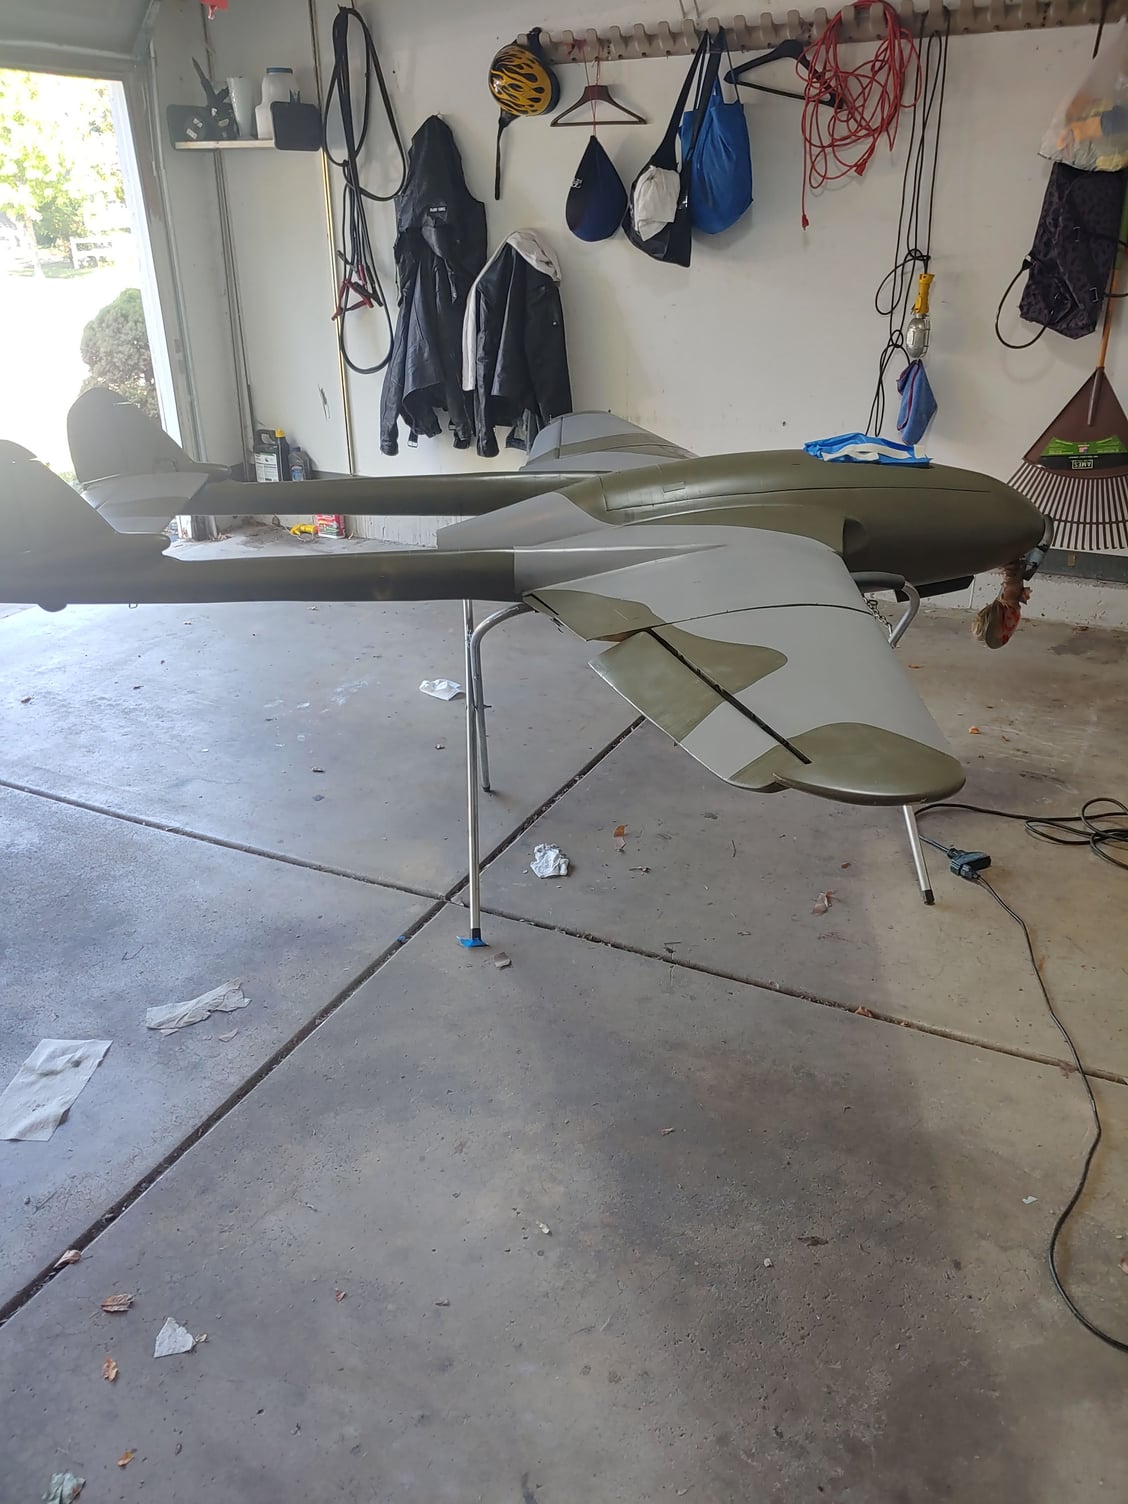
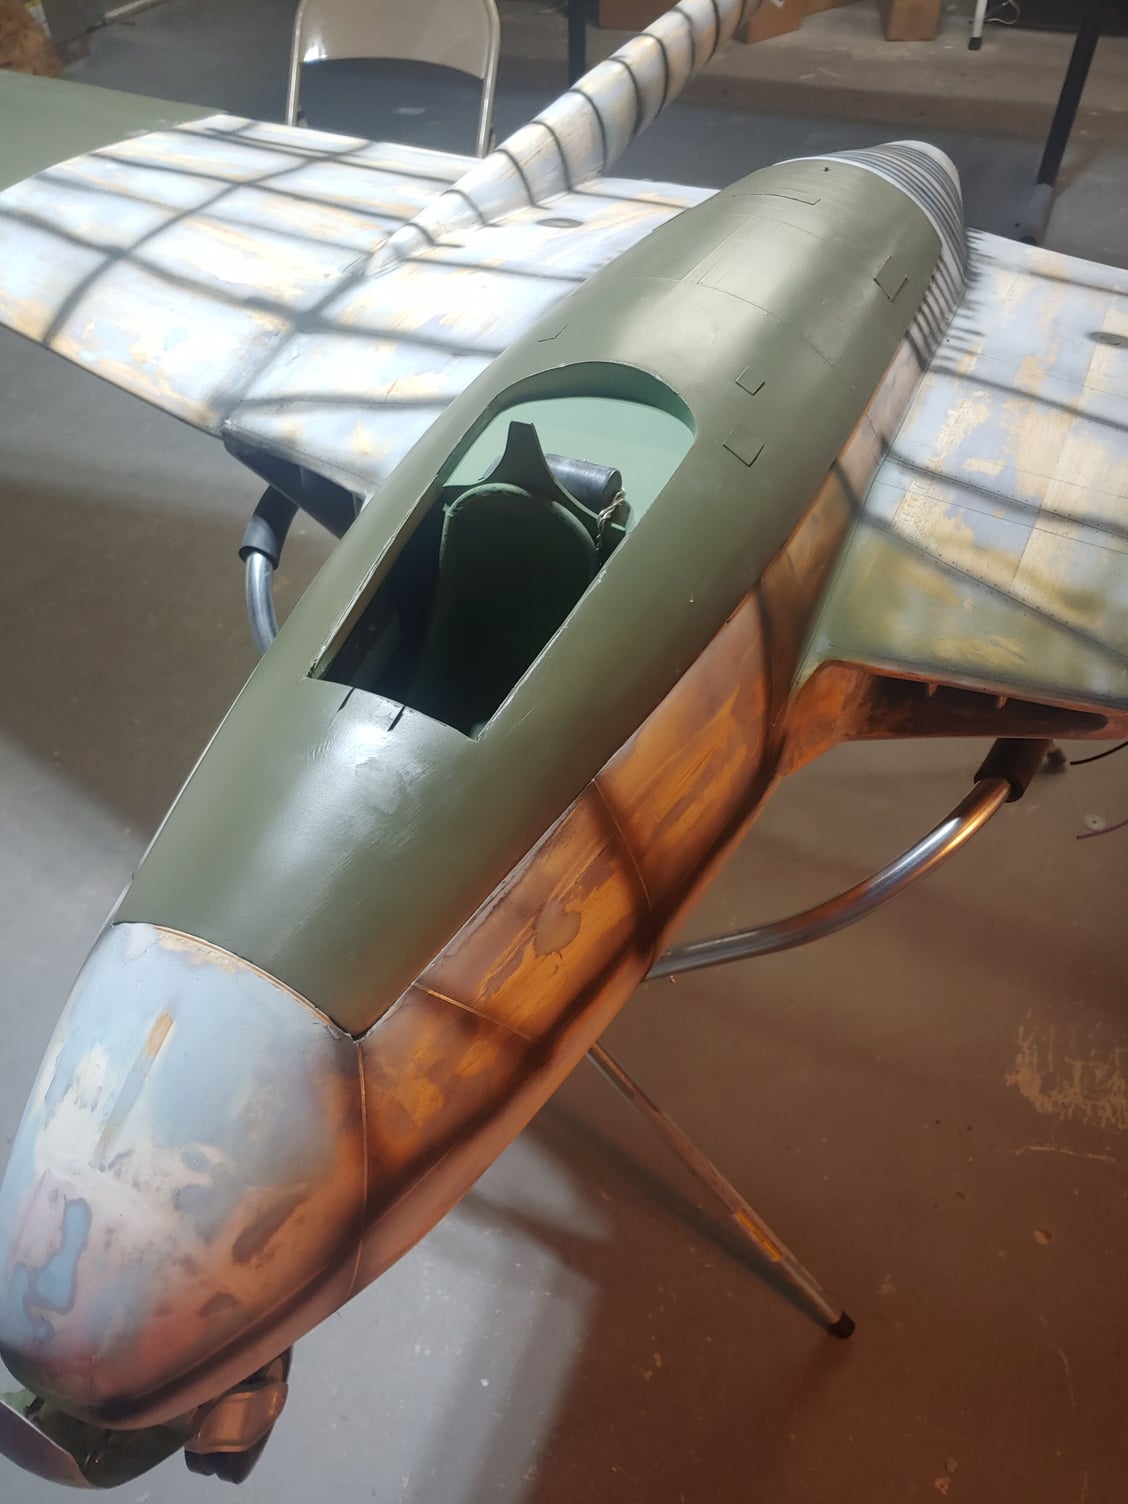
Well, I couldn't wait untill this evening, I am very happy with the way it came out.I am going to let the paint dry for a few days, then paint the bottom. Till Next Time! Jerry B
The following users liked this post:
grbaker (06-22-2022)
06-21-2022, 02:35 PM
#98

Starting to look pretty!  you should be getting excited with getting the colors on�
What kind of paint are you using? Klasskote, or something else?
And, are you happy with the black pre-shading? I considered trying that on my last project, but I suspected using epoxy paint, it might not work due to opacity... (I should have tried a test panel)
you should be getting excited with getting the colors on�What kind of paint are you using? Klasskote, or something else?
And, are you happy with the black pre-shading? I considered trying that on my last project, but I suspected using epoxy paint, it might not work due to opacity... (I should have tried a test panel)
06-21-2022, 03:12 PM
#99
Starting to look pretty! you should be getting excited with getting the colors on�
What kind of paint are you using? Klasskote, or something else?
And, are you happy with the black pre-shading? I considered trying that on my last project, but I suspected using epoxy paint, it might not work due to opacity... (I should have tried a test panel)
you should be getting excited with getting the colors on�What kind of paint are you using? Klasskote, or something else?
And, are you happy with the black pre-shading? I considered trying that on my last project, but I suspected using epoxy paint, it might not work due to opacity... (I should have tried a test panel)
I paid $12 a quart versus $30-40 a quart automotive.Second is clean up, hot water.I thin it with water.Downside I will have to clear coat it after I finish the post shading and some lite weathering.I enjoy doing the pre-shading that I learnt how to do building my plastic kits.Pre-shading works well if you add your colors in light coats, building up to the desired effect you are looking for.I hope this answers your question.
Thanks for your questions.
Till Next Time!
Jerry B
The following users liked this post:
grbaker (06-22-2022)